|
ANNELISE  

This tutorial was written and translated with Psp2020, but it can also be made using other versions of PSP.
 consult, if necessary, my filter section here Mehdi - Sorting Tiles DSB Flux - Gears, Spider Web, Blast here  You can change Blend Modes according to your colors. In the newest versions of PSP, you don't find the foreground/background gradient (Corel_06_029). You can use the gradients of the older versions. The Gradient of CorelX here  1. Set your foreground color to the light color #fcd8c8, and your background color to the dark color #7b1156. 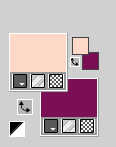 Set your Foreground color to a Foreground/Background Gradient, style Linear. 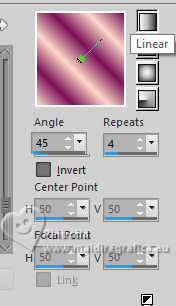 Open a new transparent image 900 x 600 pixels. Flood fill  the transparent image with your Gradient. the transparent image with your Gradient.2. Adjust>Blur>Gaussian Blur - radius 25.  3. Effects>Plugins>Mehdi - Sorting Tiles 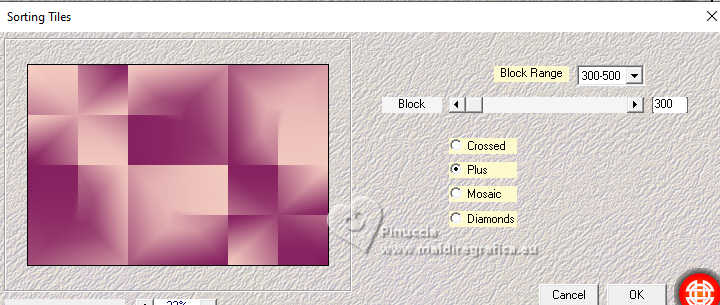 4. Effects>Edge Effects>Enhance. Layers>Duplicate. Close this layer and activate the layer Raster 1. 5. Effects>Plugins>DSB Flux - Gears. 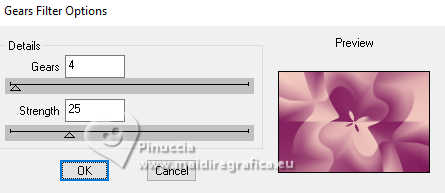 06. Effects>Texture Effects>Weave weave color: dark background color #7b1156. 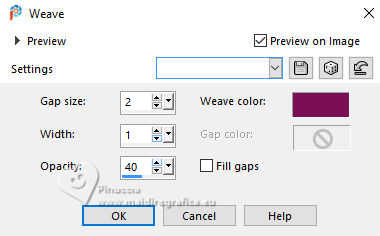 7. Adjust>Sharpness>Sharpen. Open and activate the layer above Copy of Raster 1. 8. Effects>Plugins>Dsb flux - Spider Web 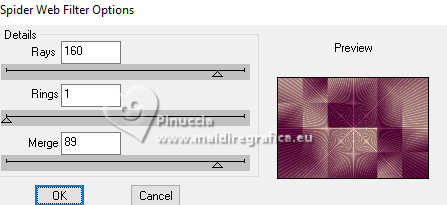 9. Change the Blend Mode of this layer to Hard Light, and reduce the opacity to 40%. 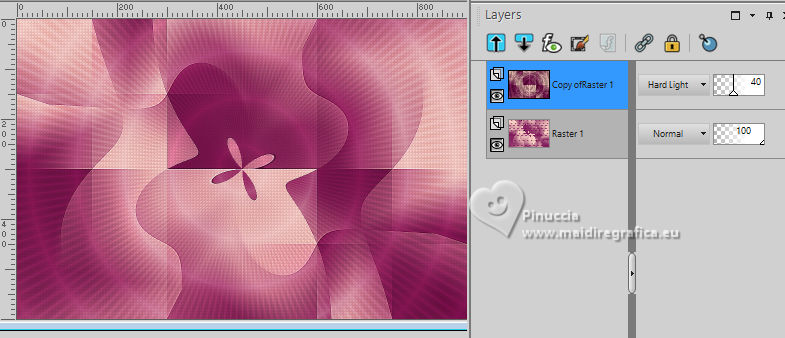 NOTE Feel free to change the Blend Mode according to the colors you are using and the Opacity, as long as it is less than 47. 10. Open decor_leni_annelise 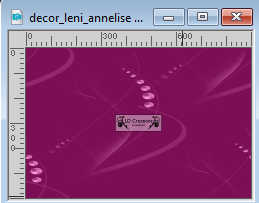 Edit>Copy. Go back to your work and go to Edit>Paste as New Layer. Keep the Blend Mode to Luminance (legacy) 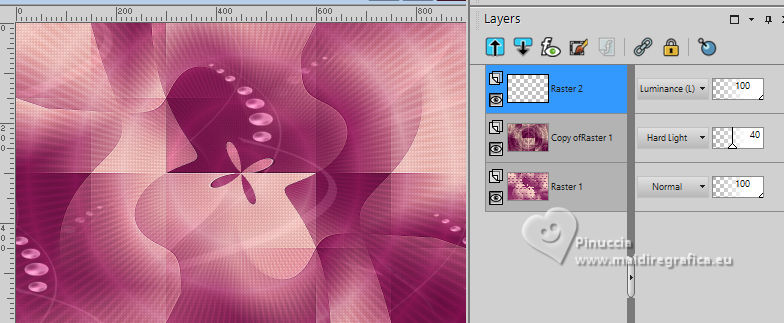 11. Edit>Copy Special>Copy Merged. 12. Image>Add borders, 2 pixels, symmetric, dark background color #7b1156. Image>Add borders, 2 pixels, symmetric, light background color #fcd8c8. Image>Add borders, 2 pixels, symmetric, dark background color #7b1156. 13. Selections>Select All. Image>Add Borders, 10 pixels, symmetric, whatever color. Selection>Invert. Flood Fill  the selection with your Gradient. the selection with your Gradient. Selections>Select None. 14. Image>Add borders, 2 pixels, symmetric, dark background color #7b1156. Image>Add borders, 2 pixels, symmetric, light background color #fcd8c8. 15. Selections>Select All. Image>Add Borders, 50 pixels, symmetric, whatever color. Selection>Invert. Edit>Paste Into Selection - image in memory from step 11. 16. Adjust>Blur>Gaussian Blur, radius 15  17. Effects>Plugins>Dsb Flux - Blast Direction Left 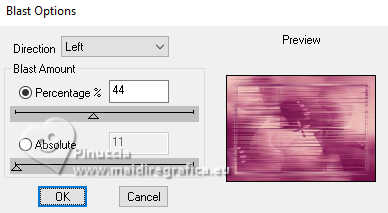 18. Repeat Effects>Plugins>Dsb Flux - Blast this time Direction: Right 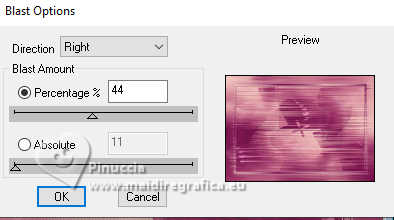 19. Adjust>Sharpness>Sharpen. Selection>Invert. 20. Effects>3D Effects>Drop Shadow - color #000000.  Selections>Select None. 21. Open decor_leni_annelise-2 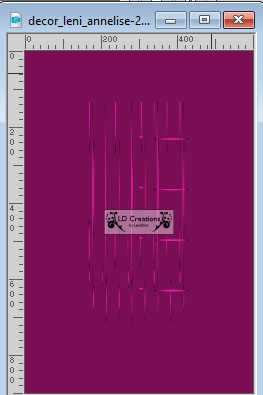 Edit>Copy. Go back to your work and go to Edit>Paste as New Layer. K key to activate your Pick Tool  Position X: 706,00 - Position Y: 70,00.  Keep the Blend Mode of this layer to Overlay 22. Open decor_leni_annelise-3  Edit>Copy. Go back to your work and go to Edit>Paste as New Layer. Position X: 895,00 - Position Y: 10,00.  Keep the Blend Mode of this layer to Screen 23. Open your main tube LeniDiniz-1652mulheres 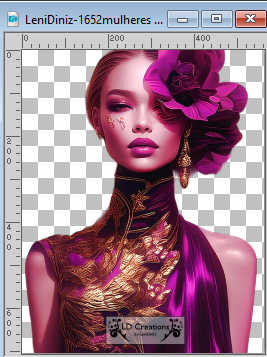 Edit>Copy. Go back to your work and go to Edit>Paste as New Layer. Image>Resize, if necessary - for the supplied tube 106%, resize all layers not checked. Move  the tube to the left side. the tube to the left side.Adjust>Sharpness>Sharpen. 24. Effects>3D Effects>Drop Shadow, at your choice. Or: Layers>Duplicate. Adjust>Blur>Gaussian Blur - radius 15  Change the Blend Mode of this layer to Multiply Layers>Arrange>Move Down. 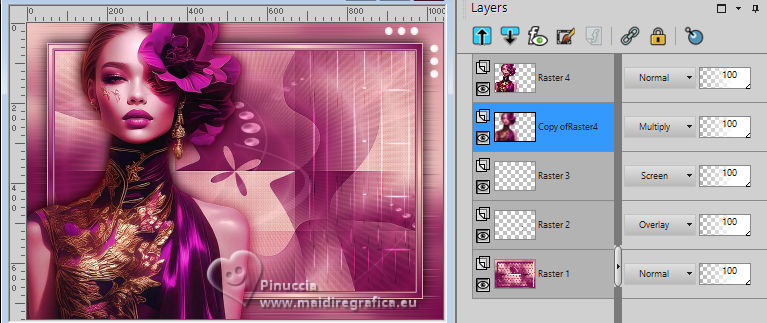 25. Activate your top layer. Open título_leni_annelise  Edit>Copy. Go back to your work and go to Edit>Paste as New Layer. Move  the text to the right, see the final tag. the text to the right, see the final tag.Effects>3D Effects>Drop Shadow, at your choice. If you want colorize it, use the Color Changer Tool  Tolerance 30 - Edge Softness 100  26. Image>Add Borders - 2 pixels, symmetric, dark background color #7b1156. 27. Sign your work and save as jpg. For the tube of this version thanks Renée    Your versions.Thanks Your versions.Thanks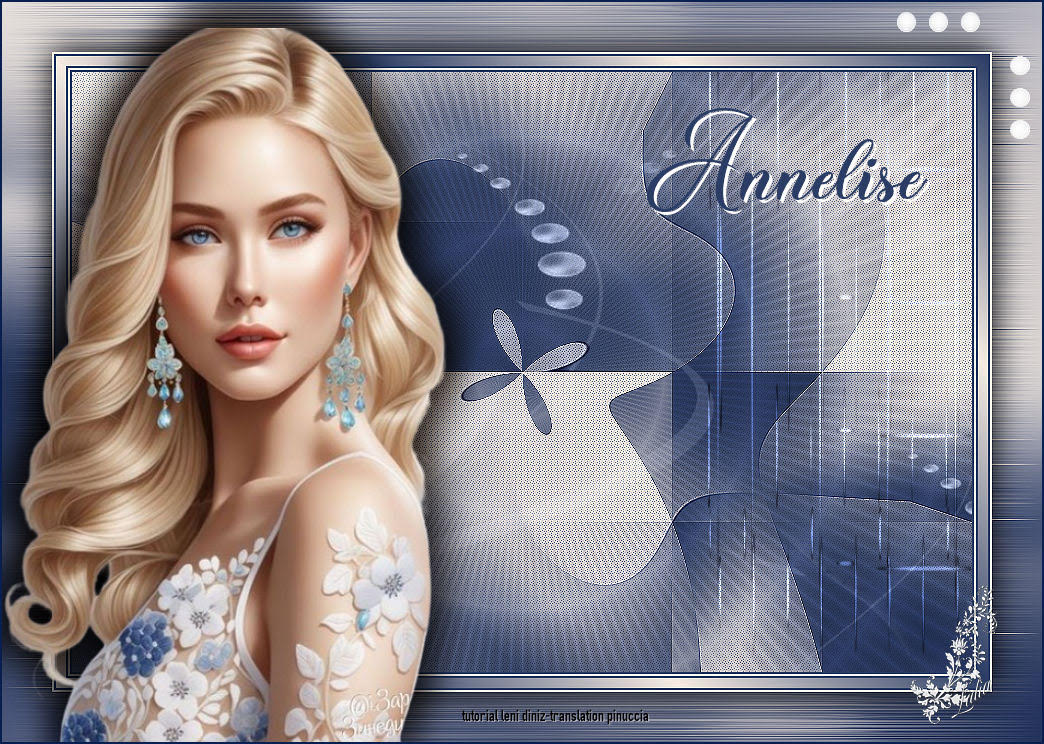 Lidia 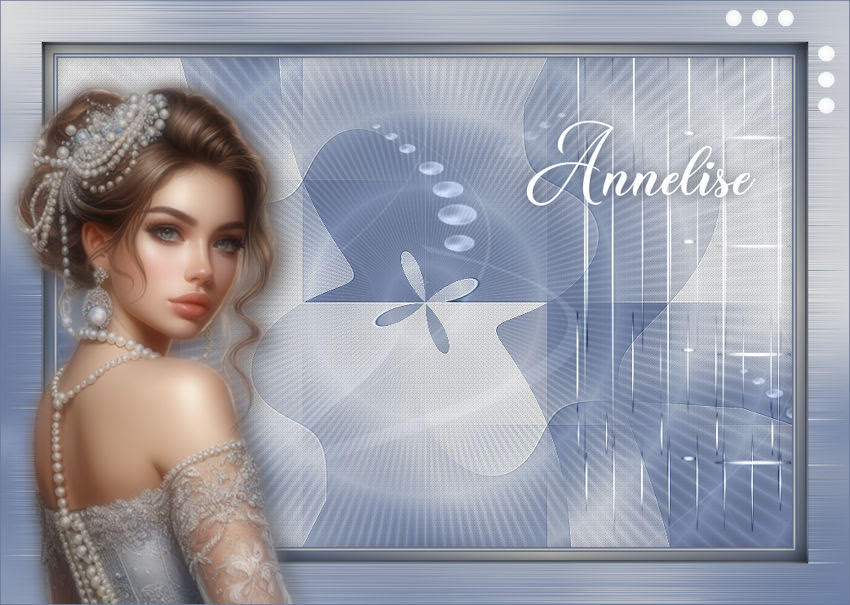 Di@ne  Baby  Baby 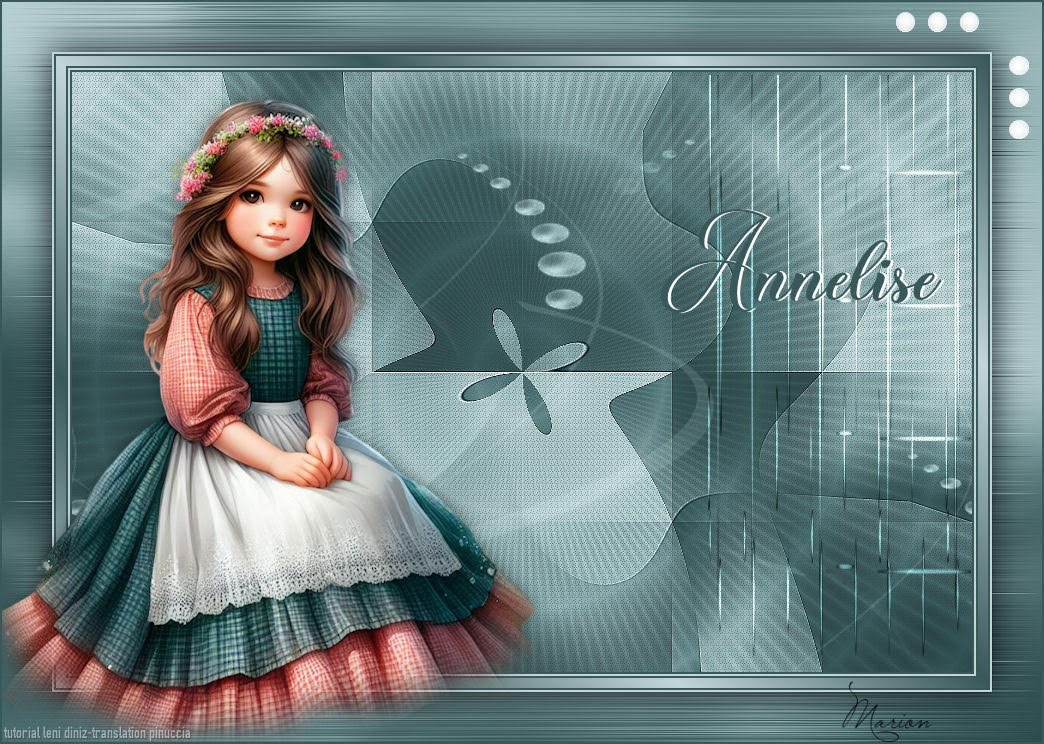 Marion   If you have problems or doubts, or you find a not worked link, or only for tell me that you enjoyed this tutorial, write to me. |