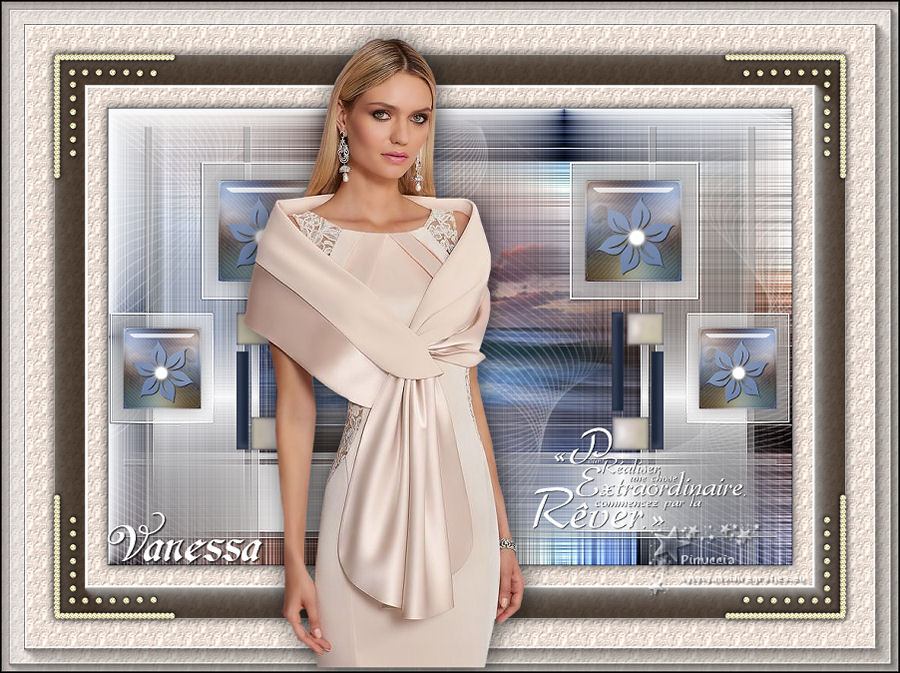
|
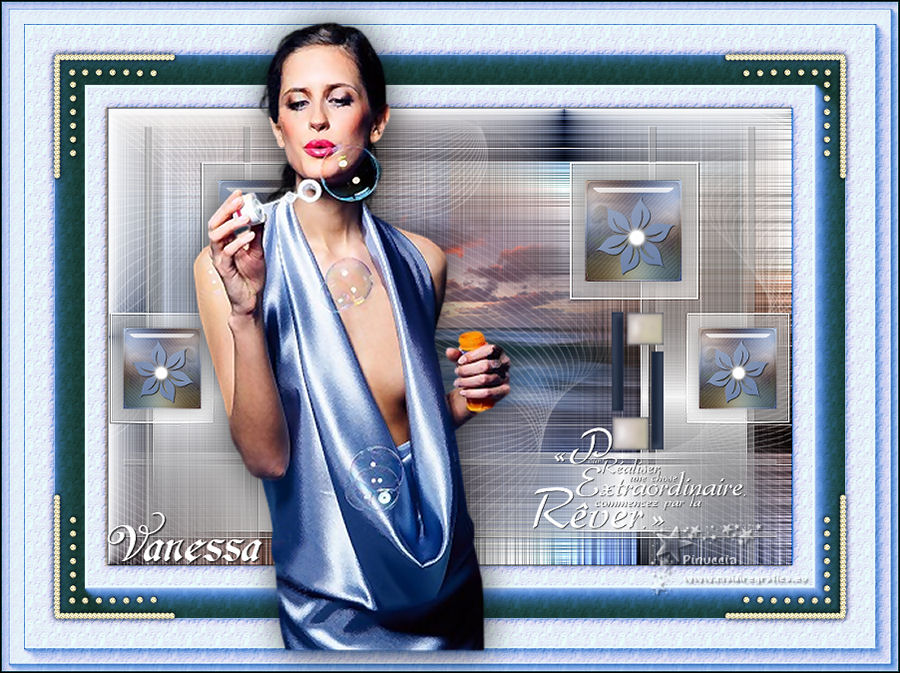
VANESSA

english version

Here you find the original of this tutorial:

This tutorial was written with CorelX8 and translated with Corel X7 and CorelX3, but it can also be made using other versions of PSP.
Since version PSP X4, Image>Mirror was replaced with Image>Flip Horizontal,
and Image>Flip with Image>Flip Vertical, there are some variables.
In versions X5 and X6, the functions have been improved by making available the Objects menu.
In the latest version X7 command Image>Mirror and Image>Flip returned, but with new differences.
See my schedule here
italian translation here
your versions here
Material here
Thanks for the tube Kamil and for the mask VaSzu
(The links of the tubemakers here).
Plugins
consult, if necessary, my filter section here
Filters Unlimited 2.0 here
Mehdi - Wavy Lab 1.1 here
Mehdi - Weaver here
VM Natural - Weave Distortion here
VM Toolbox - Grid here
AFS IMPORT - sqborder2 here
Simple - Top Left Mirror here
AAA Frames - Foto Frame here
Alien Skin Eye Candy 5 Impact - Glass here
Filters VM Natural, VM Toolbox, AFS IMPORT and Simple can be used alone or imported into Filters Unlimited.
(How do, you see here)
If a plugin supplied appears with this icon  it must necessarily be imported into Unlimited it must necessarily be imported into Unlimited

You can change Blend Modes according to your colors.
In the newest versions of PSP, you don't find the foreground/background gradient (Corel_06_029).
You can use the gradients of the older versions.
The Gradient of CorelX here
Place the brush in the Brushes folder. Attention, please, the brush is composed by two files, you must place both the files in the folder.
See my notes about Brushes here
In the material, there is also the file en pspimage.
Copy the texture wp floral 080 in the Textures Folder.
Copy the selection in the Selections Folder.
Open the mask in PSP and minimize it with the rest of the material.
Colors

1.
Set your foreground color to #496497,
and your background color to #5c382a.
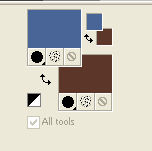
Open a new transparent image 900 x 600 pixels.
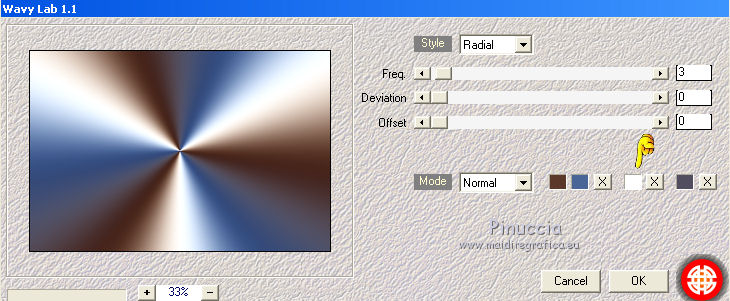
Effects>Plugins>Mehdi - Wavy Lab 1.1
This filtre creates gradients with the colors of your palette:
the first is your background color, the second is your foreground color.
Of the last two colors created by the filter, change the third color with the white color #ffffff.
Layers>Duplicate.
Close the layer below Raster 1.
You can skip this step and go on on this layer; see why at step 4
Effects>Plugins>Filters Unlimited 2.0 - VM Natural - Weave Distortion
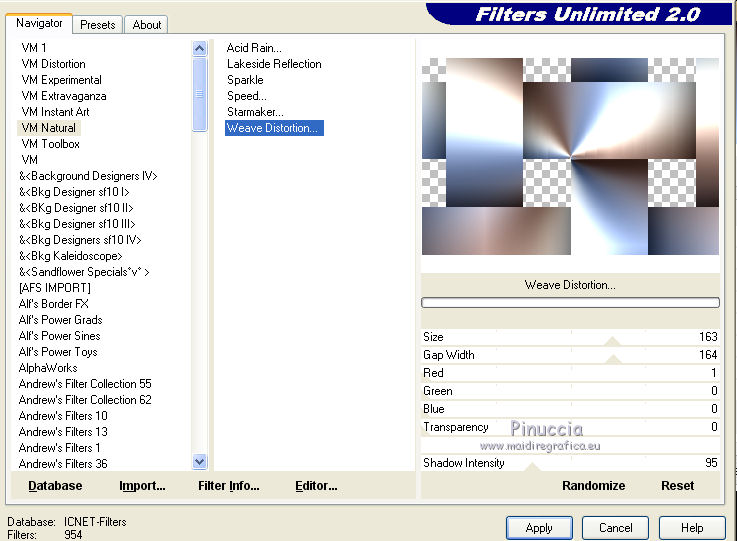
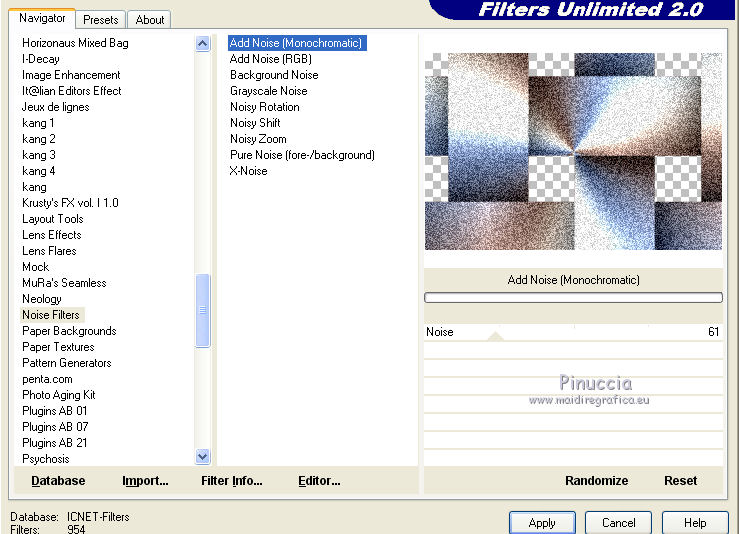
2. Effects>Plugins>Filters Unlimited 2.0 - Noise filter - Add Noise (monochromatic), default settings
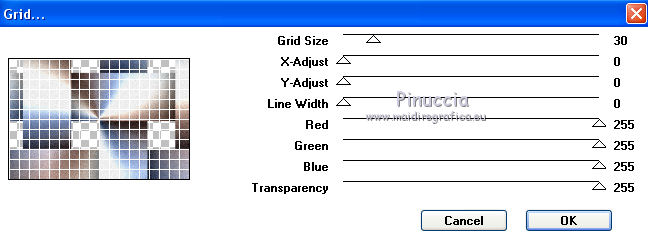
3. Effects>Plugins>VM Toolbox - Grid, default settings.
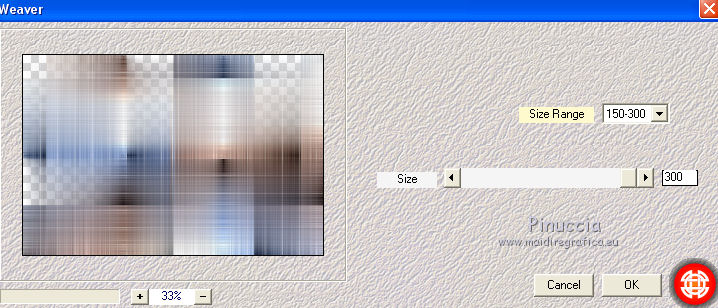
4. Effects>Plugins>Mehdi - Weaver.
Re-open the bottom layer
(however the layer is covered by the level of the copy;
here is the reason for the note at step 1).
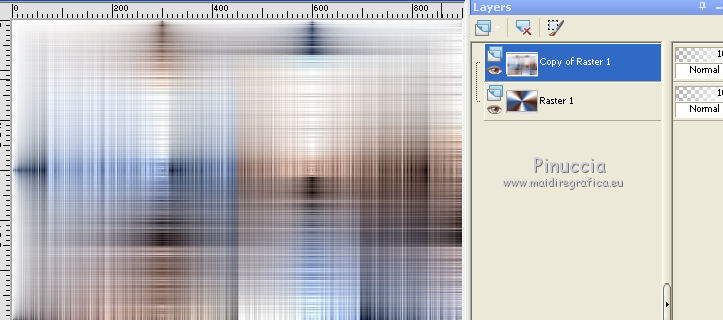
Layers>Merge>Merge visible.
5. Open the landscape tube paysage cl, and go to Edit>Copy.
Go back to your work and go to Edit>Paste as new layer.
Don't move it; it's in its place.
6. Open the tube tube ©Déco 2 SINEDOT and go to Edit>Copy.
Go back to your work and go to Edit>Paste as new layer.
Don't move it; it's in its place.
Effects>Image Effects>Seamless Tiling, default settings.

Change the Blend Mode of this layer to Hard light
and reduce the opacity to 50%.
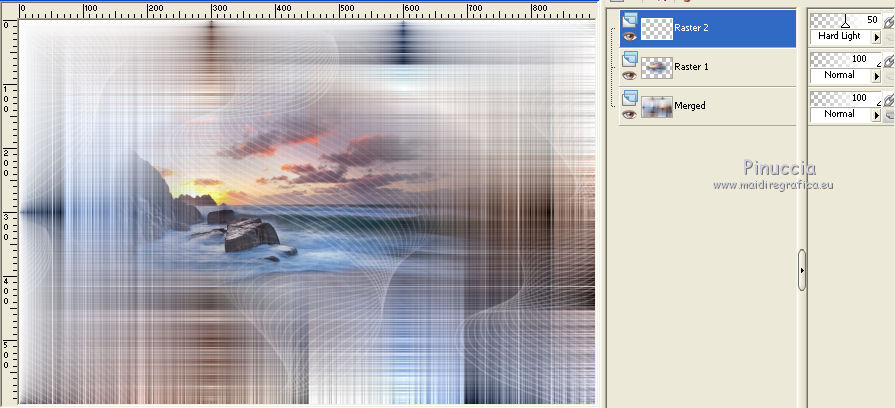
7. Layers>New Raster Layer.
Set your foreground color to white #ffffff.
Flood Fill  the layer with color white. the layer with color white.
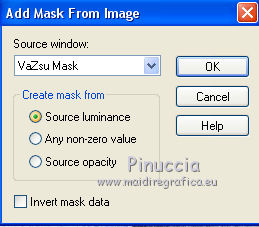
Layers>New Mask layer>From image
Open the menu under the source window and you'll see all the files open.
Select the mask VaZsu Mask.
Adjust>Sharpness>Sharpen.
Effects>Edge Effects>Enhance.
Layers>Merge>Merge Group.
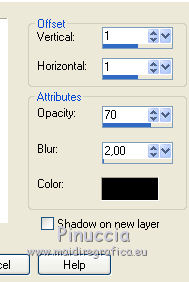
Effects>3D Effects>Drop Shadow, color black.
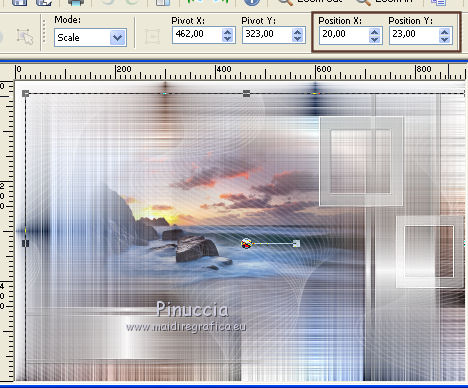
K key on the keyboard to activate the Pick Tool 
and set Position X: 20,00 and Position Y: 23,00
M key to deselect.
Layers>Duplicate.
Image>Mirror.
Layers>Merge>Merge Down.
8. Set again your foreground color to the first color #496497.

Keep the top layer selected.
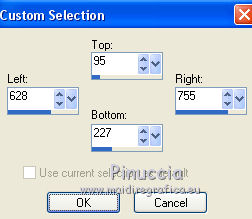
Selection Tool 
(no matter the type of selection, because with the custom selection your always get a rectangle)
clic on the Custom Selection 
and set the following settings.
9. Layers>New Raster Layer.
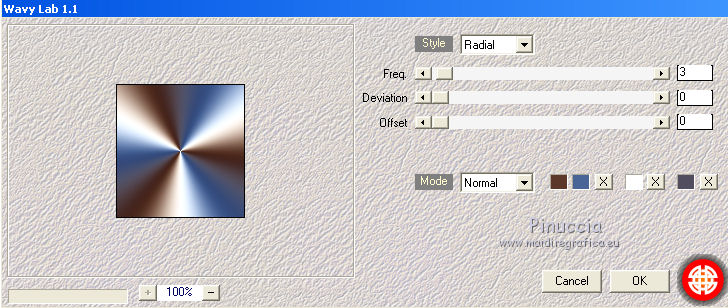
Effects>Plugins>Mehdi - Wavy Lab 1.1., same settings.
Adjust>Blur>Gaussian blur - radius 20.

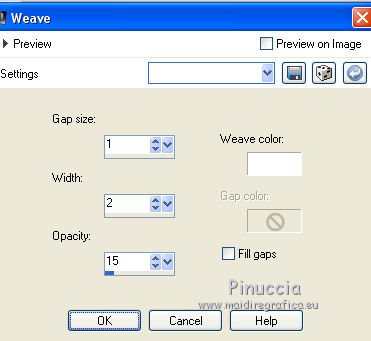
Effects>Texture Effects>Weave, weave color: #ffffff.
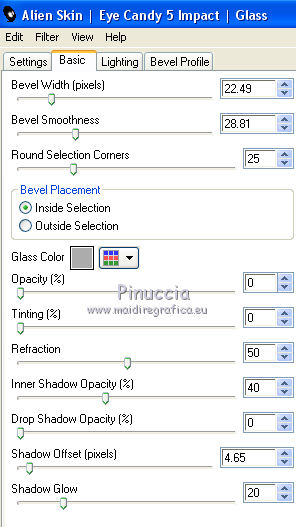
Effects>Plugins>Alien Skin Eye Candy 5 Impact - Glass
Glass Color: #acacac
Selections>Select None.
10. Layers>Duplicate.
Image>Mirror.
Layers>Duplicate.
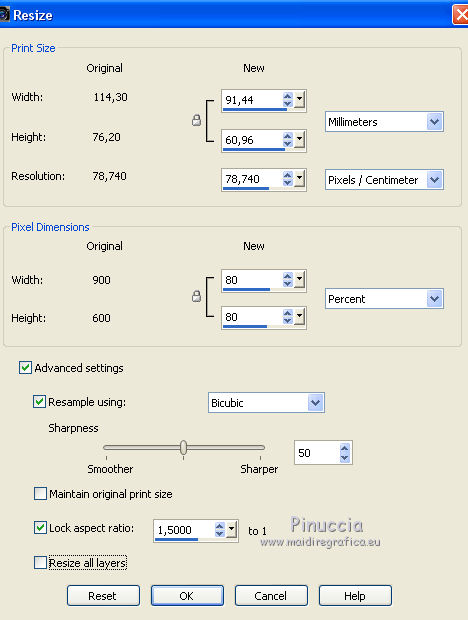
Image>Resize, to 80%, resize all layers not checked.
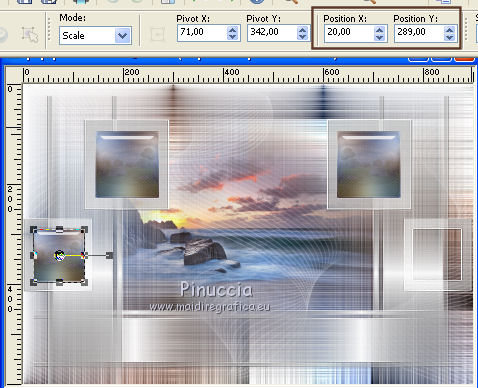
K key to activate the Pick Tool 
and place Position X: 20,00 and Position Y: 289,00
M key to deselect.
Layers>Duplicate.
Image>Mirror.
Layers>Merge>Merge Down - 3 times.
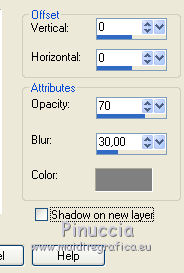
Effects>3D Effects>Drop Shadow, color #808080.
11. Layers>New Raster Layer.
Keep your foreground color to #496497
and change your background color to white #ffffff.
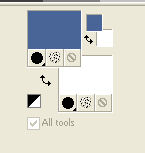
Set your foreground color to a Foreground/Background Gradient, style Radial.
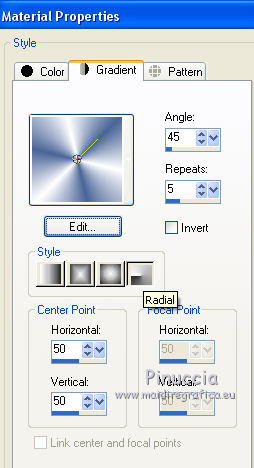
Activate the Brush Tool 
look for and select the brush pinceau fleur CLaurette

apply the brush by clicking with your left mouse button to use the foreground Gradient.
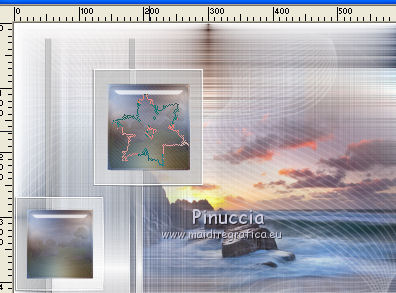
Layers>Duplicate.
Image>Mirror
Layers>Duplicate.
Image>Resize, to 80%, resize all layers not checked.
Move  this brush on a little frame. this brush on a little frame.
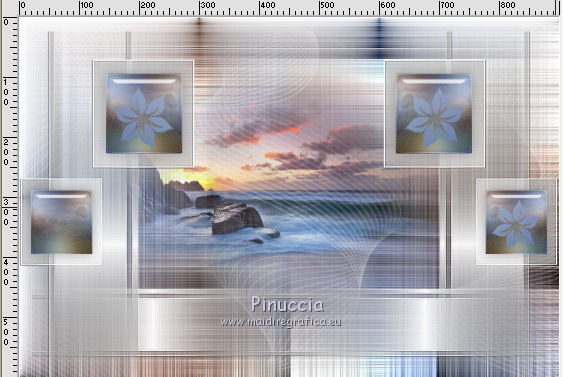
Layers>Duplicate.
Image>Mirror.
Make sure you are on the top layer.
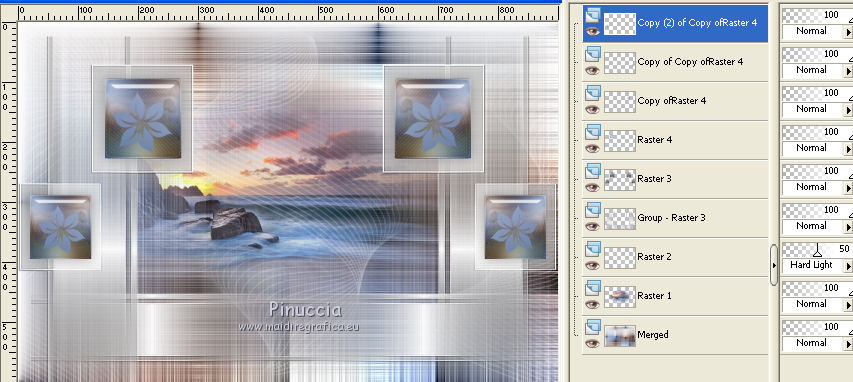
Layers>Merge>Merge Down - 3 time.
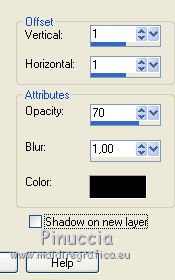
Effects>3D Effects>Drop Shadow, color black.
12. Layers>New Raster Layer.
Again activate the Brush Tool 
look for and select the standard brush +Rond 25, avec these settings.

Click in the center of the big flower with your right mouse button to use your white background color
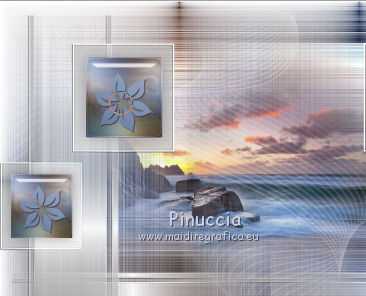
Layers>Duplicate.
Image>Mirror.
Again Layers>Duplicate.
Image>Resize, to 80%, resize all layers not checked.
Move  this brush in the center of one of the little flowers. this brush in the center of one of the little flowers.
Layers>Duplicate.
Image>Mirror.
Layers>Merge>Merge Down - 3 times.
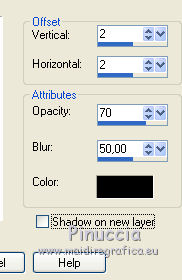
Effects>3D Effects>Drop Shadow, same settings.

13. Activate the bottom layer, Raster 1.
Layers>Duplicate.
Change the Blend Mode of this layer to Multiply.
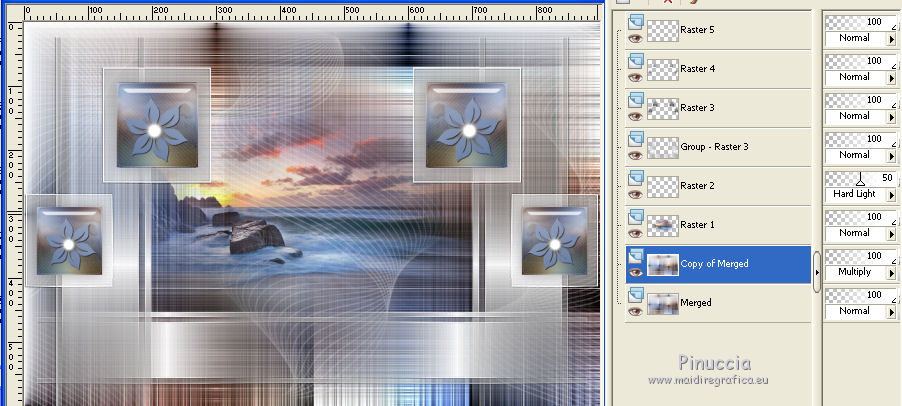
Layers>Merge>Merge visible.
14. Layers>New Raster Layer.
Selections>Load/Save Selection>Load Selection from Disk.
Look for and load the selection ©selection1.
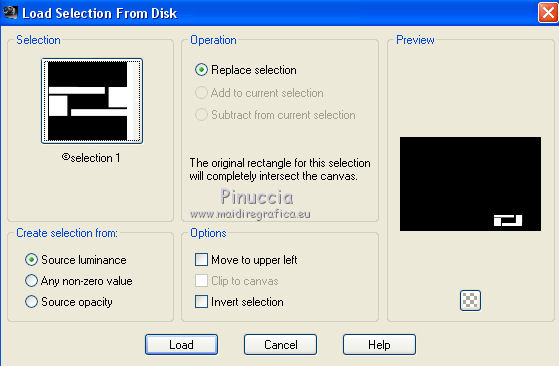
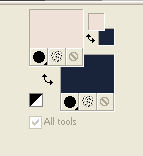
Select your foreground color to #efe1d7
and your background color to #1c263a.
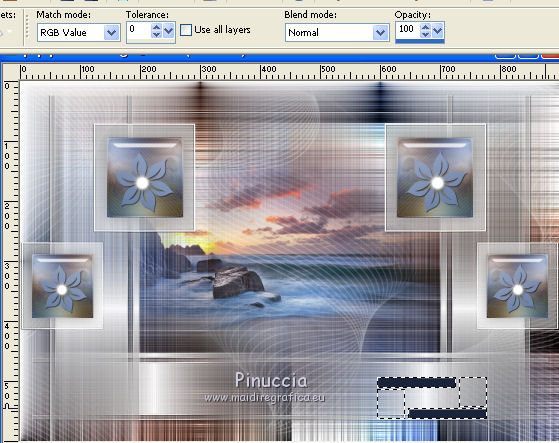
Set your Flood Fill Tool to RGB Value
and flood fill  the two lines with your background color #1c263a. the two lines with your background color #1c263a.
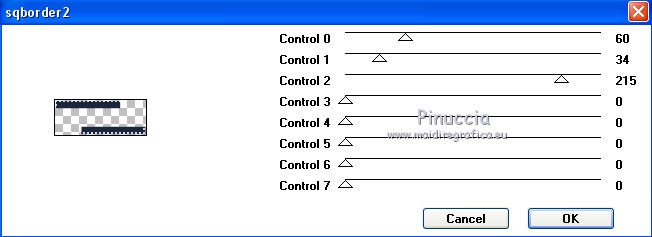
Effects>Plugins>AFS IMPORT - sqborder2.
Layers>New Raster Layer.
Flood Fill  the little squares with your foreground color #1c263a. the little squares with your foreground color #1c263a.
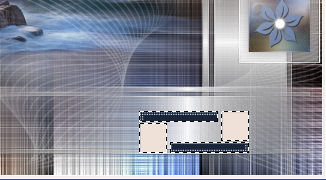
Selections>Select None.
Activate the Magic Wand Tool 

and click on the little squares to select them.
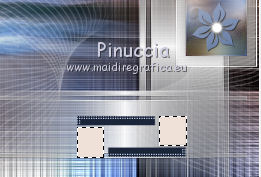
Effects>Plugins>Alien Skin Eye Candy 5 Impact - Glass, same settings.
Selections>Select None.
Layers>Merge>Merge Down.
16. Image>Rotation libre - 90 degrees to right.

K key to activate the Pick Tool 
and set Position X: 168,00 and Position Y: 267,00
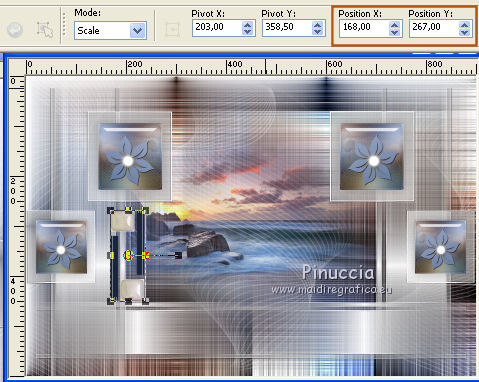
M key to deselect.
Layers>Duplicate.
Image>Mirror.
Layers>Merge>Merge Down.
Effects>Plugins>Filters Unlimited 2.0 - Convolution Filters - Gaussian Blur, default settings.
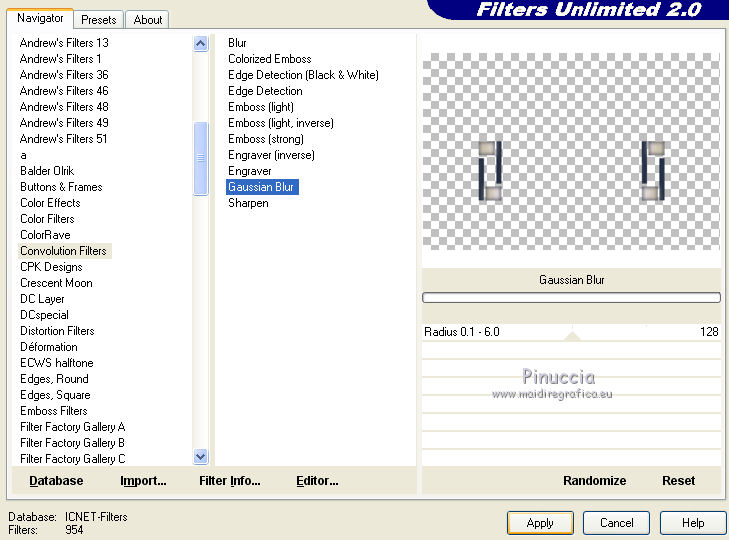
Repeat this Plugin one more time.
Layers>Merge>Merge Down.
17. Image>Add borders, 1 pixel, symmetric, background color #1c263a.
Selections>Select All.
Image>Add border, 70 pixels, symmetric, foreground color #efe1d7.
Selections>Invert.
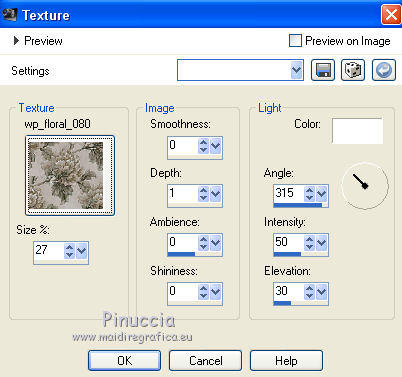
Effects>Texture Effects>Texture - select the texture wp floral 080
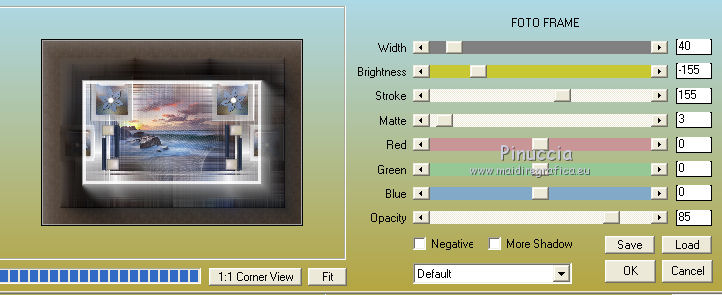
Effects>Plugins>AAA Frames - Foto Frame.
Selections>Invert.
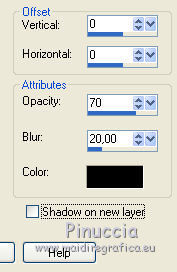
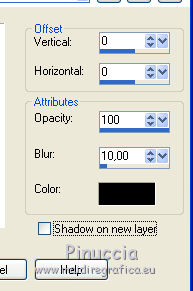
Effects>3D Effects>Drop Shadow, color black.
18. Selections>Select All.
Image>Add border, 70 pixels, symmetric, #efe1d7.
Selections>Invert.
Effects>Texture Effects>Texture, same settings.
Effects>Plugins>AAA Frames - Foto Frame.
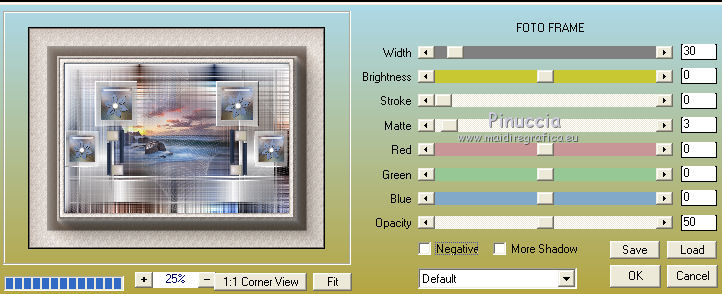
Selections>Select None.
Again Effects>Plugins>AAA Frames - Foto Frame.
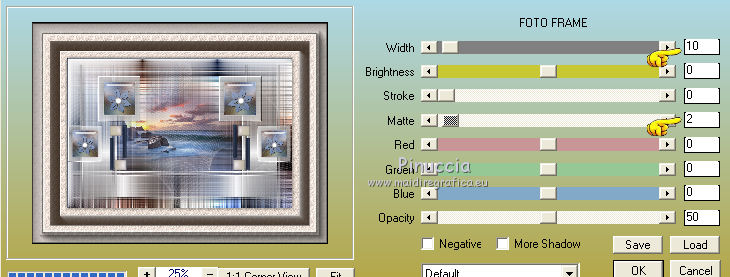
Selections>Select All.
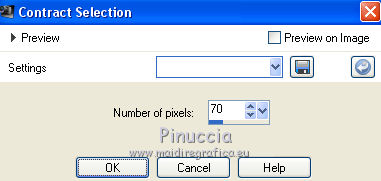
Selections>Modify>Contract - 70 pixels.
Effects>3D Effects>Drop Shadow, same settings.
Selections>Select None.
19. Open the tube coin and go to Edit>Copy.
Go back to your work and go to Edit>Paste as new layer.
K key to activate the Pick Tool 
and set Position X: 70,00 and Position Y: 70,00

M key to deselect.
Effects>Plugins>Simple - Top Left Mirror.
Effects>3D Effects>Drop Shadow, color black.
20. Open the text Vanessa and go to Edit>Copy.
Go back to your work and go to Edit>Paste as new layer.
Move  the text at the bottom left. the text at the bottom left.
Effects>3D Effects>Drop Shadow, color black.

21. Open the woman tube Kamil Tubes 542 and go to Edit>Copy.
Go back to your work and go to Edit>Paste as new layer.
Image>Mirror.
Adjust>Sharpness>Sharpen.
K Key to activate the Pick Tool 
and set Position X: 287,00 and Position Y: 24,00

M key to deselect.
Effects>3D Effects>Drop Shadow, color black.
22. Open the wordart and go to Edit>Copy.
Go back to your work and go to Edit>Paste as new layer.
Move  it at the bottom right. it at the bottom right.
Image>Negative Image.
Effects>3D Effects>Drop Shadow, color black.

23. Sign your work on a new layer.
Image>Add border, 1 pixel, symmetric, color black.
Image>Resize, 900 pixels width, resize all layers checked.
Save as jpg.
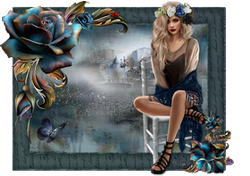
The tube of this version is by Wieske

If you have problems or doubts, or you find a not worked link,
or only for tell me that you enjoyed this tutorial, write to me.
19 July 2018
|

