|
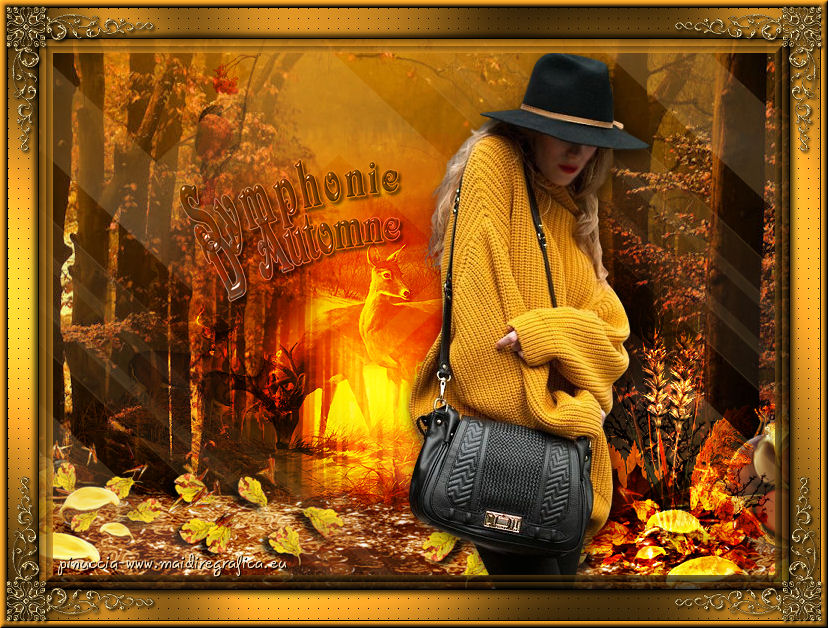
SYMPHONIE

english version

Here you find the original of this tutorial:

This tutorial was written with CorelX19 and translated with CorelX17, but it can also be made using other versions of PSP.
Since version PSP X4, Image>Mirror was replaced with Image>Flip Horizontal,
and Image>Flip with Image>Flip Vertical, there are some variables.
In versions X5 and X6, the functions have been improved by making available the Objects menu.
In the latest version X7 command Image>Mirror and Image>Flip returned, but with new differences.
See my schedule here
italian translation here
Your versions here
Material here
For the tube thanks Maryse
(The links of the tubemakers here).
Plugins:
consult, if necessary, my filter section here
Filters Unlimited 2.0 here
Simple - Top Left Mirror here
AP 01 [Innovations] - Lines SilverLining here
Mura's Meister - Cloud here
Graphics Plus - Cross Shadow here
Filters Simple and Graphics Plus can be used alone or imported into Filters Unlimited.
(How do, you see here)
If a plugin supplied appears with this icon  it must necessarily be imported into Unlimited it must necessarily be imported into Unlimited

You can change Blend Modes according to your colors.
Open the mask in PSP and minimize it with the rest of the material.
Copy the Selections in the Selection Folder.
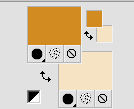
1. Set your foreground color to #d18b21,
and your background color to #f6e3c3.
2. Open a new transparent image 750 x 550 pixels.
Selections>Select All.
Open the background image "image entière" and go to Edit>Copy.
Go back to your work and go to Edit>Paste into Selection.
Selections>Select None.
2. Layers>New Raster Layer.
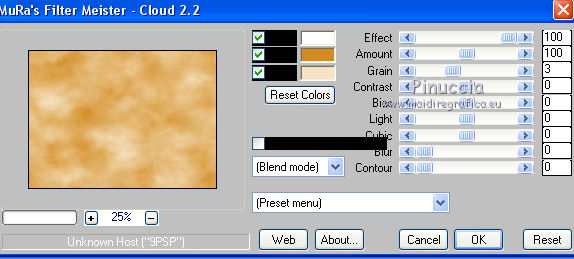
Effects>Plugins>Mura's Meister - Cloud.
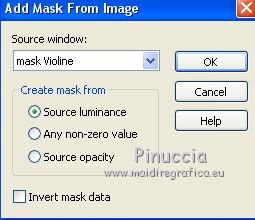
3. Layers>New Mask layer>From image
Open the menu under the source window and you'll see all the files open.
Select the mask mask creation violine.
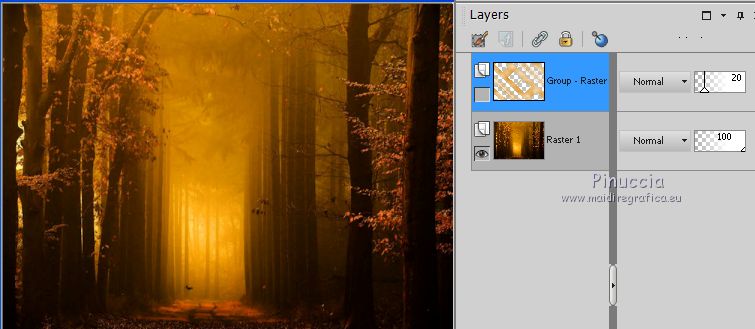
Layers>Merge>Merge Group.
Reduce the opacity of this layer to 20%.
Close this layer.
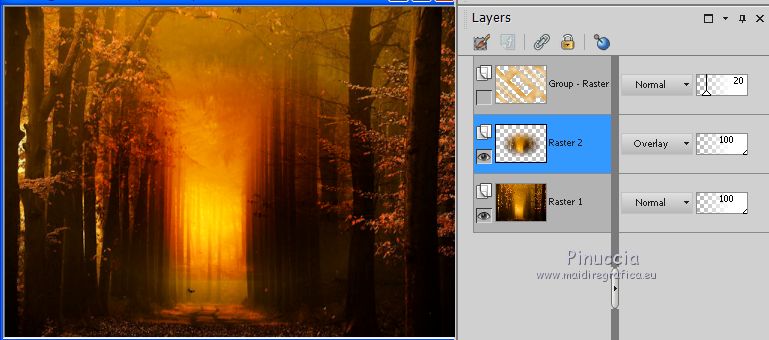
4. Activate the bottom layer.
Open the tube "image 2" and go to Edit>Copy.
Go back to your work and go to Edit>Paste as new layer.
Change the Blend Mode of this layer to Overlay.
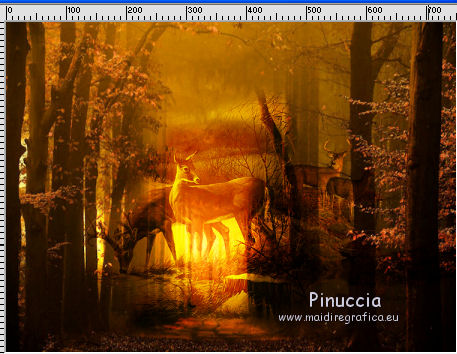
5. Activate again the bottom layer.
Open the tube animaux 1 and go to Edit>Copy.
Go back to your work and go to Edit>Paste as new layer.
Change the Blend Mode of this layer to Overlay.
6. Open the tube animaux 2 and go to Edit>Copy.
Go back to your work and go to Edit>Paste as new layer.
Move  the tube to the left side. the tube to the left side.
Change the Blend Mode of this layer to Overlay.
7. Open the tube déco 1 and go to Edit>Copy.
Go back to your work and go to Edit>Paste as new layer.
Move  the tube at the bottom left. the tube at the bottom left.
Change the Blend Mode of this layer to Overlay.
8. Layers>Duplicate.
Image>Mirror.
Layers>Merge>Merge Down.
9. Open the tube déco 2 and go to Edit>Copy.
Go back to your work and go to Edit>Paste as new layer.
Image>Resize, to 75%, resize all layers not checked.
Move  the tube at the bottom right. the tube at the bottom right.
Change the Blend Mode of this layer to Overlay.
Layers>Duplicate.
10. Open the bird tube by Maryse, erase the watermark, and go to Edit>Copy.
Go back to your work and go to Edit>Paste as new layer.
Image>Resize, 4 times to 75%, resize all layers not checked.
Move  the tube at the upper left. the tube at the upper left.
Change the Blend Mode of this layer to Multiply,
and reduce the opacity to 65% (or according to your colors).
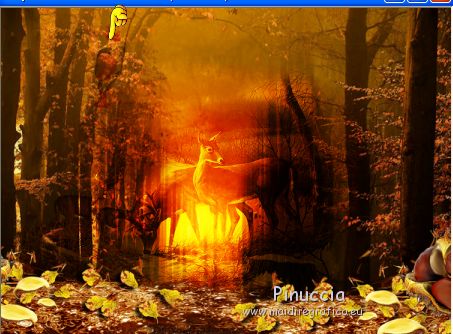
11. Re-open the mask layer.
Activate the layer of Image 2.
Layers>Arrange>Bring to Top.
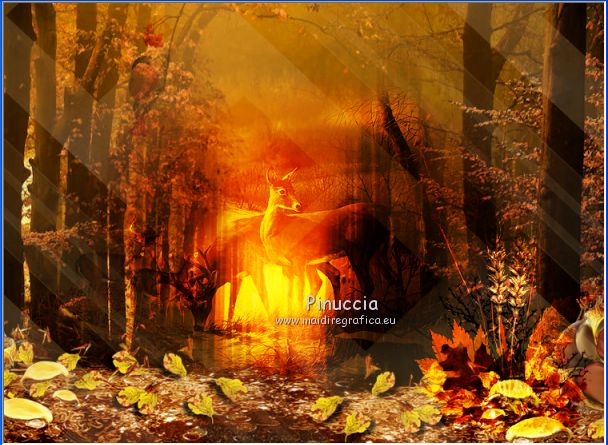
12. Open the woman tube by Maryse and go to Edit>Copy.
Go back to your work and go to Edit>Paste as new layer.
Image>Resize, to 75%, resize all layers not checked.
Place  rightly the tube. rightly the tube.
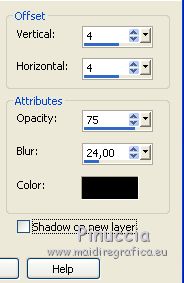
Effects>3D Effects>Drop Shadow, color black.
13. Layers>Merge>Merge All.
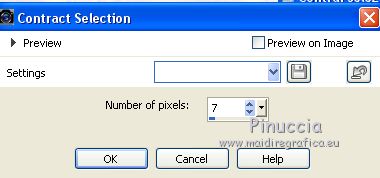
14. Selections>Select All.
Selections>Modify>Contract - 7 pixels.
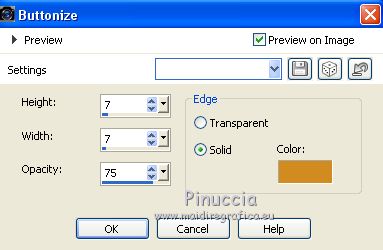
15. Effects>3D Effects>Buttonize, foreground color #d18b20.
16. Selections>Select None.
Repeat Effects>3D Effects>Buttonize, same settings.
17. Image>Add borders, 1 pixel, symmetric, color black.
Image>Add borders, 30 pixels, symmetric, foreground color #d28b21.
18. Activate the Magic Wand Tool 
and click on the 30 pixels border to select it.
19. Effects>Plugins>Graphics Plus - Cross Shadow, default settings.

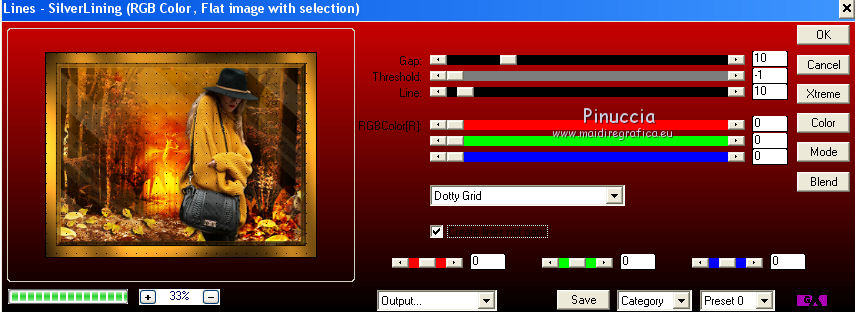
20. Effects>Plugins>AP 01 [Innovations] - Lines SilverLining.
21. Selections>Invert.
Effects>3D Effects>Drop Shadow.
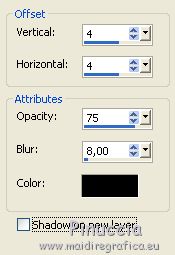
Repeat Drop Shadow, mais vertical and horizontal -4.
Selections>Select None.
22. Image>Add borders, 1 pixel, symmetric, color black.
Image>Add borders, 7 pixels, symmetric, color #a16a1a.
Select the 7 pixels border with your Magic Wand Tool 
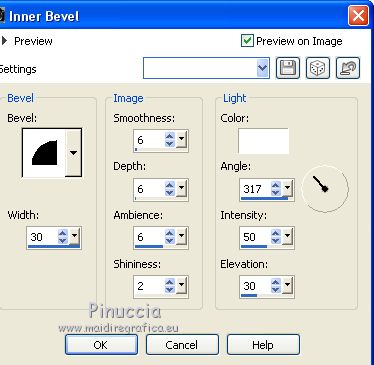
23. Effects>3D Effects>Inner Bevel, color white.
Selections>Select None.
24. Open the tube symphonie and go to Edit>Copy.
Go back to your work and go to Edit>Paste as new layer.
Image>Resize, 2 times to 75%, resize all layers not checked.
Change the Blend Mode of this layer to Luminance (legacy).
Move  the tube at the upper left, see my example. the tube at the upper left, see my example.
25. Open the tube coin and go to Edit>Copy.
Go back to your work and go to Edit>Paste as new layer.
Image>Resize, 2 times to 75%, resize all layers not checked.
Change the Blend Mode of this layer to Luminance (legacy).
Move  the tube at the upper left, in the corner. the tube at the upper left, in the corner.
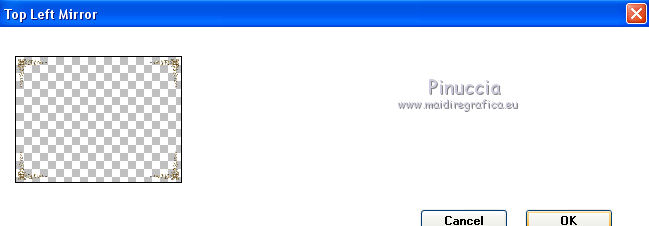
26. Effects>Plugins>Simple - Top Left Mirror.
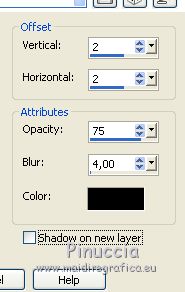
27. Effects>3D Effects>Drop Shadow, color black.
28. Sign your work.
Layers>Merge>Merge All and save as jpg.

If you have problems or doubts, or you find a not worked link,
or only for tell me that you enjoyed this tutorial, write to me.
8 February 2018
|

