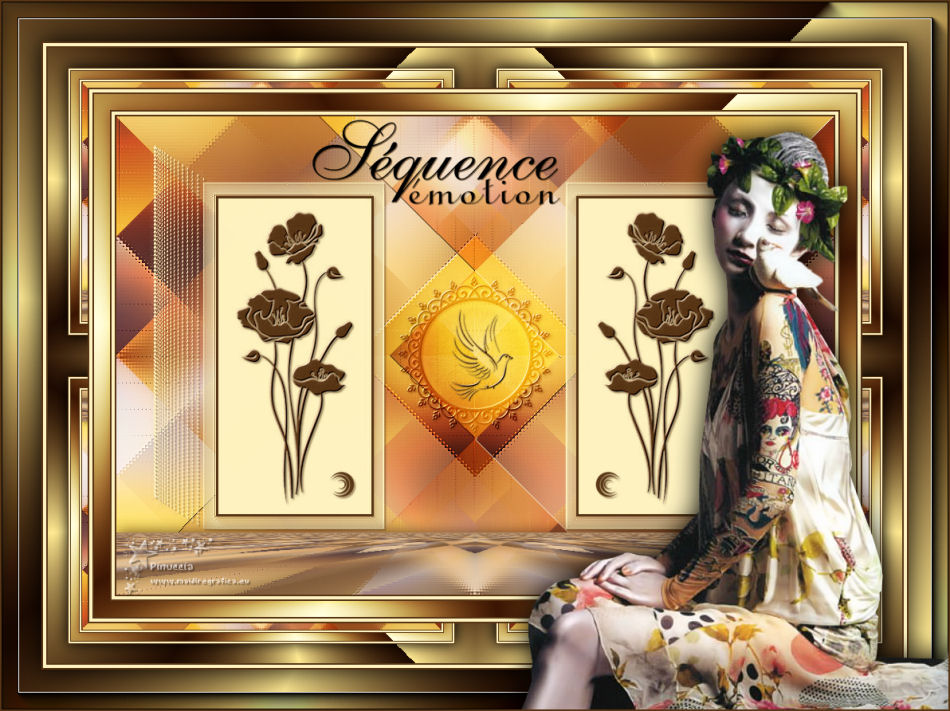
|
SOPHIA

english version

Here you find the original of this tutorial:

This tutorial was written with CorelX8 and translated with Corel X7 and CorelX3, but it can also be made using other versions of PSP.
Since version PSP X4, Image>Mirror was replaced with Image>Flip Horizontal,
and Image>Flip with Image>Flip Vertical, there are some variables.
In versions X5 and X6, the functions have been improved by making available the Objects menu.
In the latest version X7 command Image>Mirror and Image>Flip returned, but with new differences.
See my schedule here
italian translation here
your versions here
Tube of yours
The rest of the material here
Thanks: for the woman tube Guismo (not supplied) and for the mask Narah.
Word from the net
The rest of the material is by Laurette.
(The links of the tubemakers here).
Plugins
consult, if necessary, my filter section here
Filters Unlimited 2.0 here
Mehdi - Sorting Tiles here
Simple - 4Way Average, Pizza Slice Mirror here
L&K's - L&K's Zitah here
Mura's Meister - Perspective Tiling here
Mura's Seamless - Emboss at Alpha here
Graphics Plus - Quick Tile I here
AAA Frames - Foto Frame here
Filters Simple, Mura's Seamless Graphics Plus can be used alone or imported into Filters Unlimited.
(How do, you see here)
If a plugin supplied appears with this icon  it must necessarily be imported into Unlimited it must necessarily be imported into Unlimited

You can change Blend Modes according to your colors.
In the newest versions of PSP, you don't find the foreground/background gradient (Corel_06_029).
You can use the gradients of the older versions.
The Gradient of CorelX here
Place the brushes in Brushes folder.
Attention, please, every brush is composed by two files, you must place both the files in the folder.
See my notes about Brushes here
Copy the Selections in the Selections Folder.
Open the mask in PSP and minimize it with the rest of the material.
Used colors

1. Set your foreground color to #573515
and your background color to color #fff4c1.
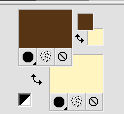
Open a new transparent image 900 x 600 pixels.
Selections>Select All.
Open the jpg image and go to Edit>Copy.
Go back to your work and go to Edit>Paste into Selection.
Selections>Select None.
2. Effects>Image Effects>Seamless Tiling, default settings.

Adjust>Blur>Gaussian Blur, radius 50

3. Effects>Plugins>Mehdi - Sorting Tiles.
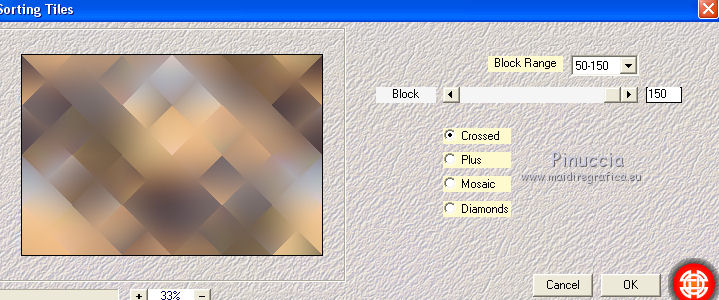
4. Layers>Duplicate.
Change the Blend Mode of this layer to Soft Light.
5. Effects>Plugins>Simple - 4 Way Average.
Layers>Merge>Merge Down.
6. Layers>Duplicate.
Change the Blend Mode of this layer to Hard Light.
Effects>Plugins>Simple - Pizze Slice Mirror.
Effects>Image Effects>Seamless Tiling, default settings.
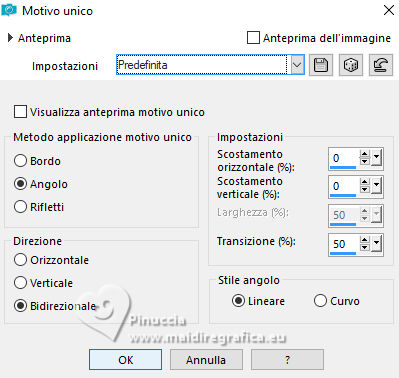
Effects>Reflection Effects>Rotating Mirror.

7. Effects>Plugins>Filters Unlimited 2.0 - Lens Effects - Refractor 1.
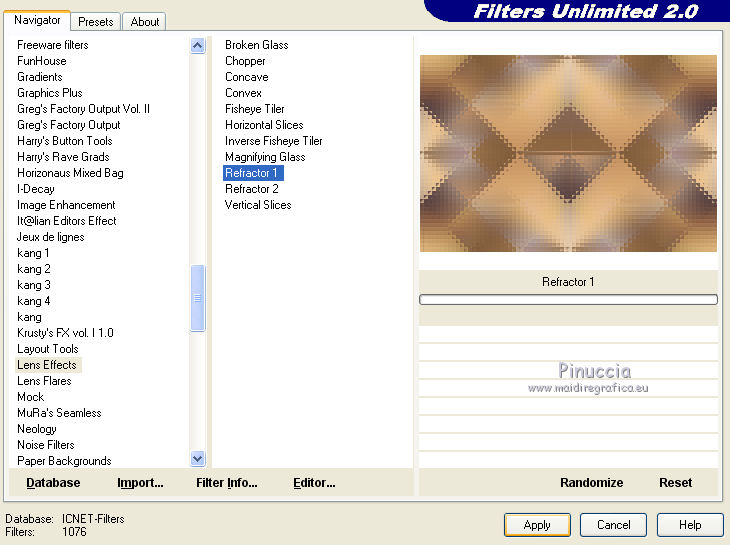
Adjust>Sharpness>Sharpen More.
Layers>Arrange>Move Down.
Activate the top layer.
Change the Blend Mode of this layer to Hard Light.
8. Selections>Load/Save Selection>Load Selection from Disk.
Look for and load selection sophia.
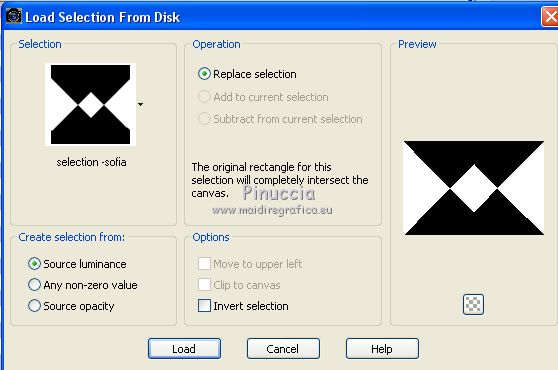
Selections>Promote Selection to Layer.
Change the Blend Mode of this layer to Hard Light.
Selections>Select None.
Effects>Plugins>L&K's - L&K's Zitah, default settings.
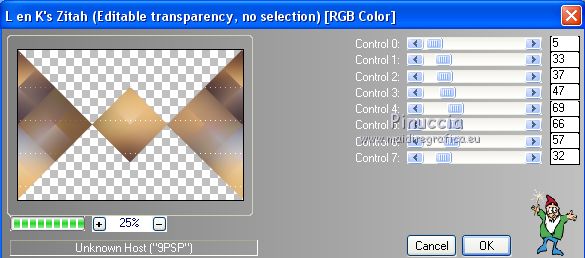
Effects>Plugins>Mura's Seamless - Emboss at Alpha, default settings
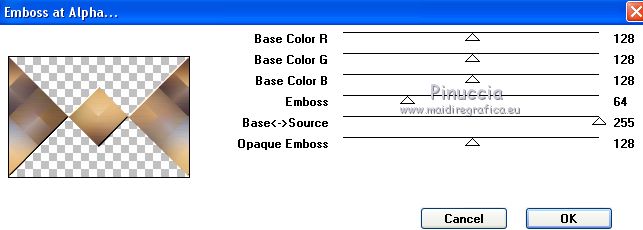
9. Layers>Duplicate.
Image>Resize, to 70%, resize all layers not checked.
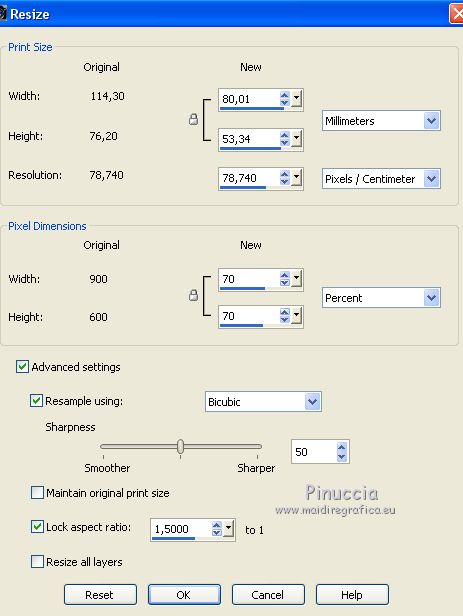
Image>Rotation libre - 90 degrees to right.

10. Layers>New Raster Layer.
Flood Fill  with your background color. with your background color.
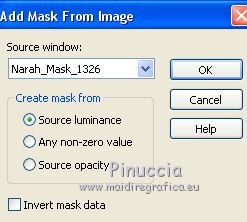
Layers>New Mask layer>From image
Open the menu under the source window and you'll see all the files open.
Select the mask Narah_Mask_1326.
Adjust>Sharpness>Sharpen.
Effects>Edge Effects>Enhance.
Layers>Merge>Merge Group.
11. Selection Tool 
(no matter the type of selection, because with the custom selection your always get a rectangle)
clic on the Custom Selection 
and set the following settings.
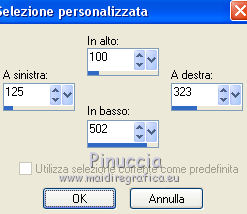
Layers>New Raster Layer.
Flood Fill  with your foreground color. with your foreground color.
Selections>Modify>Contract - 3 pixels.
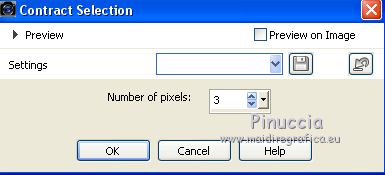
Press CANC on the keyboard.
Selections>Select None.
12. Layers>Duplicate.
Image>Miroir.
Layers>Merge>Merge Down - 2 times.
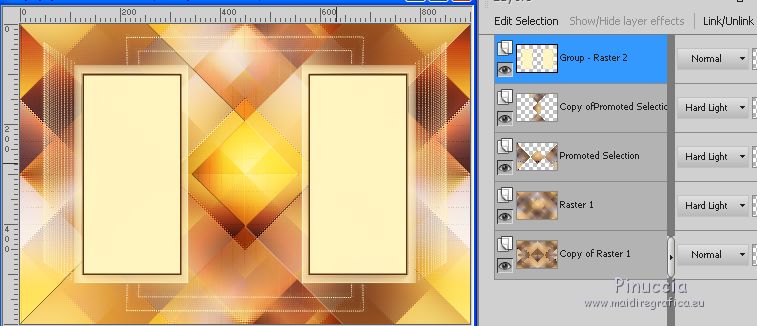
13. Selections>Load/Save Selection>Load Selection from Disk.
Look for and load selection sophia 1.
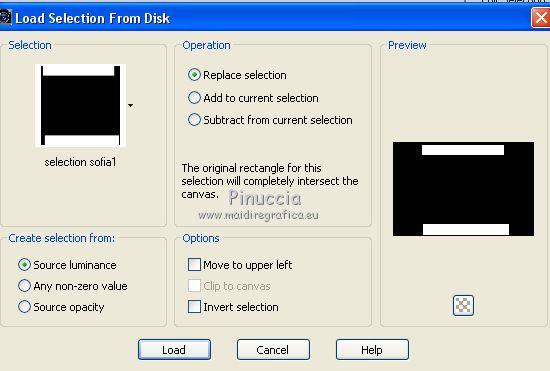
Press CAMC on the keyboard 
Selections>Select None.
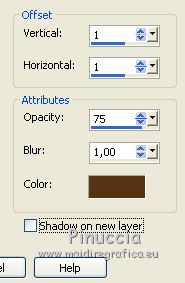
Effects>3D Effects>Drop Shadow, foreground color.
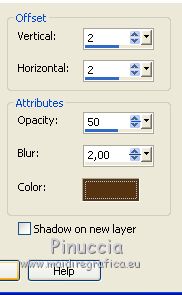
14. Layers>New Raster Layer.
Activate the Brush Tool 
look for and select the brush cl_coquelicots, size 380 pixels,

Apply the brush clicking with your left mouse button to use your foreground color
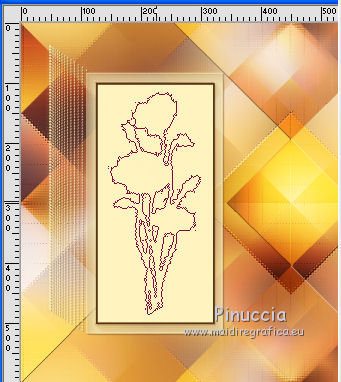
Layers>Duplicate.
Image>Mirror.
Layers>Merge>Merge Down.
15. Effects>Plugins>Mura's Seamless - Emboss at Alpha, same settings.
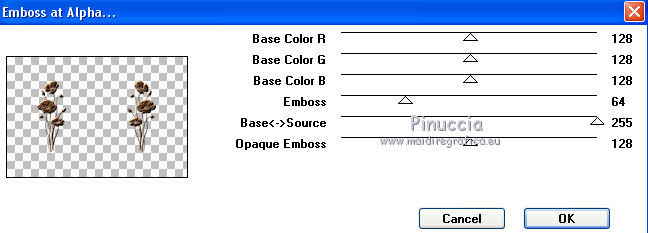
Effects>3D Effects>Drop Shadow, same settings.
16. Layers>New Raster Layer.
look for and select the brush "forme 7", size 58

Apply the brush on the left frame with your foreground color.
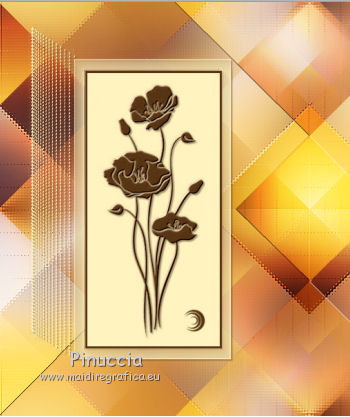
Layers>Duplicate.
Image>Mirror.
Layers>Merge>Merge Down.
Effects>3D Effects>Drop Shadow, same settings.
17. Activate the layer Raster 1.
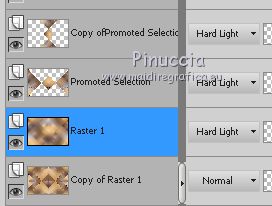
Layers>New Raster Layer.
Activate the Brush Tool 
look for and select the brush pinceau cl_dentelle, size 200

Apply the brush with your foreground color, clicking 3 or 4 times in the middle of the image.
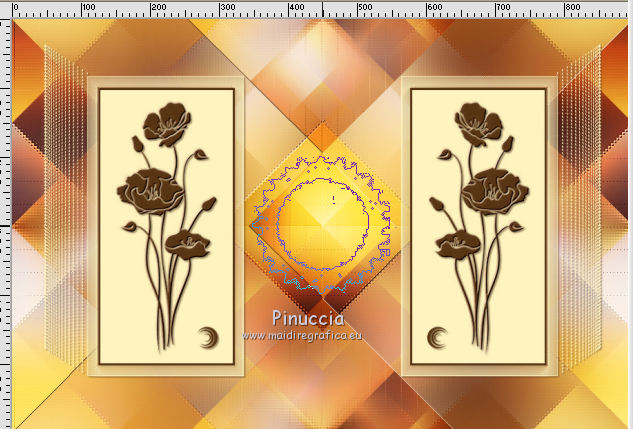
Effects>Plugins>Mura's Seamless - Emboss at Alpha, default settings.
Effects>3D Effects>Drop Shadow, same settings.
18. Layers>New Raster Layer.
Look for and select the brush pinceau duvet

Apply the brush with your foreground color clicking at least 10 times in the middle of the previous brush
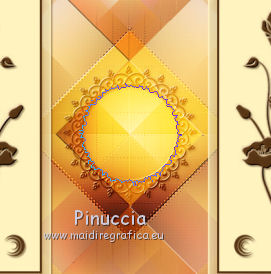
it is difficult to see the brush, but you can see the result if you close all the other layers
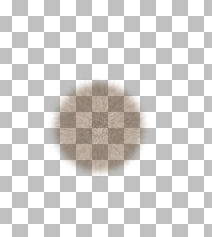
Effects>Plugins>Mura's Meister - Emboss at Alpha, same settings.
Layers>Arrange>Move Down.
19. Activate the top layer.
Layers>New Raster Layer.
Look for and select the brush pinceau Colombe_cl, size 120

apply with your foreground color in the middle of the ellisse.
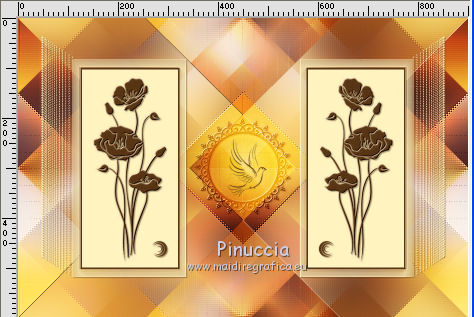
Effects>Plugins>Mura's Meister - Emboss at Alpha, same settings.
20. Activate the bottom layer.
Layers>Duplicate.
Close the bottom layer and keep the copy selected.
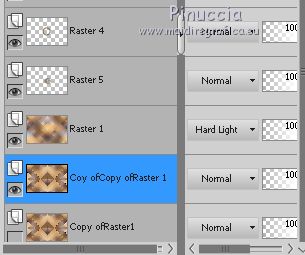
Layers>Merge>Merge visible.
Open and activate the bottom layer.
Layers>Arrange>Bring to Top.
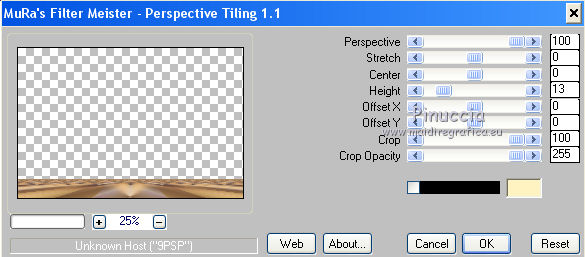
Effects>Plugins>Mura's Meister - Perspective Tiling.
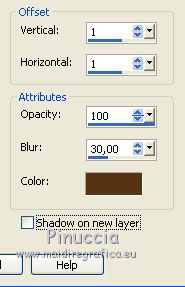
Effects>3D Effects>Drop Shadow, foreground color.
Layers>Merge>Merge Down.
21. Set your foreground color to a Foreground/Background Gradient, style Radial.
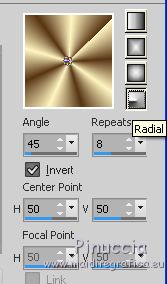
22. Image>Add borders, 2 pixels, symmetric, foreground color.
Image>Add borders, 4 pixels, symmetric, background color.
Image>Add borders, 2 pixels, symmetric, foreground color.
Selections>Select All.
Image>Add borders, 20 pixels, symmetric, color white.
Selections>Invert.
Flood Fill  the selection with your Gradient. the selection with your Gradient.
Selections>Promote Selection to Layer.
Change the Blend Mode of this layer to Hard Light.
Selections>Invert.
Effects>3D Effects>Drop Shadow, same settings.
Selections>Select None.
23. Image>Add borders, 2 pixels, symmetric, foreground color.
Image>Add borders, 4 pixels, symmetric, background color.
Image>Add borders, 2 pixels, symmetric, foreground color.
Selections>Select All.
Image>Add borders, 50 pixels, symmetric, color white.
Selections>Invert.
Flood Fill  the selection with your Gradient. the selection with your Gradient.
Selections>Promote Selection to Layer.
Change the Blend Mode of this layer to Multiply.
Selections>Select None.
Layers>Merge>Merge Down.
24. Selections>Select All.
Selections>Modify>Contract - 50 pixels.
Effects>3D Effects>Drop Shadow, color black.
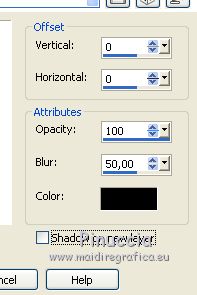
Selections>Invert.
Effects>Plugins>Graphics Plus - Quick Tile I, default settings.
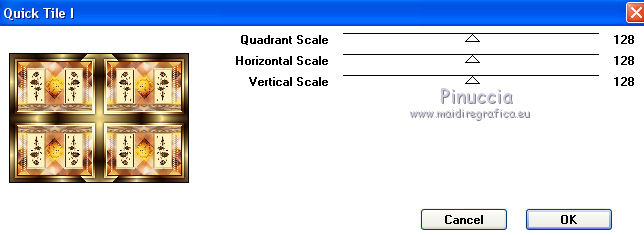
Selections>Select None.
25. Image>Add borders, 2 pixels, symmetric, foreground color.
Image>Add borders, 4 pixels, symmetric, background color.
Image>Add borders, 2 pixels, symmetric, foreground color.
Selections>Select All.
Image>Add borders, 50 pixels, symmetric, color white.
Selections>Invert.
Flood Fill  the selection with your Gradient. the selection with your Gradient.
Selections>Promote Selection to Layer.
Change the Blend Mode of this layer to Multiply.
Layers>Merge>Merge Down.
Effects>Plugins>AAA Frames - Foto Frame.
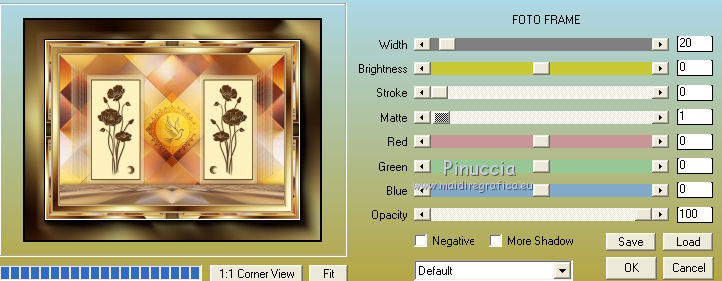
Selections>Invert.
Effects>3D Effects>Drop Shadow, same settings.
Selections>Select None.
26. Open your woman tube and go to Edit>Copy.
Go back to your work and go to Edit>Paste as new layer.
Place  rightly the tube. rightly the tube.
Effects>3D Effects>Drop Shadow, at your choice.
27. Open the wordart and go to Edit>Copy.
Go back to your work and go to Edit>Paste as new layer.
Image>Resize, to 85%, resize all layers not checked.
Move  at the top, see my example. at the top, see my example.
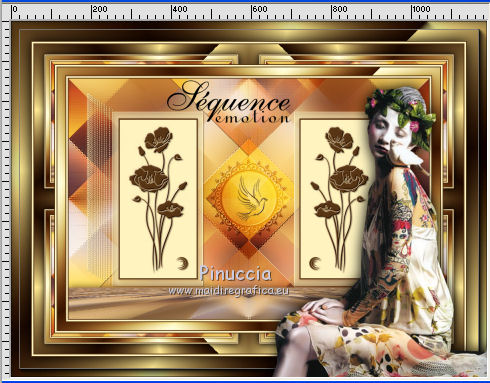
Effects>3D Effects>Drop Shadow, foreground color.
28. Sign your work on a new layer.
Layers>Merge>Merge All.
Image>Add borders, 2 pixels, symmetric, foreground color.
Image>Resize, 1000 pixels width, resize all layers checked.
Save as jpg.

If you have problems or doubts, or you find a not worked link,
or only for tell me that you enjoyed this tutorial, write to me.
16 October 2018
|

