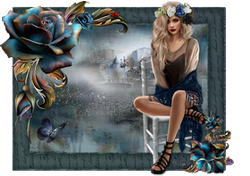
|
LUMIÈRE D'AUTOMNE

english version

Here you find the original of this tutorial:

This tutorial was written with CorelX8 and translated with Corel X7 and CorelX3, but it can also be made using other versions of PSP.
Since version PSP X4, Image>Mirror was replaced with Image>Flip Horizontal,
and Image>Flip with Image>Flip Vertical, there are some variables.
In versions X5 and X6, the functions have been improved by making available the Objects menu.
In the latest version X7 command Image>Mirror and Image>Flip returned, but with new differences.
See my schedule here
italian translation here
your versions here
Material here
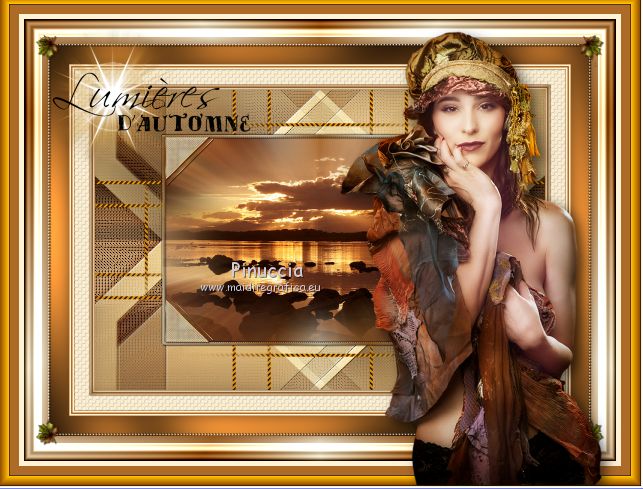
For the woman tube thanks CibiBijoux.
Word from the net
The rest of the material is by Laurette.
(The links of the tubemakers here).
Plugins
consult, if necessary, my filter section here
Filters Unlimited 2.0 here
VM Experimental - Magnetic Detection here
Toadies - What are you here
Ap Lines - Lines SilverLining here
Cybia - Screenworks here
Mura's Seamless - Emboss at Alpha here
Graphics Plus - Cross Shadow here
AAA Frames - Frame Works here
Alien Skin Eye Candy 5 Impact - Perspective Shadow here
Filters VM Experimental, Toadies and Graphics Plus can be used alone or imported into Filters Unlimited.
(How do, you see here)
If a plugin supplied appears with this icon  it must necessarily be imported into Unlimited it must necessarily be imported into Unlimited

You can change Blend Modes according to your colors.
In the newest versions of PSP, you don't find the foreground/background gradient (Corel_06_029).
You can use the gradients of the older versions.
The Gradient of CorelX here
Open the mask in PSP and minimize it with the rest of the material.
Used colors

1. Set your foreground color to color 1 #ae6a28
and your background color to color 2 #fff2d5.
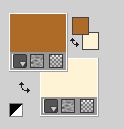
Set your foreground color to a Foreground/Background Gradient, style Radial.

Open a new transparent image 900 x 600 pixels.
Flood Fill  the transparent image with your Gradient. the transparent image with your Gradient.
Layers>New Raster Layer, Raster 2.
Selections>Select All.
Open the landscape tube and go to Edit>Copy.
Go back to your work and go to Edit>Paste into Selection.
Selections>Select None.
2. Effects>Image Effects>Seamless Tiling, default settings.

Adjust>Blur>Radial Blur.

Layers>Merge>Merge Down.
Effects>Edge Effects>Enhance.
Layers>Duplicate.
Effects>Plugins>VM Experimental - Magnetic Detection.
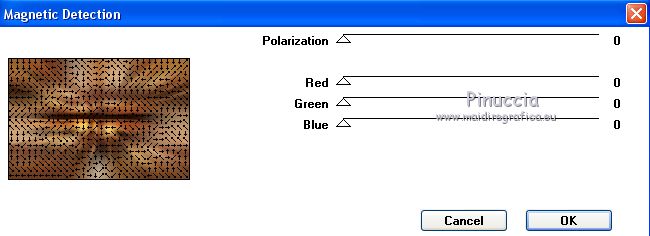
Layers>Arrange>Move Down.
3. Activate the layer above Raster 1.
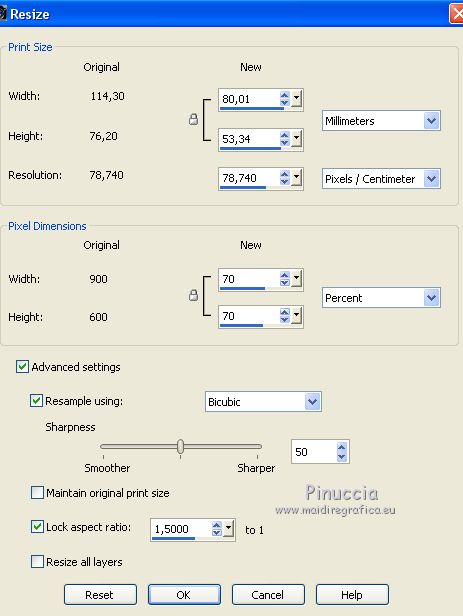
Image>Resize, to 70%, resize all layers not checked.
Activate the Magic Want Tool 

and click on the transparent part to select it.
Selections>Invert.
Selections>Modify>Select Borders Selection.

Set your foreground color to white #ffffff.
Flood Fill  the selection with color white. the selection with color white.
Selections>Select None.
Effects>Plugins>Toadies - What are you, default settings.
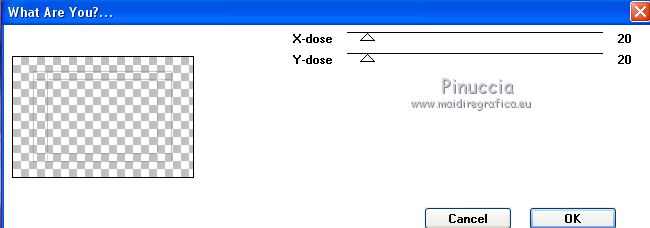
Layers>Duplicate.
Layers>Merge>Merge Down.
Effects>Plugins>AP Lines - Lines SilverLining.
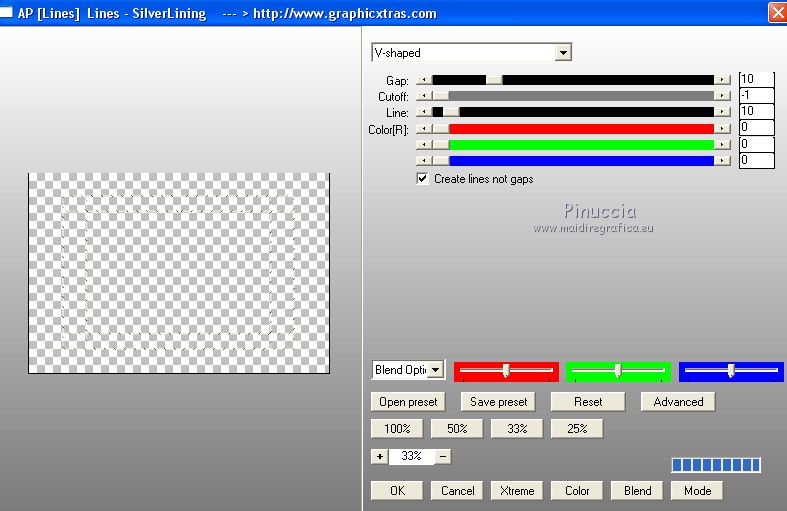
Repeat this Plugin another time.
Layers>Duplicate.
Layers>Merge>Merge Down.
4. Effetti>Plugins>Filters Unlimited 2.0 - Gradients - Intensity mapped to gradient,
open the Gradients menu and select the Gradient n. 14
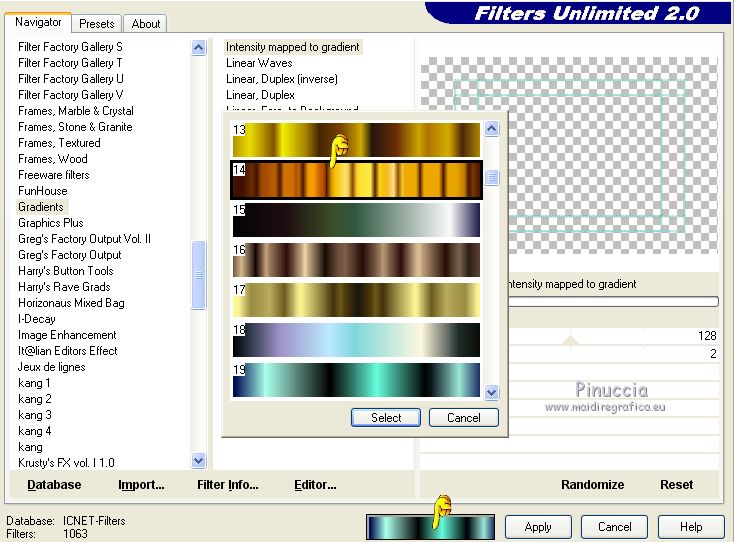
with default settings
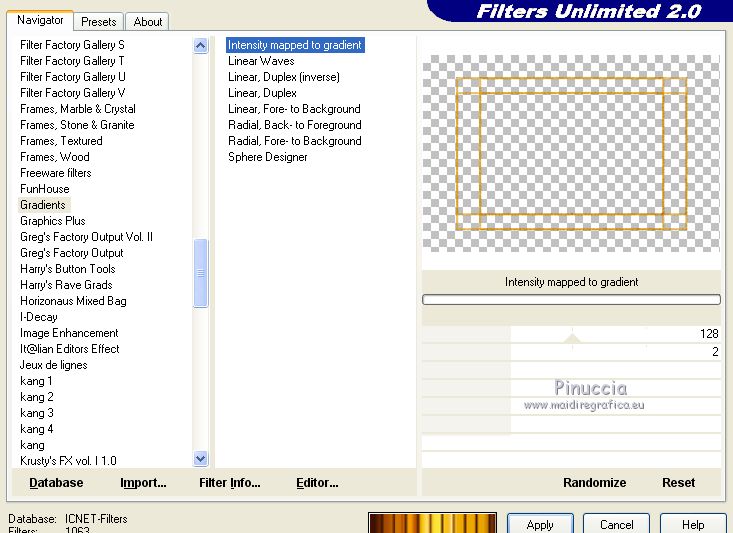
Result
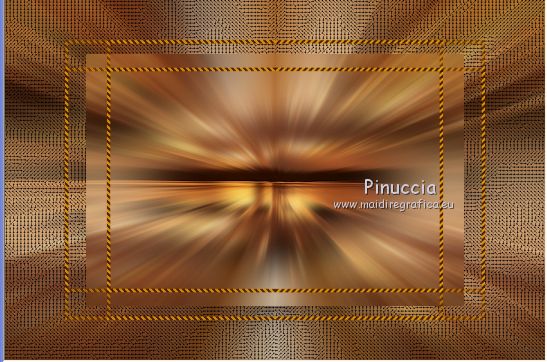
Effects>Image Effects>Seamless Tiling, default settings.
Layers>Duplicate.
Layers>Merge>Merge Down.
Layers>Arrange>Move Down.
Activate again the top layer, Raster 1.
Select the transparent part with your Magic Wand Tool 
Selections>Invert.
Selections>Modify>Select Selections Border, same settings.

Layers>New Raster Layer, Raster 2.
Set again your foreground color to color 1 (#ae6a28) and Radial Gradient.
 
Flood Fill  the selection with your Gradient. the selection with your Gradient.
Effetti>Plugins>Cybia - Screenworks - Dot Screen.
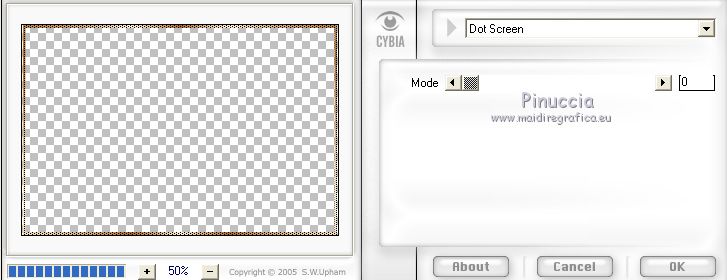
Layers>Duplicate.
Layers>Merge>Merge Down.
Effects>3D Effects>Inner Bevel.

Selections>Select None.
Effects>3D Effects>Drop Shadow, color black.

Repeat Drop Shadow, but vertical and horizontal -2.
Layers>Merge>Merge Down.
5. Your landscape tube whould be still in memory: Edit>Paste as new layer.
Layers>Merge>Merge Down - 2 times.
Open the tube Cadre, erase the watermark and go to Edit>Copy.
Go back to your work and go to Edit>Paste as new layer.
Don't move it.
Effects>3D Effects>Drop Shadow, color black

Layers>Merge>Merge Down.
6. Activate the background layer.
Layers>New Raster Layer.
Flood Fill  with your background color (color 2) with your background color (color 2)
Layers>New Mask layer>From image
Open the menu under the source window and you'll see all the files open.
Select the mask creation.tine_masque054.

Layers>Merge>Merge Group.
Layers>Duplicate.
Image>Flip.
Change the Blend Mode of this layer to Soft Light.
Effects>Plugins>Mura's Seamless - Emboss at Alpha, default settings.
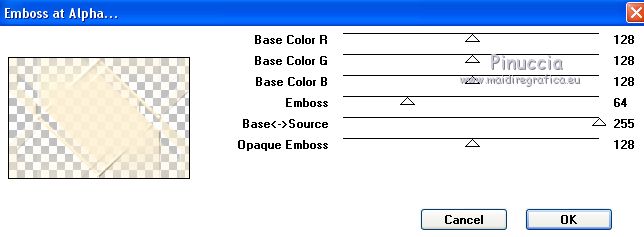
Activate the layer below of the origibal.
Change the Blend Mode of this layer to Hard Light.

Repeat Effects>Plugins>Mura's Seamless - Emboss at Alpha, default settings.
Go back to the layer above
Layers>Merge>Merge Down.
Layers>Duplicate.
Change the Blend Mode of this layer to Multiply.

Effects>3D Effects>Drop Shadow, dark color.

Layers>Merge>Merge All.
7. Image>Add borders, 1 pixel, symmetric, foreground color 1.
Image>Add borders, 3 pixels, symmetric, background color 2.
Image>Add borders, 3 pixels, symmetric, foreground color 1.
Image>Add borders, 3 pixels, symmetric, background color 2.
Image>Add borders, 1 pixel, symmetric, foreground color 1.
Selections>Select All.
Image>Add borders, 30 pixels, symmetric, background color 2.
Selections>Invert.
Effects>Texture Effects>Weave
weave color: black; gap color: white

Effects>3D Effects>Drop Shadow, color 3 #573515.

Selections>Select None.
8.
Image>Add borders, 1 pixel, symmetric, foreground color 1.
Image>Add borders, 3 pixels, symmetric, background color 2.
Image>Add borders, 3 pixels, symmetric, foreground color 1.
Image>Add borders, 3 pixels, symmetric, background color 2.
Image>Add borders, 1 pixel, symmetric, foreground color 1.
Selections>Select All.
Image>Add borders, 40 pixels, symmetric, foreground color 1.
Selections>Invert.
Effects>Plugins>Graphics Plus - Cross Shadow, default settings
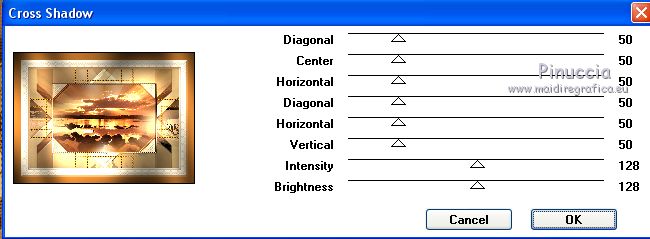
Selections>Invert.
Effects>3D Effects>Drop Shadow, same settings.
Selections>Select All.
Image>Add borders, 50 pixels, symmetric, color white.
Flood Fill  the selection with your Gradient. the selection with your Gradient.
Selections>Invert.
Effects>3D Effects>Drop Shadow, same settings.
Selections>Select None.
Effects>Plugins>Filters Unlimited 2.0 - Buttons & Frames - Glass Frame 2.
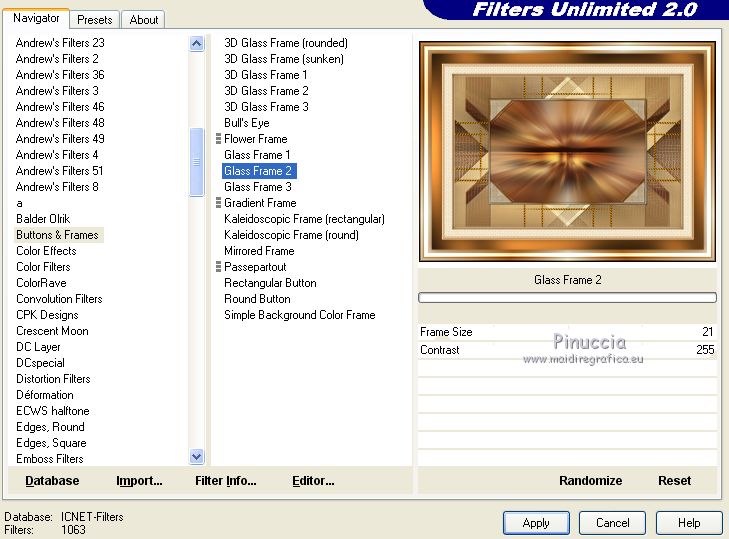
Image>Add borders, 10 pixels, symmetric, background color 2.
Image>Add borders, 40 pixels, symmetric, foreground color 1.
Effects>Plugins>AAA Frames - Frame Works
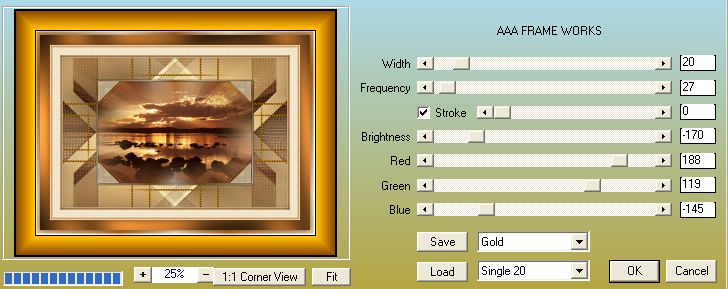
Open the tube déco 3 and go to Edit>Copy.
Go back to your work and go to Edit>Paste as new layer.
Don't move it.
Effects>3D Effects>Drop Shadow, color black.

9. Open the woman tube by Cibibijoux and go to Edit>Copy.
Go back to your work and go to Edit>Paste as new layer.
Image>Resize, to 120%, resize all layers not checked.
K key on the keyboard to activate the Pick Tool 
and set Position X: 682,00 and Position Y: 75,00

M key to deselect the Tool.
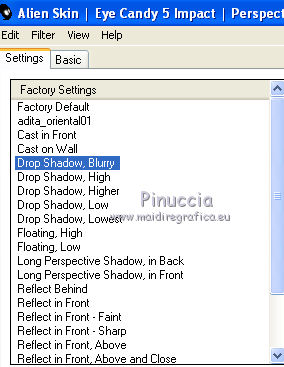
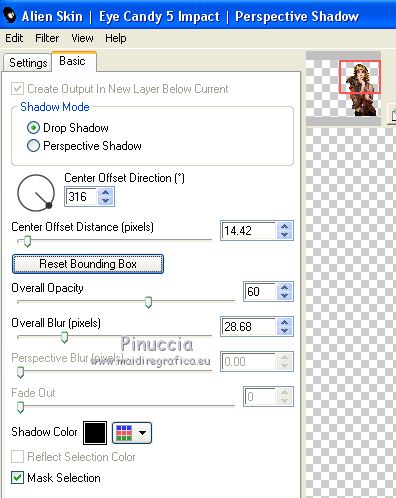
Effects>Plugins>Alien Skin Eye Candy 5 Impact - Perspective Shadow,
select the preset Drop Shadow Blurry and ok.
10. Open the tube Wordart and go to Edit>Copy.
Go back to your work and go to Edit>Paste as new layer.
K key on the keyboard to activate the Pick Tool 
and set Position X: 83,00 and Position Y: 63,00

M key to deselect the tool.
Effects>3D Effects>Drop Shadow, foreground color (color 1)

11. Open the tube Cluster and go to Edit>Copy.
Go back to your work and go to Edit>Paste as new layer.
Image>Mirror
K key to activate the Pick Tool 
and set Position X: 147,00 and Position Y: 598,00

M key to deselect the tool.
Effects>Plugins>Alien Skin Eye Candy 5 Impact - Perspective Shadow, preset Drop Shadow Blurry e ok.
12. Sign your work on a new layer.
Image>Add borders, 2 pixels, color 3 #573515
Image>Resize, 1000 pixels width, resize all layers checked.
Adjust>Sharpness>Unsharp Mask.

Save as jpg.
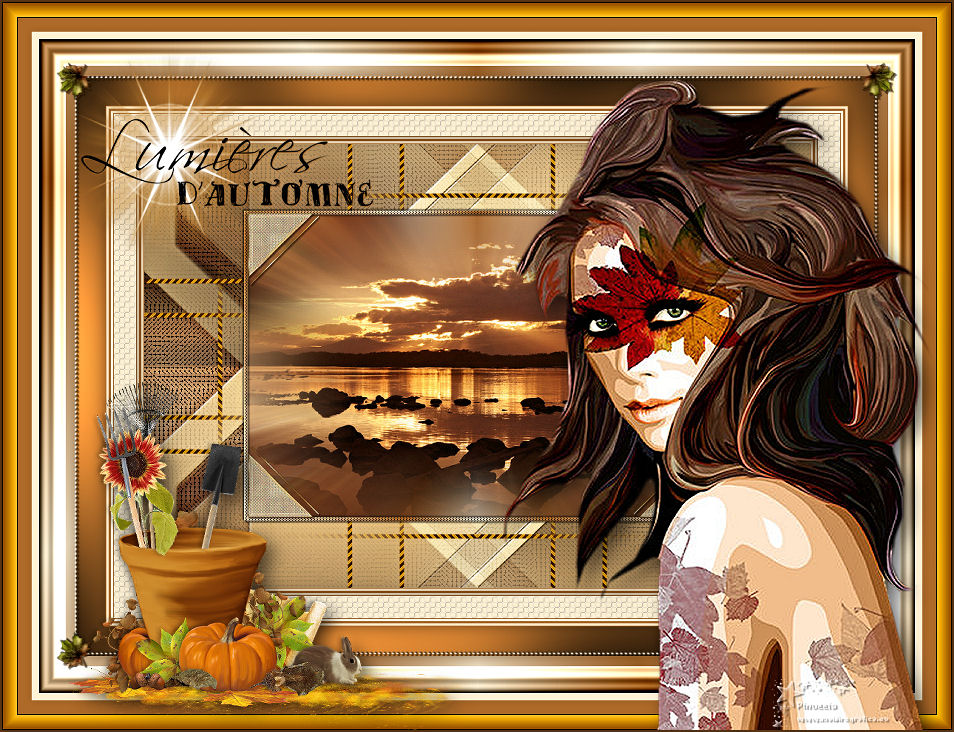
The tube of this version is by Butterflytubes

If you have problems or doubts, or you find a not worked link,
or only for tell me that you enjoyed this tutorial, write to me.
21 September 2018
|


