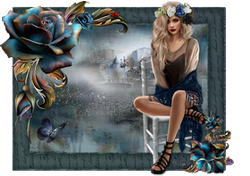
|
VICTORIA

english version


This tutorial was written with CorelX9 and translated with Corel X7 and CorelX3, but it can also be made using other versions of PSP.
Since version PSP X4, Image>Mirror was replaced with Image>Flip Horizontal,
and Image>Flip with Image>Flip Vertical, there are some variables.
In versions X5 and X6, the functions have been improved by making available the Objects menu.
In the latest version X7 command Image>Mirror and Image>Flip returned, but with new differences.
See my schedule here
italian translation here
Tube of yours
The rest of the material here
For the tube I used thanks Beatriz.
(The links of the tubemakers here).
Plugins
consult, if necessary, my filter section here
Filters Unlimited 2.0 here
Simple - Top Left Mirror here
Mura's Seamless - Emboss at Alpha here
Filters Mura's Seamless and Simple can be used alone or imported into Filters Unlimited.
(How do, you see here)
If a plugin supplied appears with this icon  it must necessarily be imported into Unlimited it must necessarily be imported into Unlimited

You can change Blend Modes according to your colors.
In the newest versions of PSP, you don't find the foreground/background gradient (Corel_06_029).
You can use the gradients of the older versions.
The Gradient of CorelX here
Open the masks in PSP and minimize them with the rest of the material.
Colors used

Set your foreground color to color #f8efc4,
and your background color to color #d35048.
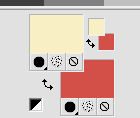
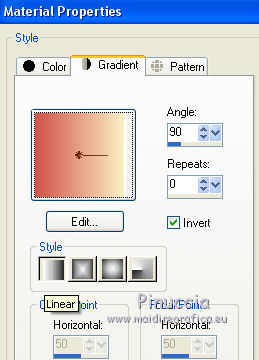
Set your foreground color to a Foreground/Background Gradient, style Linear.
1. Open a new transparent image 900 x 600 pixels.
Flood Fill  the transparent image with your Gradient. the transparent image with your Gradient.
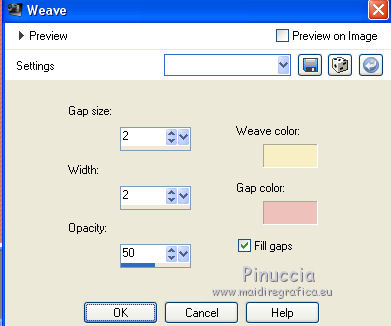
Effects>Texture Effects>Weave
weave color: foreground color #f8efc4,
gap color: #eec2ba
2. Layers>New Raster Layer.
Selections>Select All.
Open the tube fleur 1 and go to Edit>Copy.
Go back to your work and go to Edit>Paste into Selection.
Selections>Select None.
3. Effects>Image Effects>Seamless Tiling, default settings.

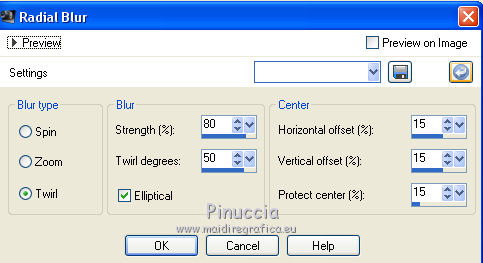
Adjust>Blur>Radial Blur.
Effects>Edge Effects>Enhance More.
3. Layers>New Raster Layer.
Set your foreground color to Color.
Flood Fill  with your foreground color #f8efc4. with your foreground color #f8efc4.
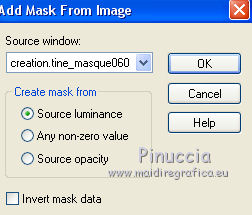
Layers>New Mask layer>From image
Open the menu under the source window and you'll see all the files open.
Select the mask création.tine_masque060
Layers>Duplicate.
Layers>Merge>Merge group.
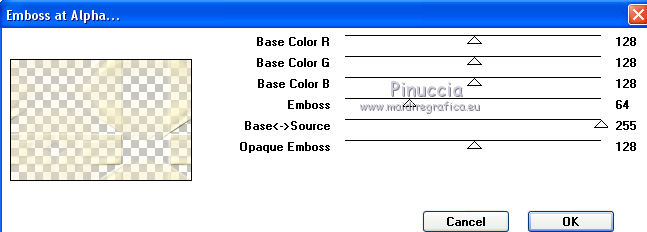
Effects>Plugins>Mura's Seamless - Emboss at Alpha, default settings.
Layers>Merge>Merge Down.
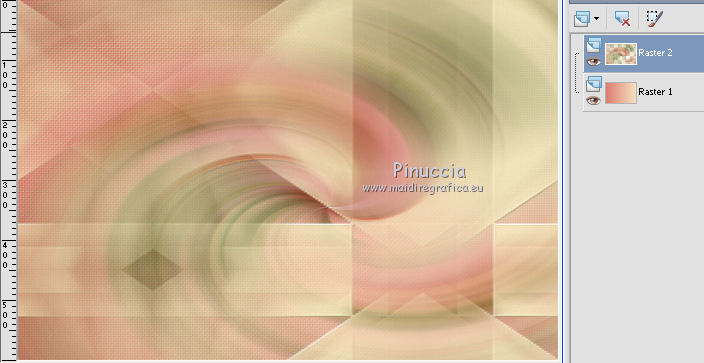
You should have this
5. Layers>New Raster Layer.
Set your foreground color to white.
Flood Fill  the layer with color white. the layer with color white.
Layers>New Mask layer>From image
Open the menu under the source window
and select the mask création.tine_masque104
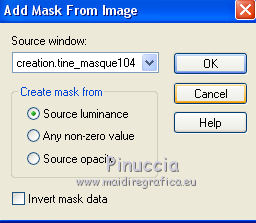
Layers>Duplicate.
Effects>Edge Effects>Enhance.
Adjust>Sharpness>Sharpen.
Layers>Merge>Merge group.
Effects>3D Effects>Drop Shadow, color #d7cc9d.
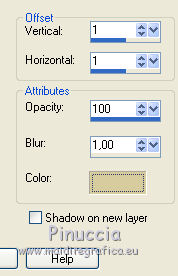
Activate the layer Raster 2.
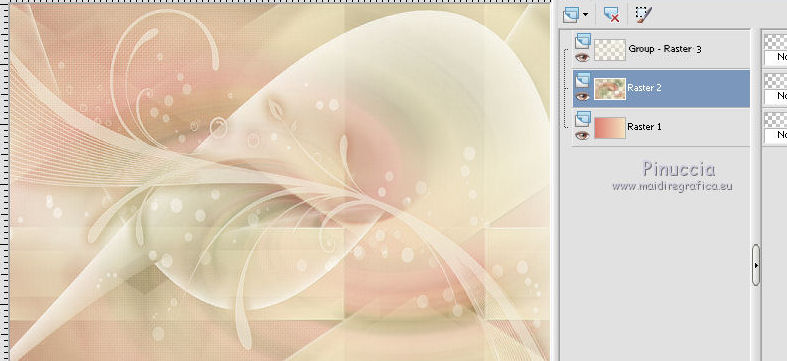
Effects>Image Effects>Seamless Tiling, default settings.

6. Stay on the layer Raster 2.
Open the tube Fleur 2 and go to Edit>Copy.
Go back to your work and go to Edit>Paste as new layer.
Move  the tube at the upper right. the tube at the upper right.
Reduce the opacity of this layer to 35%.
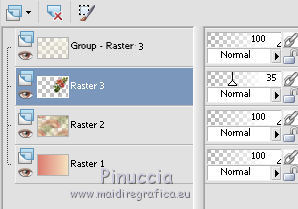
Close the background layers and stay on this layer.
Layres>Merge>Merge visible.
Open again the background layer and stay on the layer Merged.
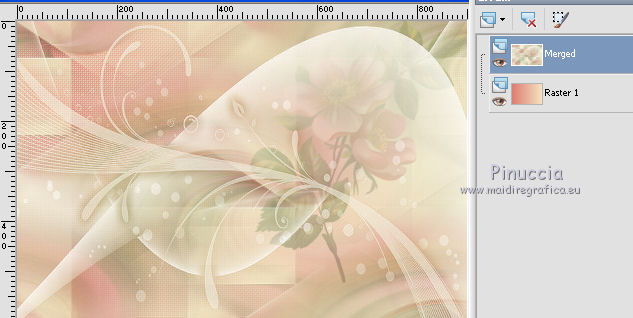
7. Layers>New Raster Layer.
Flood Fill  the layer with your background color #d35048. the layer with your background color #d35048.
Layers>New Mask layer>From image
Open the menu under the source window
and select the mask création.tine_masque129
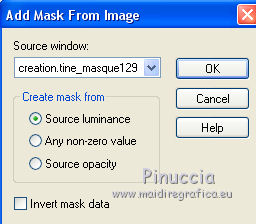
Layers>Duplicate.
Effects>Edge Effects>Enhance.
Adjust>Sharpness>Sharpen.
Layers>Merge>Merge group.
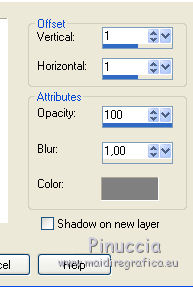
Effects>3D Effects>Drop Shadow, color #808080.
Open the tube déco CL and go to Edit>Copy.
Go back to your work and go to Edit>Paste as new layer.
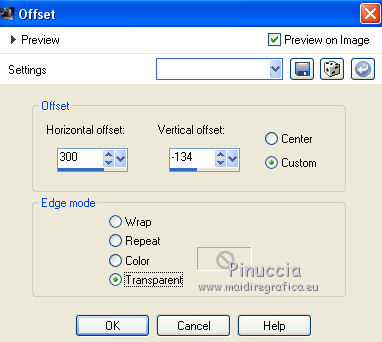
Effects>Image Effects>Offset.
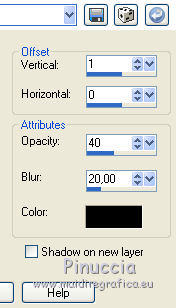
Effects>3D Effects>Drop Shadow, color black.
9. Activate the layer Merged (the second from the bottom).
Activate again the tube Fleur 2 and go to Edit>Copy.
Go back to your work and go to Edit>Paste as new layer.
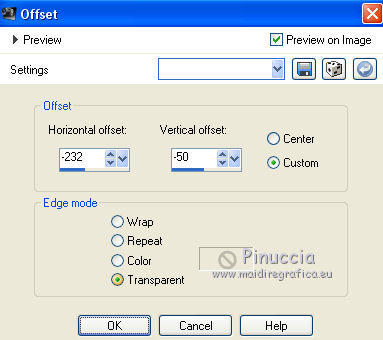
Effects>Image Effects>Offset.
Reduce the opacity of this layer to 85%.
Effects>3D Effects>Drop Shadow, same settings.
10. Stay on this layer.
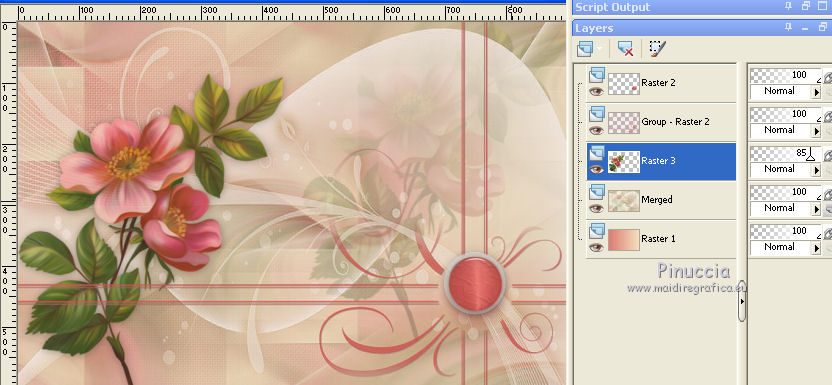
Open the tube déco papillons blancs and go to Edit>Copy.
Go back to your work and go to Edit>Paste as new layer.
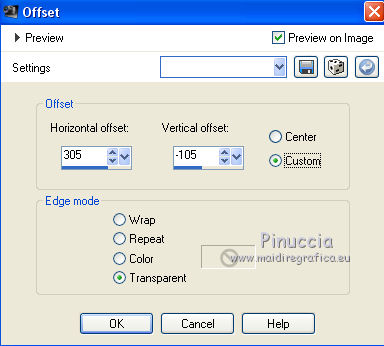
Effects>Image Effects>Offset
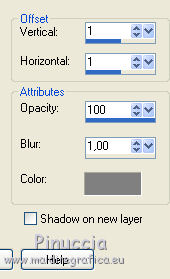
Effects>3D Effects>Drop Shadow, color #808080.
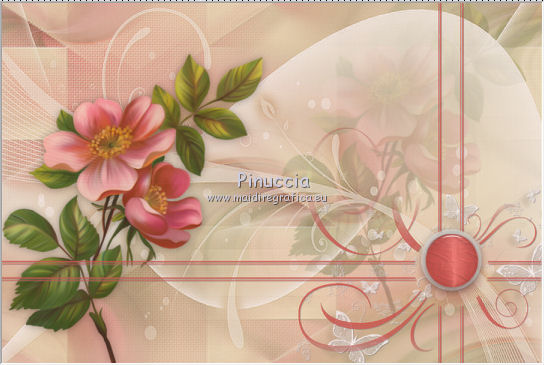
Layers>Merge>Merge visible.
You should have this
11. Open the tube papillon and go to Edit>Copy.
Go back to your work and go to Edit>Paste as new layer.
Move  the tube at the upper left. the tube at the upper left.
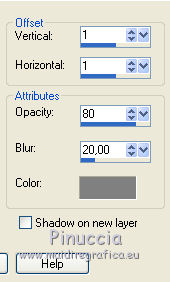
Effects>3D Effects>Drop Shadow, color #808080.
12. Open the tube Wordart and go to Edit>Copy.
Go back to your work and go to Edit>Paste as new layer.
Image>Negative Image.
Move  the tube at the upper right. the tube at the upper right.
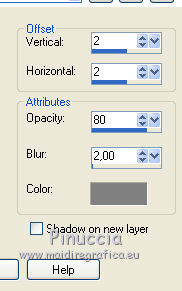
Effects>3D Effects>Drop Shadow, color #808080.
13. Set your foreground color with initial color #f8efc4.
Layers>New Raster Layer.
Flood Fill  the layer with your foreground color #f8efc4. the layer with your foreground color #f8efc4.
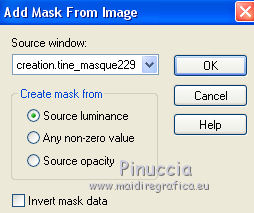
Layers>New Mask layer>From image
Open the menu under the source window
and select the mask création.tine_masque229
Layers>Duplicate.
Effects>Edge Effects>Enhance.
Adjust>Sharpness>Sharpen.
Layers>Merge>Merge group.
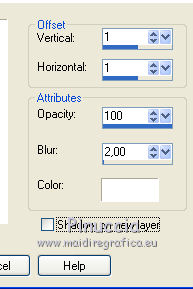
Effects>3D Effects>Drop Shadow, color white.
Change the Blend Mode of this layer to Screen.
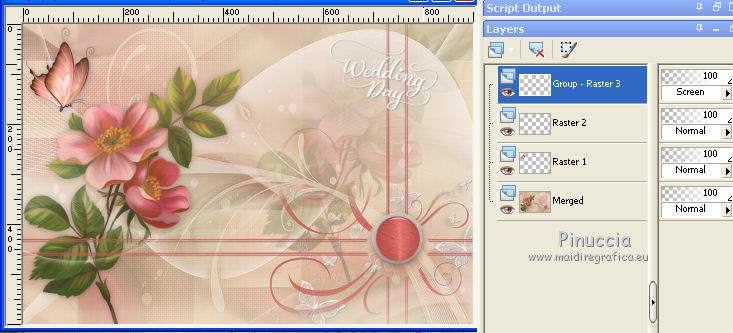
Layers>Merge>Merge All.
14. Image>Add borders, 1 pixel, symmetric, background color #d35048.
Image>Add borders, 3 pixels, symmetric, foreground color #f8efc4.
Image>Add borders, 1 pixel, symmetric, background color #d35048.
Selections>Select All.
Image>Add borders, 25 pixels, symmetric, color white.
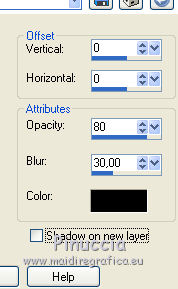
Effects>3D Effects>Drop Shadow, color black.
Selections>Select None.
15. Image>Add borders, 1 pixel, symmetric, background color #d35048.
Image>Add borders, 3 pixels, symmetric, foreground color #f8efc4.
Image>Add borders, 1 pixel, symmetric, background color #d35048.
Selections>Select All.
Image>Add borders, 25 pixels, symmetric, color white.
Selections>Invert
Set again your foreground color to Gradient.

Flood Fill  the selection with your Gradient. the selection with your Gradient.
Effects>Texture Effects>Weave, same settings.
Selections>Invert.
Effects>3D Effects>Drop Shadow, same settings.

Selections>Select None.
16. Image>Add borders, 1 pixel, symmetric, background color #d35048.
Image>Add borders, 3 pixels, symmetric, foreground color #f8efc4.
Image>Add borders, 1 pixel, symmetric, background color #d35048.
Selections>Select All.
Image>Add borders, 50 pixels, symmetric, color white.
Effects>3D Effects>Drop Shadow, same settings.
Selections>Select None.
18. Open the tube coin and go to Edit>Copy.
Go back to your work and go to Edit>Paste as new layer.
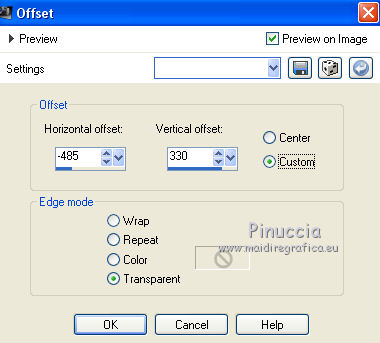
Effects>Image Effects>Offset.
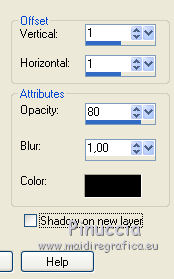
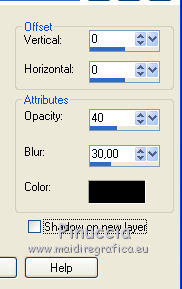
Effects>3D Effects>Drop Shadow, color black.
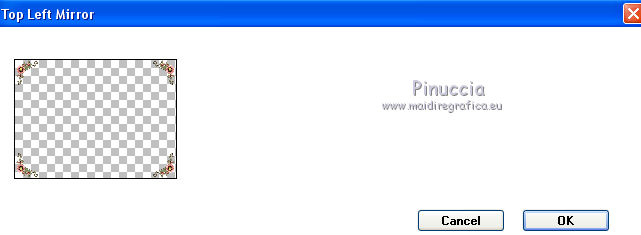
Effects>Plugins>Simple - Top Left Mirror.
19. Open your main tube and go to Edit>Copy.
Go back to your work and go to Edit>Paste as new layer.
Place  the tube in the middle. the tube in the middle.
Effects>3D Effects>Drop Shadow, color black.
Sign your work on a new layer.
Image>Add borders, 1 pixel, symmetric, background color #d35048.
Image>Add borders, 3 pixels, symmetric, foreground color #f8efc4.
Image>Add borders, 1 pixel, symmetric, background color #d35048.
Image>Resize, 900 pixels width, resize all layers checked.
Save as jpg.

Le vostre versioni. Grazie
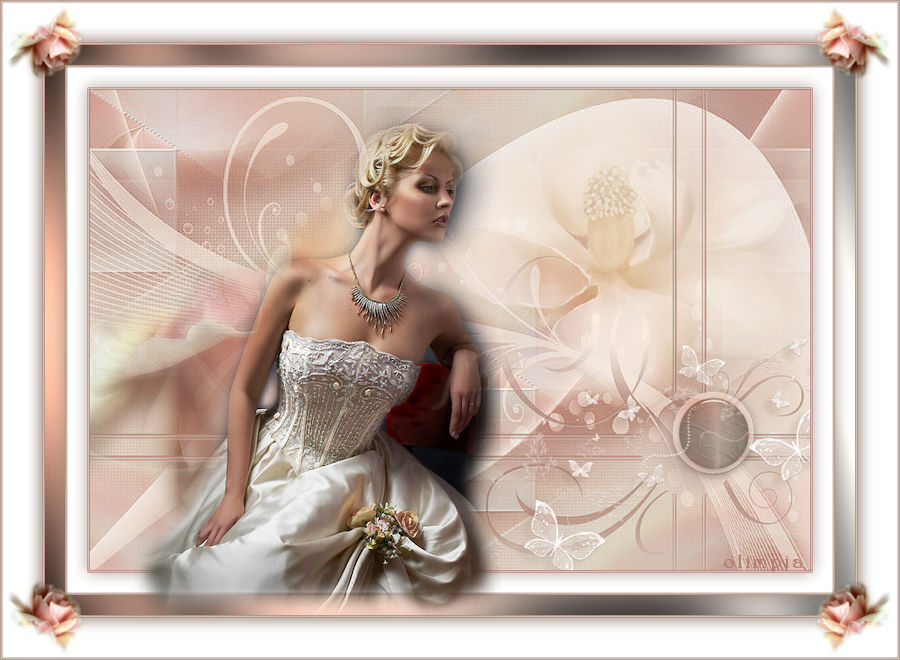
Olimpia
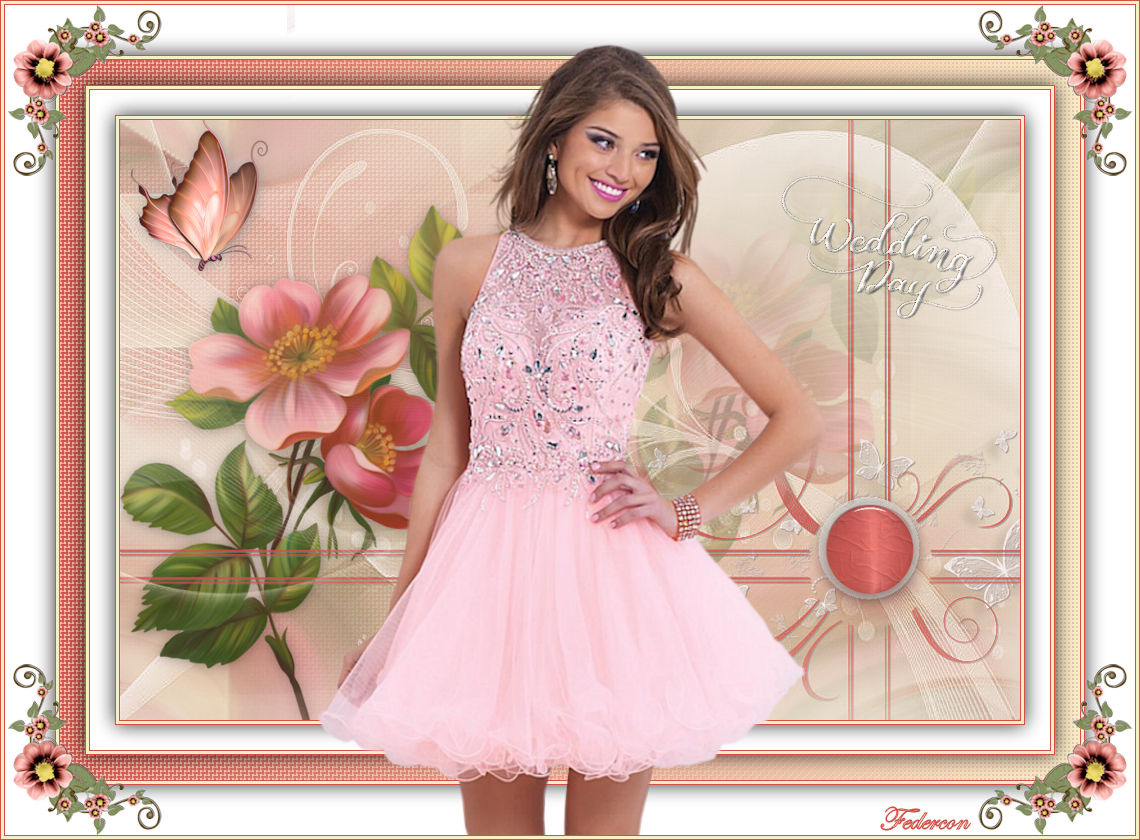
Federcon
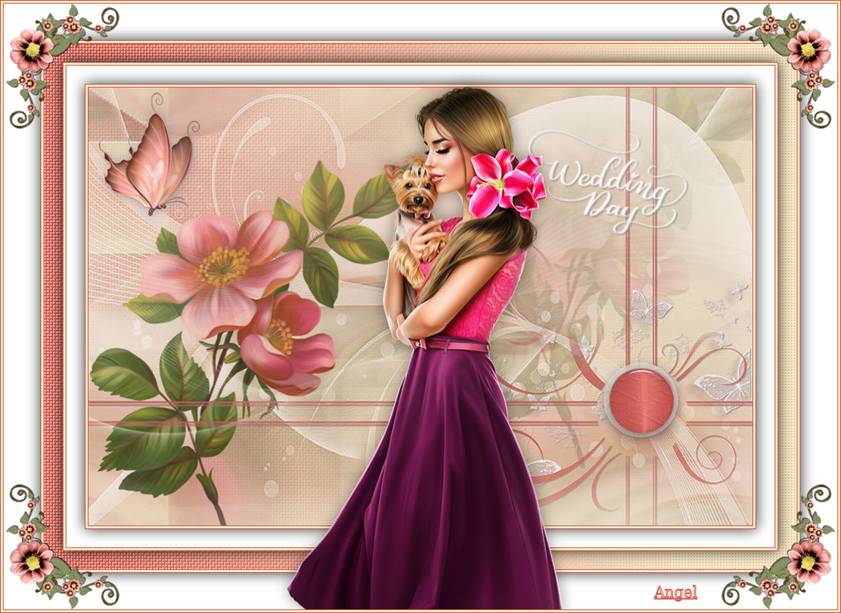
Angel

If you have problems or doubts, or you find a not worked link, or only for tell me that you enjoyed this tutorial, write to me.
16 June 2019
|


