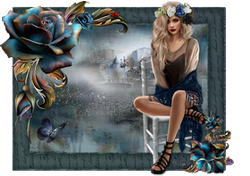
|
JILL

english version


This tutorial was written with CorelX9 and translated with Corel X7 and CorelX3, but it can also be made using other versions of PSP.
Since version PSP X4, Image>Mirror was replaced with Image>Flip Horizontal,
and Image>Flip with Image>Flip Vertical, there are some variables.
In versions X5 and X6, the functions have been improved by making available the Objects menu.
In the latest version X7 command Image>Mirror and Image>Flip returned, but with new differences.
See my schedule here
italian translation here
Tubes of yours
The rest of the material here
The tubes I used are by Tocha and Anna.br
(The links of the tubemakers here).
Plugins
consult, if necessary, my filter section here
Filters Unlimited 2.0 here
Mehdi - Sorting Tiles here
Mura's Seamless - Emboss at alpha qui
Toadies - What are you qui
Graphics Plus - Quick Tile I qui
Carolaine and Sensibility - CS-Texture qui
AP Lines - Lines SilverLining qui
Filters Toadies and Graphics Plus can be used alone or imported into Filters Unlimited.
(How do, you see here)
If a plugin supplied appears with this icon  it must necessarily be imported into Unlimited it must necessarily be imported into Unlimited

You can change Blend Modes according to your colors.
Open the mask in PSP and minimize it with the reste of the material.
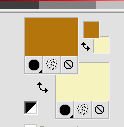
Set your foreground color to color #b4740e,
and your background color to color #f5f2bf.
1. Open Vyp_Alpha_jill.
Window>Duplicate, or on the keyboard shift+D, to make a copy.
Close the original.
The copy, which will be the basis of your work, is not empty,
but contains the selections saved on the alpha channel.
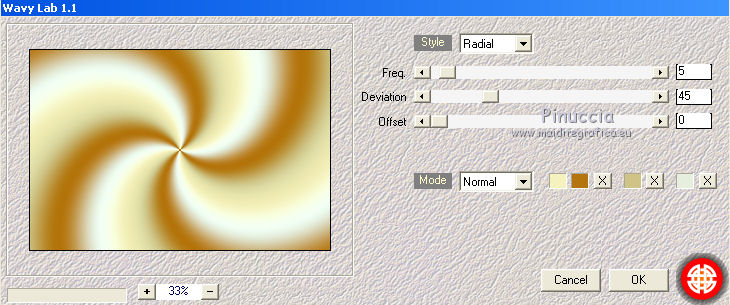
2. Effects>Plugins>Mehdi - Wavy Lab 1.1.
This filters creates gradients with the colors of your Materials palette.
The first is your background color #f5f2bf, the second is your foreground color #b4740e.
Change the last two colors created by the filtre:
the third color with #cfc486 and the forth color with #e6efde.
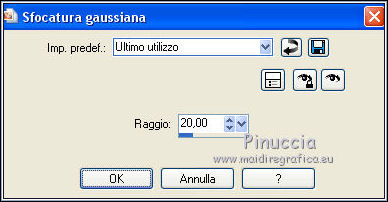
Adjust>Blur>Gaussian Blur - radius 20.
Effects>Plugins>Mehdi - Sorting Tiles.
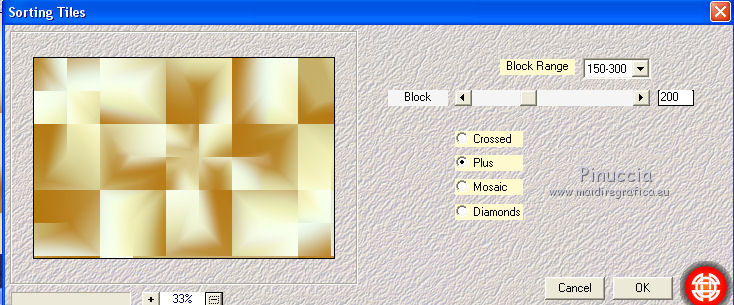
Effects>Edge Effects>Enhance.
3. Effects>Image Effects>Seamless Tiling.
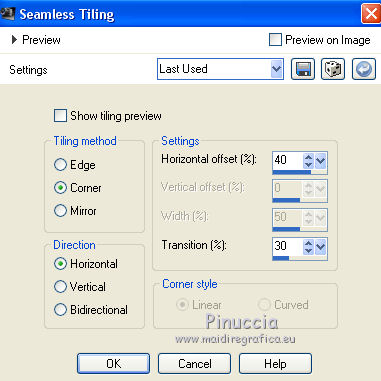
Layers>Duplicate.
Effects>Plugins>Toadies - What are you.
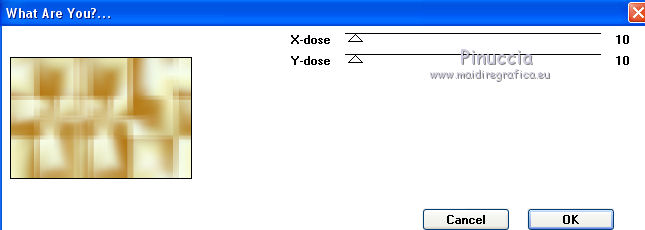
Effects>Edge Effects>Enhance.
Change the Blend Mode of this layer to Luminance (legacy).

Layers>Merge>Merge Down.
4. Effects>Plugins>Graphics Plus - Quick Tile I.
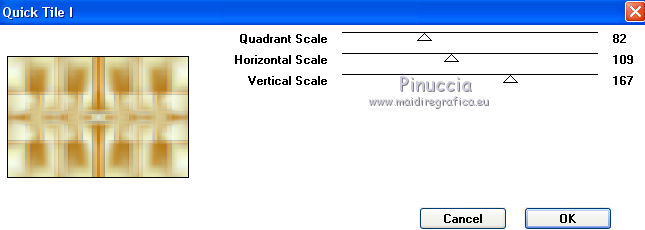
Layers>Duplicate.
Change the Blend Mode of this layer to Multiply
and reduce the opacity to 50%.
Layers>Merge>Merge Down.
5. Selections>Load/Save Selection>Load Selection from Alpha Channel.
The selection #1 is immediately available. You just have to click Load.
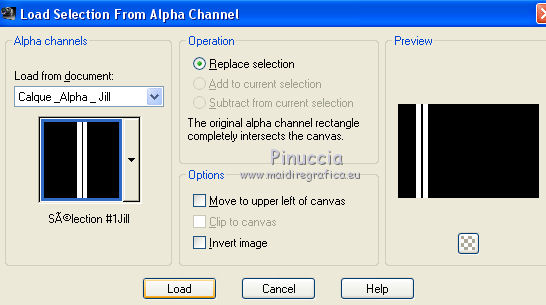
Selections>Promote Selection to layer.
Effects>Plugins>Carolaine and Sensibility - CS-Textures
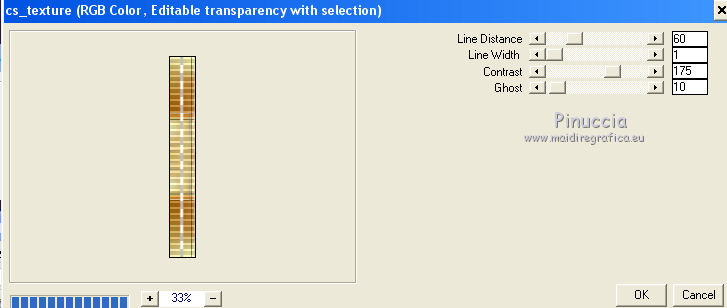
Selections>Select None.
Layers>Duplicate.
Image>Mirror.
Layers>Merge>Merge Down.
Effects>3D Effects>Drop Shadow, color #f5f2bf.

Repeat Drop Shadow, vertical and horizontal -2.
6. Activate your bottom layer.
Selections>Load/Save Selection>Load Selection from Alpha Channel.
Open the Selections menu and load #2.

Selections>Promote Selection to layer.
Layers>Arrange>Bring to Top.
Adjust>Blur>Gaussian Blur - radius 10.

Effects>Plugins>AP Lines - Lines SilverLining.
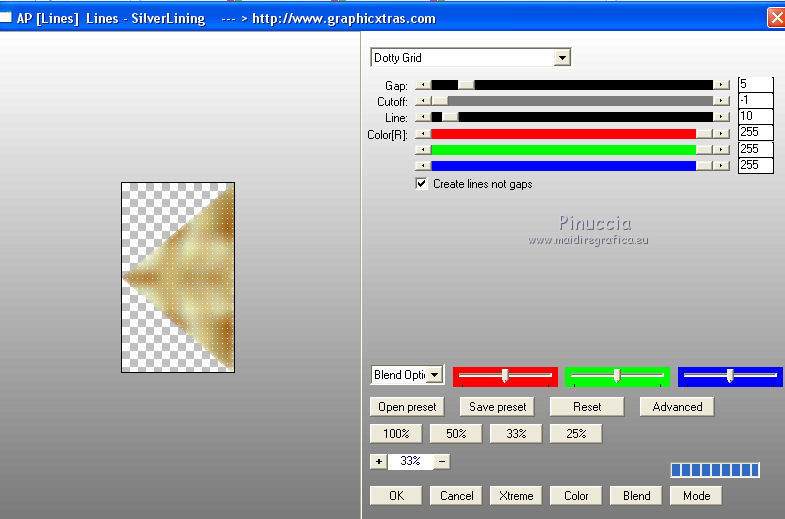
Effects>Plugins>Toadies - What are you
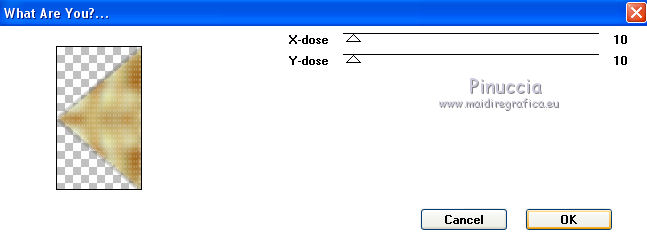
Effects>Edge Effects>Enhance more.
Selections>Select None.
Layers>Duplicate.
Image>Mirror.
Layers>Merge>Merge Down.
Change the Blend Mode of this layer to Luminance (legacy).
7. Effects>Image Effects>Seamless Tiling.

Effects>Reflection Effects>Rotating Mirror.


8. Stay on the top layer.
Set your foreground color to white.
Layers>New Raster Layer.
Flood Fill  the layer with color white. the layer with color white.
Layers>New Mask layer>From image
Open the menu under the source window and you'll see all the files open.
Select the mask sg_pair-of-diamonds

Layers>Duplicate - 2 times.

Layers>Merge>Merge Group.
Effects>3D Effects>Drop Shadow, color #cfc486.

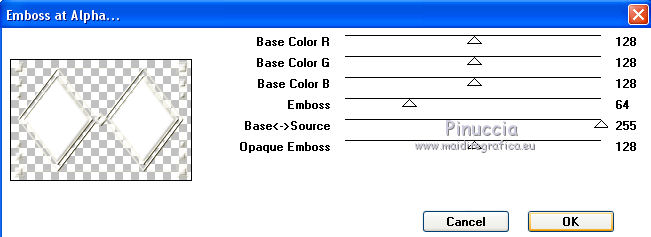
Effects>Plugins>Mura's Seamless - Emboss at alpha, default settings.
9. Activate the top layer.
Selections>Load/Save Selection>Load Selection from Alpha Channel.
Open the Selections menu and load #3.

Open the tube paysage Jill and go to Edit>Copy.
Go back to your work and go to Edit>Paste into Selection.
Layers>New Raster Layer.
Effects>3D Effects>Cutout.

Selections>Select None.
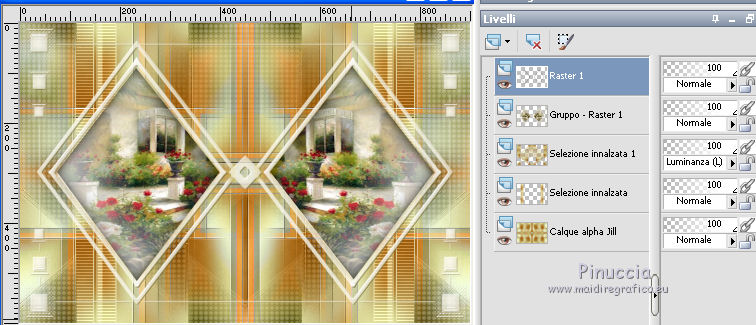
Layers>Merge>Merge visible.
10. Open the tube déco 1 and go to Edit>Copy.
Go back to your work and go to Edit>Paste as new layer.
Don't move it.
Effects>3D Effects>Drop Shadow, color black.

11. Open the tube déco 2 and go to Edit>Copy.
Go back to your work and go to Edit>Paste as new layer.
Don't move it.
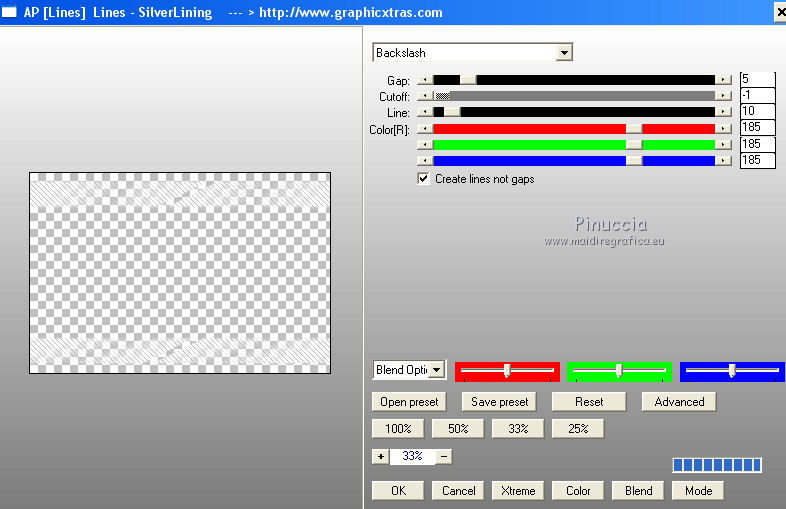
Effects>Plugins>AP Lines - Lines SilverLining.
Effects>3D Effects>Drop Shadow, color #cfc486.

Repeat Drop Shadow, vertical and horizontal -2.
Reduce the opacity of this layer to 55%.
12. Open the tube déco 3 and go to Edit>Copy.
Go back to your work and go to Edit>Paste as new layer.
Don't move it.
13. For the borders, set again your foreground color to #b4740e.

Image>Add borders, 1 pixel, symmetric, colore bianco.
Image>Add borders, 3 pixels, symmetric, foreground color#b4740e.
Image>Add borders, 3 pixels, symmetric, background color #f5f2bf.
Image>Add borders, 2 pixels, symmetric, colore #dadce8.
Selezione>Seleziona tutto.
Image>Add borders, 15 pixels, symmetric, colore bianco.
Selezione>Inverti.
Effects>Plugins>Mehdi - Wavy Lab 1.1, same settings,
but you should set again the colors:
The first is your background color #f5f2bf and the second your foreground color #b4750e.
third color #cfc486 and forth color #e6efde

Selections>Invert.
Effects>3D Effects>Drop Shadow, color black.

Selections>Select None.
14. Image>Add borders, 1 pixel, symmetric, color white.
Image>Add borders, 3 pixels, symmetric, foreground color #b4740e.
Image>Add borders, 3 pixels, symmetric, background color #f5f2bf.
Image>Add borders, 2 pixels, symmetric, color #dadce8.
Image>Add borders, 30 pixels, symmetric, color white.
Image>Add borders, 3 pixels, symmetric, foreground color #b4740e.
Image>Add borders, 3 pixels, symmetric, background color #f5f2bf.
Image>Add borders, 2 pixels, symmetric, color #dadce8.
Image>Add borders, 45 pixels, symmetric, color white.
15. Open the tube coins and go to Edit>Copy.
Go back to your work and go to Edit>Paste as new layer.
Don't move it.
Colorize according to your colors.
Effects>3D Effects>Drop Shadow, color black.

16. Activate your deco tube (for me a cat) and go to Edit>Copy.
Go back to your work and go to Edit>Paste as new layer.
Move  the tube to the right side. the tube to the right side.
Effects>3D Effects>Drop Shadow, color black.

17. Open your tube and go to Edit>Copy.
Go back to your work and go to Edit>Paste as new layer.
Effects>3D Effects>Drop Shadow, color black.

18. Sign your work on a new layer.
Image>Add borders, 1 pixel, symmetric, background color.
Image>Resize, 900 pixels width, resize all layers checked.
Save as jpg.

Your versions. Thanks
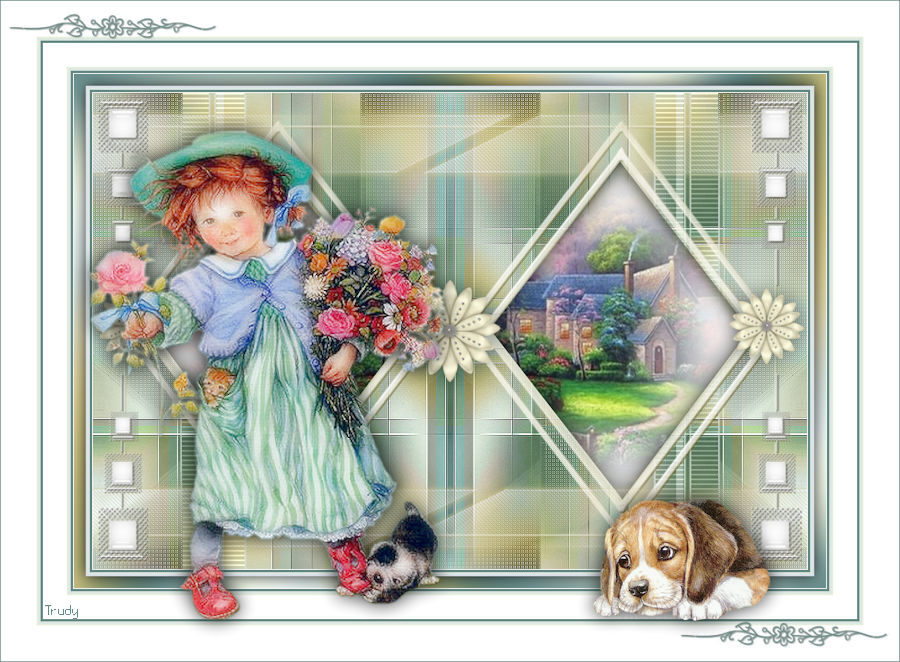
Trudy
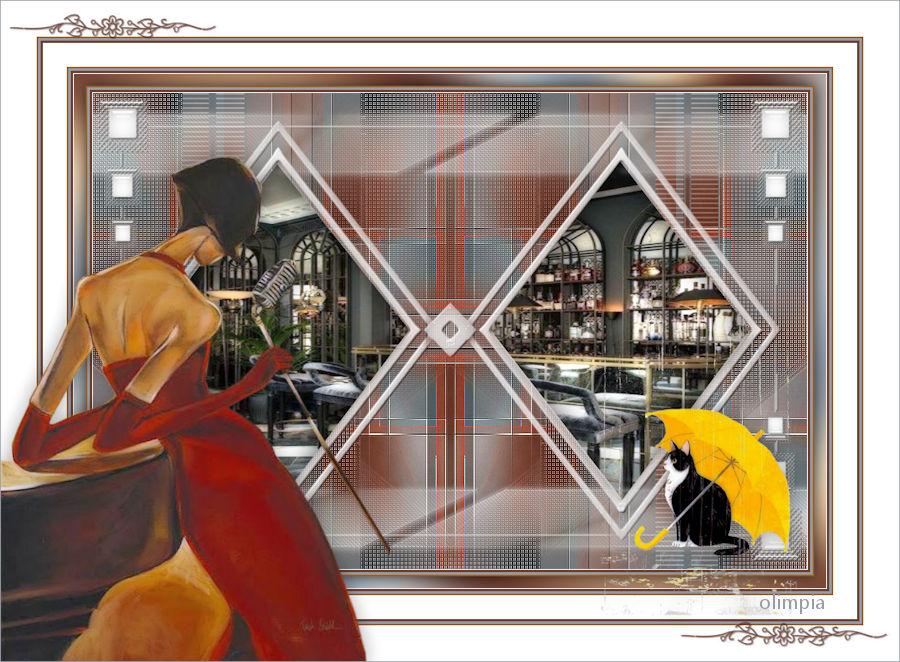
Olimpia
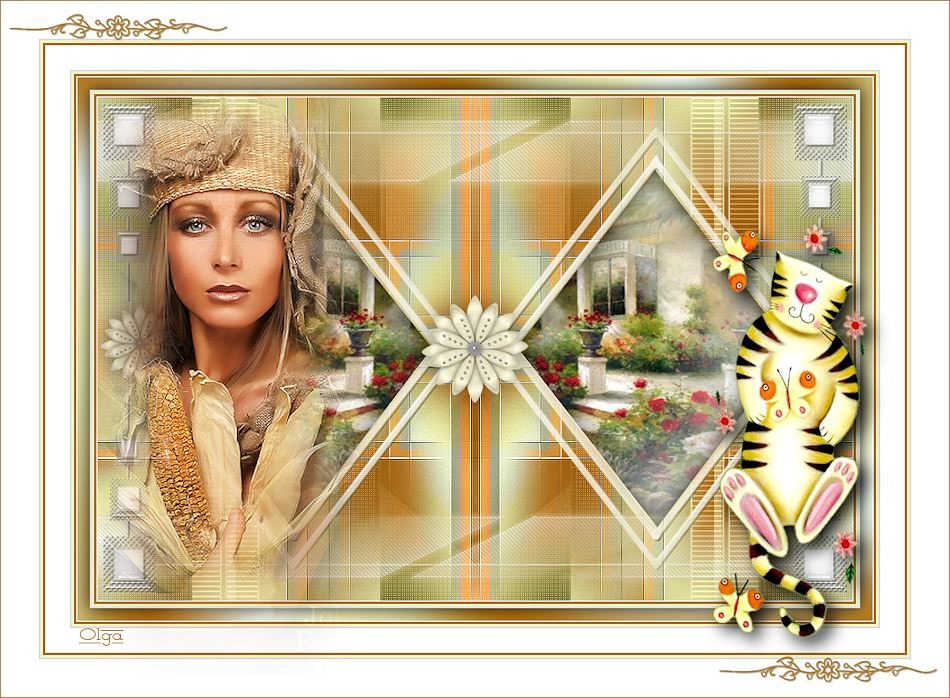
Olga

Trudy

If you have problems or doubts, or you find a not worked link, or only for tell me that you enjoyed this tutorial, write to me.
20 August 2019
|


