|
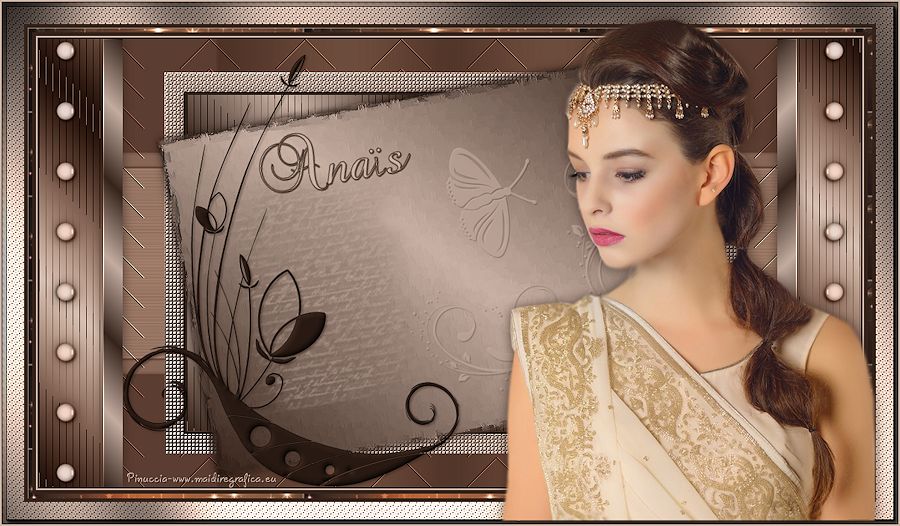
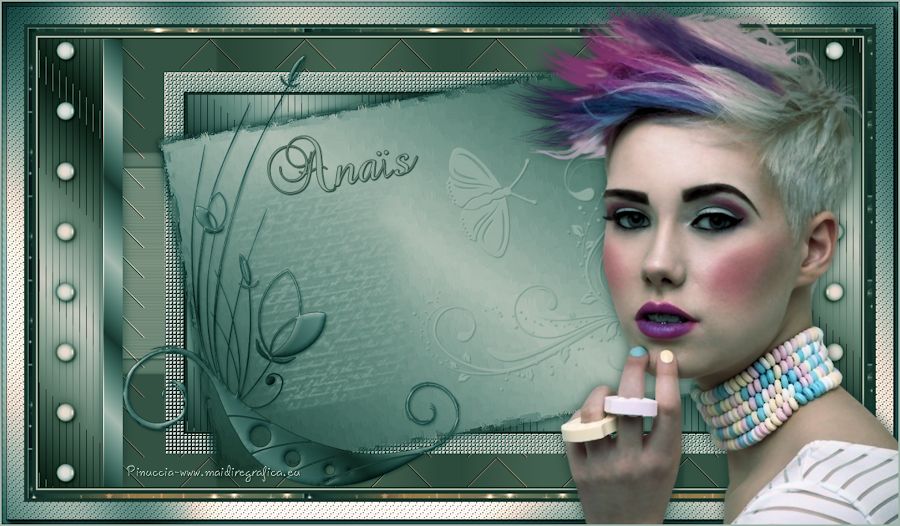
ANAÏS

english version

Here you find the original of this tutorial:

This tutorial was written with CorelX19 and translated with CorelX17, but it can also be made using other versions of PSP.
Since version PSP X4, Image>Mirror was replaced with Image>Flip Horizontal,
and Image>Flip with Image>Flip Vertical, there are some variables.
In versions X5 and X6, the functions have been improved by making available the Objects menu.
In the latest version X7 command Image>Mirror and Image>Flip returned, but with new differences.
See my schedule here
italian translation here
Your versions here
Material here
For the tube thanks Kamalini
(The links of the tubemakers here).
Plugins:
consult, if necessary, my filter section here
Filters Unlimited 2.0 here
Simple - Top Left Mirror, Pizza Slice Mirror here
AAA Frames - Foto Frame here
Two Moon - Quilt, Wish it would rain here
Graphics Plus - Cross Shadow here
Filters Simple, Two Moon and Graphics Plus can be used alone or imported into Filters Unlimited.
(How do, you see here)
If a plugin supplied appears with this icon  it must necessarily be imported into Unlimited it must necessarily be imported into Unlimited

You can change Blend Modes according to your colors.
In the newest versions of PSP, you don't find the foreground/background gradient (Corel_06_029).
You can use the gradients of the older versions.
The Gradient of CorelX here
Place the brushes in the Brush Folder.
Attention, please, every brush is composed by two files; you must place both the files in the folder.
See my notes about Brushes here
Open the mask in PSP and minimize it with the rest of the material.
1. Open a new transparent image 900 x 600 pixels.
Set your foreground color to dark color #36231a,
and your background color to light color #cbb3a6.
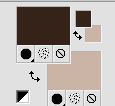
Set your foreground color to a Foreground/Background Gradient, style Linear.
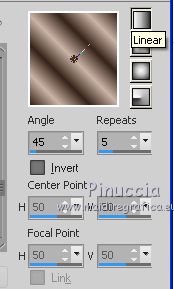
Flood Fill  the transparent image with your Gradient. the transparent image with your Gradient.
Adjust>Blur>Gaussian Blur - radius 50.

2. Layers>New Raster Layer.
Flood Fill  with your background color. with your background color.
Layers>New Mask layer>From image
Open the menu under the source window and you'll see all the files open.
Select the mask masque 17616.

Layers>Merge>Merge Group.
Effects>3D Effects>Drop Shadow, dark foreground color.

Repeat Drop Shadow, vertical and horizontal -2.
Effects>Plugins>Simple - Top Left Mirror.
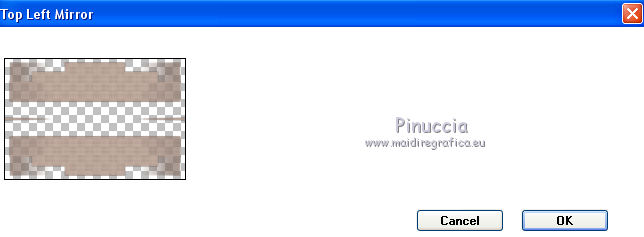
Layers>Merge>Merge Down.
3. Layers>Duplicate.
Effects>Plugins>Simple - Pizza Slice Mirror.
Effects>Reflection Effects>Rotating Mirror.

Effects>Image Effects>Seamless Tiling, side by side.

Layers>Arrange>Send to Bottom.
Activate the top layer,
Change the Blend Mode of this layer to Soft Light or Multiply.

Layers>Merge>Merge Down.
4. Layers>Duplicate.
Image>Resize, to 85%, resize all layers not checked.
Activate the bottom layer.
Effects>Reflection Effects>Kaleidoscope.

Effects>Plugins>Two Moon - Quilt.
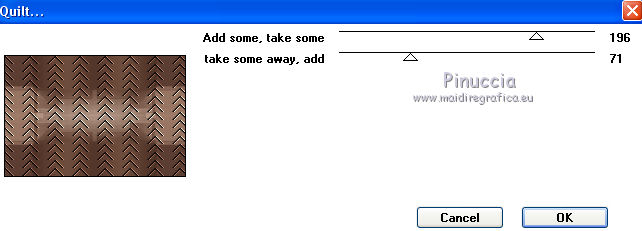
5. Activate the top layer.
Selections>Select All.
Selections>Float.
Selections>Defloat.
Change the Gradient settings: Repeats 1.

Flood Fill  the selection with your Gradient. the selection with your Gradient.
Effects>Texture Effects>Weave
weave color: dark foreground color
gap color: light background color

Selections>Modify>Contract - 30 pixels.
Set again the Repeats to 5

Flood Fill  the selection with your Gradient. the selection with your Gradient.
Effects>Plugins>Two Moon - Wish it would rain.
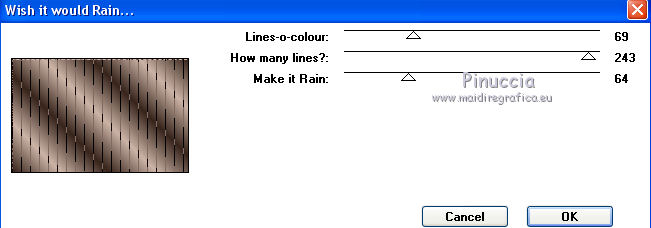
Effects>3D Effects>Chisel, dark foreground color.

Selections>Promote Selection to Layer.
6. Activate the layer below.

Effects>3D Effects>Cutout - dark foreground color.

Effects>3D Effects>Drop Shadow, dark color.

Selections>Select None.
Effects>Plugins>FM Tile Tools - Blend Emboss, default settings.

Activate the top layer, Transformed Selection.
Layers>Duplicate.
Selections>Select All.
Selections>Float.
Selections>Defloat.
Change again the Gradient settings: Repeats 1.

Flood Fill  the selection with your Gradient. the selection with your Gradient.
Effects>3D Effects>Chisel, same settings, dark color.

Effects>3D Effects>Drop Shadow, same settings, dark color or other.

Selections>Select None.
Effects>Art Media Effects>Brush Strokes.

Image>Free Rotate - 10 degrees to left.

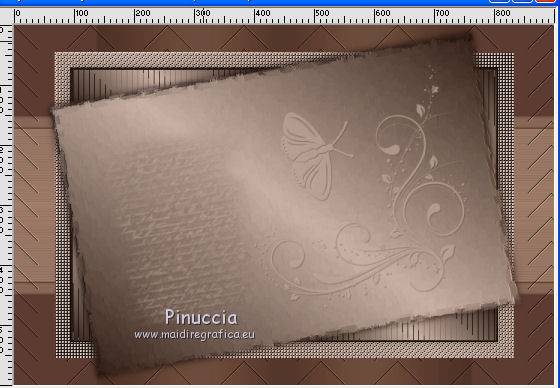
You should have this

Layers>Merge>Merge All.
7. Layers>New Raster Layer.
Activate the Brush Tool 
look for and select the brush pinceau lettre laurette, size 420, opacity 45.

Apply the brush clicking 2-3 times with the right key of your mouse,
to use the light background color: don't worry for the position.
Image>Free Rotate, same settings.

Effects>3D Effects>Drop Shadow, color black.

Move  the brush a little to the left side. the brush a little to the left side.
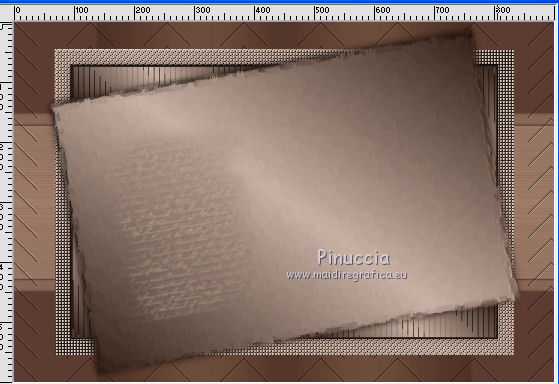
8. Layers>New Raster Layer.
Look for and select the brush pinceau fleur-papillon, size 450, opacity 45.

Apply the brush clicking 2-3 time with left key of the mouse to use the light background color:
don't worry for the position.
Effects>3D Effects>Drop Shadow, dark color.

Place  rightly the brush. rightly the brush.
Activate the bottom layer.
Layers>Promote Background Layer.
Image>Canvas Size - 1100 x 600 pixels.

Layers>New Raster Layer.
Layers>Arrange>Send to Bottom.
Again set the Ripetion of the Gradient to 5

Flood Fill  the layer with your Gradient. the layer with your Gradient.
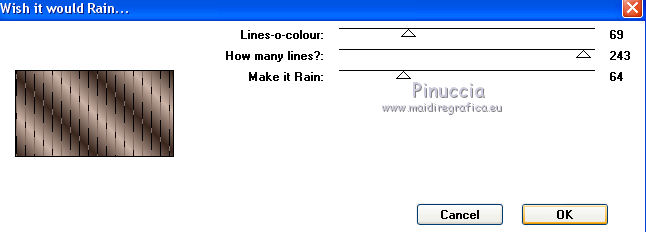
Effects>Plugins>Two Moon - Wish it would rain.
9. Activate the top layer.
Selection Tool 
(no matter the type of selection, because with the custom selection your always get a rectangle)
clic on the Custom Selection 
and set the following settings.

Layers>New Raster Layer.
Flood Fill  with your Gradient (repeats5). with your Gradient (repeats5).
Selections>Select None.
Effects>Plugins>FM Tile Tools - Blend Emboss.

Layers>Duplicate.
Image>Mirror.
Layers>Merge>Merge Down.
Effects>3D Effects>Drop Shadow, dark color.

10. Open the tube déco 00, and go to Edit>Copy.
Go back to your work and go to Edit>Paste as new layer.
Selections>Select All.
Selections>Float.
Selections>Defloat.
Set your foreground to Color,
and Flood Fill  the selection with your dark foreground color. the selection with your dark foreground color.
Effects>3D Effects>Inner Bevel.

Selections>Select None.
To place the tube:
K key to activate the Pick Tool 
and set Position X: 113,00 and Position Y: 21,00

Effects>3D Effects>Drop Shadow, dark color.

11. Open the tube déco perle and go to Edit>Copy.
Go back to your work and go to Edit>Paste as new layer.
Pick Tool 
and set Position X: 18,00 and Position Y: 2,00

Layers>Duplicate.
Image>Mirror.
Layers>Merge>Merge Down.
Effects>3D Effects>Drop Shadow, dark color.

Activate the bottom layer.
Layers>Duplicate and Change the Blend Mode of this layer to Soft Light, or other.
12. Image>Add borders, 2 pixels, symmetric, dark color.
Image>Add borders, 2 pixels, symmetric, light color.
Image>Add borders, 5 pixels, symmetric, dark color.
Image>Add borders, 6 pixels, symmetric, light color.
Activate the Magic Wand Tool 
and click on the 6 pixels light border to select it.
Open the texture Glitter and minimize it.
Set your foreground color to Pattern,
look for and select the texture Glitter with these settings.

Flood Fill  the selection with your pattern. the selection with your pattern.
Selections>Select None.
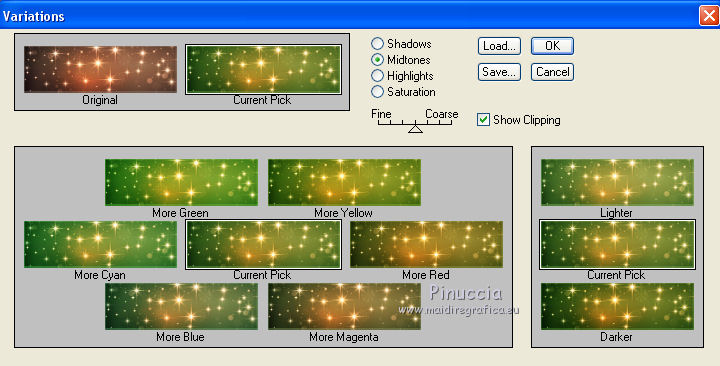
if your are using other colors, you can change the colors of the glitter, according to your colors:
Effects>Plugins>Adjust - Variations
13. Image>Add borders, 5 pixels, symmetric, dark color.
Selections>Select All.
Image>Add borders, 30 pixels, symmetric, light color.
Selections>Invert.
Effects>Texture Effects>Weave, same settings.

Effects>Plugins>Graphics Plus - Cross shadow, default settings.

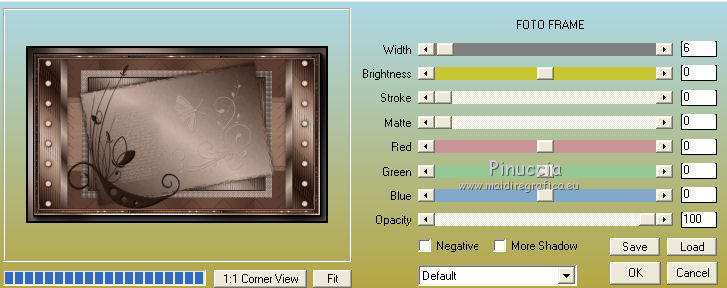
Effects>Plugins>AAA Frames - Foto Frame.
Selections>Select None.
14. Open your tube and go to Edit>Copy.
Go back to your work and go to Edit>Paste as new layer.
Move  the tube to the right side. the tube to the right side.
Effects>3D Effects>Drop Shadow, dark color.

Image>Add borders, 2 pixels, symmetric, light color.
15. Set again your foreground color to Color and keep your light color as background color.

Activate the Text Tool 
look for and select the font Baroque script (I joined it in the material) or another font at your choice.

Write Anais and place it where you like.
Image>Free Rotate, same settings

Layers>Convert to Raster Layer.
Effects>3D Effects>Drop Shadow, dark color.

Sign your work on a new layer.
Image>Resize, 900 pixels width, resize all layers checked.
Adjust>Sharpness>Sharpen.
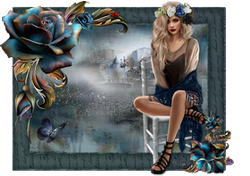
The tube of this version is by Rooske

If you have problems or doubts, or you find a not worked link,
or only for tell me that you enjoyed this tutorial, write to me.
8 February 2018
|

