|
THANK YOU 

This tutorial, created with PSPX9 has been translated with PSPX2 and PSPX3, but it can also be made using other versions of PSP. For this tutorial, you will need:  Thanks for the tubes Drevers, Franie Margot, Syl, Riet and for the masks Cre@nnie and Exkissexkiss. The rest of the material is by Lady Tess. (you find here the links to the material authors' sites)  consult, if necessary, my filter section here Filters Unlimited 2.0 here Mehdi - Wavy Lab here Graphics Plus - Cross Shadow here Carolaine and Sensibility - CS_Reflection here AAA Frames - Foto Frame here Filters Graphics Plus can be used alone or imported into Filters Unlimited. (How do, you see here) If a plugin supplied appears with this icon  You can change Blend Modes according to your colors.  Open the masks in PSP and minimize them with the rest of the material. 1. Set your foreground color to #dedfe1 and your background color to #32353a. 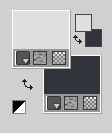 2. Open a new transparent image 900 x 510 pixels. Effects>Plugins>Mehdi - Wavy Lab 1.1. This filter creates gradients with the colors of your Materials palette. The first is your background color, the second is your foreground color. Keep the last color created by the filter. 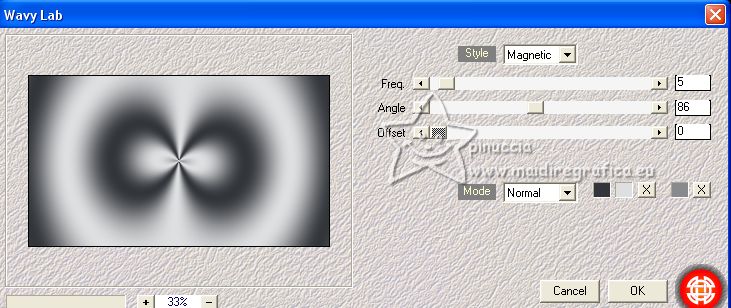 Layers>Duplicate. Adjust>Blur>Gaussian Blur - radius 30.  3. Layers>New Raster Layer. Selections>Select All. Open Drevers_woman_121 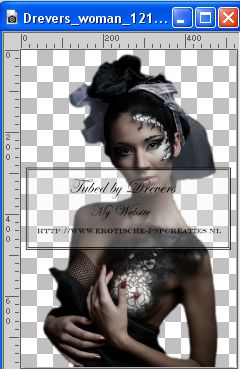 Edit>Copy. Go back to your work and go to Edit>Paste into Selection. Selections>Select None. Effects>Image Effects>Seamless Tiling, default settings.  Layers>Merge>Merge Down. 4. Adjust>Blur>Gaussian Blur - radius 30.  Effects>Reflection Effects>Rotating Mirror.  Layers>New Raster Layer. Flood Fill  the layer with your background color #32353a. the layer with your background color #32353a.5. Layers>New Mask layer>From image Open the menu under the source window and you'll see all the files open. Select the mask cre@nnie-35 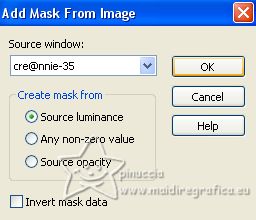 Effects>Edge Effects>Enhance More. Layers>Merge>Merge Group. Effects>Texture Effects>Weave weave color: foreground color #dedfe1, gap color: background color #32353a. 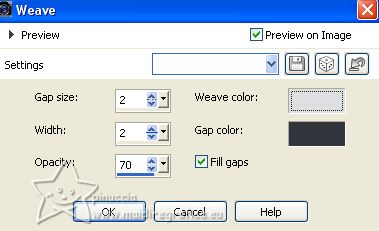 6. You should have this 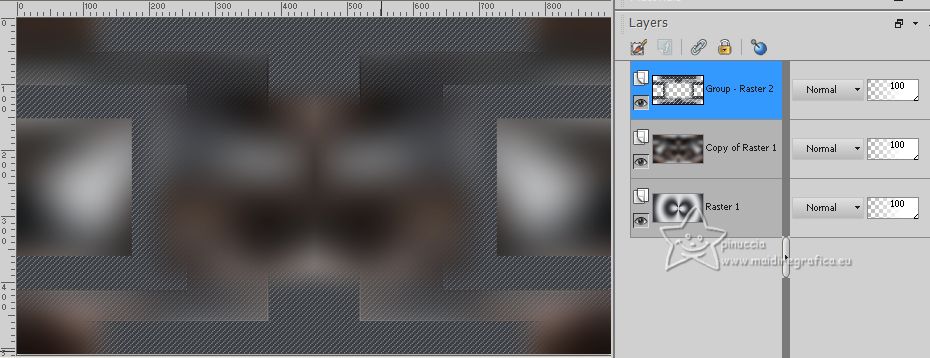 7. Image>Canvas Size - 900 x 580 pixels. 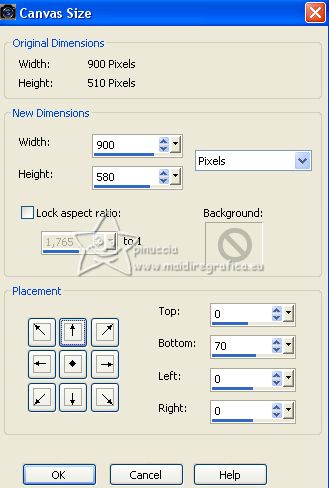 Layers>New Raster Layer. Layers>Arrange>Send to Bottom. Flood Fill  the layer with your foreground color #dedfe1. the layer with your foreground color #dedfe1.8. Layers>New Mask layer>From image Open the menu under the source window and select the mask Exkizz_Mask_Daphne1 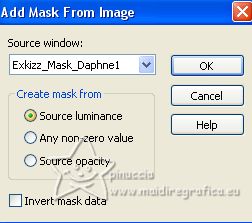 Effects>Edge Effects>Enhance. Layers>Merge>Merge Group. Layers>New Raster Layer. Layers>Arrange>Send to Bottom. Flood Fill  the layer with your background color #32353a. the layer with your background color #32353a.9. Activate the layer above, the first Group-Raster 2.  Layers>Merge>Merge Down. Effects>Reflection Effects>Rotating Mirror, default settings.  10. Layers>Arrange>Bring to Top. Activate your Magic Wand Tool  , tolerance 0 and feather 60 , tolerance 0 and feather 60 Click in the center to select all  Presser 12/14 times CANC on the keyboard   Selections>Select None. 11. You should have this.  12. Activate the layer Copy of Raster 1 (the second layer from the bottom) Open SvB Stad 4 misted 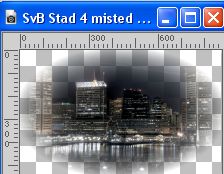 Edit>Copy. Go back to your work and go to Edit>Paste as new layer. Don't move it. Change the Blend Mode of this layer to Screen. Adjust>Sharpness>Sharpen More. 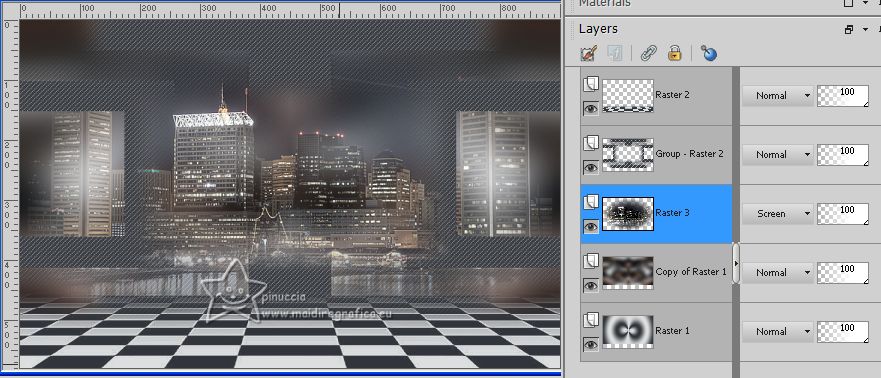 13. Open man-453-franiemargot 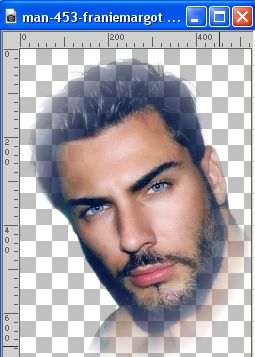 Edit>Copy. Go back to your work and go to Edit>Paste as new layer. Layers>Arrange>Bring to Top. Image>Resize, to 55%, resize all layers not checked. K key to activate your Pick Tool  and set Position X: 659,00 and Position Y: -58,00.  M key to deselect the Tool. Change the Blend Mode of this layer to Overlay. 14. Layers>Duplicate. Image>Mirror. Layers>Merge>Merge Down. Reduce the opacity of this layer to 53%. Adjust>Sharpness>Sharpen More. Edit>Repeat Sharpen More. 15. You should have this 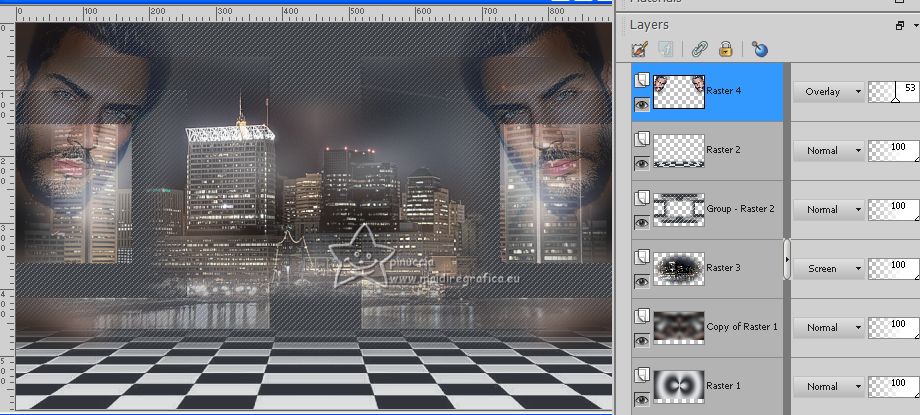 16. Activate the layer below, Raster 2. Effects>Plugins>Carolaine and Sensibility - CS_Reflection. 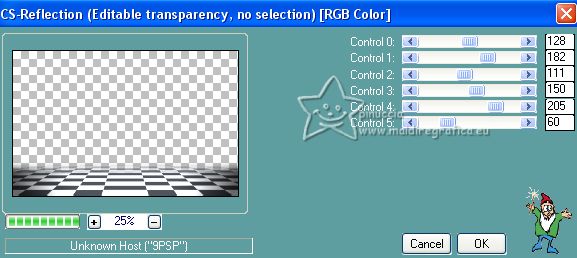 Image>Add borders, 1 pixel, symmetric, color #000000. Selections>Select All. 17. Image>Add borders, 45 pixels, symmetric, background color #32353a. Selections>Invert. Effects>Texture Effects>Weave, same settings.  18. Effects>Plugins>Graphics Plus - Cross Shadow. 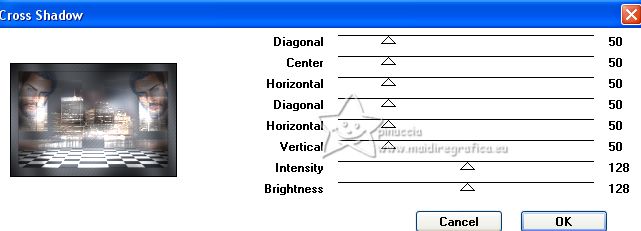 Repeat the Effect another time. Effects>Plugins>AAA Frames - Foto Frame. 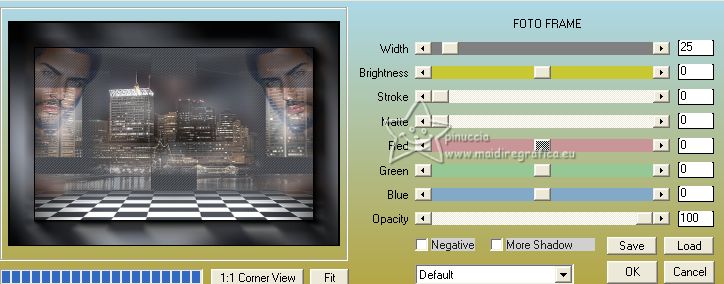 Selections>Select None. 19. Activate again the tube Drevers_woman_121 and go to Edit>Copy. Go back to your work and go to Edit>Paste as new layer. Image>Resize, to 85%, resize all layers not checked. Place  the tube on the bottom border the tube on the bottom border or Objects>Align>Bottom. 20. Effects>3D Effects>Drop Shadow, color #000000. 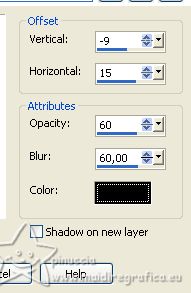 Adjust>Sharpness>Unsharp Mask.  21. Open LTDStudio_ThankYou_Deco  Edit>Copy. Go back to your work and go to Edit>Paste as new layer. Move  the tube at the bottom right, the tube at the bottom right,with the shadow on the border  22. Open LTDStudio_ThankYou_Texto  Edit>Copy. Go back to your work and go to Edit>Paste as new layer. Move  the text to the left side, or to your liking. the text to the left side, or to your liking.23. Layers>Merge>Merge All. Sign your work and save as jpg. For the tube of this version thanks Calguism, Monique, Anna.br, X-Treme. 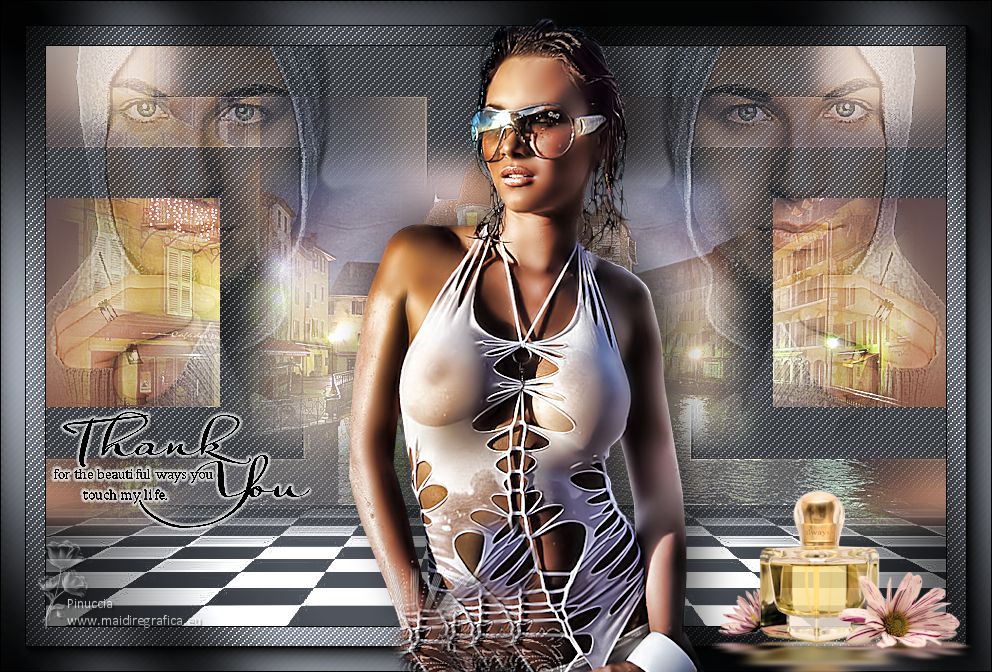  Your versions. Thanks. 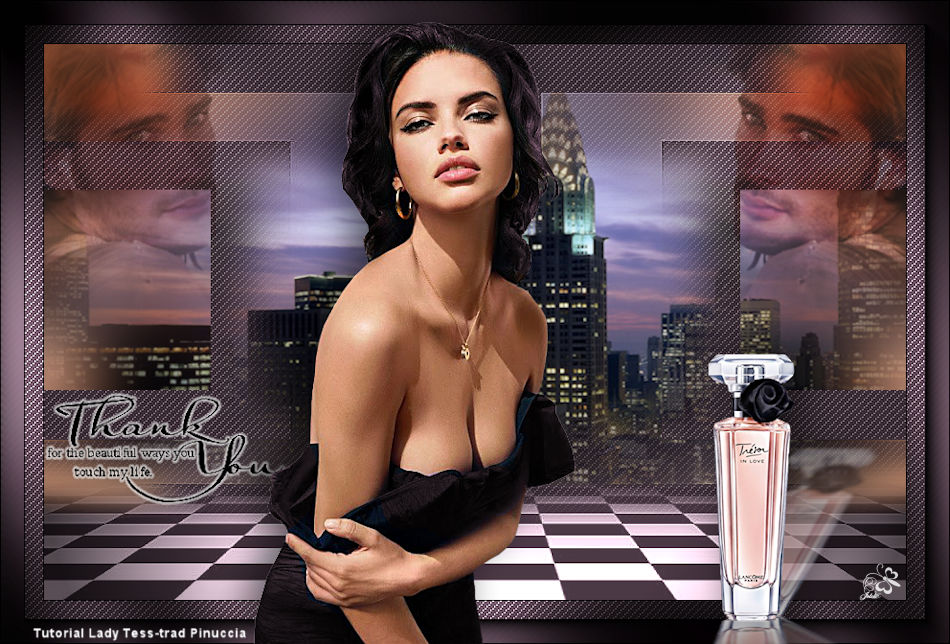 Jolcsi  If you have problems or doubts, or you find a not worked link, or only for tell me that you enjoyed this tutorial, write to me. |