|
TANGO 

This tutorial, created with PSPX9 has been translated with PSPX2 and PSPX3, but it can also be made using other versions of PSP. For this tutorial, you will need:  The material is by Lady Tess. (you find here the links to the material authors' sites)  consult, if necessary, my filter section here Filters Unlimited 2.0 here &<Bkg Kaleidoscope> - Kaleidoscope Butterfly (to import in Unlimited) here Mura's Meister - Perspective Tiling here Mura's Meister - Copies here Graphics Plus - Cross Shadow here L&K's - L&K's Katharina here Alien Skin Eye Candy 5 Impact - Glass, Perspective Shadow here Filters Graphics Plus can be used alone or imported into Filters Unlimited. (How do, you see here) If a plugin supplied appears with this icon  You can change Blend Modes according to your colors. In the newest versions of PSP, you don't find the foreground/background gradient (Corel_06_029). You can use the gradients of the older versions. The Gradient of CorelX here  Place the brush in the Paint Brushes Folder. Attention, please, the brush is composed by two files, you must place both the files in the folder. See my notes about Brushes here Copy the selections in the Selection Folder. 1. Set your foreground color to #cbcbcb and your background color to #8c44b0. 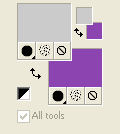 Set your foreground color to a Foreground/Background Gradient, style Radial. 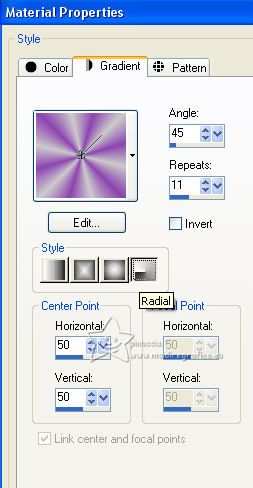 2. Open a new transparent image 900 x 600 pixels. Flood Fill  the transparent image with your Gradient. the transparent image with your Gradient.Layers>New Raster Layer. Selections>Select All. 3. Open the image bailarines_1 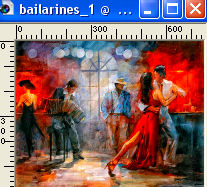 Edit>Copy. Go back to your work and go to Edit>Paste into Selection. Selections>Select None. Change the Blend Mode of this layer to Overlay, or according to your colors (for my second version I changed to Soft Light). 4. Effects>Image Effects>Seamless Tiling, default settings.  Adjust>Blur>Gaussian Blur - radius 40 (for my second version I made 10). 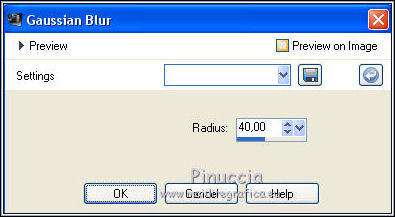 Layers>Merge>Merge Down. Layers>Duplicate. 5. Effects>Plugins>Filters Unlimited 2.0 - &<Bkg Kaleidoscope> - Kaleidoscope Butterfly. 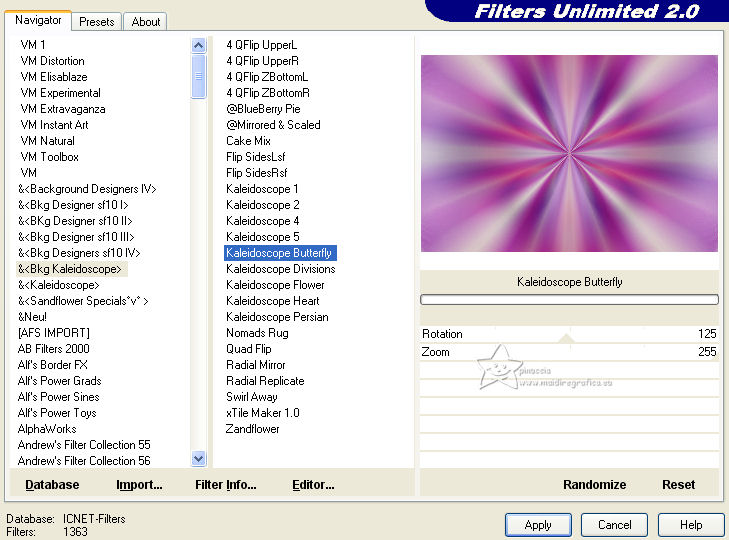 Adjust>Blur>Gaussian Blur - radius 10.  Activate the layer Raster 1. Selections>Load/Save Selection>Load Selection from Disk. Look for and load the selection Tango_sel_3 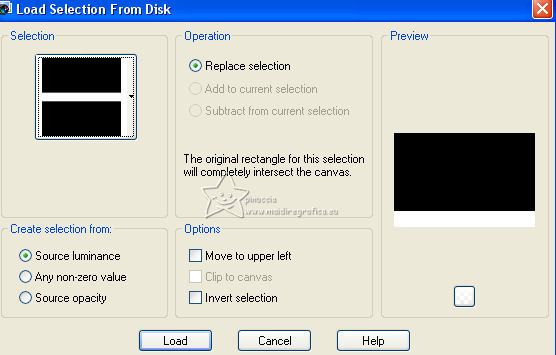 Selections>Promote Selection to Layer. Selections>Select None. 6. Layers>Arrange>Bring to Top. Effects>Plugins>Mura's Meister - Perspective Tiling. 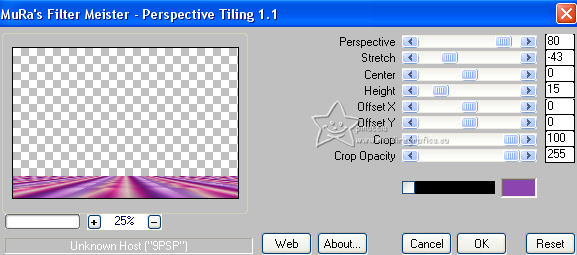 Activate your Magic Wand Tool  tolerance and feather 40, tolerance and feather 40,and click in the transparent part to select it. Press 7/8 times CANC on the keyboard  Selections>Select None. 7. Layers>New Raster Layer. Selections>Load/Save Selection>Load Selection from Disk. Look for and load the selection Tango_sel_1 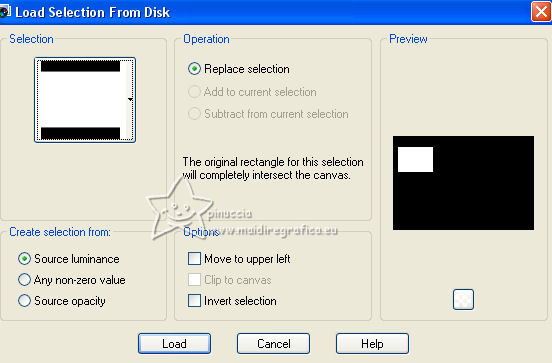 Flood Fill  the layer with your background color #8c44b0. the layer with your background color #8c44b0.8. Effets>Modules Externes>Graphics Plus - Cross Shadow, default settings. 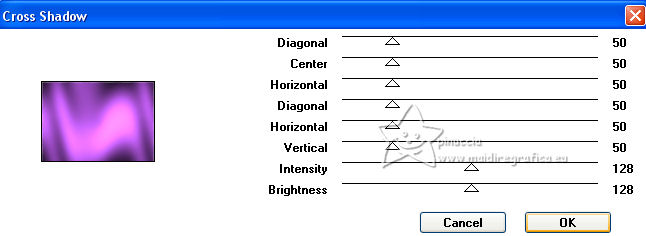 Adapt the settings according to your colors. Selections>Modify>Contract - 10 pixels. Flood Fill  the selection with your Gradient. the selection with your Gradient.Effects>Edge Effects>Enhance. 9. Selections>Modify>Contract - 4 pixels. Flood Fill  the selection with your background color #8c44b0. the selection with your background color #8c44b0.Effects>Plugins>Graphics Plus - Cross Shadow, same settings. Selections>Modify>Contract - 6 pixels. Press CANC on the keyboard. Keep selected. 10. Layers>New Raster Layer. Open the image bailarines_2 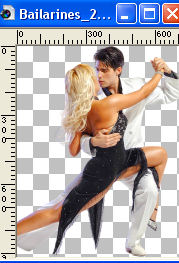 Edit>Copy. Go back to your work and go to Edit>Paste into Selection. Adjust>Sharpness>Sharpen. Effects>Plugins>Alien Skin Eye Candy 5 Impact - Glass. Select the preset Clear with these settings.  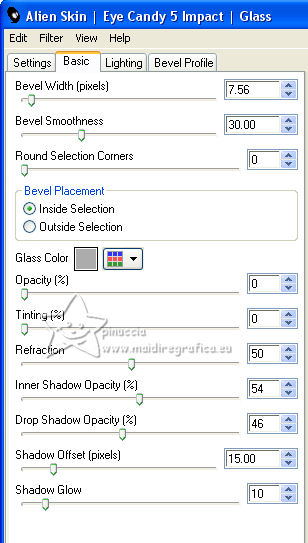 Selections>Select None. Layers>Arrange>Move Down. 11. Activate your top layer. Layers>Merge>Merge Down. Effects>3D Effects>Drop Shadow, color #391c48. 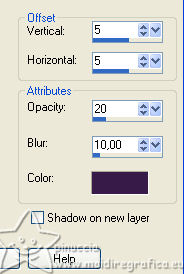 Repeat Drop Shadow, vertical and horizontal -5. 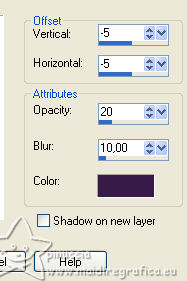 12. You should have this 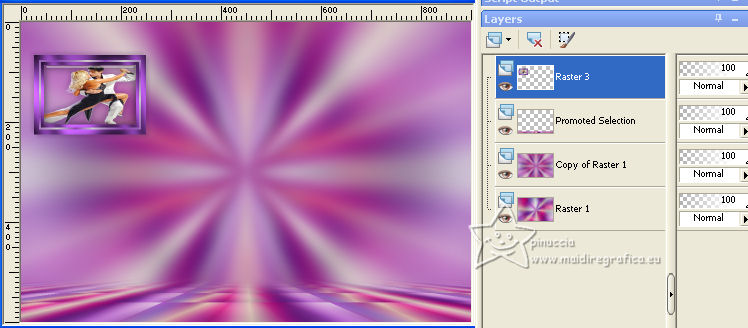 13. Effects>Plugins>Mura's Meister - Copies. 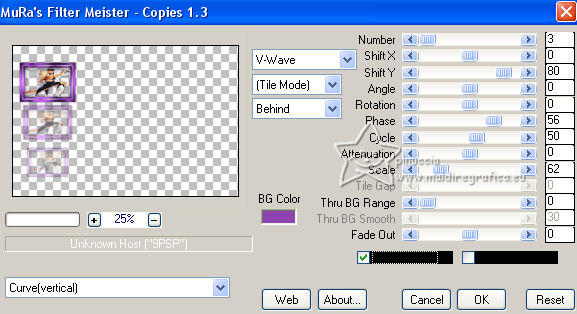 K key on the keyboard to activate your Pick Tool  and set Position X: 1,00 and Position Y: 13,00.  M key to deselect the Tool. Activate the layer Copy of Raster 1. Open bailarines 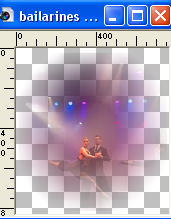 Edit>Copy. Go back to your work and go to Edit>Paste as new layer. 14. Image>Resize, to 80%, resize all layers not checked. Effects>Image Effects>Offset. 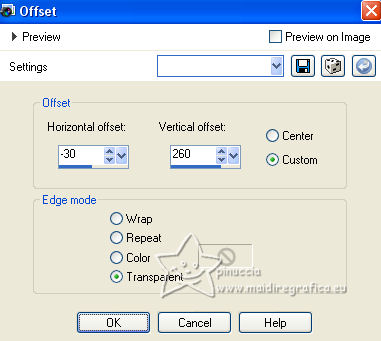 Change the Blend Mode of this layer to Overlay. Adjust>Sharpness>Sharpen. 15. You should have this. 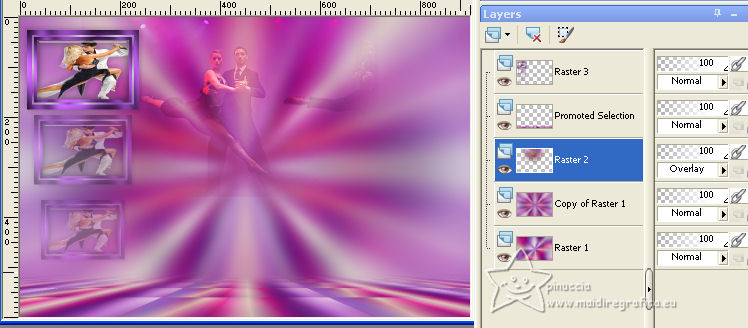 16. Activate the layer Raster 1. Selections>Load/Save Selection>Load Selection from Disk. Look for and load the selection Tango_sel_2 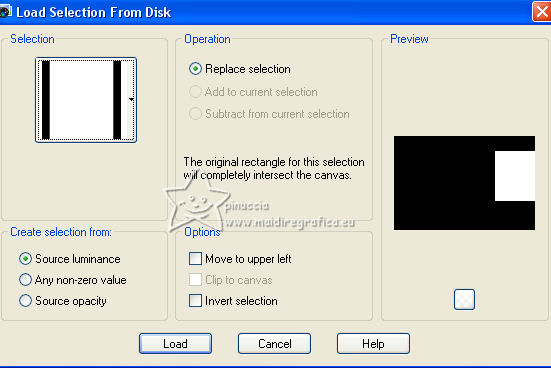 Selections>Promote Selection to Layer. Layers>Arrange>Bring to Top. 17. Adjust>Blur>Gaussian Blur - radius 30.  Selections>Modify>Contract - 10 pixels. Flood Fill  the selection with your Gradient. the selection with your Gradient.Selections>Modify>Contract - 10 pixels. Set your foreground color to Color. Flood Fill  the selection with your foreground color #cbcbcb. the selection with your foreground color #cbcbcb.A Effects>Plugins>Graphics Plus - Cross Shadow. 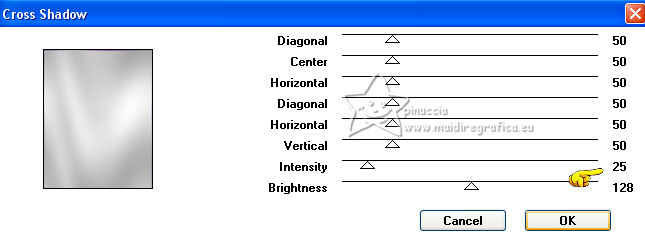 18. Adjust>Blur>Gaussian Blur - radius 10.  Effects>3D Effects>Drop Shadow, color #391c48. 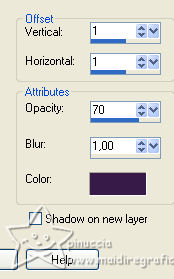 Repeat Drop Shadow, vertical and horizontal -1. 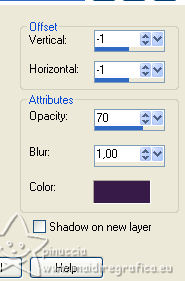 Selections>Select None. 19. Set your foreground color to black #000000. Layers>New Raster Laster. Activate your Paint Brush Tool  look for and select the brush malena1  Apply the brush to the right in the frame, 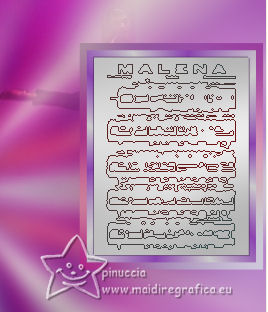 double-clicking the left mouse button to use your foreground color.  Layers>Merge>Merge Down. 20. Again Selections>Load/Save Selection>Load Selection from Disk. Load again the selection Tango_sel_2  21. Effects>Plugins>Filters Unlimited 2.0 - Edges,Square - Square Edge 16 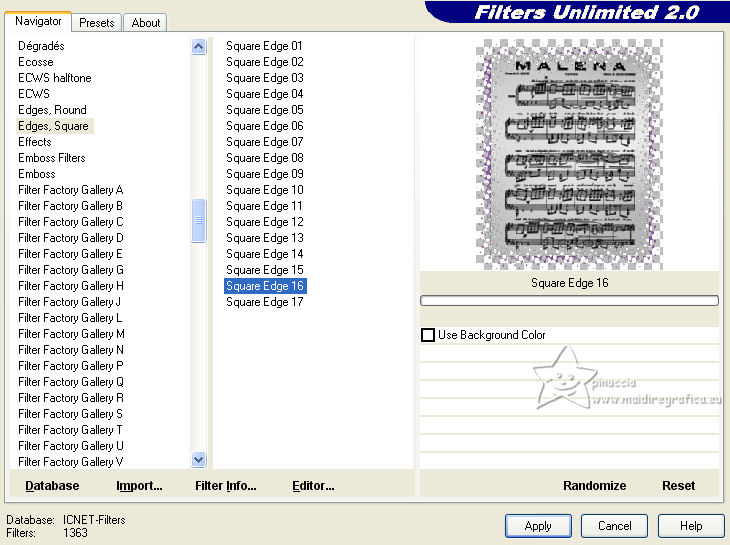 Selections>Select None. Layers>Duplicate. Image>Resize, to 90%, resize all layers not checked. Image>Free Rotate - 10 degrees to left 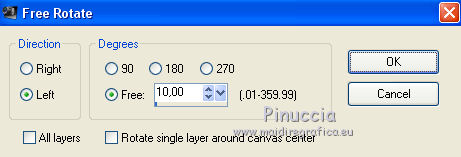 22. Again Layers>Duplicate. Image>Resize, to 90%, resize all layers not checked. Image>Free Rotate, same settings Layers>Merge>Merge Down- 2 times. 23. You should have this. 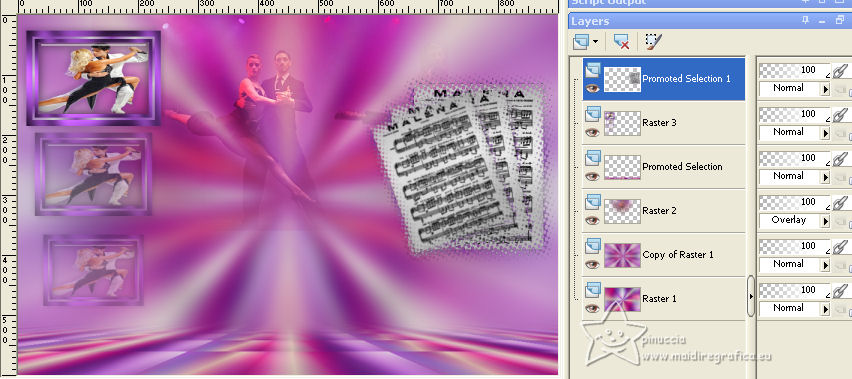 24. Effects>Plugins>Alien Skin Eye Candy 5 Impact - Perspective Shadow. Select the preset Reflect in Front with these settings.  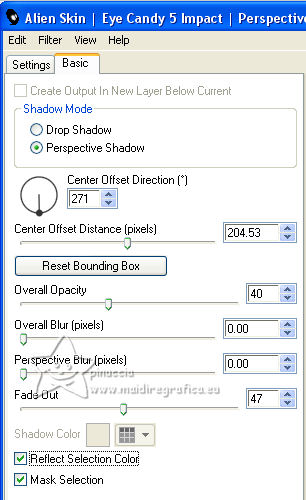 Activate the layer Raster 1. Edit>Copy. For caution: Edit>Paste as new image, and minimize this image. Go back to your work. Image>Add borders, 1 pixel, symmetric, color #000000. Selections>Select All. Image>Add borders, 45 pixels, symmetric, colore #ffffff. Selections>Invert. 25. Paste into Selection (the image copied at step 24). Selections>Promote Selection to Layer. Selections>Modify>Contract - 10 pixels. 26. Effects>Plugins>L&K's - L&K's Katharina. 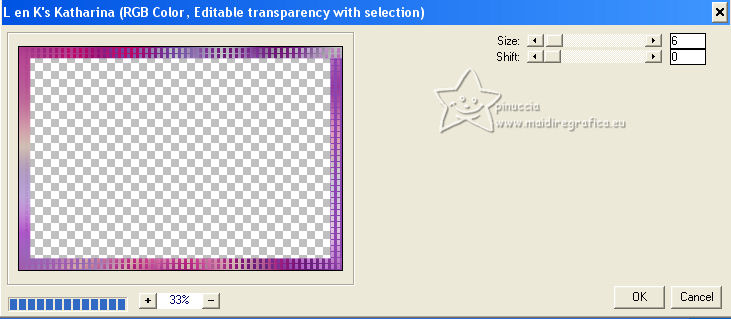 Effects>Reflection Effects>Rotating Mirror, default settings.  Adjust>Sharpness>Sharpen More. Effects>3D Effects>Drop Shadow, color #391c48. 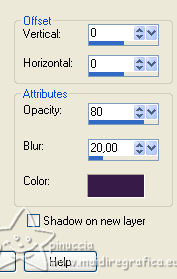 27. Selections>Select None. Open Bailarines_2 Edit>Copy. Go back to your work and go to Edit>Paste as new layer. Image>Mirror. 28. Image>Resize, to 70%, resize all layers not checked. Objects>Align Right. Objects>Align Bottom. Or activate your Pick Tool  and set Position X: 494,00 and Position X: 51,00 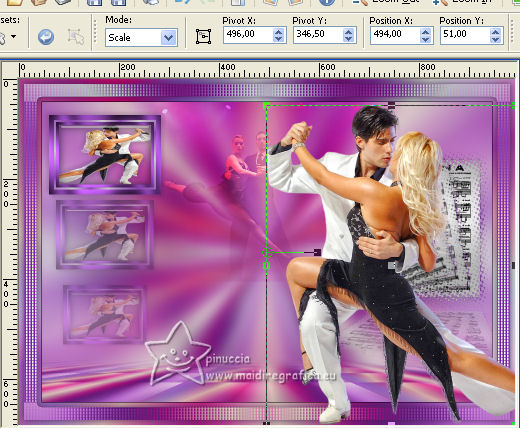 Effects>Plugins>Alien Skin Eye Candy 5 Impact - Perspective Shadow. Select the preset Drop Shadow,Lowest with these settings.  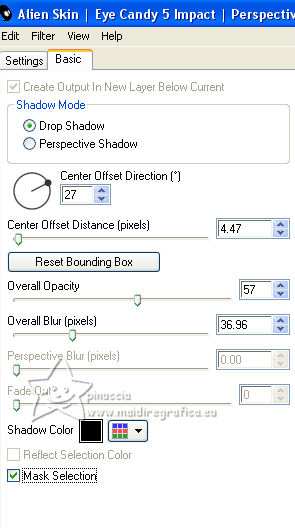 Adjust>Sharpness>Sharpen. 29. Open LTDStudio_Tango_Texto 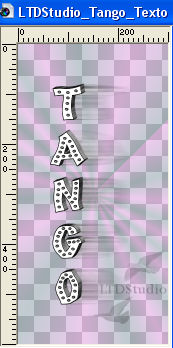 Edit>Copy. Go back to your work and go to Edit>Paste as new layer. K key to activate your Pick Tool  and set Position X: 317,00 and Position Y: 124,00.  M key to deselect the Tool. 30. Image>Add borders, 1 pixel, symmetric, color #8c44b0. Sign your work on a new layer. Add the author and translator's watermarks. Layers>Merge>Merge all and save as jpg. For the tube of this version thanks Anna.br.   ù Your versions. Thanks 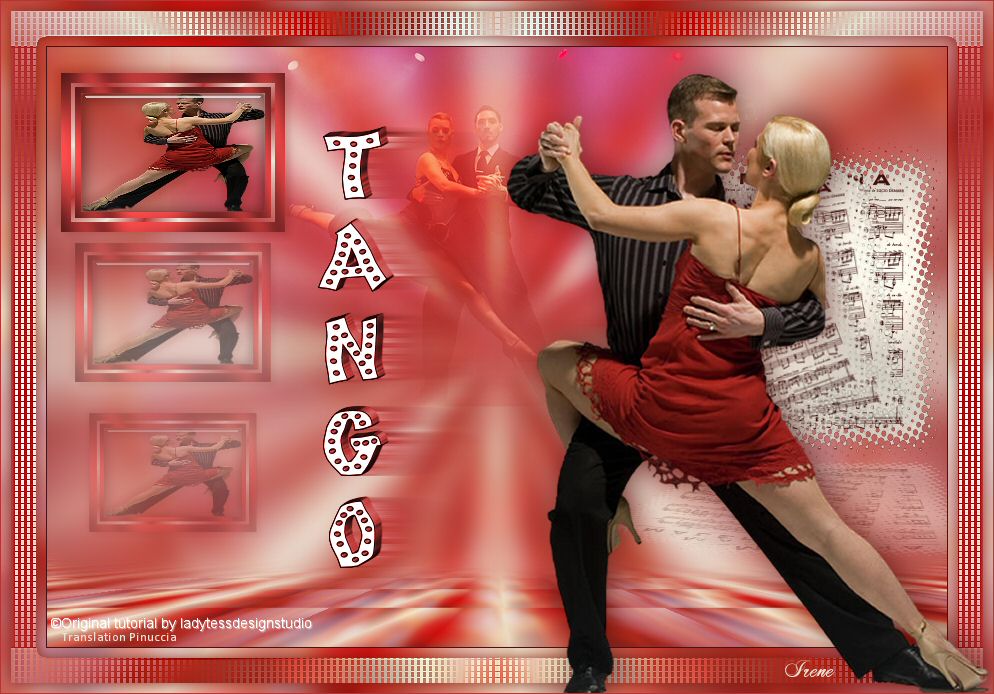 Irene 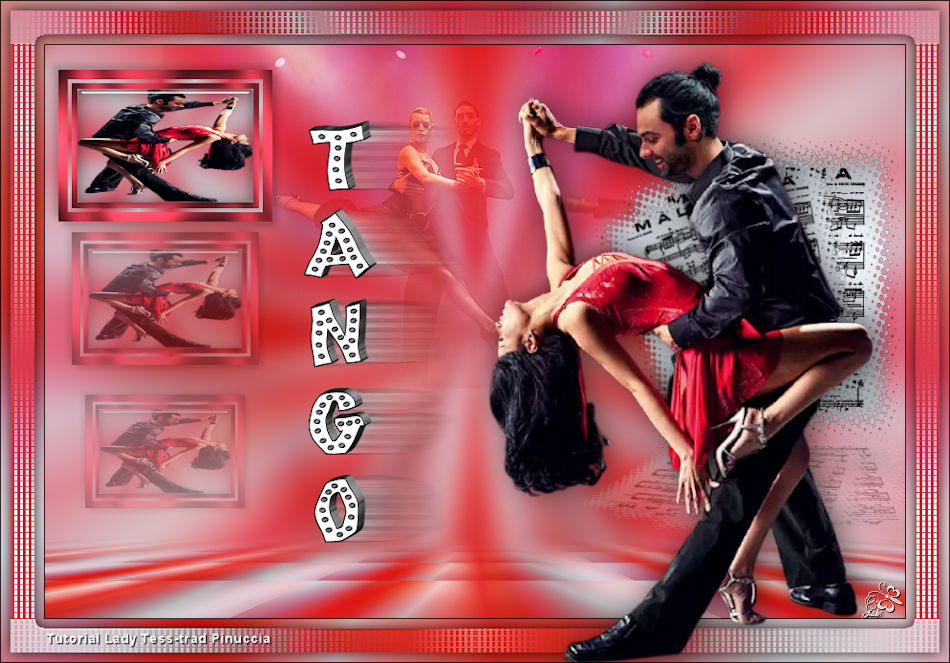 Jolcsi 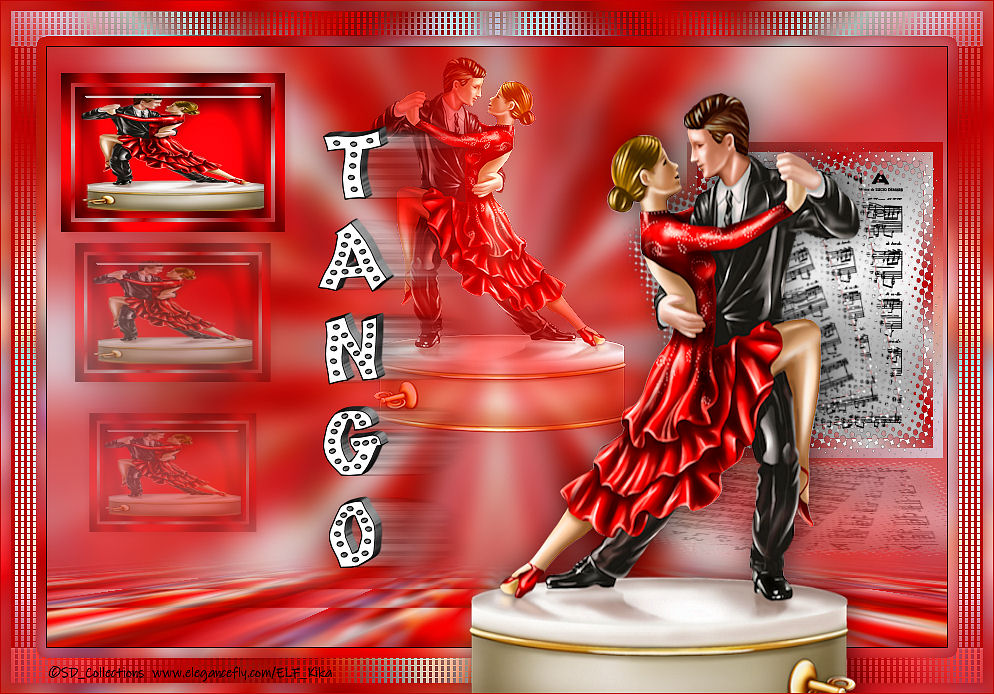 Kika 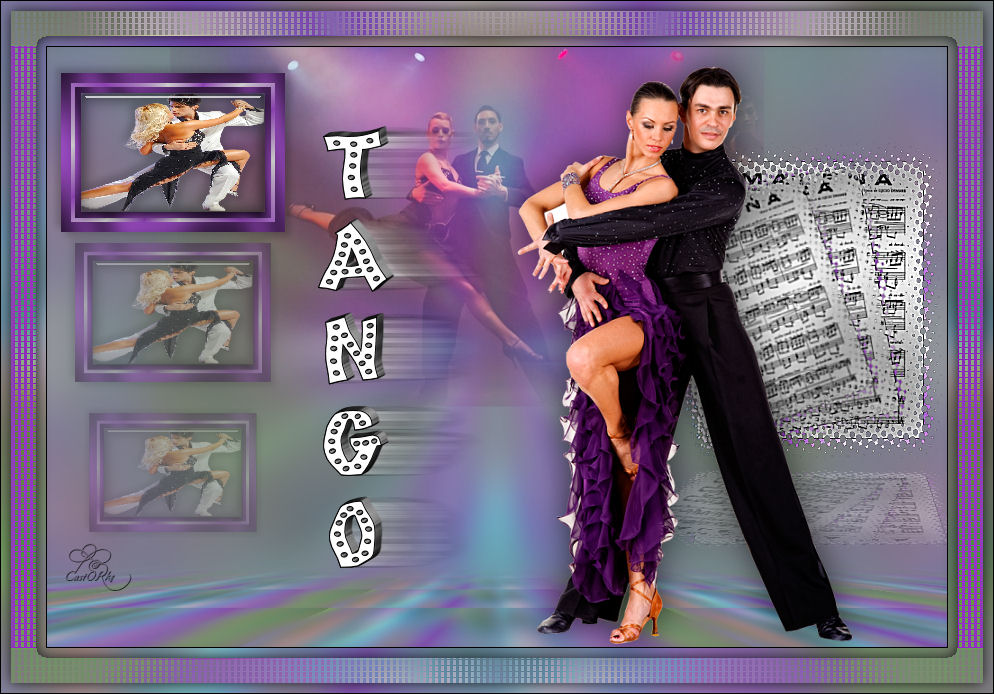 Castorke 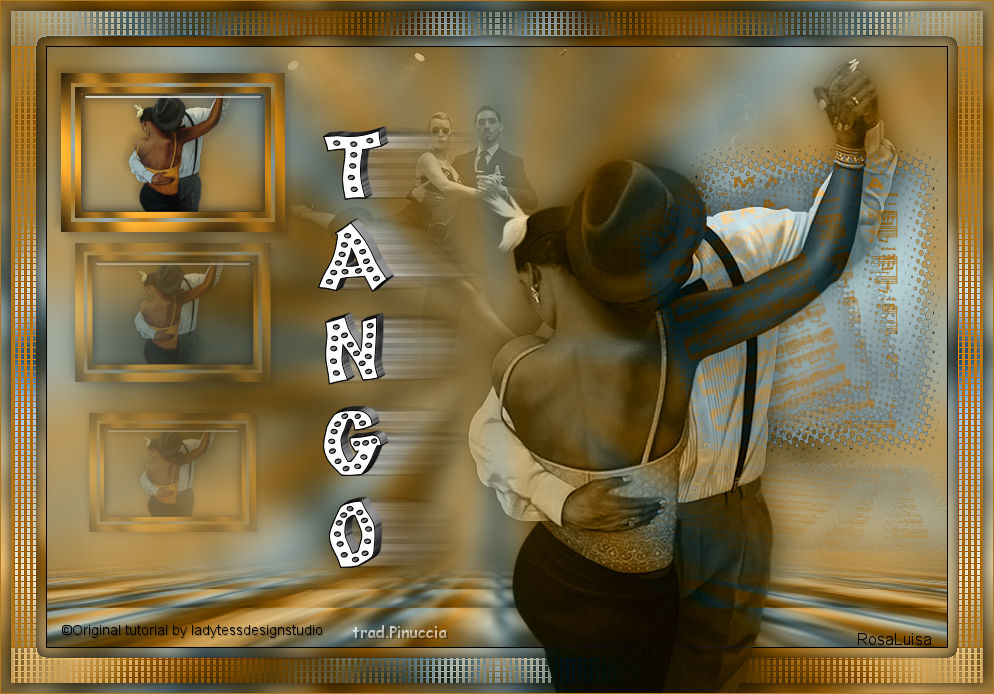 Rosaluisa  If you have problems or doubts, or you find a not worked link, or only for tell me that you enjoyed this tutorial, write to me. |