|
NIGHT DREAM 

This tutorial, was created with PSPX9 and translated with PSP2020, but it can also be made using other versions of PSP.
For this tutorial, you will need:  Thanks for the tubes Beatriz and Silvie, and for the mask Narah. The rest of the material is by Lady Tess. (you find here the links to the material authors' sites)  consult, if necessary, my filter section here Filters Unlimited 2.0 here Mura's Meister - Copies here Graphics Plus - Button Beveler II, Cross Shadow here FM Tile Tools - Saturation Emboss, Blend Emboss here VM Toolbox - Instant Tile here AAA Frames - Transparent Frame, Foto Frame here Filters Graphics Plus and VM Toolbox can be used alone or imported into Filters Unlimited. (How do, you see here) If a plugin supplied appears with this icon  You can change Blend Modes according to your colors.  Copy the Selections in the Selection Folder. Open the mask in PSP and minimize it with the rest of the material. 1. Set your foreground color to #c1cbd9 and your background color to #39424d. 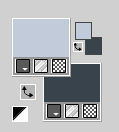 2. Open a new transparent image 900 x 600 pixels. Flood Fill  the transparent image with your background color #39424d. the transparent image with your background color #39424d.Effects>Plugins>Graphics Plus - Button Beveler II. 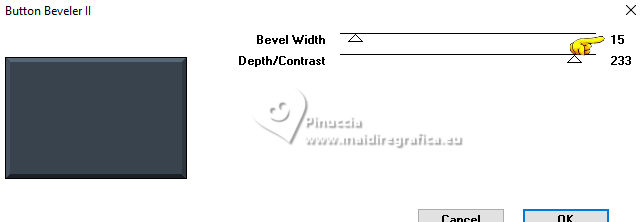 3. Selections>Load/Save Selection>Load Selection from Disk. Look for and load the selection Night_Dream_sel_1 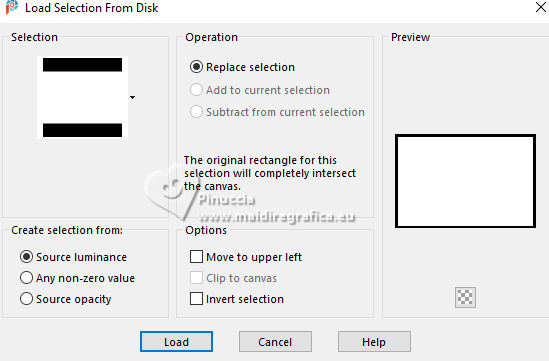 Effects>Plugins>Graphics Plus - Cross Shadow, default settings. 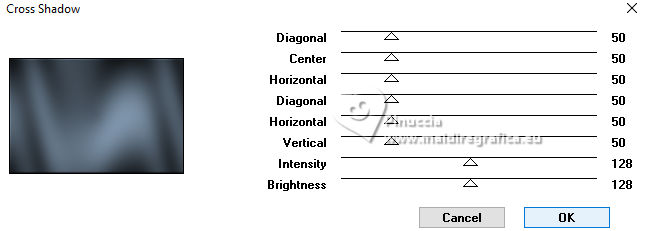 NOTE: Depending on your colors, lower the opacity of the last two selectors. Layers>New Raster Layer. 4. Open 4957-woman IA-LB TUBES 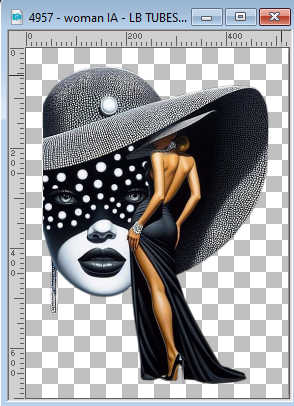 Edit>Copy. Minimize the tube Go back to your work and go to Edit>Paste into Selection. Selections>Select None. Adjust>Blur>Radial Blur. 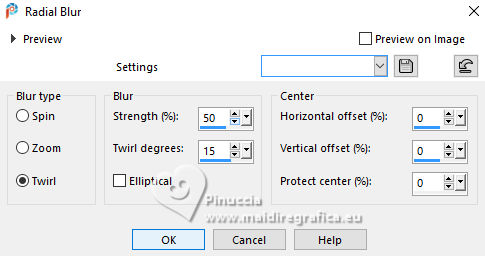 Effects>Reflection Effects>Rotating Mirror.  5. Selections>Load/Save Selection>Load Selection from Disk. Look for and load the selection Night_Dream_sel_3 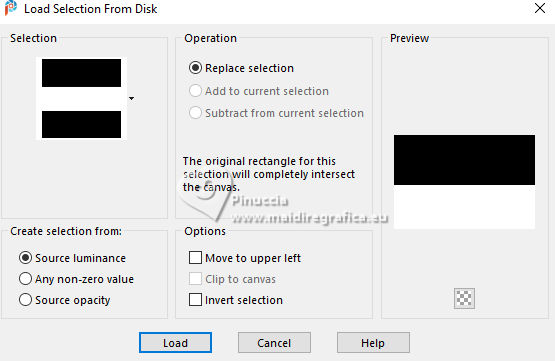 Press CANC on the keyboard  Selections>Select None. Layers>Duplicate. Image>Mirror>Mirror Vertical. K key to activate your Pick Tool  Position X: 0,00 - Position Y: 316,00.  M key to deselect the Tool. 6. We have this 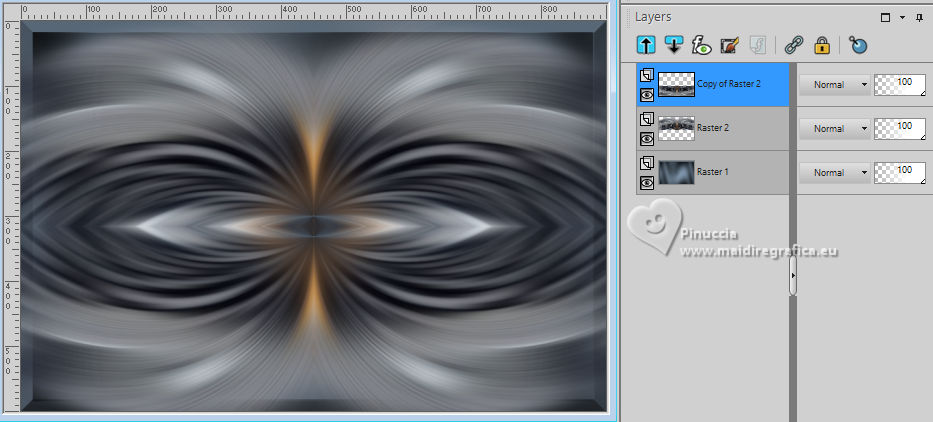 7. Layers>Merge>Merge Down. Selections>Load/Save Selection>Load Selection from Disk. Look for and load again the selection Night_Dream_sel_1  Selections>Invert. Press CANC on the keyboard  Selections>Select None. 8. ---------------------------------------------------- NOTE: the next deco is in the material, if you use it, go to step 11. You can colorize it to your liking. ---------------------------------------------------- Selections>Load/Save Selection>Load Selection from Disk. Look for and load the selection Night_Dream_sel_2 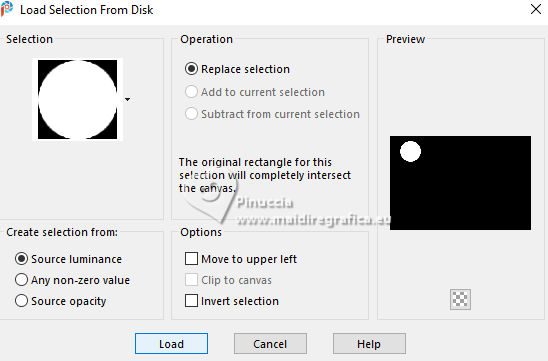 Activate the layer Raster 1. Selections>Promote Selection to Layer. Layers>Arrange>Bring to Top. Keep selected. Effects>Artistic Effects>Balls and Bubbles. Shape  Surface - Material: foreground color #c1cbd9  Illumination - Color: foreground color #c1cbd9  Selections>Select None. 9. Effects>3D Effects>Drop shadow, color #000000.  Repeat Drop Shadow vertical and horizontal -8. Effects>Reflection Effects>Feedback.  Effects>Plugins>Mura's Meister - Copies  Edit>Copy. Edit>Paste as new image, and minimize this image for the moment. 10. Go back to your work. Layers>Delete. Result:  11. Layers>New Raster Layer. Flood Fill  with your foreground color #c1cbd9. with your foreground color #c1cbd9.Layers>New Mask layer>From image Open the menu under the source window and you'll see all the files open. Select the mask Narah_Mask_1480 . 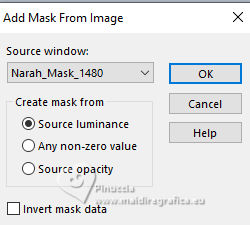 Effects>Edge Effects>Enhance. Layers>Merge>Merge Group. K key to activate your Pick Tool  Position X: 435,00 - Position Y: 0,00.  M key to deselect the Tool. 12. Layers>Duplicate. Image>Mirror>Mirror Horizontal. Layers>Merge>Merge Down. Change the Blend Mode of this layer to Screen. Effects>Edge Effects>Enhance. 13. We have this. 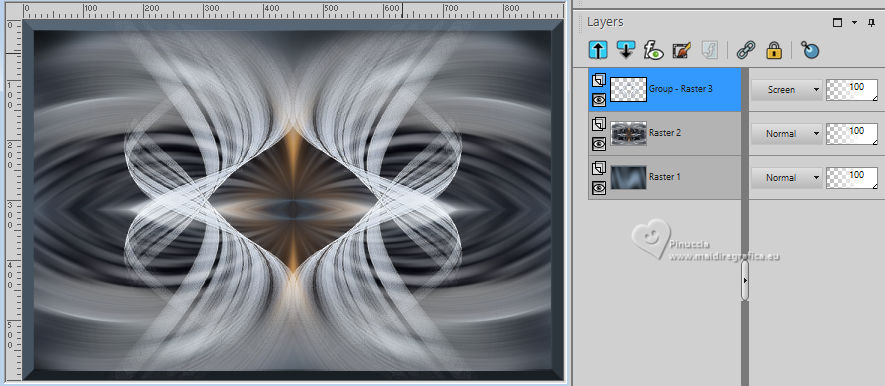 14. Open the tube Face_image 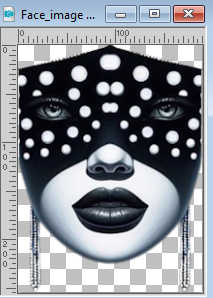 Edit>Copy. Go back to your work and go to Edit>Paste as new layer. Effects>Plugins>Mura's Meister - Copies 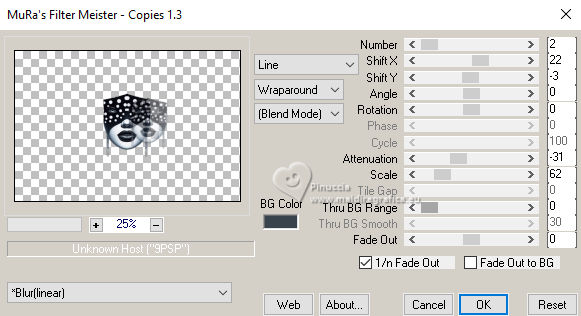 Layers>Duplicate. Image>Mirror>Mirror Horizontal. 15. Layers>Merge>Merge Down. K key to activate your Pick Tool  Position X: 289,00 - Position Y: 191,00.  M key to deselect the Tool. Reduce the opacity of this layer to 63%. Layers>Arrange>Move Down. Adjust>Sharpness>Sharpen. 16. We have this 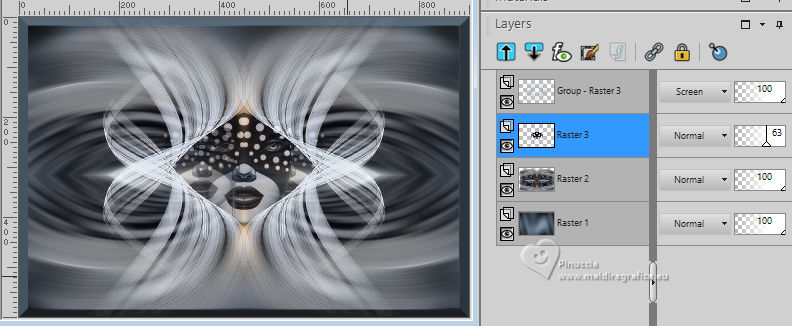 17. NOTE: with your Eraser Tool  erase what is extra over the head 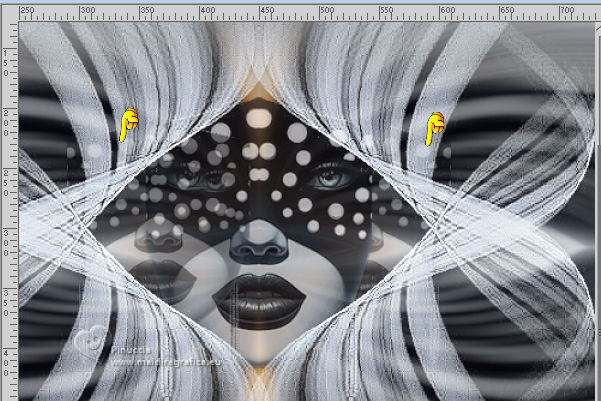 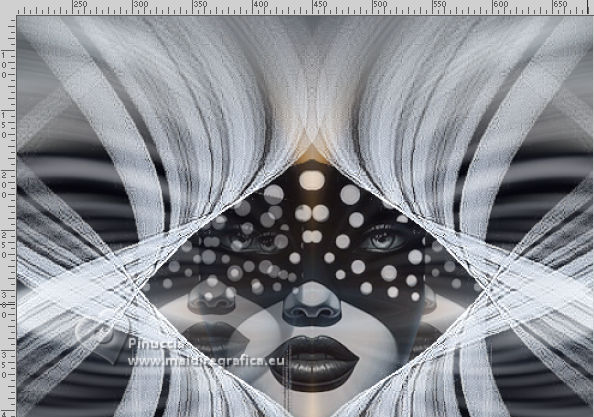 Edit>Copy Special>Copy Merged. Edit>Paste as new image, and minimize also this image. Go back to your work. Image>Add borders, 1 pixel, symmetric, color #000000. Effects>Plugins>AAA Frames - Transparent Frame. 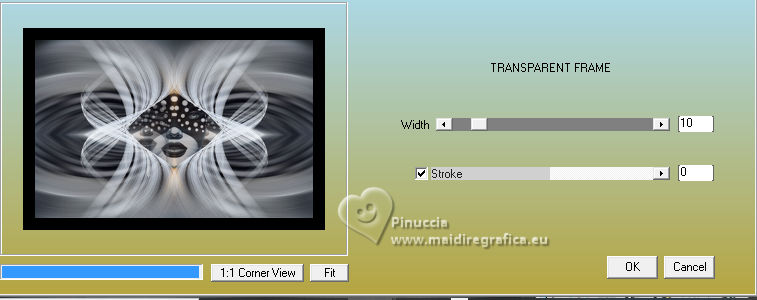 18. Selections>Select All. Image>Add borders, 45 pixels, symmetric, color #ffffff. Selections>Invert. Activate the image minimized at step 17  Edit>Copy. Go back to your work and go to Edit>Paste into Selection. Selections>Invert. 19. Effects>Image Effects>Seamless Tiling.  Again Selections>Invert. Adjust>Blur>Gaussian Blur - radius 15.  Effects>Plugins>VM Toolbox - Instant Tile, default settings  20. Effects>Plugins>AAA Frames - Foto Frame  Effects>Reflection Effects>Rotating Mirror, default settings.  Selections>Select None. 21. Activate again the tube 4957-woman IA-LB TUBES and go to Edit>Copy. Go back to your work and go to Edit>Paste as new layer. K key to activate your Pick Tool  Position X: 27,00 - Position Y: 28,00.  M key to deselect the Tool. Adjust>Sharpness>Sharpen. 22. Activate the image minimized at step 9  Edit>Copy. Go back to your work and go to Edit>Paste as new layer. Image>Mirror>Mirror Horizontal. Objects>Align>Right K key to activate your Pick Tool  Position X: 483,00 - Position Y: -13,00.  M key to deselect the Tool. Reduce the opacity of this layer to 65%. NOTE: erase  the circles left on the central face the circles left on the central face 23. Layers>Duplicate. Image>Mirror>Mirror Vertical. Image>Mirror>Mirror Horizontal. Layers>Arrange>Move Down - 2 times - under your main tube. Again Layers>Duplicate. Image>Mirror>Mirror Horizontal. 24. Open Blue_Silver_Roses2JH_Silvie_20.03.2024  Edit>Copy. Go back to your work and go to Edit>Paste as new layer. K key to activate your Pick Tool  Position X: 722,00 - Position Y: 355,00.  M key to deselect the Tool. Change the Blend Mode of this layer to Luminance (legacy). 25. Effects>Edge Effects>Enhance. Layers>Arrange>Move Down - 2 times - over the background layer. Layers>Duplicate. Image>Mirror>Mirror Vertical. 26. Open LTDStudio_Night_Dream_Texto  Edit>Copy. Go back to your work and go to Edit>Paste as new layer. Layers>Arrange>Bring to Top. K key to activate your Pick Tool  Position X: 553,00 - Position Y: 221,00.  M key to deselect the Tool. Or to your liking. 27. Sign your work. Add the author and the translator's watermarks. Layers>Merge>Merge All and save as jpg. For the tubes of this version thanks Nikita and Laurette    Your versions. Thanks Your versions. Thanks Kika  Marygraphics  If you have problems or doubts, or you find a not worked link, or only for tell me that you enjoyed this tutorial, write to me. |