|
ME AND YOU 

This tutorial, created with PSPX9 has been translated with PSPX7, but it can also be made using other versions of PSP. For this tutorial, you will need:  Thanks for the tubes Drevers and Syl and for the mask Narah. The rest of the material is by Lady Tess. (you find here the links to the material authors' sites)  consult, if necessary, my filter section here Filters Unlimited 2.0 here &<Bkg Kaleidoscope> - Kaleidoscope Persian, Nomads Rug (to import in Unlimited) here &<Bkg Designer sf10I> - Cruncher (to import in Unlimited) here FM Tile Tools - Saturation Emboss here Mehdi - Wavy Lab 1.1 here Mehdi - Sorting Tiles here Carolaine and Sensibility - CS-DLines here AAA Frames - Foto Frame here  You can change Blend Modes according to your colors.  Copy the texture winni.texture in the Textures Folder. Copy the Selections in the Selections Folder. Open the mask in PSP and minimize it with the rest of the material. 1. Set your foreground color to #e3cec9 and your background color to #693d1b. 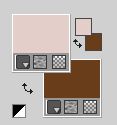 2. Open a new transparent image 900 x 600 pixels. Effects>Plugins>Mehdi - Wavy Lab 1.1. This filter creates gradients with the colors of your Materials palette. The first is your background color, the second is your foreground color. Change the last two colors created by the filtre both with color #d8c5c2 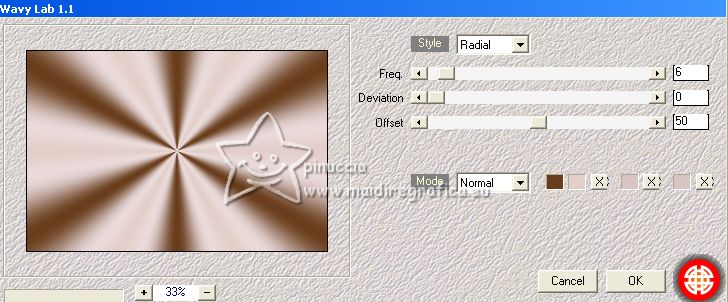 Layers>Duplicate. Adjust>Blur>Gaussian Blur - radius 30.  3. Effets>Modules Externes>Filters Unlimited 2.0 - &<Bkg Kaleidoscope> - Kaleidoscope Persian, default settings. 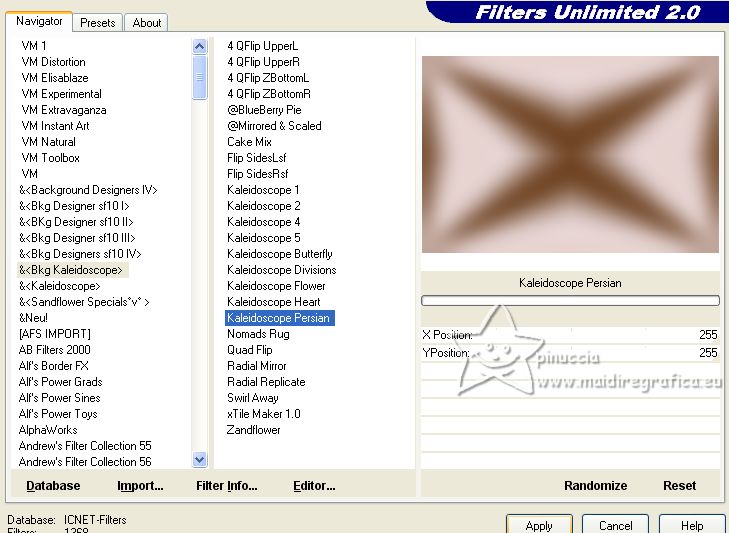 Layers>Duplicate. 4. Selections>Load/Save Selection>Load Selection from disk. Look for and load the selection Me&You_sel_1 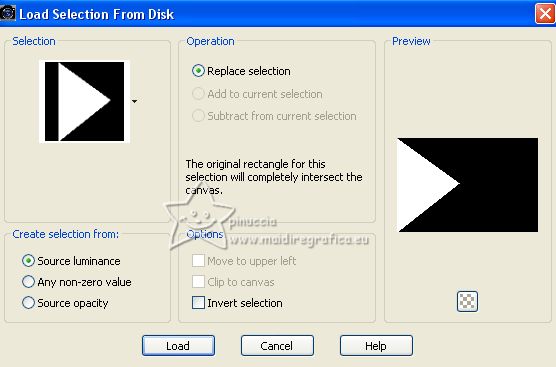 Press CANC on the keyboard  Again Selections>Load/Save Selection>Load Selection from disk. Look for and load the selection Me&You_sel_2 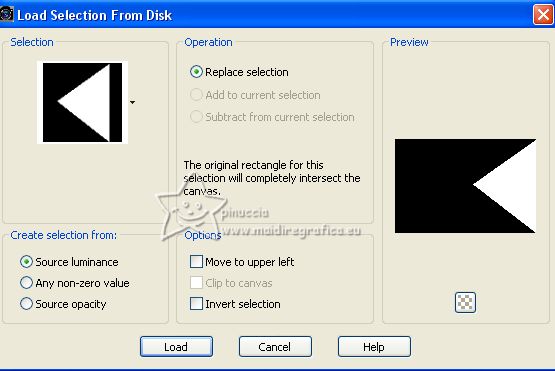 Press CANC on the keyboard. Selections>Select None. 5. Activate the layer below Copy of Raster 1. Layers>New Raster Layer. Selections>Select All. Open SvB Buitenleven 22 misted 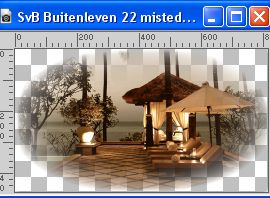 Edit>Copy. Go back to your work and go to Edit>Paste into Selection. Selections>Select None. You should have this 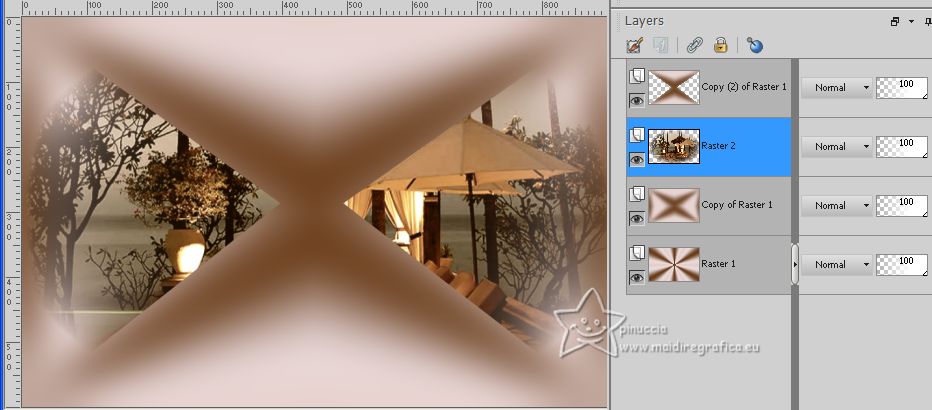 6. Activate the top layer Copy (2) of Raster 1. Effects>Plugins>Filters Unlimited 2.0 - &<Bkg Kaleidoscope> - Nomads Rug, default settings 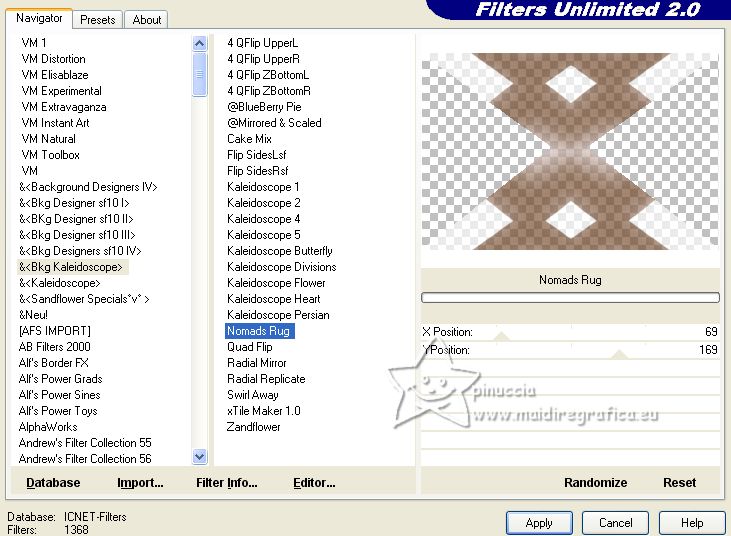 Effects>Plugins>Filers Unlimited 2.0 - &<Bkg Designer sf10I> - Cruncher, default settings 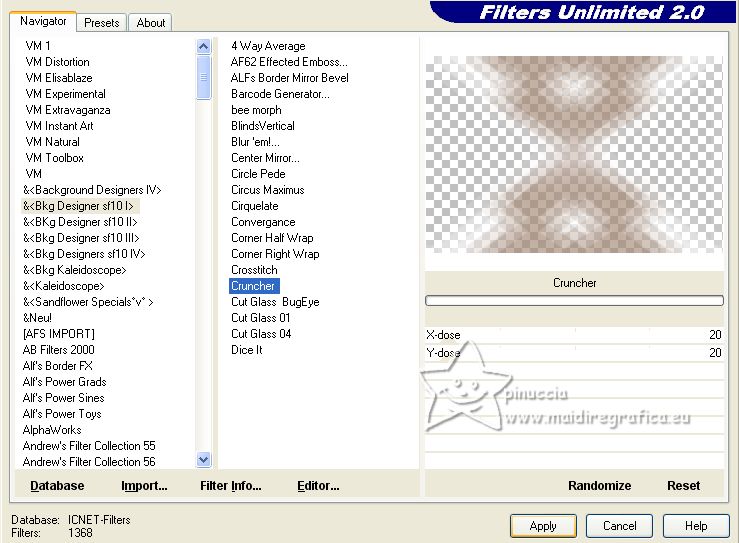 7. Effects>Edge Effects>Enhance. Effects>Reflexion Effects>Rotating Mirror, default settings.  8. Set your foreground color to #f1e7e5 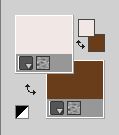 Layers>New Raster Layer. Flood Fill  the layer with the new foreground color. the layer with the new foreground color.Layers>New Mask layer>From image Open the menu under the source window and you'll see all the files open. Select the mask NarahsMasks_1682 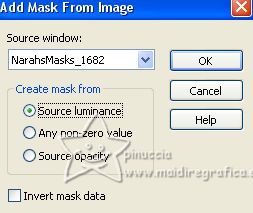 Layers>Merge>Merge Group. Selections>Load/Save Selection>Load Selection from disk. Look for and load the selection Me&You_sel_3 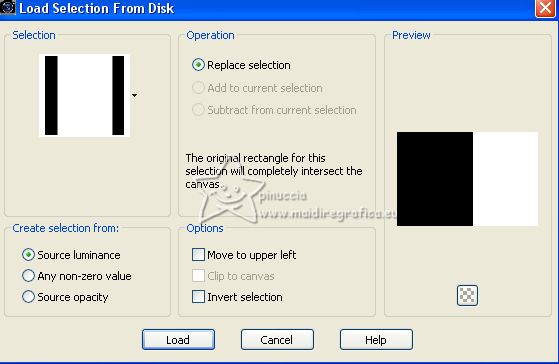 Press CANC on the keyboard. Selections>Select None. 9. Effects>Texture Effects>Texture - select the texture winni.texture. 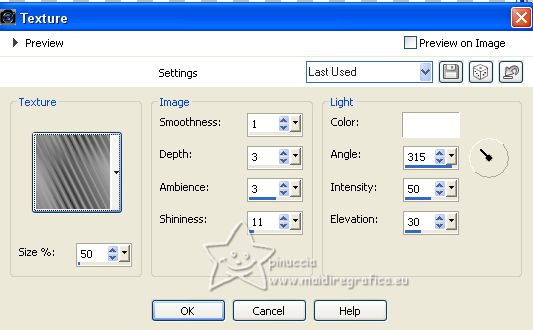 Layers>Duplicate. Image>Mirror. Layers>Merge>Merge Down. Layers>Duplicate. Image>Flip. 10. Activate the layer below, Group-Raster 3. Reduce the opacity of this layer to 73%. Adjust>Sharpness>Sharpen. 11. You should have this 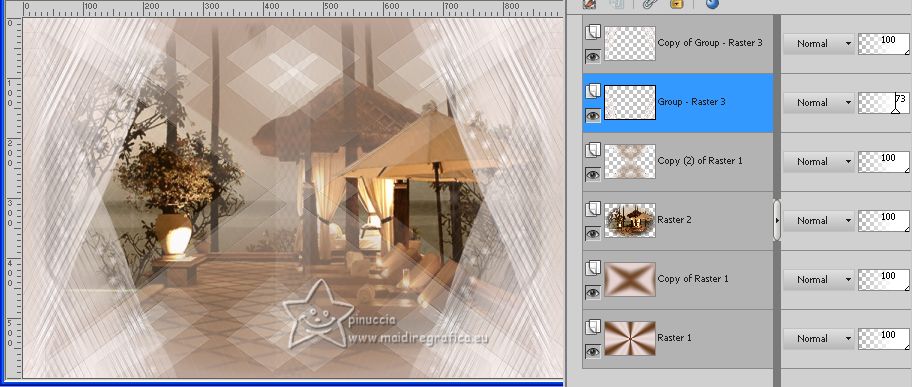 12. Stay on this layer. Open the tube Drevers_woman_273 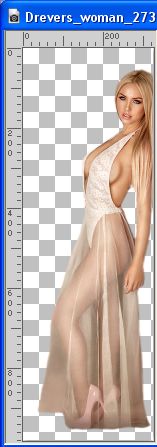 Edit>Copy. Go back to your work and go to Edit>Paste as new layer. Image>Resize, to 65%, resize all layers not checked. Objects>Align>Right. 13. Effects>3D Effects>Drop Shadow, colore #28170a. 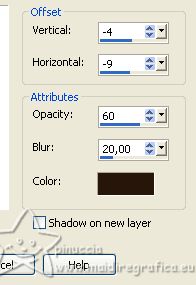 Effects>Plugins>FM Tile Tools - Saturation Emboss, default settings.  Layers>Duplicate. Image>Mirror. 14. Activate the layer Raster 1. Edit>Copy. Edit>Paste as new image. Go back to your work. Image>Add borders, 1 pixel, symmetric, color #000000. Image>Add borders, 10 pixels, symmetric, color #e3cec9. 15. Effects>Plugins>AAA fframes - Foto Frame. 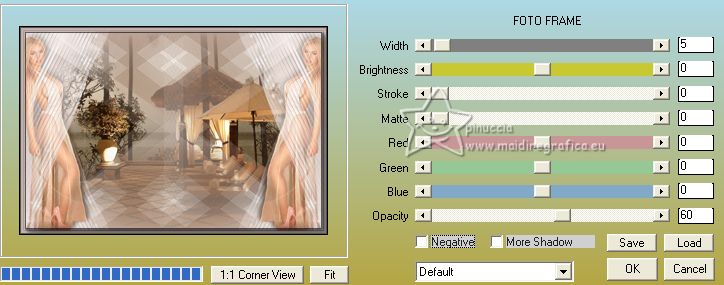 Selections>Select All. Image>Add borders, 40 pixels, symmetric, color #ffffff. Selections>Invert. 16. Edit>Paste into Selection (the image minimized at step 14 is still in memory). Effects>Plugins>Carolaine and Sensibility - CS-DLines, default settings. 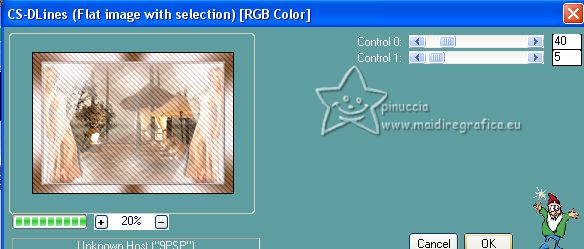 Adjust>Sharpness>Sharpen More. 17. Effects>Edge Effects>Enhance. Effects>Plugins>AAA Frames - Foto Frame. 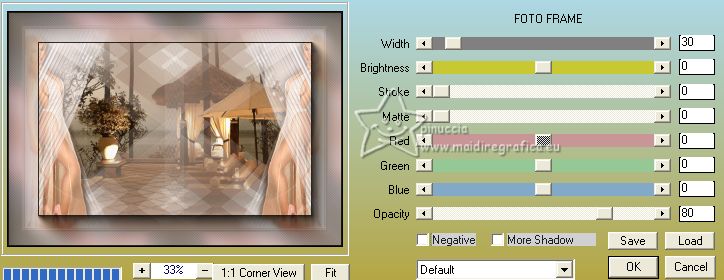 Selections>Select None. 18. Open Drevers_misted_couple_68 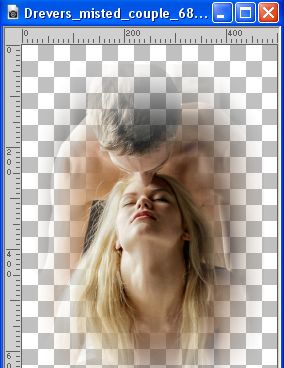 Edit>Copy. Go back to your work and go to Edit>Paste as new layer. Image>Resize, to 85%, resize all layers not checked. K key to activate your Pick Tool  and set Position X: 310,00 and Position Y: 112,00.  M key to deselect the tool. Adjust>Sharpness>Sharpen More. 19. Open LTDStudio_Me&You_Texto  Edit>Copy. Go back to your work and go to Edit>Paste as new layer. Objects>Align>Haut Objects>Horizontal Center, see my example. 20. Sign your work on a new layer. Add the author and translator's watermarks. Save as jpg. For the tubes of this version thanks Guismo, Syl and Drevers   Your versions. Thanks  If you have problems or doubts, or you find a not worked link, or only for tell me that you enjoyed this tutorial, write to me. |