|
LATIKA 

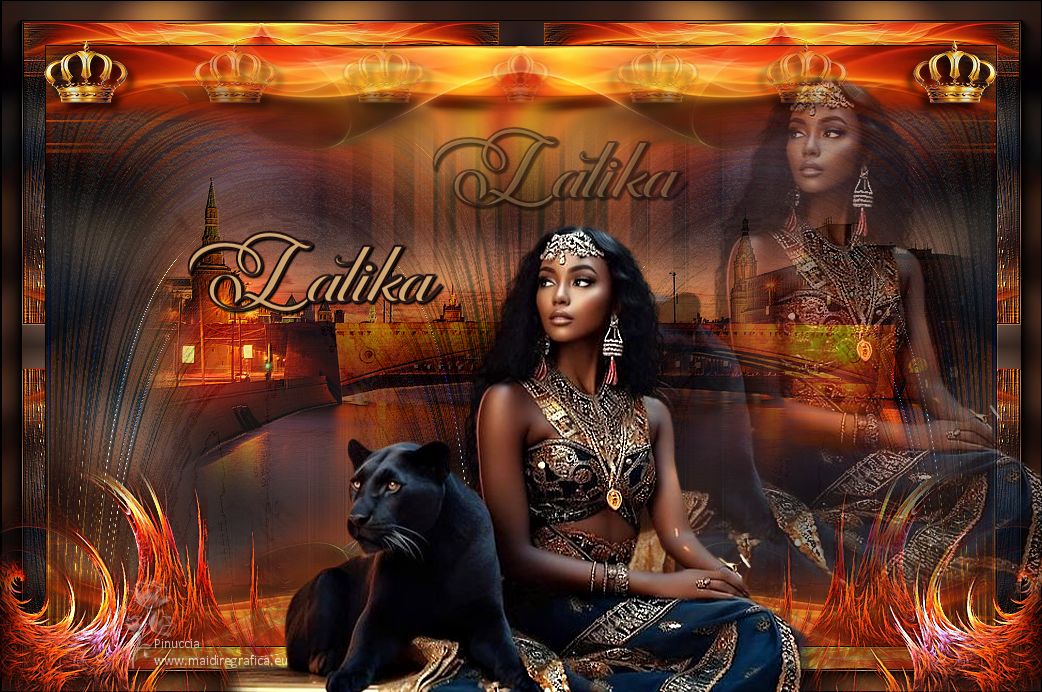
This tutorial, created with PSPX9 has been translated with PSPX2, but it can also be made using other versions of PSP. For this tutorial, you will need:  Thanks for the tubes Beatriz, Jeanne and for the mask Narah. The rest of the material is by Lady Tess (you find here the links to the material authors' sites)  consult, if necessary, my filter section here Filters Unlimited 2.0 here FM Tile Tools - Blend Emboss, Saturation Emboss here Mura's Meister - Copies here Alien Skin Eye Candy 5 Impact - Motion Trail here AAA Frames - AAA Foto Frame here  You can change Blend Modes according to your colors. In the newest versions of PSP, you don't find the foreground/background gradient (Corel_06_029). You can use the gradients of the older versions. The Gradient of CorelX here  Open the mask in PSP and minimize it with the rest of the material. 1. Set your foreground color to #b99362 and your background color to #183651. 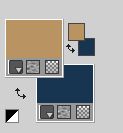 Set your foreground color to a Foreground/Background Gradient, style Rectangular. 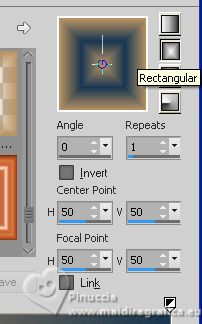 2. Open a new transparent image 900 x 600 pixels. Selections>Select All. Open the tube 3940-woman-LB TUBES 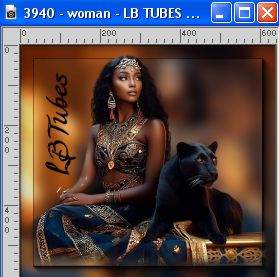 Activate the background layer, Raster 2. Edit>Copy. Minimize the tube. Go back to your work and go to Edit>Paste into Selection. Selections>Select None. 3. Adjust>Blur>Gaussian Blur - radius 20.  Effects>Reflection Effects>Rotating Mirror, default settings.  Effects>Image Effects>Seamless Tiling, default settings.  4. Layers>Duplicate. Layer>New Raster Layer. Flood Fill  the layer with your Gradient. the layer with your Gradient.5. Layers>New Mask layer>From image Open the menu under the source window and you'll see all the files open. Select the mask NarahsMasks_1547. 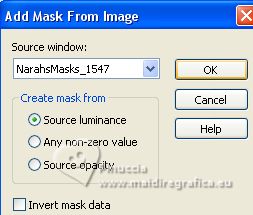 Effects>Edge Effectes>Enhance More. Layers>Merge>Merge Group. 6. Change the Blend Mode of this layer to Hard Light. Effects>Plugins>FM Tile Tools - Saturation Emboss, default settings.  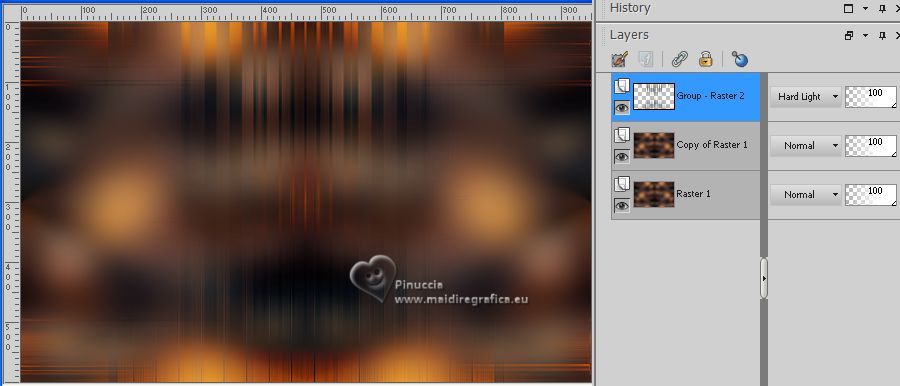 7. Activate the layer below Copy of Raster 1. Open the tube Jeanne_Backgr_brug_23_05_2014 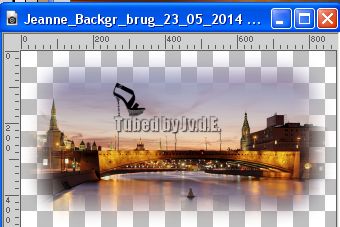 Edit>Copy. Go back to your work and go to Edit>Paste as new layer. Objets>Align>Right. Objects>Align>Top. 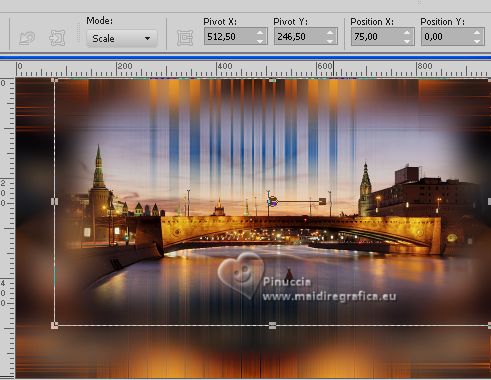 8. Change the Blend Mode of this layer to Overlay. Effects>Plugins>FM Tile Tools - Saturation Emboss, default settings.  9. Activate the top layer of the mask, Group-Raster 2. Layers>Duplicate. Effects>Distortion Effects>Polar Coordinates.  Effects>User Defined Filter - Select the preset Brighten grave and checked Color Channels  10. Keep the Blend Mode of this layer to Hard Light.  11. Effects>Reflection Effects>Rotating Mirror, same settings.  Open the tube 902-fire-LB TUBES  Edit>Copy. Go back to your work and go to Edit>Paste as new layer. Image>Flip. Image>Resize, to 60%, resize all layers not checked. 12. Objects>Align>Left. Objects>Align>Top. 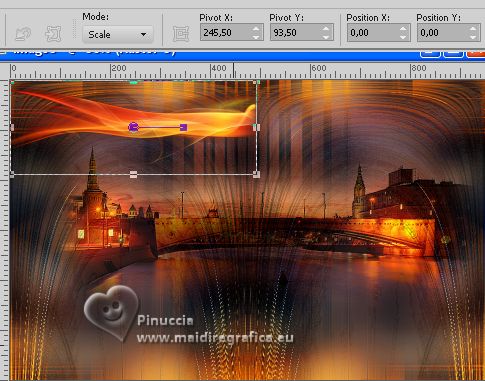 Layers>Duplicate. Image>Mirror. Layers>Merge>Merge Down. Effects>Reflection Effects>Rotating Mirror, same settings.  13. K key to activate your Pick Tool  keep Position X: 0,00 and set Position Y: -64,00. 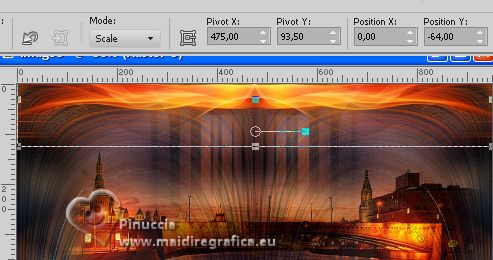 Effects>Plugins>Alien Skin Eye Candy 5 Impact - Motion Trail. 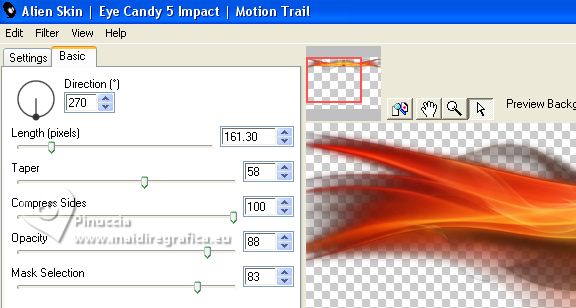 Layers>Duplicate. Image>Flip. Reduce the opacity of this layer to 77%. Adjust>Sharpness>Sharpen More. 14. We have this 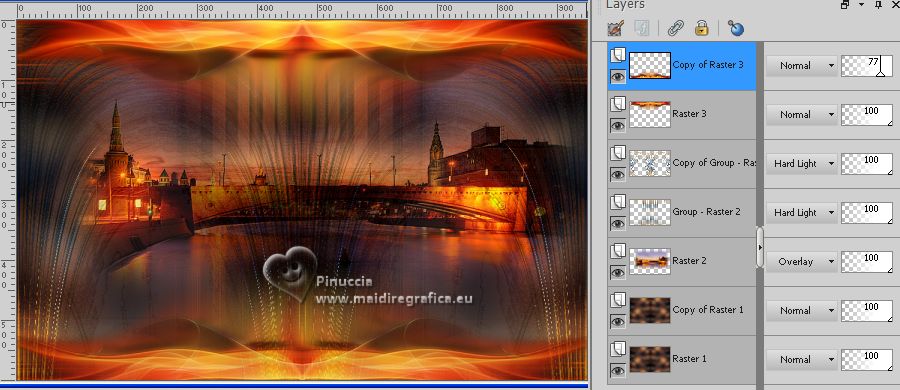 15. Activate your bottom layer - Raster 1. Edit>Copy Edit>Paste as new image, for caution, and minimize this image. Go back to your work. Image>Add borders, 1 pixel, symmetric, color #000000. Selections>Select All. Image>Add borders, 45 pixels, symmetric, color #ffffff. 16. Selections>Invert. Edit>Paste into Selection. Effects>Plugins>Filters Unlimited 2.0 - Tile & Mirror - Mirrored Scales 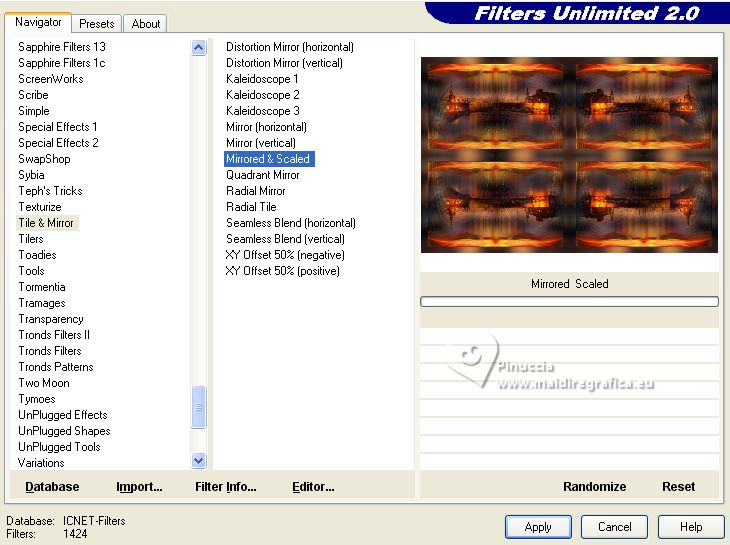 17. Effects>Plugins>FM Tile Tools - Blend Emboss, default settings.  Effects>Plugins>AAA Frames - Foto Frame. 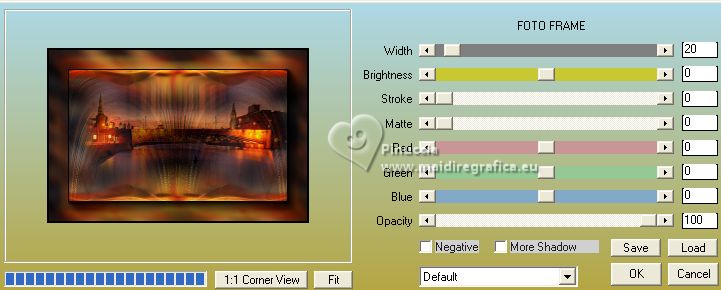 Effects>Reflections Effects>Rotating Mirror, same settings.  Selections>Select None. 18. Activate again the tube 3940-woman-LB TUBES Activate the layer of the tube Note: if the tube is very large, it is convenient to resize, it, otherwise the Mura's Effect cannot be seen Image>Mirror. you can close the tube without saving changes Edit>Copy. Go back to your work and go to Edit>Paste as new layer. Effects>Plugins>Mura's Meister - Copies. 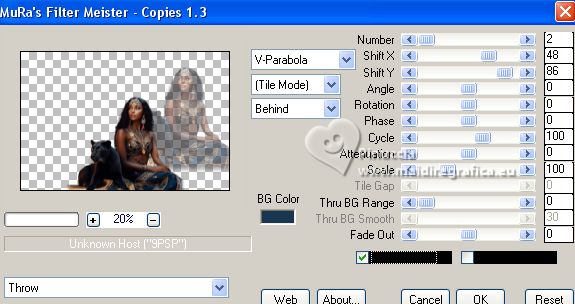 You can adapt the settings according to your tube: the Shift X settings is used to move the blurry copy of the tube, to move it closer or further away from the original; the Shift Y settings is used to correct the position of the original tube 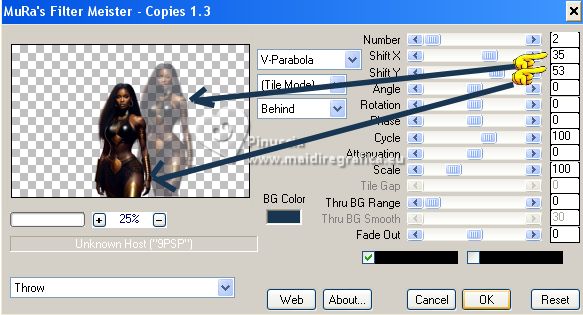 Adjust>Brightness and Contrast>Fill Light/Clarity this step will depend on your tube 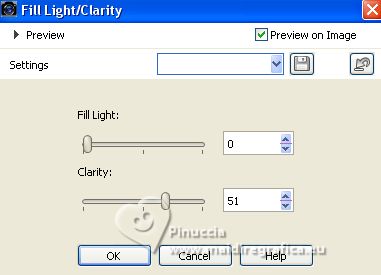 19. Open LTDStudio_Latika_Deco 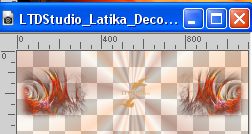 (optional). (optional).Edit>Copy. Go back to your work and go to Edit>Paste as new layer. Layers>Arrange>Move Down. Objects>Align>Bottom Move  slightly down, see my example. slightly down, see my example.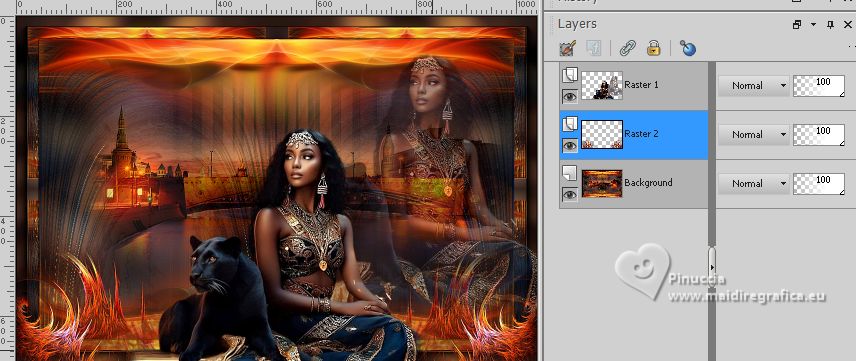 20. Activate again your top layer. Open LTDStudio_Latika_Deco_1  Edit>Copy. Go back to your work and go to Edit>Paste as new layer. Objects>Align>Haut. Move  slightly down, see my example. slightly down, see my example.21. Open LTDStudio_Latika_Texto 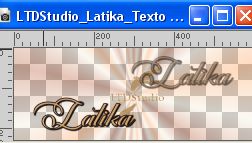 Edit>Copy. Go back to your work and go to Edit>Paste as new layer. Move  the text to your liking. the text to your liking.Sign your work on a new layer. Add the author and the translator's watermarks. Layers>Merge>Merge All and save as jpg. For the tubes of these versions thanks Beatriz; the misted are mine. 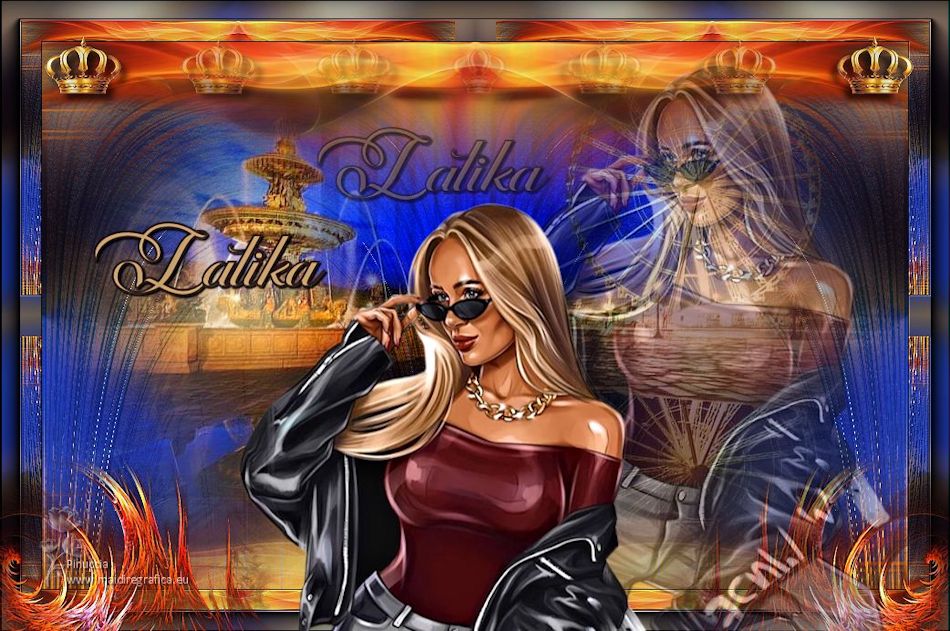   Your versions. Thanks 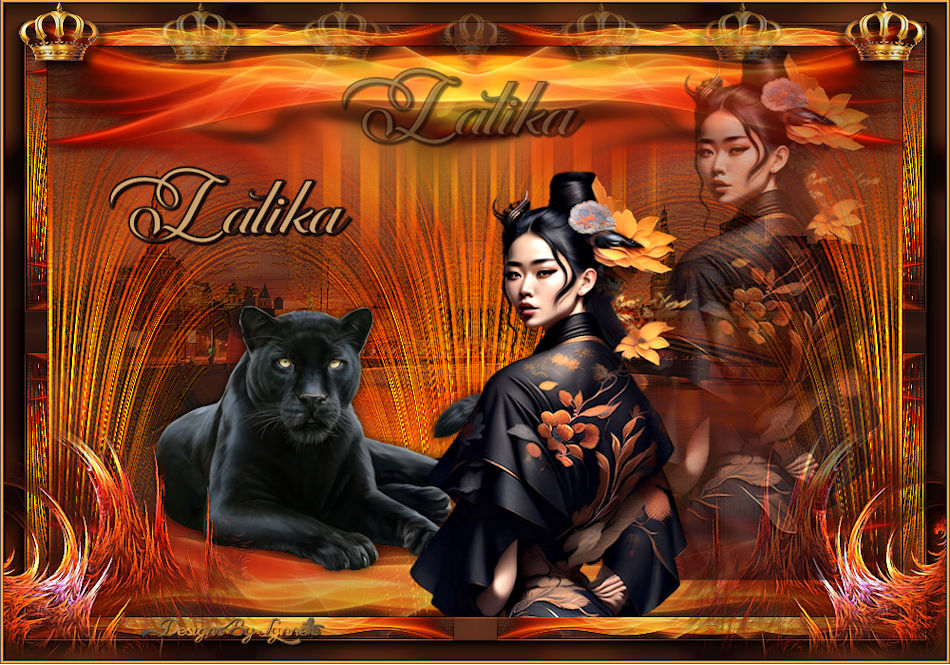 Lynnette 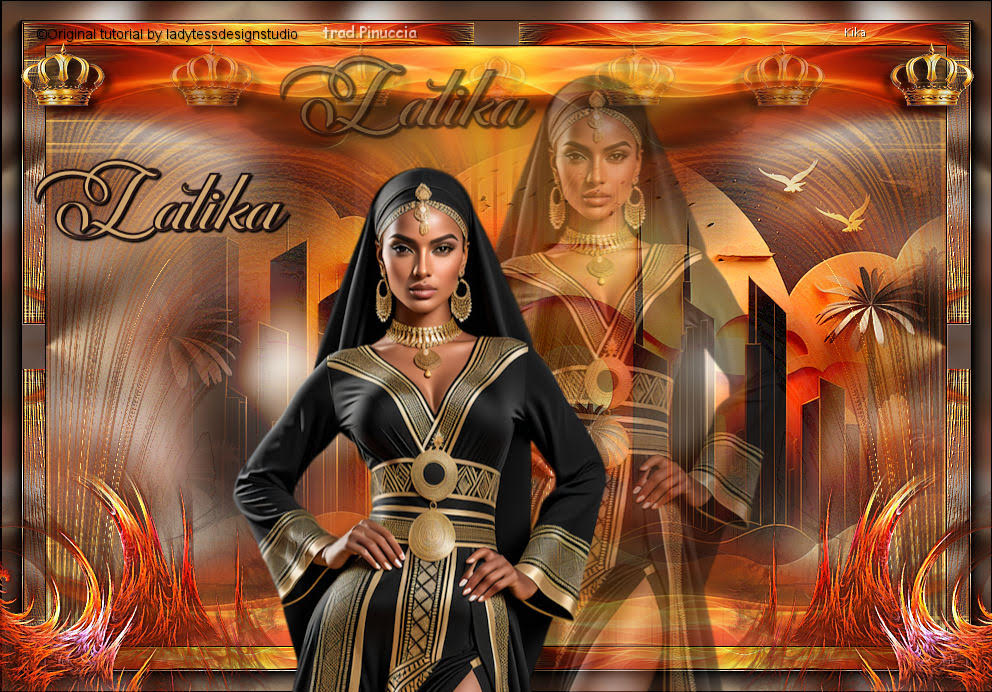 Kika  If you have problems or doubts, or you find a not worked link, or only for tell me that you enjoyed this tutorial, write to me. |
