|
KATTY 

This tutorial, created with PSPX9 has been translated with PSPX2 and PSPX3, but it can also be made using other versions of PSP. For this tutorial, you will need:  Thanks for the tubes and the mask Beatriz, Clo and Narah. The rest of the material is by Lady Tess. (you find here the links to the material authors' sites)  consult, if necessary, my filter section here Filters Unlimited 2.0 here &>Bkg Designer sf10 I> - Cruncher (to import in Unlimited) here Mehdi - Wavy Lab, Sorting Tiles here Andrew's Filter 38 - Multiple Lines here &<Sandflower Specials °v°> - Page Curl Romance (to import in Unlimited) here Xero - Clarity here AAA Frames - Foto Frame here Filters Tramages can be used alone or imported into Filters Unlimited. (How do, you see here) If a plugin supplied appears with this icon  You can change Blend Modes according to your colors.  Copy the Selection in the Selections Folder. Open the mask in PSP and minimize it with the rest of the material. 1. Set your foreground color to #b0c9e6 and your background color to #214e6f. 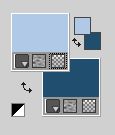 2. Open a new transparent image 900 x 600 pixels. Effects>Plugins>Mehdi - Wavy Lab This filter creates gradients with the colors of your Materials palette. The first is your background color, the second is your foreground color. Change the last colors created by the filtre with your background color #214e6f. 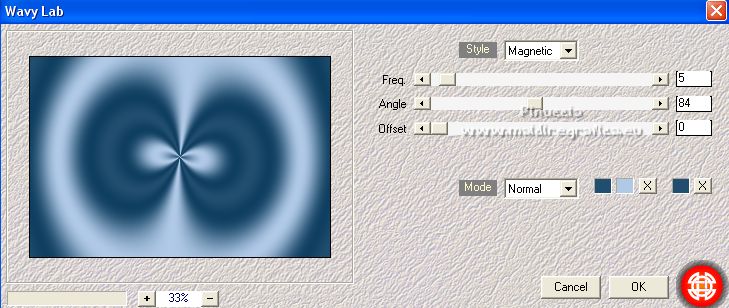 Layers>Duplicate. Adjust>Blur>Gaussian Blur - radius 35. 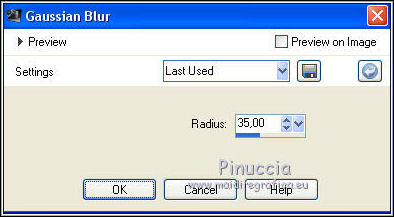 Effects>Plugins>Mehdi - Sorting Tiles 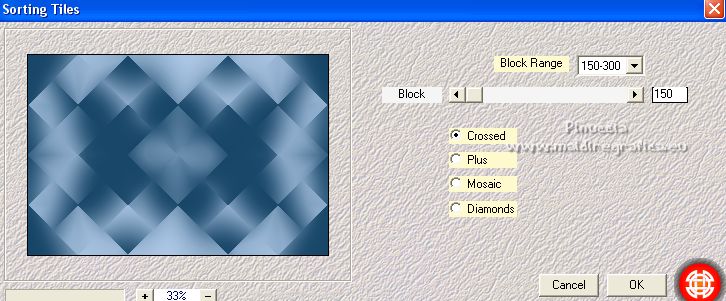 Adjust>Sharpness>Sharpen. 3. Set your foreground color to white #ffffff. 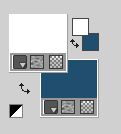 Layers>New Raster Layer. Flood Fill  with color #ffffff with color #ffffffLayers>New Mask layer>From image Open the menu under the source window and you'll see all the files open. Select the mask Narah_Mask_1500 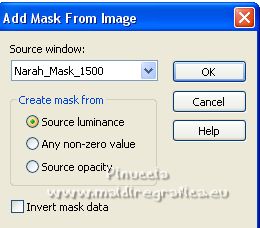 Effects>Edge Effects>Enhance. Layers>Merge>Merge Group. 4. Effects>Reflection Effects>Rotating Mirror.  5. You should have this 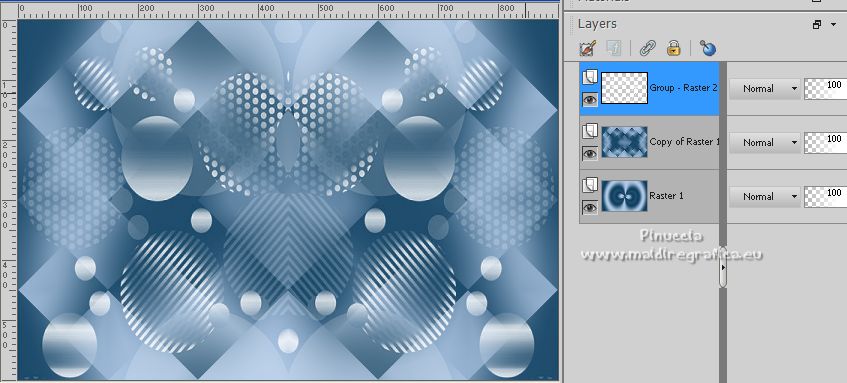 6. Activate the layer below, Copy of Raster 1. Open Paesaggio100_byClo 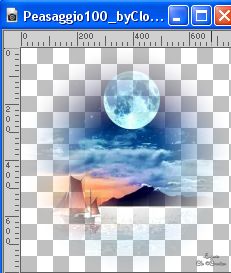 Erase the watermark and go to Edit>Copy. Go back to your work and go to Edit>Paste as new layer. Effects>Plugins>Xero - Clarity 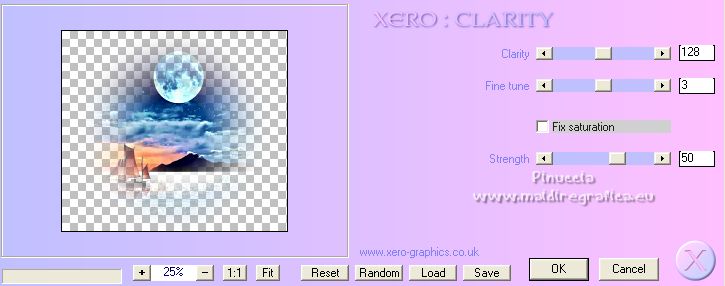 7. Effects>Image Effects>Offset. 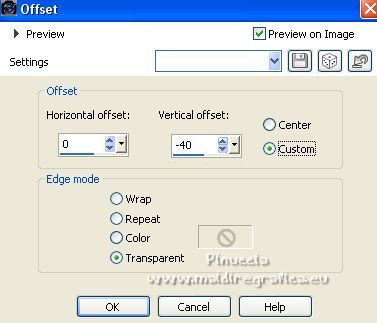 You should have this 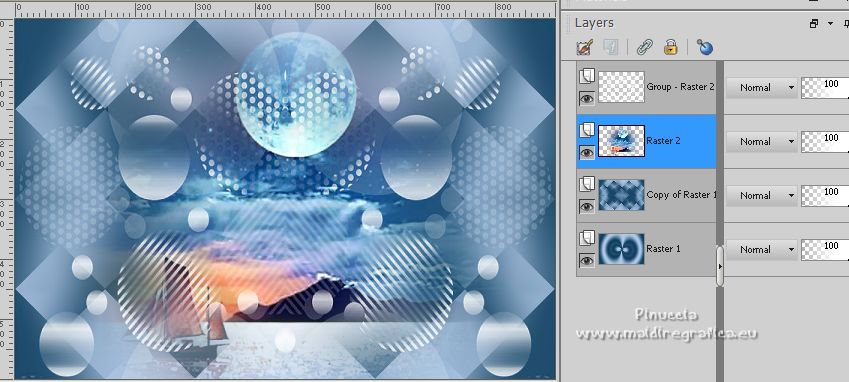 8. Activate again the layer Copy of Raster 1 (the second from the bottom). Selections>Load/Save Selection>Load Selection from Disk. Look for and load the selection Katty_sel_1 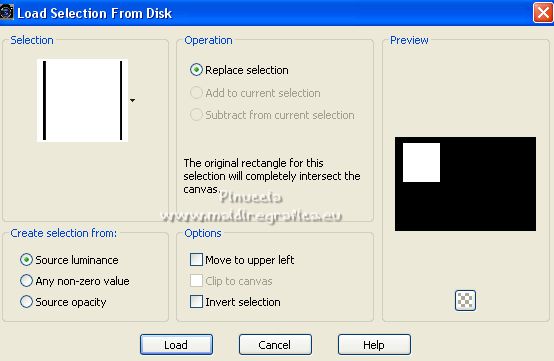 Selections>Promote Selection to layer. Layers>Arrange>Bring to Top. 9. Adjust>Blur>Gaussian Blur - radius 15.  Effects>Edge Effects>Enhance More. Layers>Duplicate. Flood Fill  with color white #ffffff with color white #ffffffSelections>Modify>Contract - 5 pixels. Flood Fill  with your background color #214e6f. with your background color #214e6f.10. Selections>Modify>Contract - 2 pixels. Flood Fill  with color white #ffffff with color white #ffffffSelections>Modify>Contract - 5 pixels Press CANC on the keyboard  Layers>Merge>Merge Down. 11. You should have this  12. Effects>Plugins>Filters Unlimited 2.0 - Andrew's Filter 38 - Multiple Lines, default settings.  Adjust>Sharpness>Sharpen. 13. Layers>New Raster Layer. Open 3861-woman-LB TUBES  Edit>Copy. Go back to your work and go to Edit>Paste into Selection. Selections>Select None. 14. Effects>Plugins>Xero - Clarity, same settings. Effects>3D Effects>Drop Shadow, color black #000000.  Layers>Merge>Merge Down. 15. Layers>Duplicate. Activate the layer below, Promoted Selection. Effects>Plugins>Filters Unlimited 2.0 - &>Bkg Designer sf10 I> - Cruncher, default settings  16. Effects>Plugins>Filters Unlimited 2.0 - Andrew's Filter 38 - Multiple Lines, same settings  Effects>Edge Effects>Enhance Mas. Edit>Enhance Edges More. Activate the top layer. Layers>Merge>Merge Down. 17. You should have this  18. Objects>Align>Horz.Center in Canvas  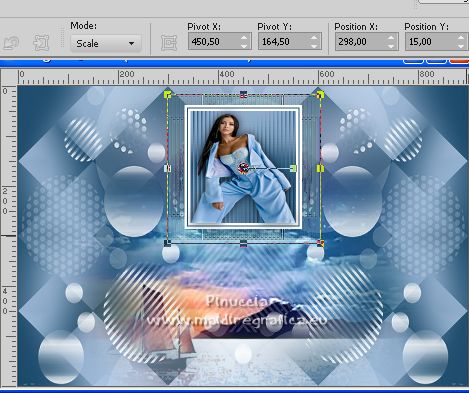 Layers>Duplicate. Image>Resize, to 80%, resize all layers not checked. K key on the keyboard to activate your Pick Tool  and set Position X: 651,00 et Position Y: 338,00.  M key to deselect the tool.  You should have this 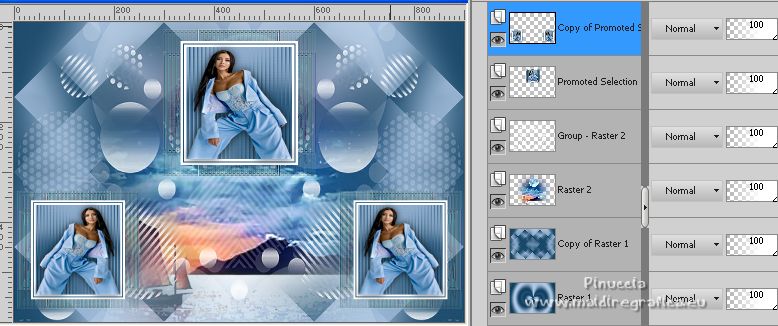 19. Close the layer Raster 1. Layers>Merge>Merge Visible. Image>Resize, to 90%, resize all layers not checked. Effects>Plugins>Xero - Clarity, same settings. 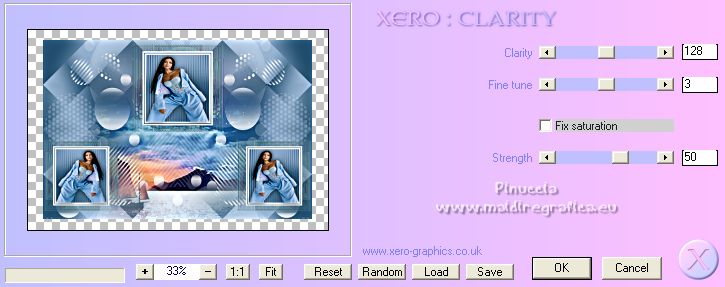 Open and activate the layer Raster 1. Edit>Copy. Edit>Paste as new image. Minimize this image. 20. Go back to your work and activate the layer Merged. Effects>3D Effects>Drop Shadow, color black #000000. 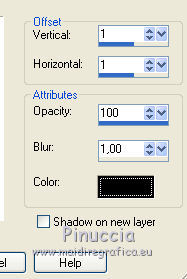 Repeat Drop Shadow, vertical and horizontal -1. 21. Effects>Plugins>Filters Unlimited Unlimited 2.0 - &<Sandflower Specials °v°> - Page Curl Romance 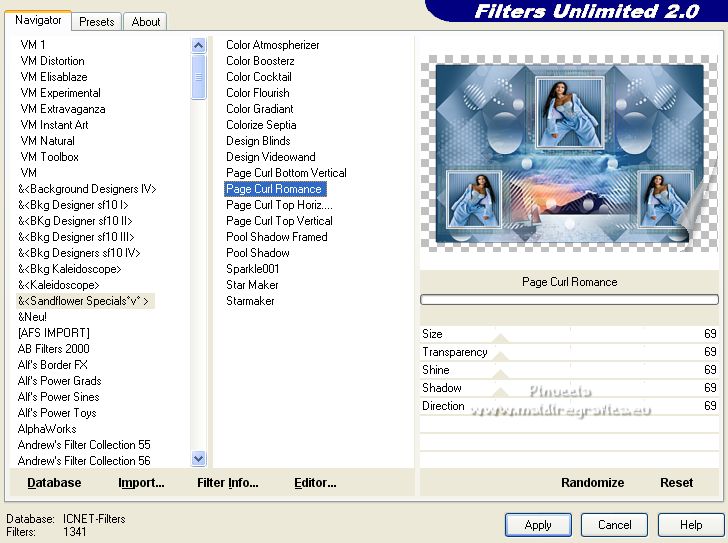 Repeat Effects>Plugins>Filters Unlimited Unlimited 2.0 - &<Sandflower Specials °v°> - Page Curl Romance Direction 57 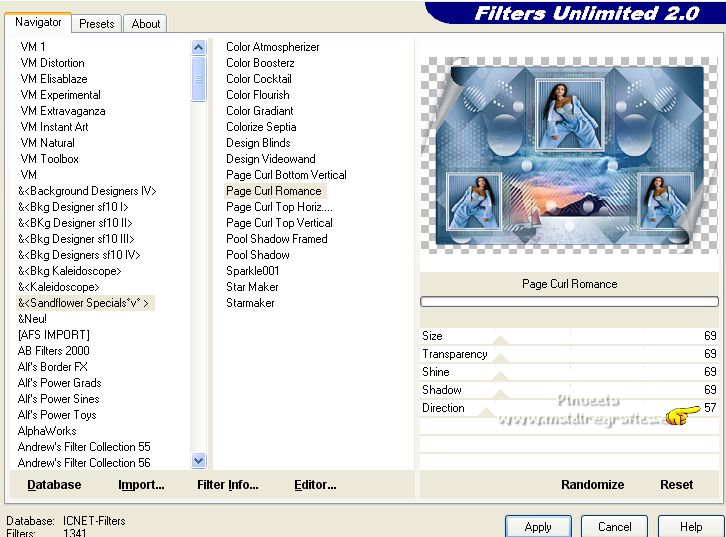 Activate the bottom layer, Raster 1. Effects>Plugins>Filters Unlimited 2.0 - Tile & Mirror - Kaleidoscope 1, default settings 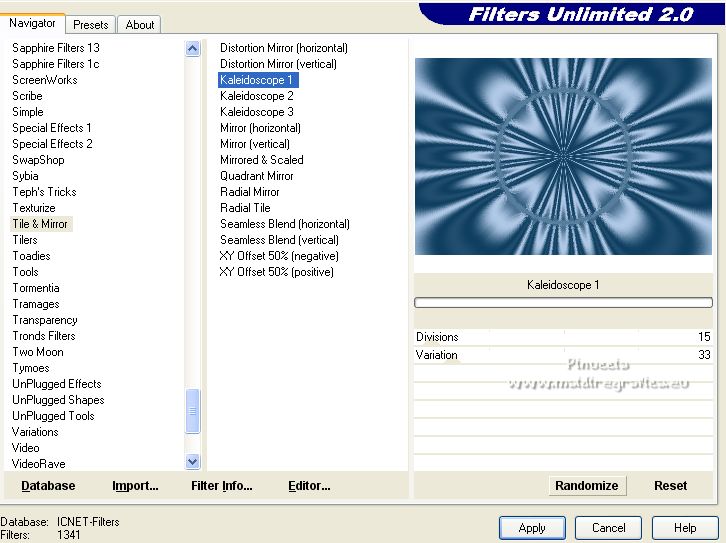 Adjust>Blur>Gaussian Blur - radius 10.  Result 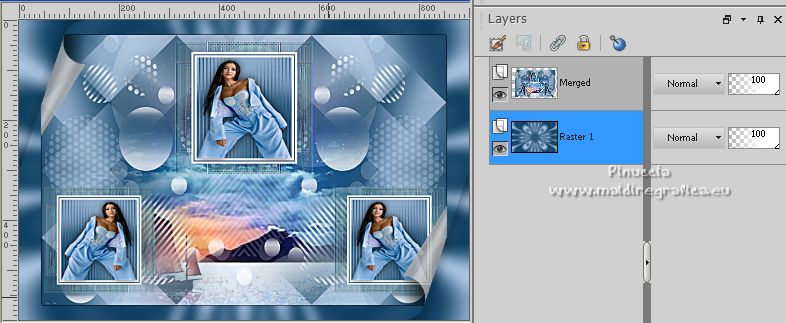 22. Image>Add borders, 1 pixel, symmetric, color #000000 Selections>Select All. Image>Add borders, 30 pixels, symmetric, color #ffffff. Selections>Invert. 23. Edit>Paste into Selection (the image minimized at step 19 should still be in memory). Effects>Plugins>Filters Unlimited 2.0 - Andrew's Filter 38 - Multiple Lines. 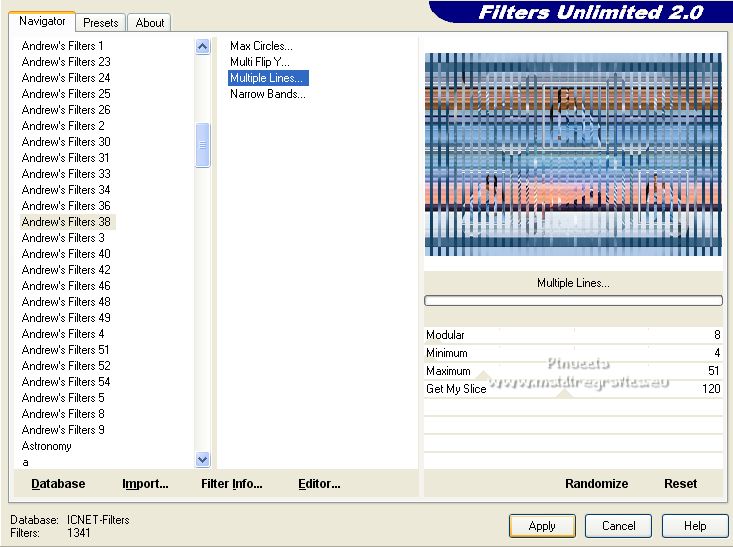 Effects>Plugins>AAA Frames - Foto Frame 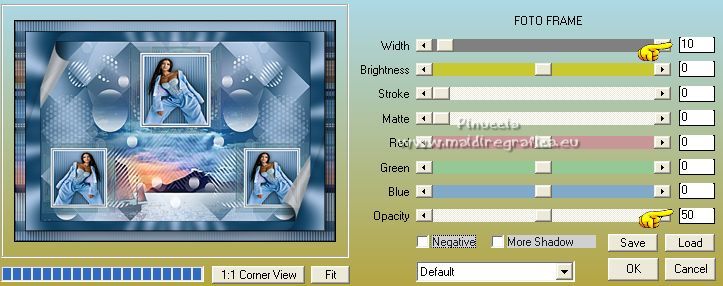 Selections>Select None. 24. Activate again the tube 3861-woman-LB TUBES and go to Edit>Copy. Go back to your work and go to Edit>Paste as new layer. Objets>Align>Bottom. 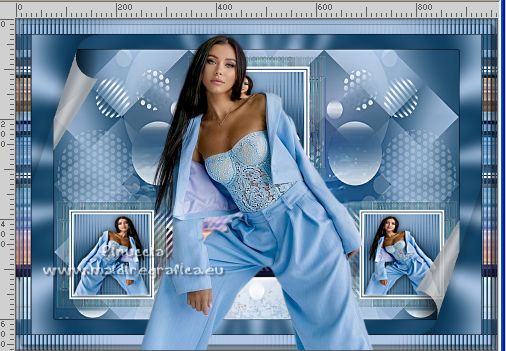 Effects>3D Effects>Drop Shadow, color black #000000. 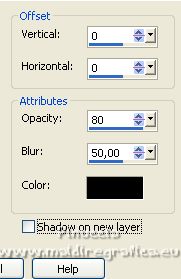 Effects>Plugins>Xero - Clarity, same settings. 25. Open LTDStudio_Katty_Texto 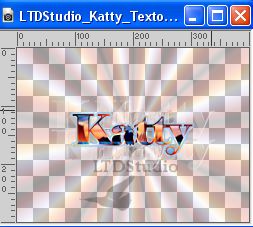 Edit>Copy. Go back to your work and go to Edit>Paste as new layer. Place  the text to your liking. the text to your liking.Layers>Merge>Merge All. 26. Sign your work. Add the author and translator watermarks. If you want send your work: Image>Resize, 900 pixels width, resize all layers checked. Adjust>Sharpness>Unsharp Mask. 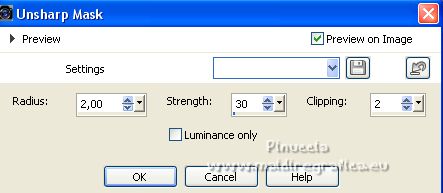 Save as jpg. For the tubes of this version thanks Tocha and Beatriz 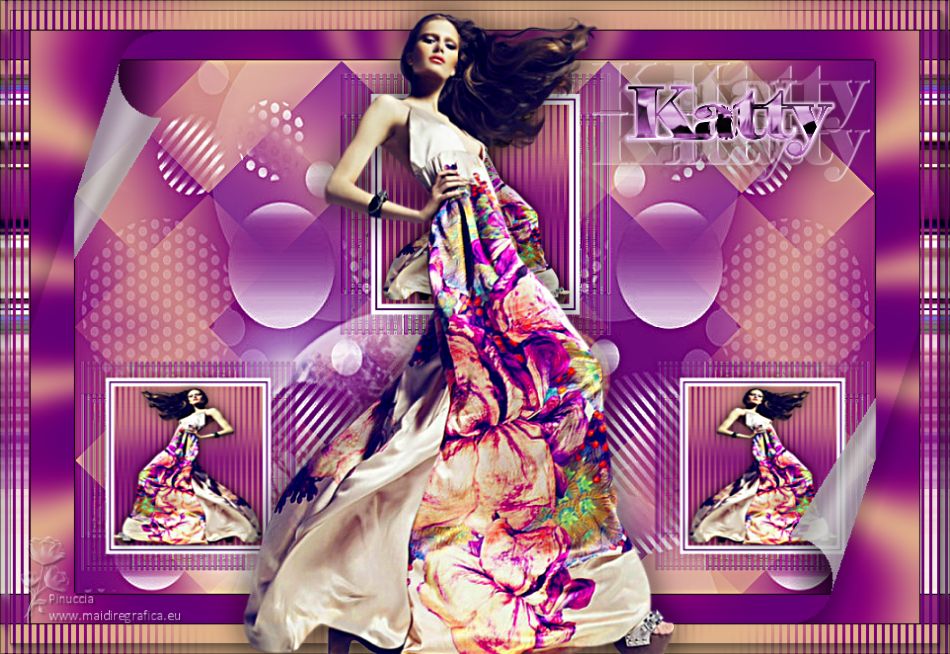  Your versions. Thanks 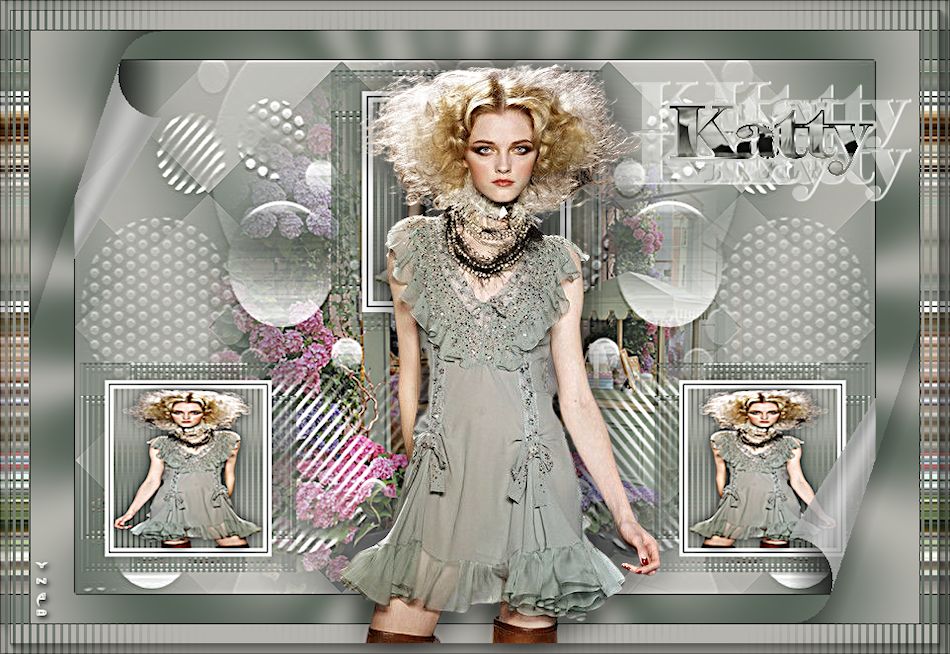 Dany 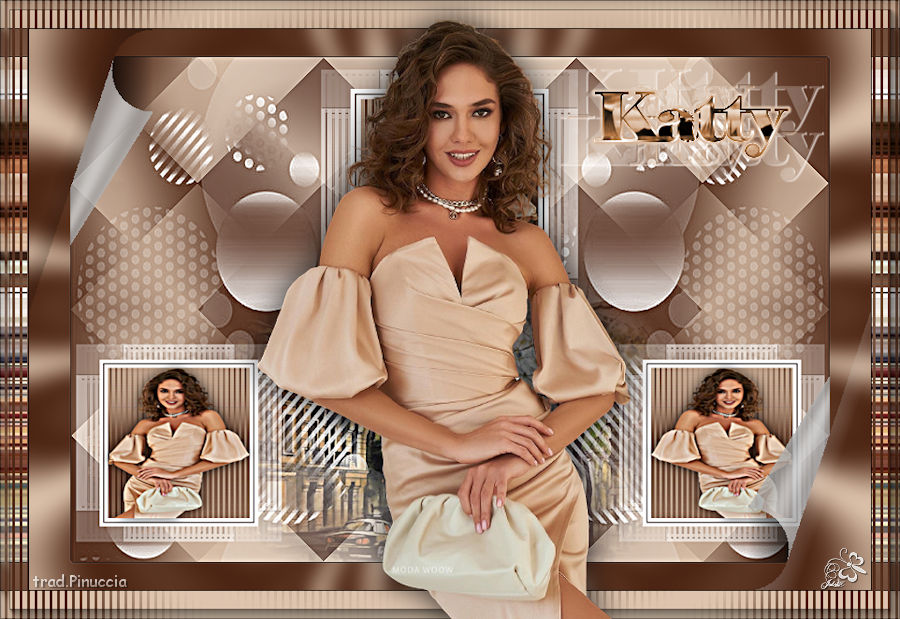 Jolcsi  If you have problems or doubts, or you find a not worked link, or only for tell me that you enjoyed this tutorial, write to me. |