|
HAPPY NEW YEAR 2024 

This tutorial, created with PSPX9 has been translated with PSPX2, but it can also be made using other versions of PSP. For this tutorial, you will need:  Thanks for the tubes AigenbyCaz, Mentali, NaiseM, for the animation Simone. The rest of the material is by Lady Tess. (you find here the links to the material authors' sites)  consult, if necessary, my filter section here Filters Unlimited 2.0 here FM Tile Tools - Blend Emboss here Graphics Plus - Cross Shadow here Mehdi - Wavy Lab 1.1 here Nik Software - color Efex Pro here Filters Graphics Plus can be used alone or imported into Filters Unlimited. (How do, you see here) If a plugin supplied appears with this icon Animation Shop here  You can change Blend Modes according to your colors.  Open the mask in PSP and minimize it with the rest of the material 1. Set your foreground color to #e8b65e and your background color to #7a5412. 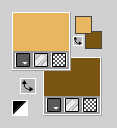 2. Open a new transparent image 950 x 600 pixels. Effects>Plugins>Mehdi - Wavy Lab 1.1. This filter creates gradients with the colors of your Materials palette. The first is your background color #7a5412, the second is your foreground color #e8b65e. Change the last two colors created by the filtre both with color #f1d29b 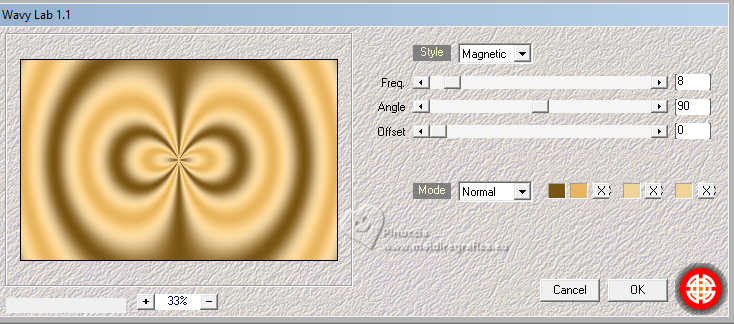 Layers>Duplicate. Adjust>Blur>Gaussian Blur - radius 50.  3. Layers>New Raster Layer. Flood Fill  the layer with your background color. the layer with your background color.Effects>Plugins>Graphics Plus - Cross Shadow, default settings. 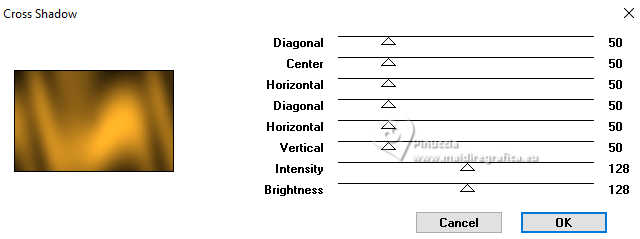 4. Layers>New Mask layer>From image Open the menu under the source window and you'll see all the files open. Select the mask 54c347c728. 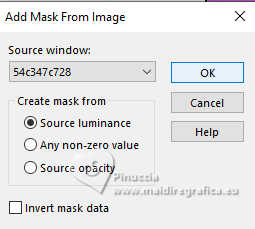 Layers>Merge>Merge Group. Effects>Plugins>FM Tile Tools - Blend Emboss, default settings.  Activate the layer Copy of Raster 1. 5. Layers>New Raster Layer. Selections>Select All. Open mentali-misted2755 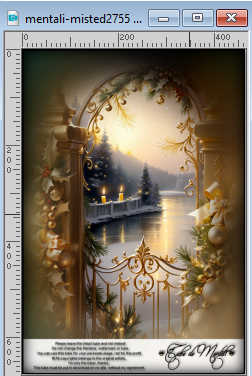 Edit>Copy. Go back to your work and go to Edit>Paste into Selection. Selections>Select None. 6. Effects>Plugins>FM Tile Tools - Blend Emboss, default settings.  Effects>Plugins>Nik Software - Color Efex Pro - Tonal Contrast. 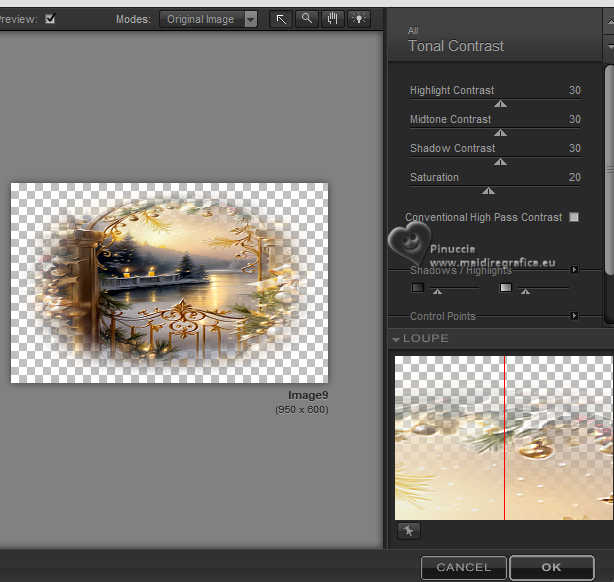 Activate the layer of the mask. Layers>Duplicate. 7. Activate the layer below of the original, Group-Raster 2. Change the Blend Mode of this layer to Multiply. Effects>3D Effects>Drop Shadow, color #2c1e06. 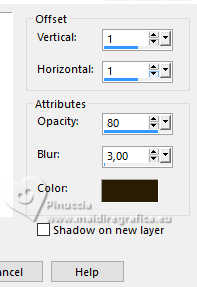 Adjust>Sharpness>Sharpen. 8. We have this 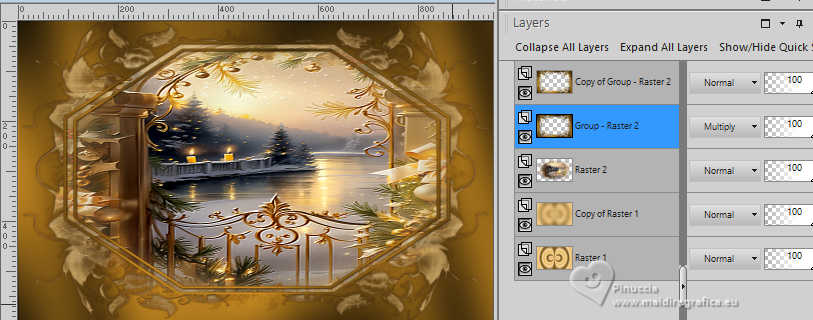 9. Effects>Image Effects>Seamless Tiling.  Activate your top layer. Open Adornis_image (with an active selection) 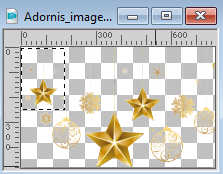 Edit>Copy. Go back to your work and go to Edit>Paste as new layer. K key to activate your Pick Tool  and set Position X and Y to -1,00. 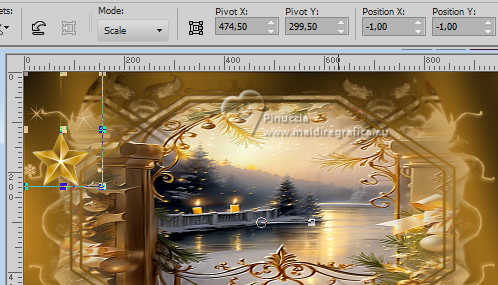 10. Effects>3D Effects>Drop Shadow, color #2c1e06. 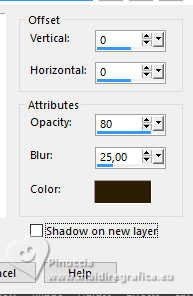 Effects>Reflection Effects>Rotating Mirror.  Adjust>Sharpness>Sharpen. 11. We have this 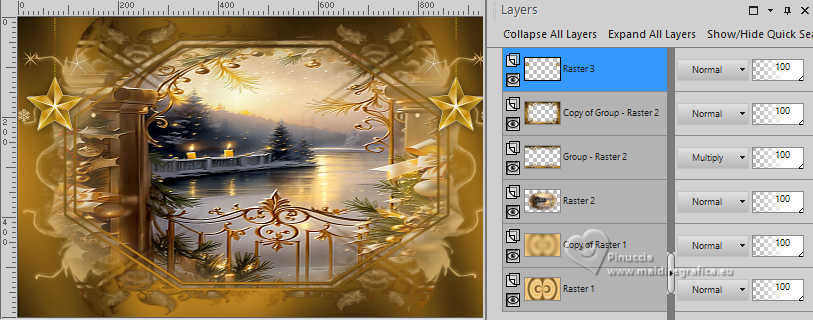 12. Activate the layer Raster 1. Edit>Copy. Edit>Paste as new image and minimize this image. Go back to your work. Image>Add borders, 1 pixel, symmetric, color black #000000. 13. Selections>Select All. Image>Add borders, 50 pixels, symmetric, color #ffffff. Selections>Invert. Edit>Paste into Selection (the image of step 12 is still in memory). 14. Adjust>Add/Remove Noise>Add Noise. 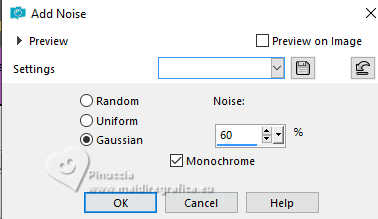 Effects>3D Effects>Inner Bevel. 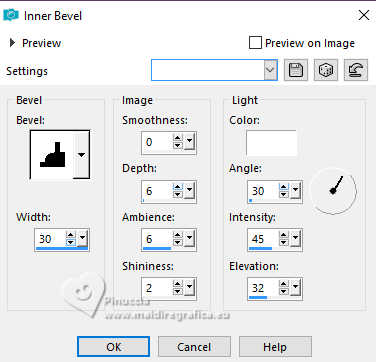 Selections>Promote Selection to Layer. 15. Effects>Reflection Effects>Rotating Mirror.  Image>Rotate Left. Effects>Reflection Effects>Rotating Mirror, same settings.  Image>Rotate Right. Selections>Select None. 16. Open decor_nmcriacoes_165 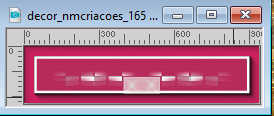 Edit>Copy. Go back to your work and go to Edit>Paste as new layer. Objects>Align>Top (move it a little higher, voir my example). Change the Blend Mode of this layer to Luminance (legacy). Layers>Duplicate. Image>Flip. Stay on this layer. Layers>Duplicate. Image>Free Rotate - 90 degrees to right.  Objects>Align>Left. Objects>Vertical Center (move a little further to the left, see my example). Change the Blend Mode of this layer to Luminance (legacy). 17. Layers>Duplicate. Image>Mirror. Open aigenbycaz_newyearsevegoldebeauty6 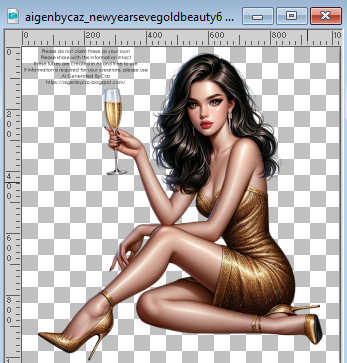 Erase the watermark and go to Edit>Copy. Go back to your work and go to Edit>Paste as new layer. Image>Resize, to 65%, resize all layers not checked. 18. Image>Mirror. K key to activate your Pick Tool  and set Position X: 69,00 and Position Y: 58,00.  M key to deselect the tool. Effects>3D Effects>Drop Shadow, color #2c1e06. 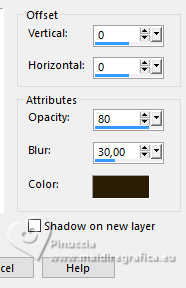 Adjust>Sharpness>Sharpen. 19. Open LTDStudio_HNYear2024_texto 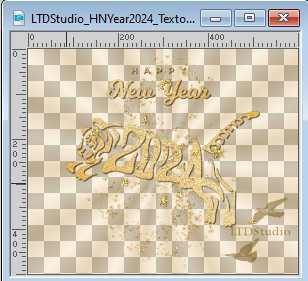 Edit>Copy. Go back to your work and go to Edit>Paste as new layer. Move  the text to your liking. the text to your liking.20. Open LTDStudio_HNYear2024_Deco 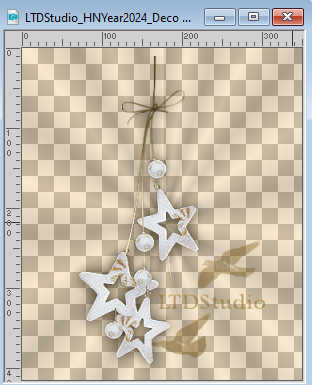 Edit>Copy. Go back to your work and go to Edit>Paste as new layer. Move  the tube as below the tube as below Image>Add borders, 1 pixel, symmetric, color #000000. Layers>Merge>Merge All. 21. Sign your work on a new layer. Add the watermarks of the author and of the translator. If you don't want to realize the animation, save as jpg. If you want to realize the animation. Edit>Copy. Open Animation Shop and go to Edit>Paste>Paste as new animation. Edit>Duplicate Selected, or click on the corresponding icon on the top toolbar 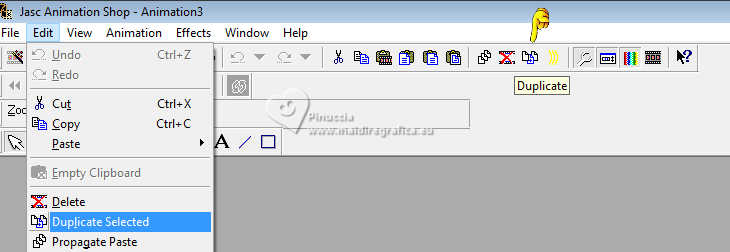 and repeat until you get an animation composed by 21 frames. Click on the first frame to select it and go to Edit>Select All. Open SimoneAni468-PSD 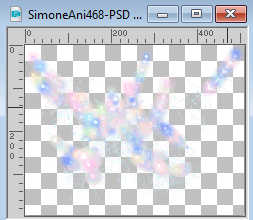 also composed by 21 frames. Edit>Select All. Edit>Copy. Go back to your work and go to Edit>Paste>Paste into Selected Frame (one or two times). Place the animation to your liking.  Check your animation clicking on View animation  and save as gif For the tube of this version thanks AigenbyCaz (the misted is mine) 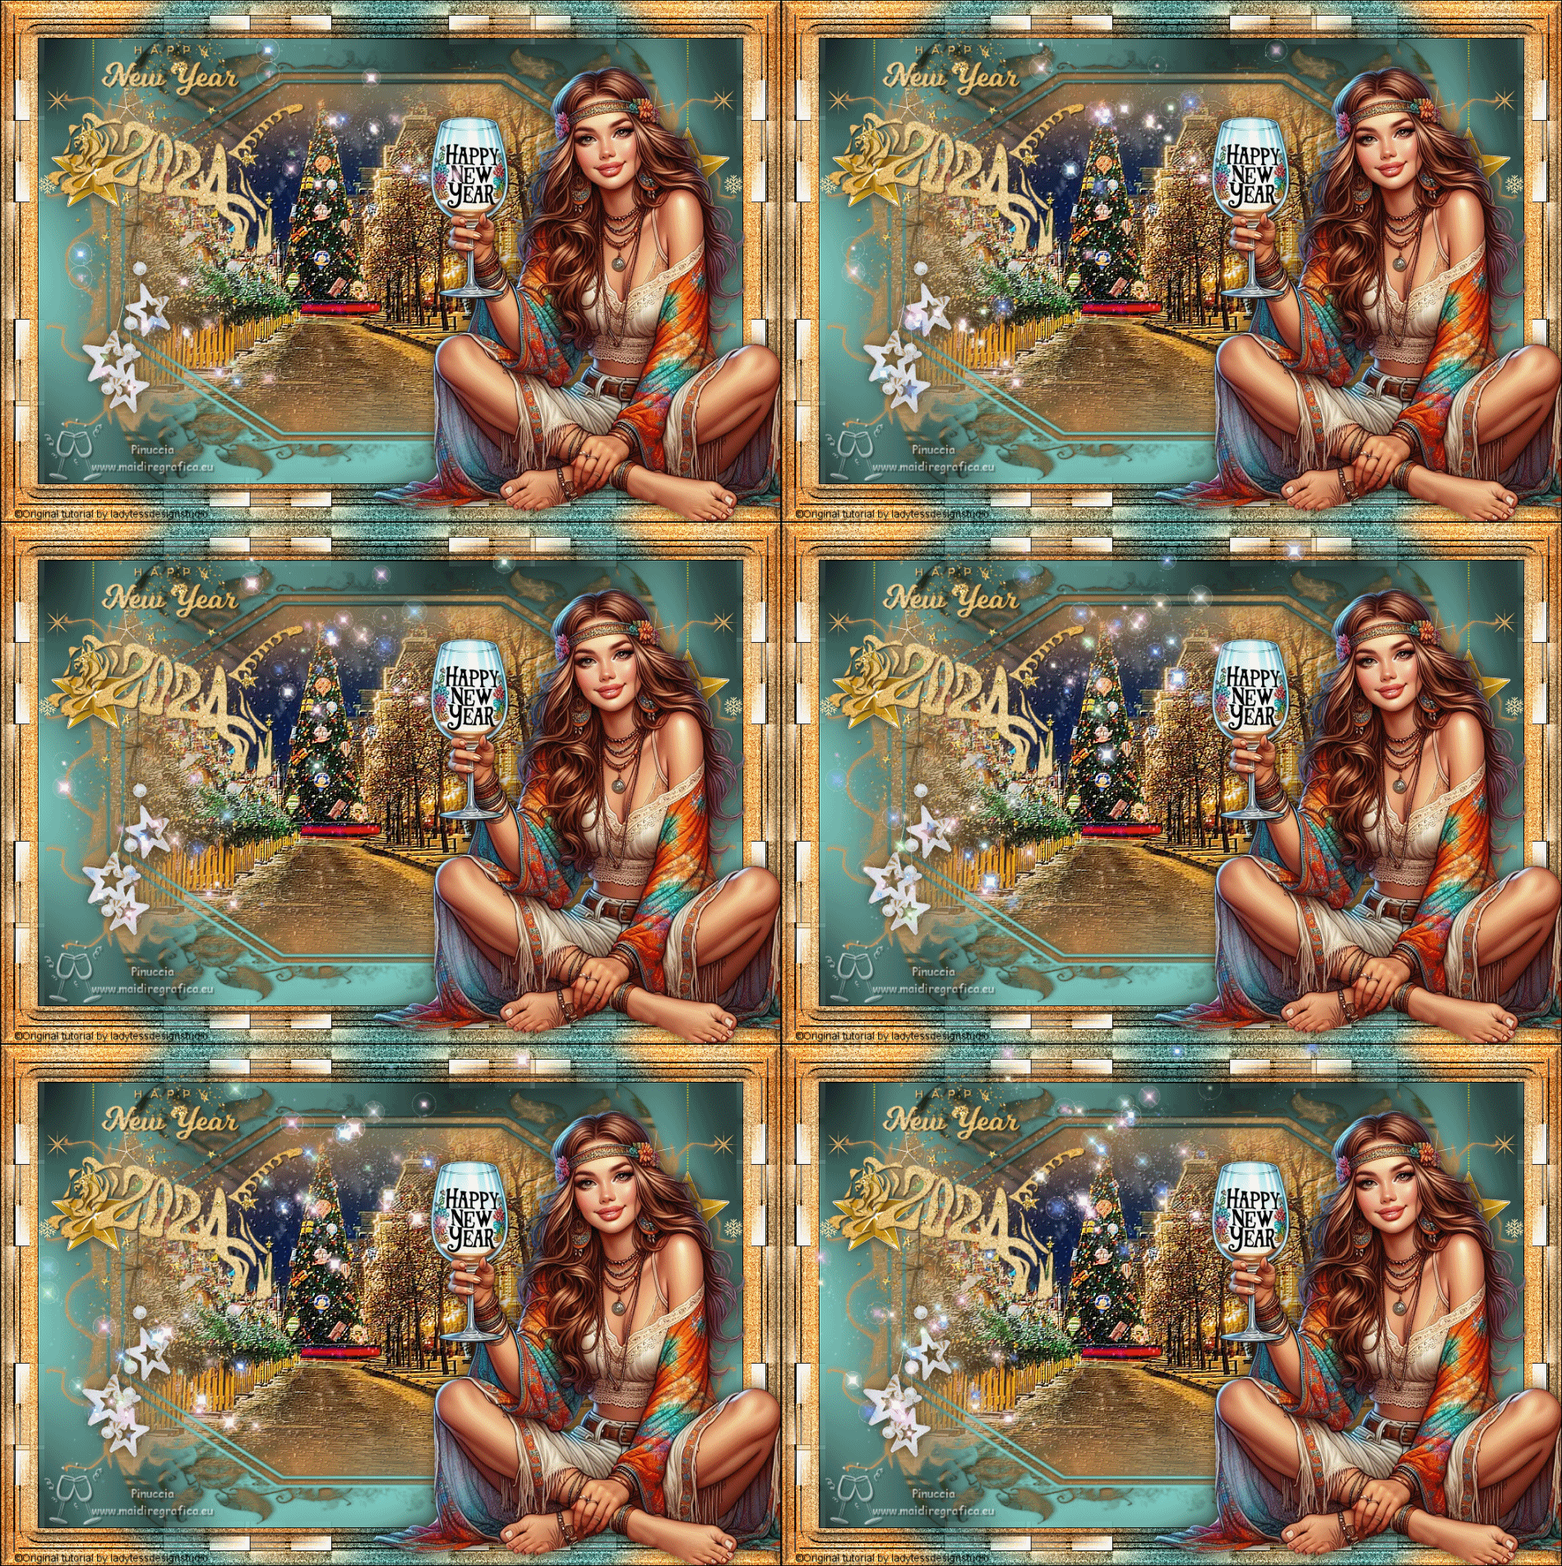   Your versions. Thanks Your versions. Thanks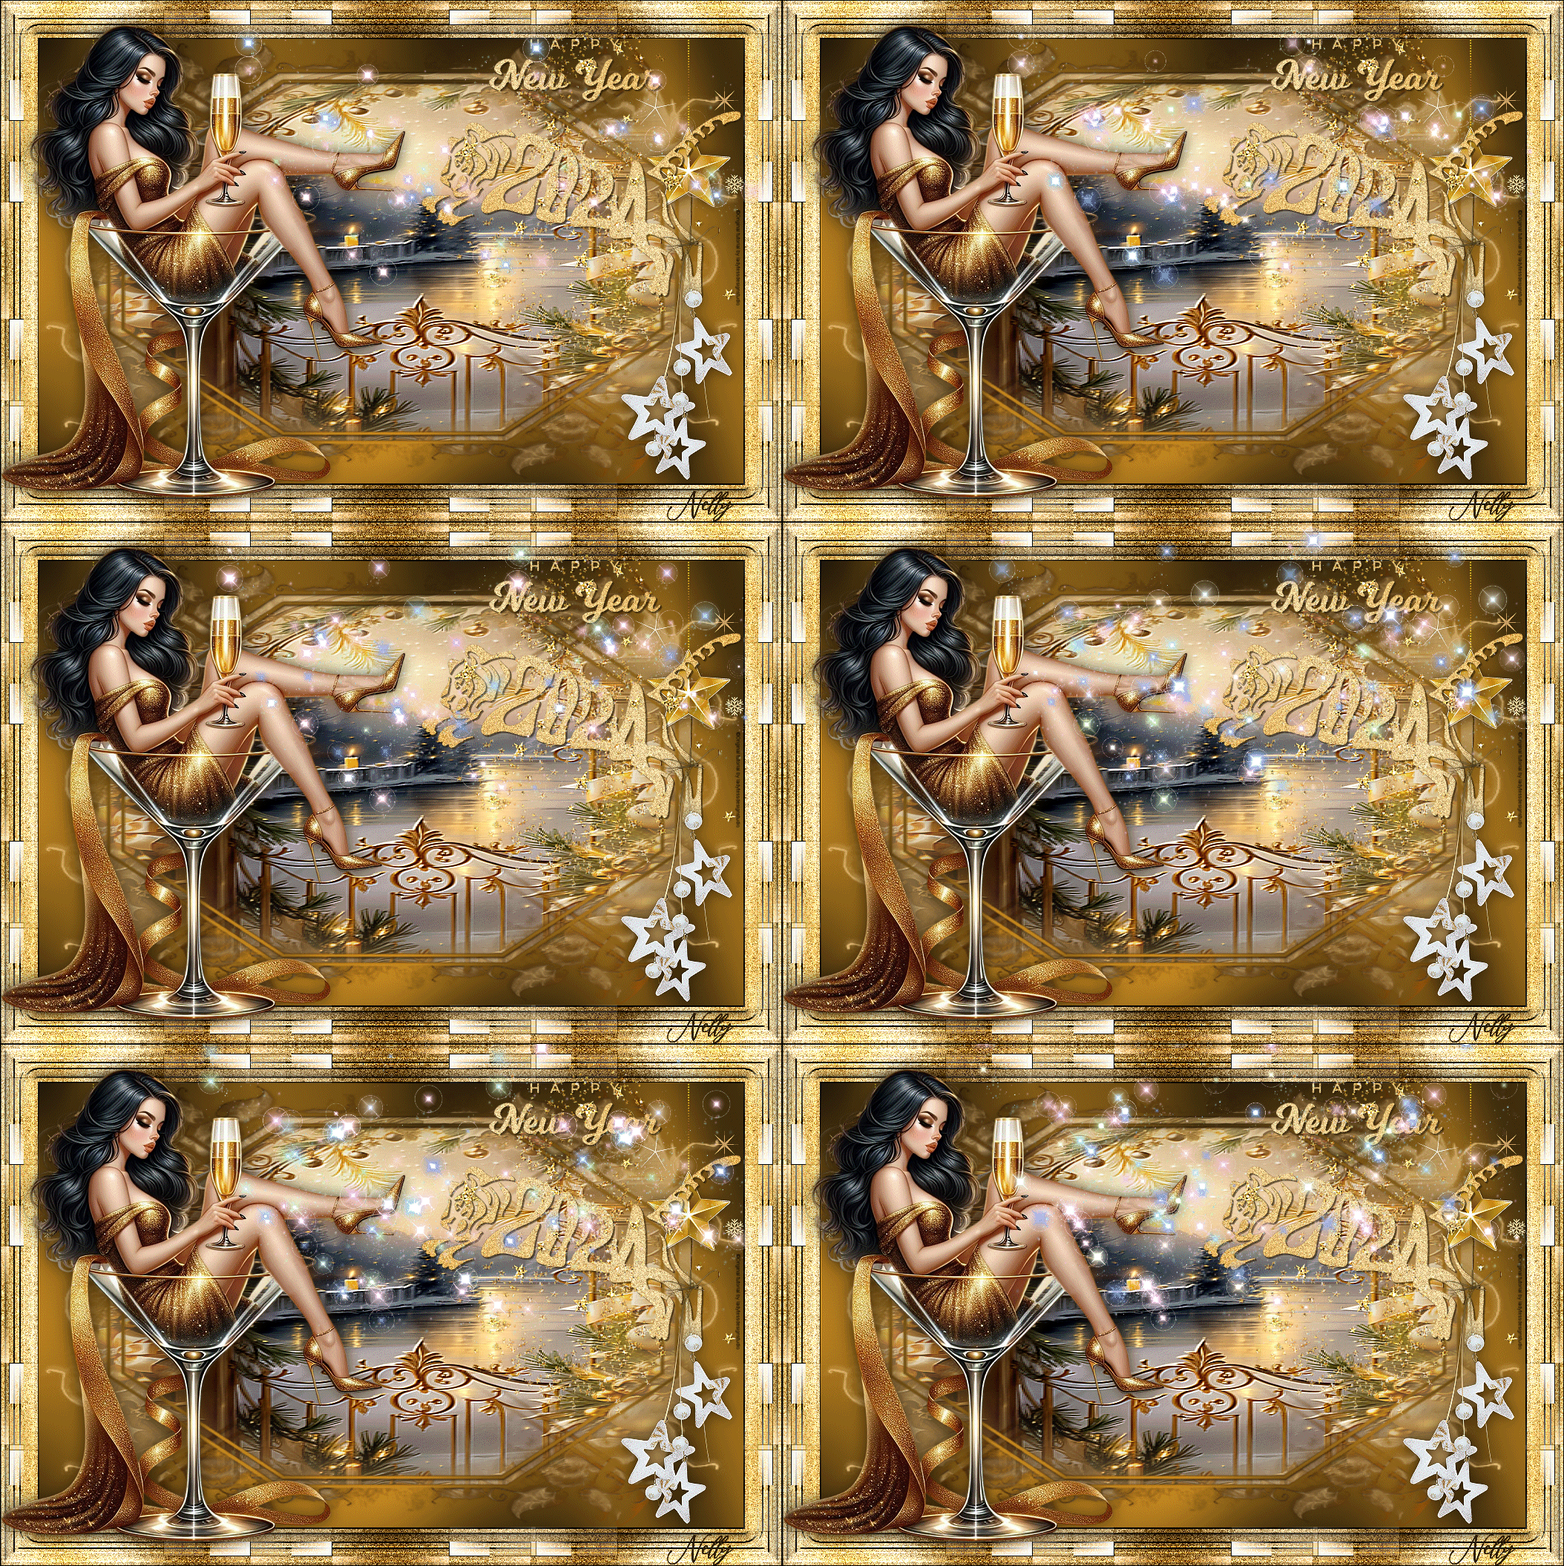 Nelly  If you have problems or doubts, or you find a not worked link, or only for tell me that you enjoyed this tutorial, write to me. |


