|
DREAMING 

This tutorial, created and translated with PSPX9, but it can also be made using other versions of PSP. For this tutorial, you will need:  Thanks for the tubes Beatriz and Callitubes, and for the mask Narah. The rest of the material is by Lady Tess. (you find here the links to the material authors' sites)  consult, if necessary, my filter section here Filters Unlimited 2.0 here &<B ackground Designers IV> - @Night Shadow (to import in Unlimited) here Mehdi - Wavy Lab 1.1 here Carolaine and Sensibility - CS-Linear-H here FM Tile Tools - Blend Emboss, Saturation Emboss here It@lian Editors Effect - Effetto Fantasma here Alien Skin Eye Candy 5 Impact - Glass here AAA Frames - Foto Frame here Filters It@lian Editor can be used alone or imported into Filters Unlimited. (How do, you see here) If a plugin supplied appears with this icon  You can change Blend Modes according to your colors.  Copy the Selection in the Selections Folder. Open the mask in PSP and minimize it with the rest of the material. 1. Set your foreground color to #520001 and your background color to #fcdc96. 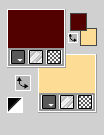 2. Open a new transparent image 900 x 600 pixels. Effects>Plugins>Mehdi - Wavy Lab 1.1. This filter creates gradients with the colors of your Materials palette. The first is your background color, the second is your foreground color. Keep the last two colors created by the filtre (both #a76e4b). 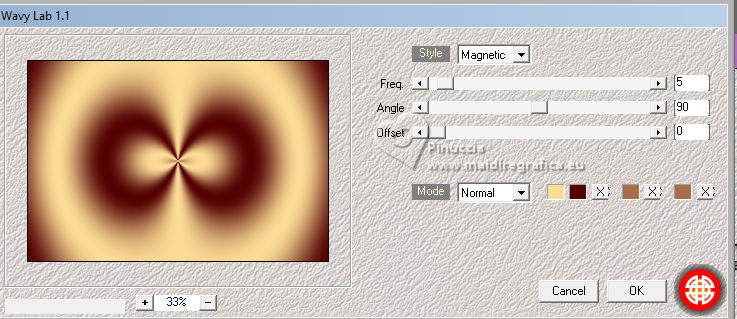 Layers>Duplicate. Adjust>Blur>Gaussian Blur - radius 60. 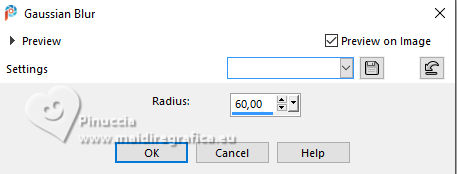 3. Effects>Plugins>Carolaine and Sensibility - CS-Linear-H. 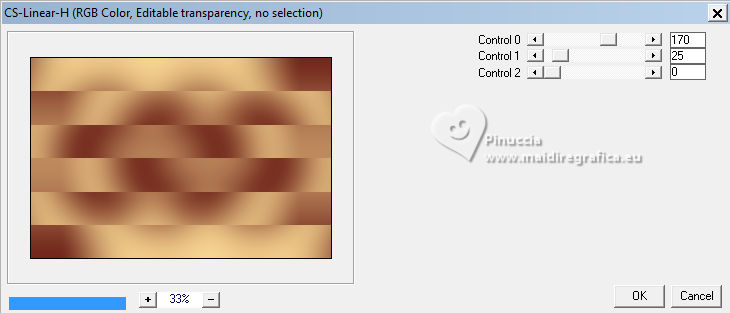 4. Layers>New Raster Layer. Selections>Select All. Open Callitubes-112fractal 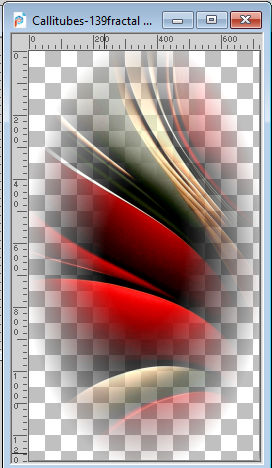 Edit>Copy. Go back to your work and go to Edit>Paste into Selection. Selections>Select None. Effects>Reflection Effects>Rotating Mirror.  5. Effects>Image Effects>Seamless Tiling, default settings.  Change the Blend Mode of this layer to Overlay and reduce the opacity to 65%. 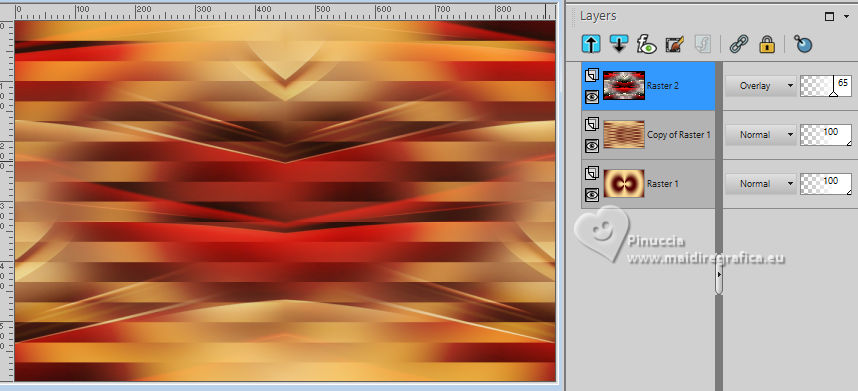 6. Layers>New Raster Layer. Flood Fill  the layer with your background color #d3947b. the layer with your background color #d3947b.Layers>New Mask layer>From image Open the menu under the source window and you'll see all the files open. Select the mask NarahsMasks_1750. 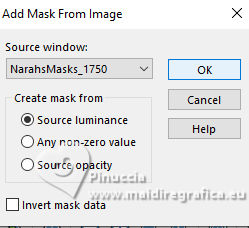 Layers>Merge>Merge Group. 8. Result 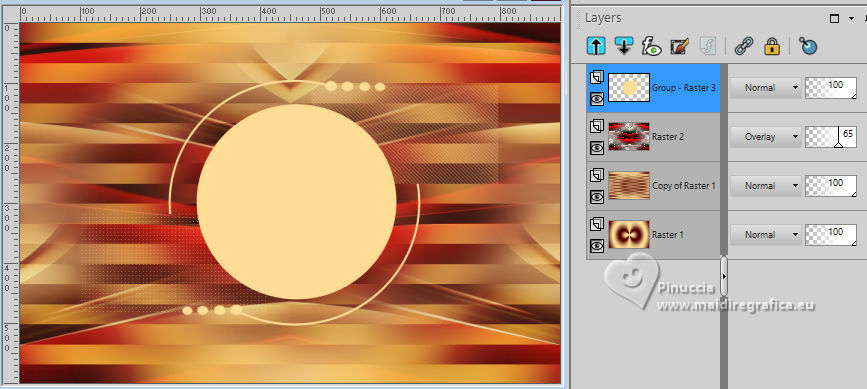 9. Selections>Load/Save Selection>Load Selection from Disk. Look for and load the selection Dreaming_sel_1 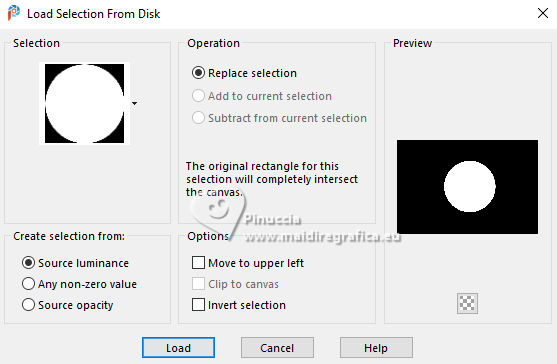 Layers>New Raster Layer. Flood Fill  with your background color #fcdc96. with your background color #fcdc96.Effects>Plugins>Filters Unlimited 2.0 - &<Backgrounds DesignersIV> - @Night Shadow. 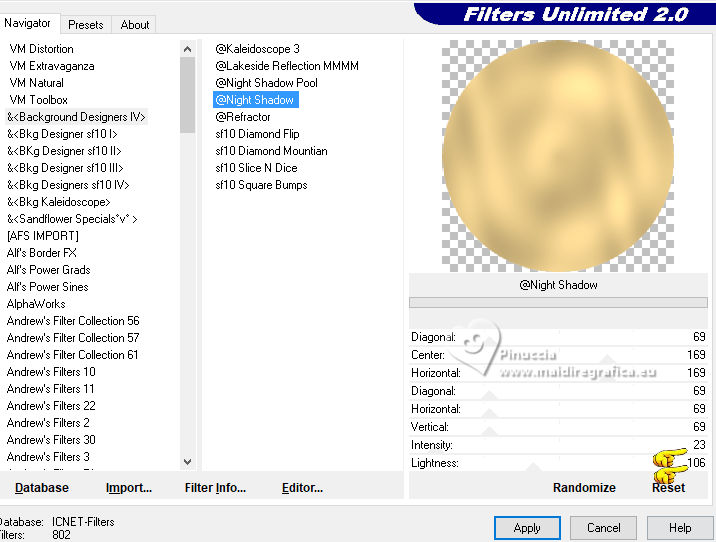 10. Layers>New Raster Layer. Open Callitubes-826flores 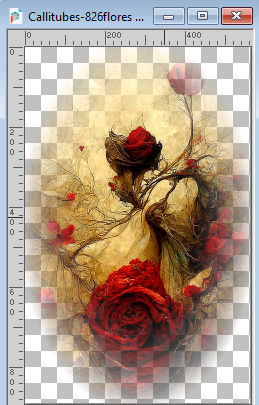 Edit>Copy. Go back to your work and go to Edit>Paste into Selection. Adjust>Sharpness>Sharpen More. Layers>Merge>Merge Down. Selections>Modify>Select Selection Borders. 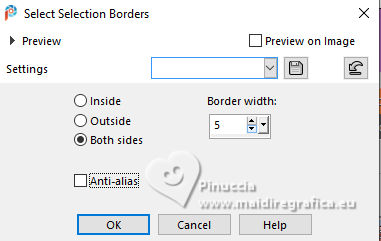 11. Layers>New Raster Layer. Flood Fill  the layer with your foreground color #4a3328. the layer with your foreground color #4a3328.Effects>Plugins>Alien Skin Eye Candy 5 Impact - Glass. 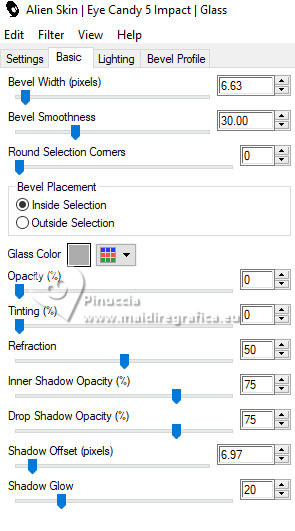 NOTE. In my second version, Glass color is my foreground color. Adjust>Sharpness>Sharpen More. Selections>Select None. Layers>Merge>Merge Down. Effects>3D Effects>Drop Shadow, color #000000. 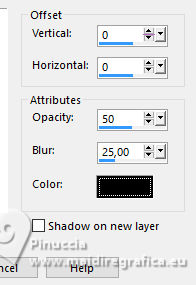 12. Layers>Duplicate. Activate the layer below of the original. Effects>Image Effects>Seamless Tiling. 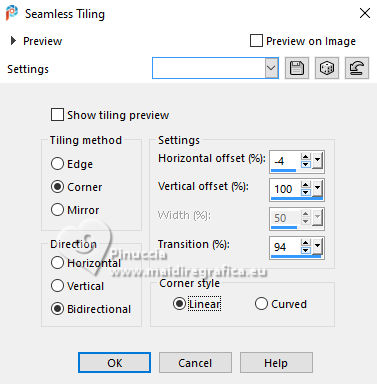 Reduce the opacity of this layer to 48%. Activate the Mask's layer, Group Raster 3. Change the Blend Mode of this layer to Overlay. 13. Activate your top layer. Layers>Merge>Merge Down. We have this 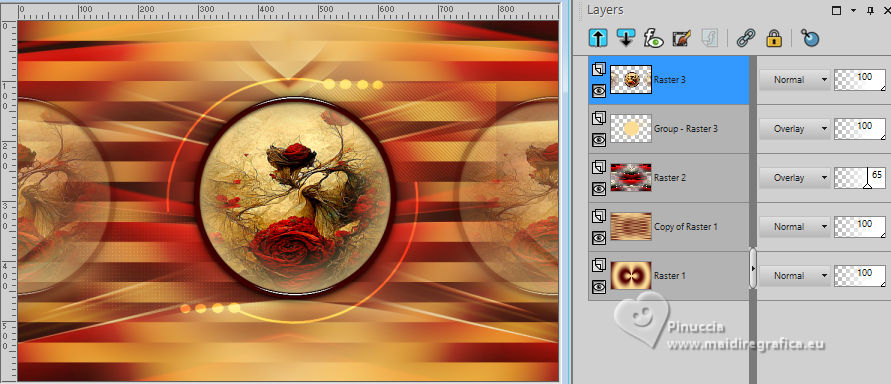 14. Activate again the layer of the mask, Group-Raster 3. Layers>Duplicate. Activate the layer below of the original. Effects>Plugins>It@lian Editors Effects - Effetto Fantasma, default settings. 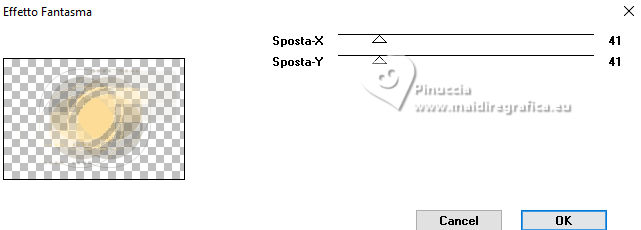 Effects>Plugins>FM Tile Tools - Blend Emboss, default settings.  Edit>Repeat Blend Emboss. 15. We have this 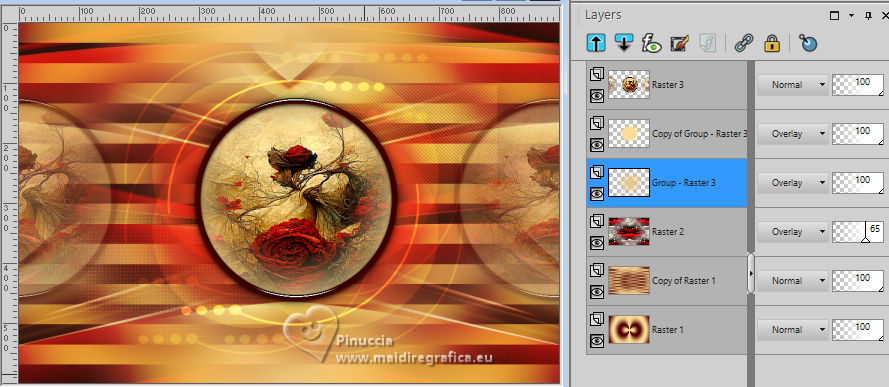 16. Activate your top layer, Raster 3. Layers>Duplicate. Activate the layer below of the original. Effects>Plugins>It@lian Editors Effects - Effetto Fantasma, default settings. 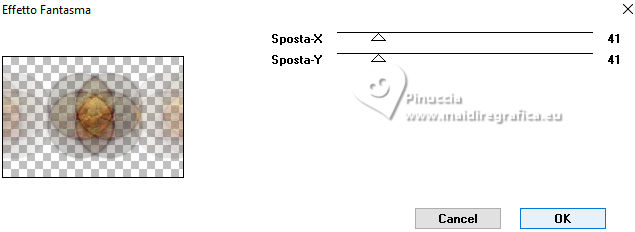 17. Effects>Plugins>FM Tile Tools - Blend Emboss, default settings.  Edit>Repeat Blend Emboss. We have this 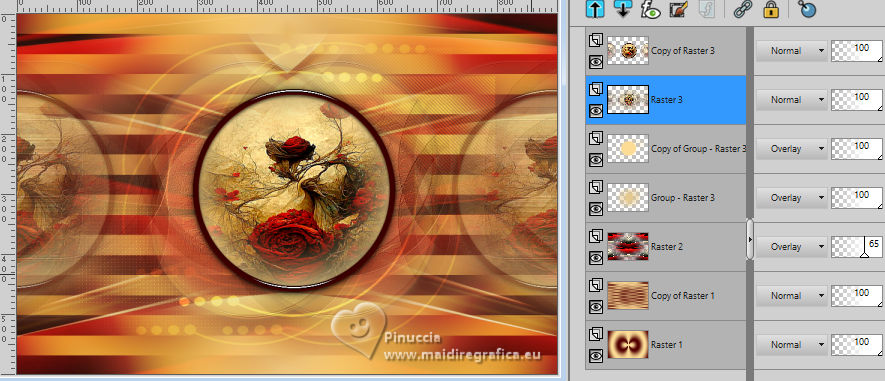 Activate the layer Raster 1. Edit>Copy. Edit>Paste as new image, for caution. 18. Go back to your work. Image>Add borders, 1 pixel, symmetric, color #000000. Selections>Select All. Image>Add borders, 45 pixels, symmetric, color #ffffff. Selections>Invert. 19. Edit>Paste into Selection (your background image is still in memory). Again Selections>Invert. Effects>Image Effects>Seamless Tiling  20. Selections>Invert. Adjust>Blur>Gaussian Blur - radius 20.  Effects>Plugins>AAA Frames - Foto Frame. 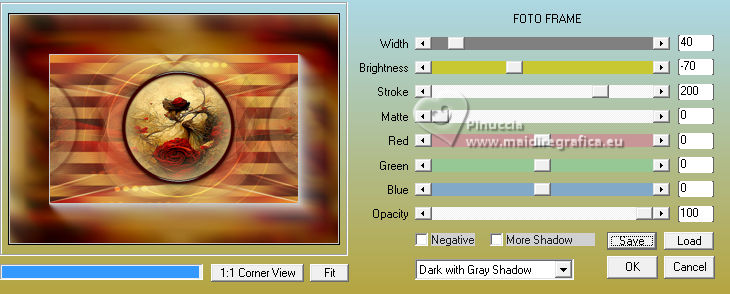 21. Effects>Reflection Effects>Rotaging Mirror, default settings.  Selections>Select None. Open 4034-woman-LB TUBES 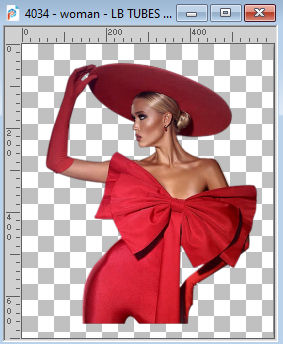 Edit>Copy. Go back to your work and go to Edit>Paste as new layer. 22. Image>Mirror>Mirror horizontal. K key to activate your Pick Tool  Set Position X: 47,00 and Position Y: 72,00.  M key to deselect the Tool. Layers>Duplicate. Activate the layer below of the original. Adjust>Blur>Gaussian Blur - radius 20  23. Change the Blend Mode of this layer to Multiply. Activate the layer above. Adjust>Sharpness>Sharpen. 24. Open 2566-vase-LBTUBES 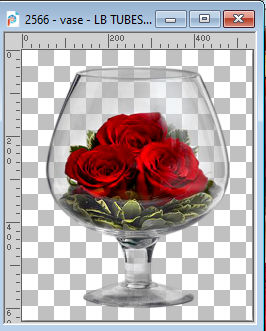 Edit>Copy. Go back to your work and go to Edit>Paste as new layer. Image>Resize, to 45%, resize all layers not checked. K key to activate your Pick Tool  Set Position X: 685,00 and Position Y: 398,00.  Adjust>Sharpness>Sharpen More. Effects>3D Effects>Drop shadow. 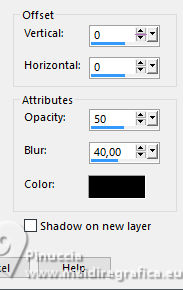 24. Layers>Duplicate. Activate the layer below of the original. Effects>Texture Effects>Mosaic - Glass. 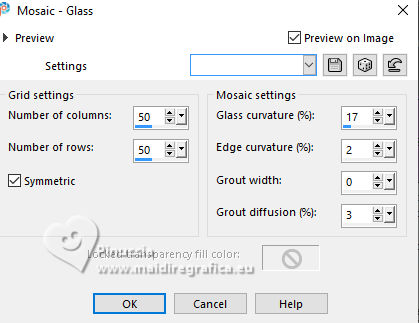 Effects>Plugins>FM Tile Tools - Saturation Emboss, default settings.  Effects>Distortion Effects>Wind - from left, strength 80 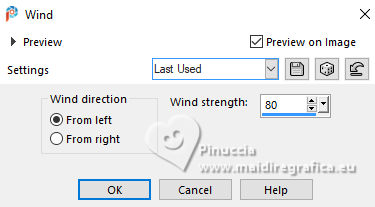 NOTE: in my second version, strength 22. 26. Open LTDStudio_Dreaming_Texto 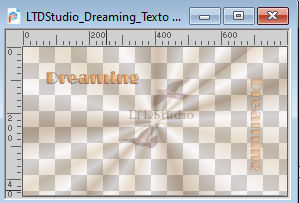 Edit>Copy. Go back to your work and go to Edit>Paste as new layer. Place  correctly the text. correctly the text.Layers>Merge>Merge All. Sign your work on a new layer. Please, don't forget the translator's watermark, if you add the author's watermark. For the tubes of this version thanks Beatriz and Nena Silva. 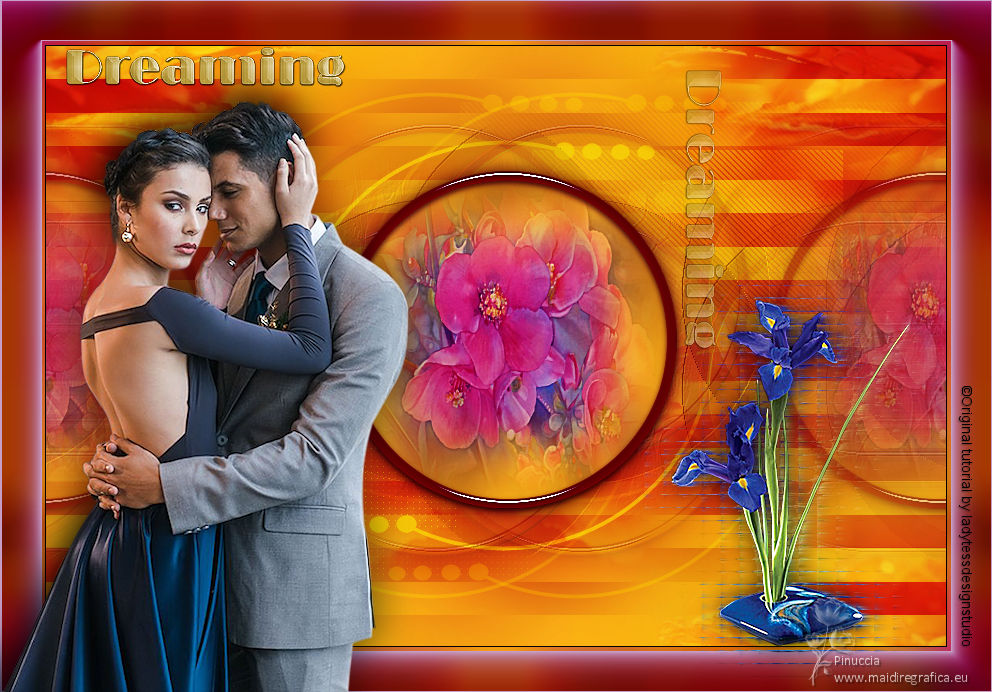   Your versions. Thanks Your versions. Thanks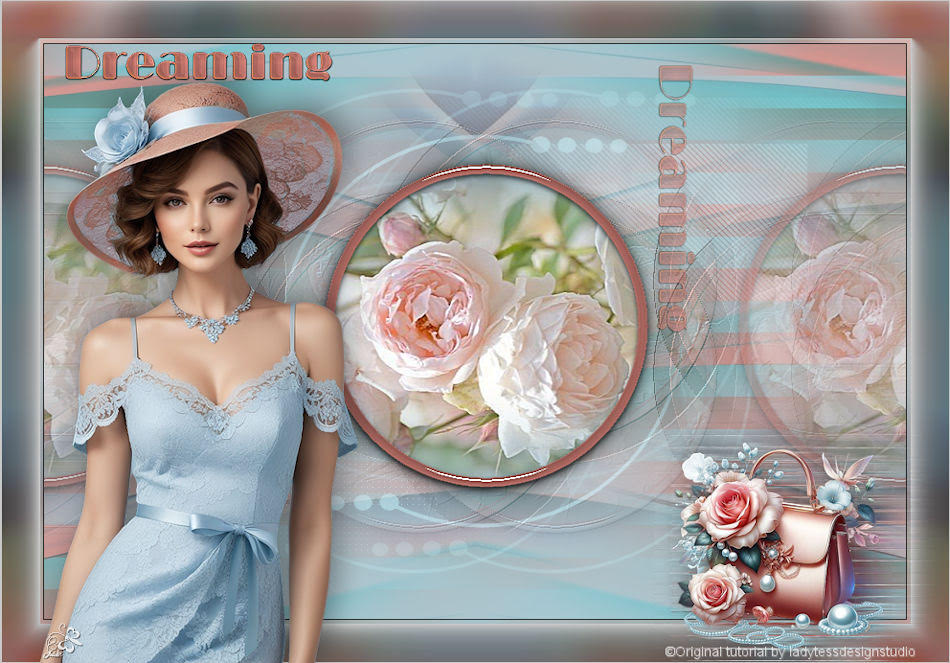 Jolcsi 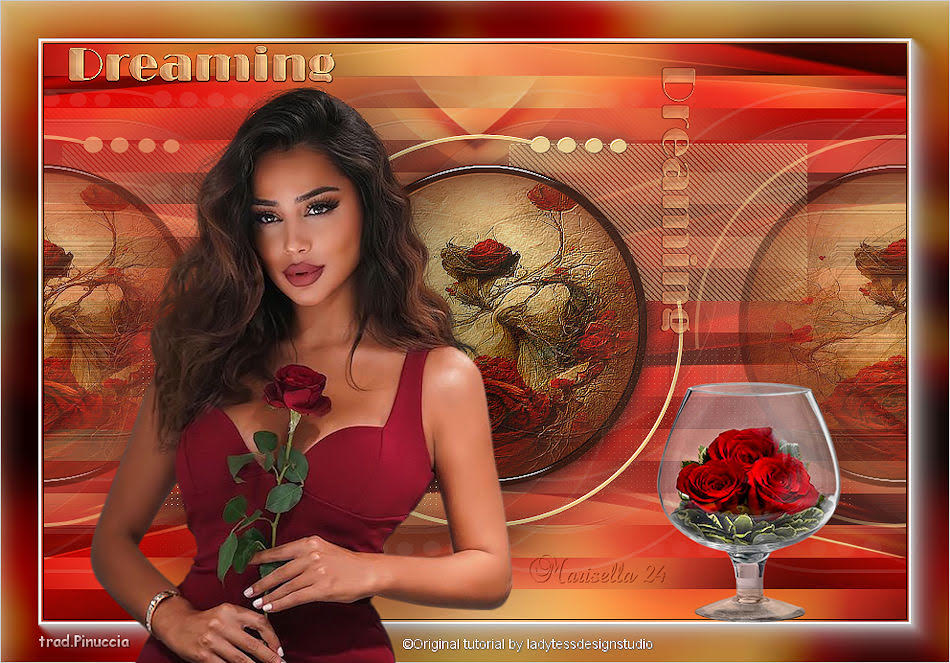 Marisella  Louise  If you have problems or doubts, or you find a not worked link, or only for tell me that you enjoyed this tutorial, write to me. |