|
FELIZ CUMPLEANOS FRANIE 

This tutorial, created with PSPX9 has been translated with PSPX2 and PSPX3, but it can also be made using other versions of PSP. For this tutorial, you will need:  Thanks for the tubes and the mask Valy, Syl and Nikita. The rest of the material is by Lady Tess. (you find here the links to the material authors' sites)  consult, if necessary, my filter section here Filters Unlimited 2.0 here Mehdi - Sorting Tiles here FM Tile Tools - Blend Emboss here AAA Filters - Good Vibrations / AAA Frames - Foto Frame here Tramages - Pool Shadow here Filters Tramages can be used alone or imported into Filters Unlimited. (How do, you see here) If a plugin supplied appears with this icon  You can change Blend Modes according to your colors. In the newest versions of PSP, you don't find the foreground/background gradient (Corel_06_029). You can use the gradients of the older versions. The Gradient of CorelX here  Copy the Selection in the Selections Folder. Open the mask in PSP and minimize it with the rest of the material. 1. Set your foreground color to #d1bafe and your background color to #3912b6. 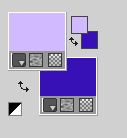 2. Open a new transparent image 900 x 550 pixels. Flood Fill  the transparent image with your background color #3912b6. the transparent image with your background color #3912b6.Layers>New Raster Layer. Flood Fill  the layer with your foreground color #d1bafe. the layer with your foreground color #d1bafe.3. Layers>New Mask layer>From image Open the menu under the source window and you'll see all the files open. Select the mask 1250181731_nikita_masques 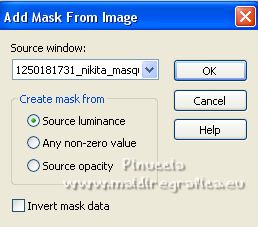 Effects>Edge Effects>Enhance. Layers>Merge>Merge Group. 4. Activate the layer Raster 1. Effects>Plugins>Tramages - Pool Shadow. 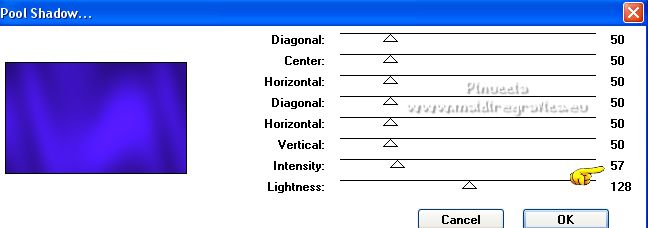 Effects>Plugins>Mehdi - Sorting Tiles. 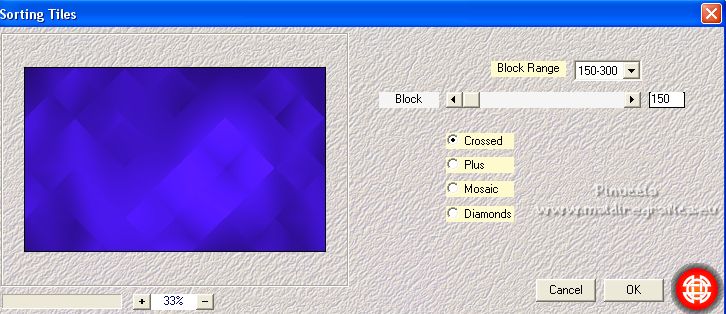 5. Effects>Edge Effects>Enhance. Layers>Duplicate. Change the Blend Mode of this layer to Screen. Adjust>Sharpness>Sharpen More. 6. You should have this  7. Stay on this layer, Copy of Raster 1. Layers>New Raster Layer. Selections>Select all. Open misted VSP 66 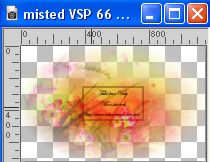 Edit>Copy. Go back to your work and go to Edit>Paste into Selection. Selections>Select None. Change the Blend Mode of this layer to Luminance. Effects>Plugins>FM Tile Tools - Blend Emboss, default settings.  8. Effects>Reflection Effects>Rotating Mirror.  Effects>Image Effects>Seamless Tiling, default settings.  9. You should have this.  10. Activate your top layer of the mask Group-Raster 2. Effects>3D Effects>Drop Shadow, color #12063a. 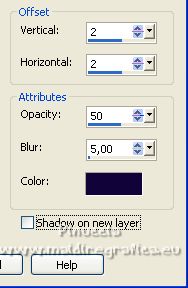 Selections>Load/Save Selection>Load Selection from Disk. Look for and load the selection Franie_sel_1 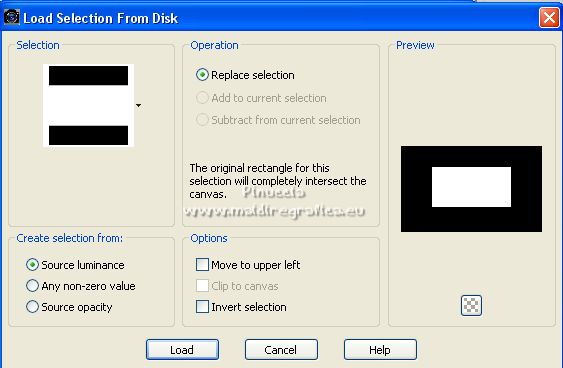 11. Layers>New Raster Layer. Flood Fill  the layer with your foreground color #d1bafe. the layer with your foreground color #d1bafe.Effects>Plugins>Tramages - Pool Shadow. 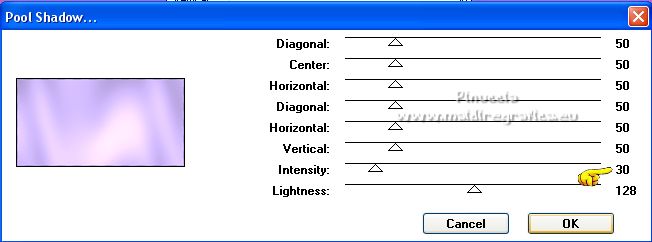 Selections>Select None. Effects>Reflection Effects>Rotating Mirror, same settings.  12. Adjust>Sharpness>Sharpen More. Effects>Plugins>AAA Filters - Good Vibrations. 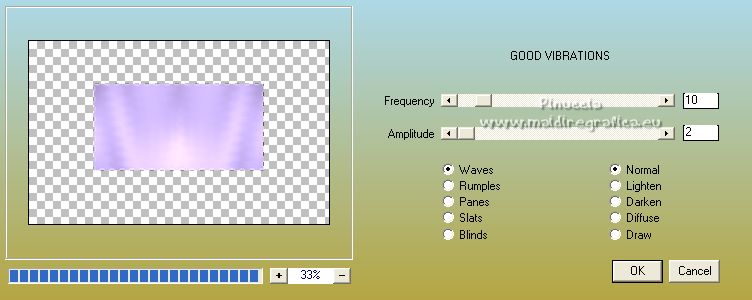 the version of this filter with only 2 items is an old one. Before my translation there is the link to download this old version Layers>Duplicate - 2 times - and will get a total of 3 layers. Activate the layer of the first copy 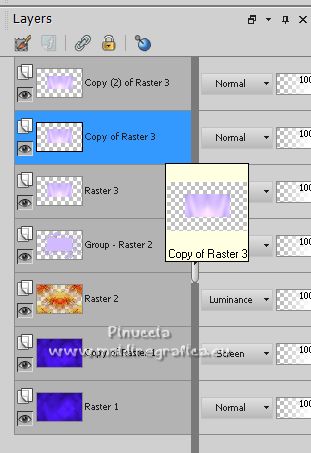 13. Image>Free Rotate - 6 degrees to right 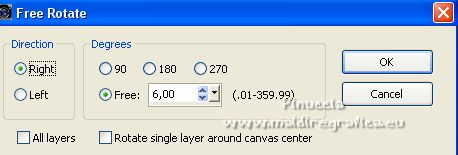 Activate the layer below of the original, Raster 3. Image>Free Rotate - 6 degrees to left 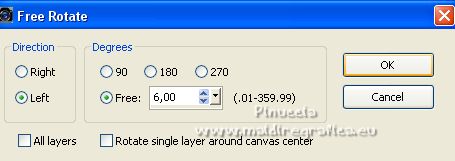 Result: 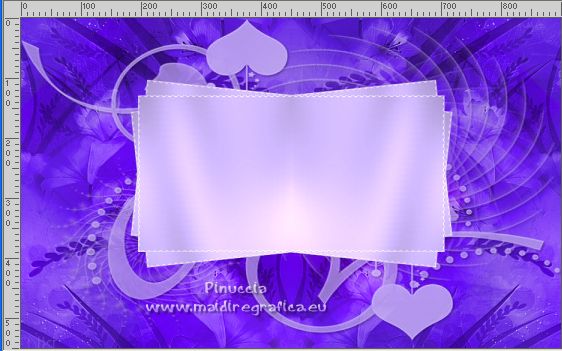 14. Open SvB Stil leven 5 misted 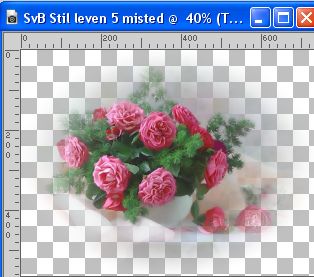 Edit>Copy. Go back to your work and go to Edit>Paste as new layer. Layers>Arrange>Bring to Top. Image>Resize, to 65%, resize all layers not checked. Activate your Erase Tool  and erase as below 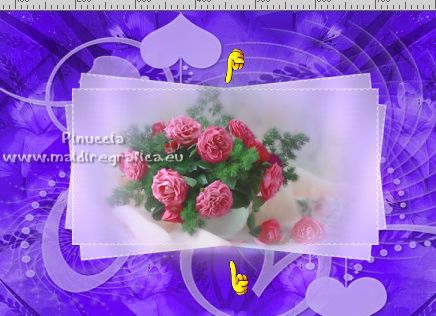 K key to activate your Pick Tool  and set Position X: 230,00 and Position Y: 91.00.  M key to deselect the Tool. 15. Reduce the opacity of this layer to 69%. Effects>Plugins>FM Tile Tools, default settings.  Open guirnaldas 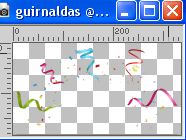 Edit>Copy. Go back to your work and go to Edit>Paste as new layer. K key to activate your Pick Tool  and set Position X: 24,00 and Position Y: 41.00.  M key to deselect the Tool. Effects>3D Effects>Drop Shadow, color #12063a. 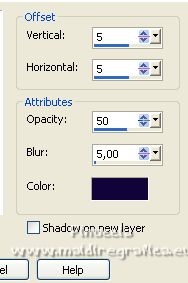 Adjust>Sharpness>Sharpen More. Effects>Reflection Effects>Rotating Mirror, same settings.  Layers>Duplicate. Image>Flip. 16. Open torta 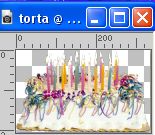 Edit>Copy. Go back to your work and go to Edit>Paste as new layer. Image>Resize, to 80%, resize all layers not checked. K key to activate your Pick Tool  and set Position X: 297,00 and Position Y: 293.00.  M key to deselect the Tool. Effects>3D Effects>Drop Shadow, color #12063a. 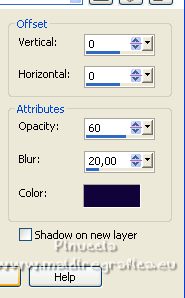 Adjust>Sharpness>Sharpen. 17. You should have this. 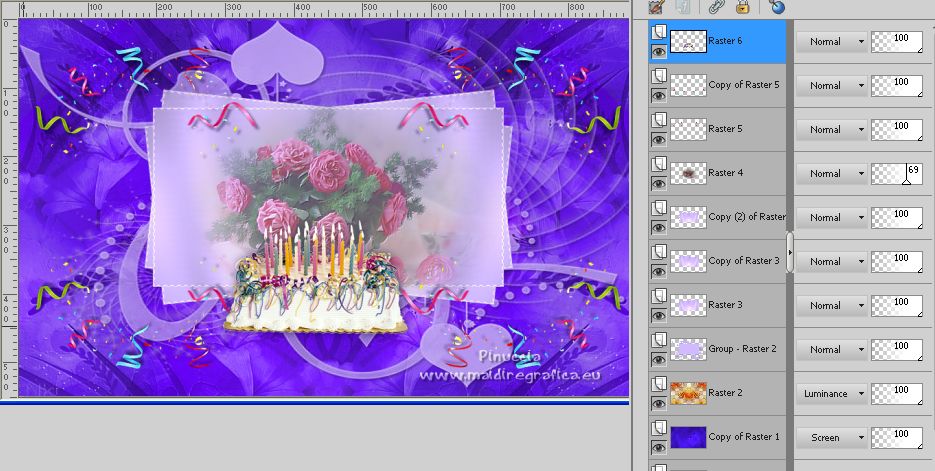 18. Set your foreground color to a Foreground/Background Gradient, style Linear. 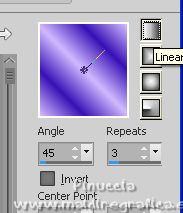 Image>Add borders, 1 pixel, symmetric, color #ffffff. Selections>Select All. Image>Add borders, 40 pixels, symmetric, color #ffffff. 19. Selections>Invert. Flood Fill  the selection with your Gradient. the selection with your Gradient.Effects>Plugins>AAA Frames - Foto Frame. 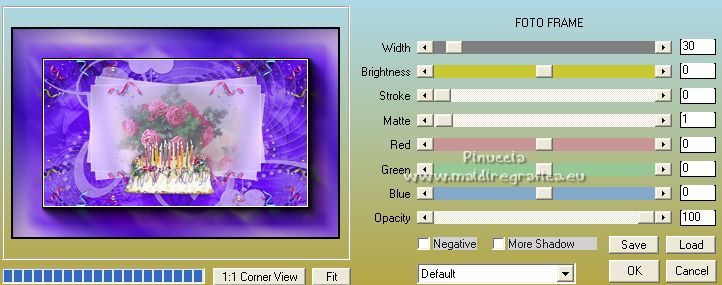 Selections>Promote Selection to Layer. Effects>Plugins>AAA Filters - Good Vibrations, same settings.  Selections>Select None. Layers>Merge>Merge Down. 20. Open LTDStudio_Joyeux anniversaireFranie_Deco  Edit>Copy. Go back to your work and go to Edit>Paste as new layer. It is in its place. 21. Layers>Merge>Merge All. Sign your work on a new layer. Add the watermarks of the author and of the translator. Layers>Merge>Merge All. If you want to send your result: Image>Resize, 900 pixels width, resize all layers checked. Adjust>Sharpness>Unsharp Mask.  Save as jpg. For the tubes of this version thanks Christin   Your versions. Thanks 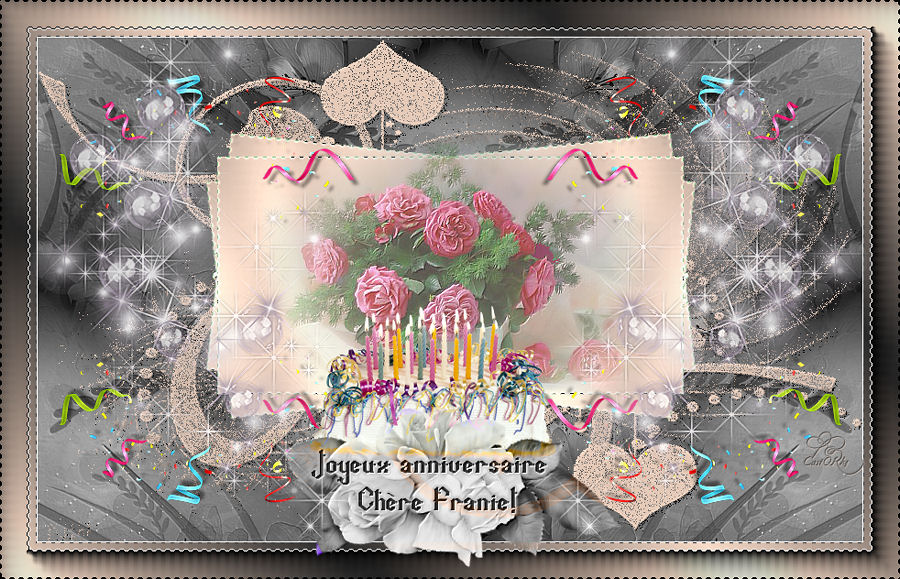 Castorke  If you have problems or doubts, or you find a not worked link, or only for tell me that you enjoyed this tutorial, write to me. |