|
SWEET BULLDOGS
 ENGLISH VERSION ENGLISH VERSION
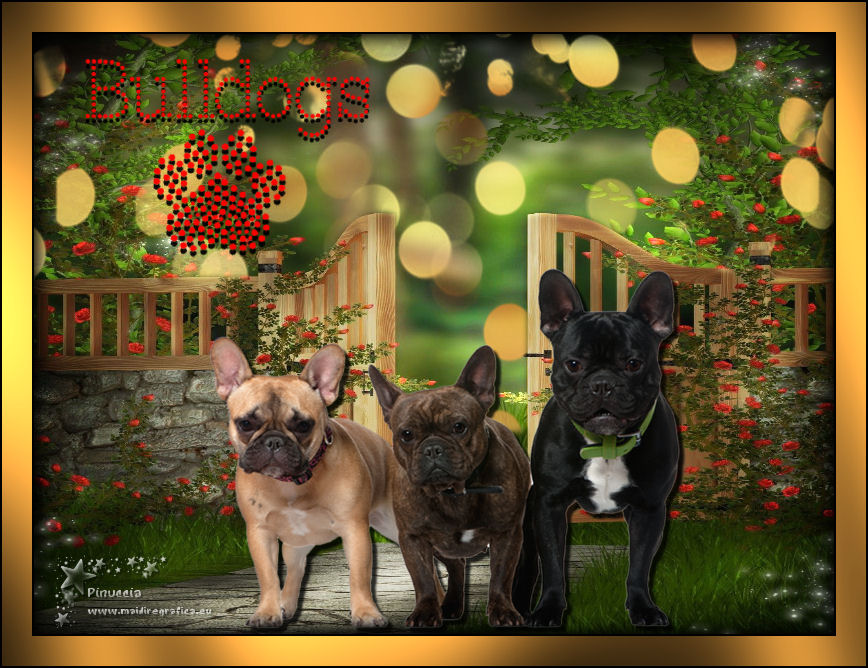

This tutorial was translated with PSPX3 but it can also be made using other versions of PSP.
Since version PSP X4, Image>Mirror was replaced with Image>Flip Horizontal,
and Image>Flip with Image>Flip Vertical, there are some variables.
In versions X5 and X6, the functions have been improved by making available the Objects menu.
In the latest version X7 command Image>Mirror and Image>Flip returned, but with new differences.
See my schedule here
Italian translation here
le vostre versioni/your versions qui
For this tutorial, you will need:
Material here
Thanks to the unknown authors of the used material.
(The links of the tubemakers here).
Plugins
Filters Unlimited 2.0 here
Graphics Plus - Cross Shadow, Emboss here
Filters Graphics Plus can be used alone or imported into Filters Unlimited.
(How do, you see here)
If a plugin supplied appears with this icon  it must necessarily be imported into Unlimited it must necessarily be imported into Unlimited

Copy the selection in the Selections Folder.
Open the masks in PSP and minimize them with the rest of the material.
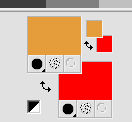
1. Set your Foreground color to #e59d3d,
and your Background color to #ff0000.
2. Open a new transparent image 340 x 270 pixels.
Flood Fill  the transparent image with your background color #ff0000. the transparent image with your background color #ff0000.
3. Layers>New Mask layer>From image
Open the menu under the source window and you'll see all the files open.
Select the mask c2f16c33cda...
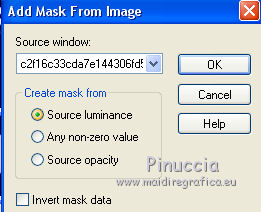
Layers>Merge>Merge Group.
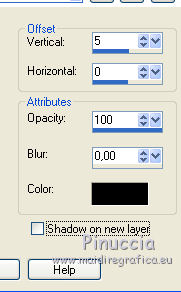
4. Effects>3D Effects>Drop Shadow.
5. Minimize this work for a moment.
6. Open a new transparent image 800 x 600 pixels.
7. Open the portal image and go to Edit>Copy.
Go back to your work and go to Edit>Paste into Selection.
Selections>Select None.
8. Layers>Duplicate.
Close this layer and activate the layer below of the original.
9. Effects>Plugins>Graphics Plus - Cross Shadow, default settings.

Stay on this layer.
10. Layers>New Raster Layer.
Open the golden image and go to Edit>Copy.
Go back to your work and go to Edit>Paste into Selection.
Selections>Select None.
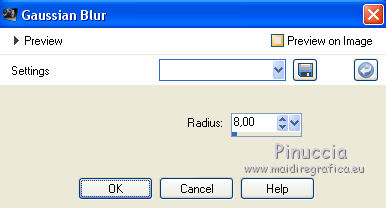
11. Adjust>Blur>Gaussian Blur, radius 8.
12. Layers>New Mask layer>From image
Open the menu under the source window and select the mask 0926aaf3344...
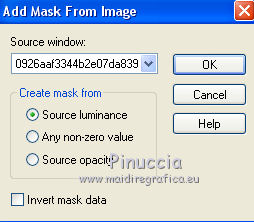
Layers>Merge>Merge group.
Image>Flip.
13. Open and activate the top layer.
Selections>Load/Save Selection>Load Selection from Disk.
Look for and load the Selection Sélection_Joanne_Sweet bulldogs
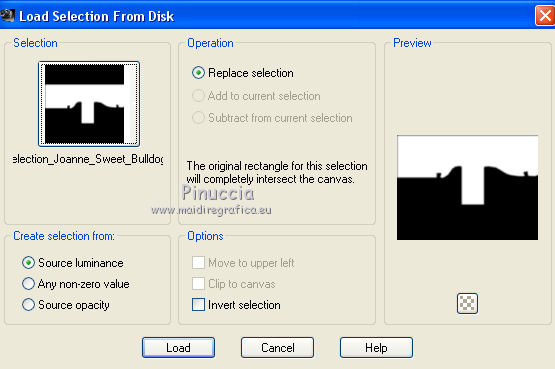
Press 3 times CANC on the keyboard 
Selections>Select None.
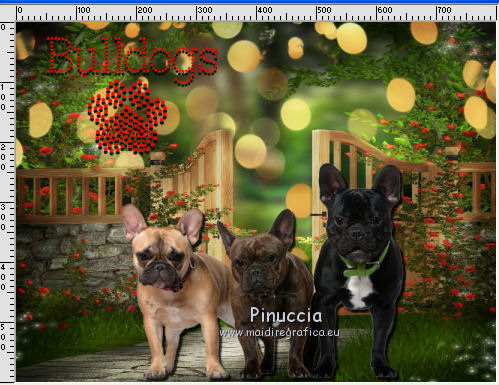
14. Open the tube of the dogs and go to Edit>Copy.
Go back to your work and go to Edit>Paste as new layer.
Move  the tube down. the tube down.
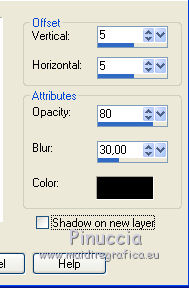
15. Effects>3D Effects>Drop Shadow.
16. Activate the image of the red text, made at the beginning of the tutorial.
Edit>Copy.
Go back to your work and go to Edit>Paste as new layer.
Move  the text at the upper left. the text at the upper left.
17. Sign your work on a new layer.
little note about the watermark:
I never ask to put watermark on the versions made by my translations.
But if you decide to use the watermark supplied by the author (to put in mode Soft Light),
I would appreciate that my work as translator was respected too.
For that, I added my watermark to the material (in italian and in english).
Layers>Merge>Merge All.
18. Image>Add borders, 2 pixels, symmetric, color black.
Image>Add borders, 30 pixels, symmetric, orange foreground color.
Image>Add borders, 2 pixels, symmetric, color black.
19. Activate the Magic Wand Tool 
and click on the 30 pixels border to select it.
20. Effects>Plugins>Graphics Plus - Cross Shadow, default settings.

21. Effects>3D Effects>Drop Shadow.
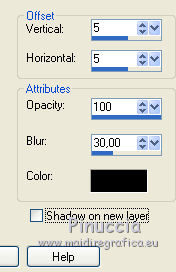
Repeat Drop Shadow, but vertical and horizontal -5.
Selections>Select None.
22. Save as jpg.
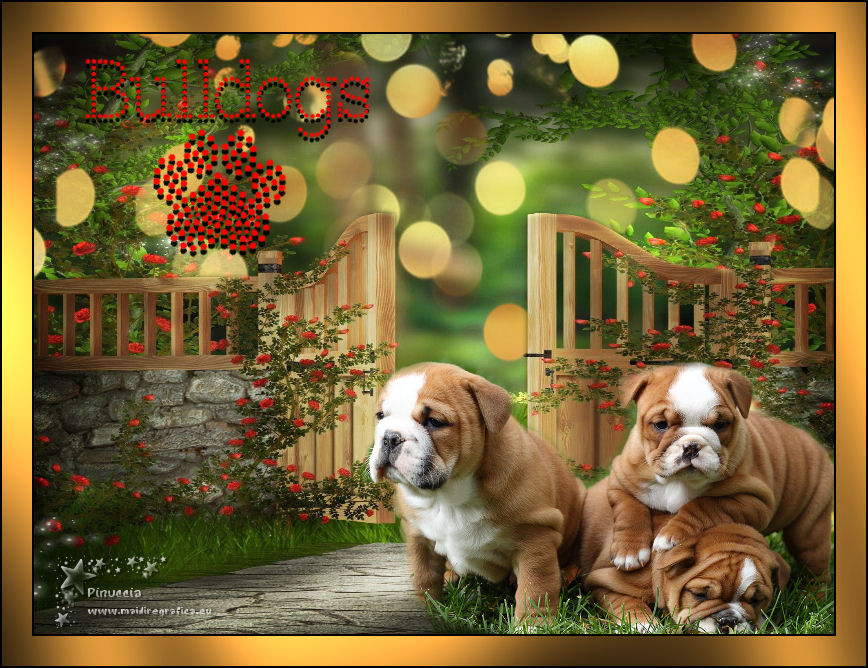
Version with a tube of mine

If you have problems or doubts, or you find a not worked link, or only for tell me that you enjoyed this tutorial, write to me.
19 November 2018
|
 ENGLISH VERSION
