|
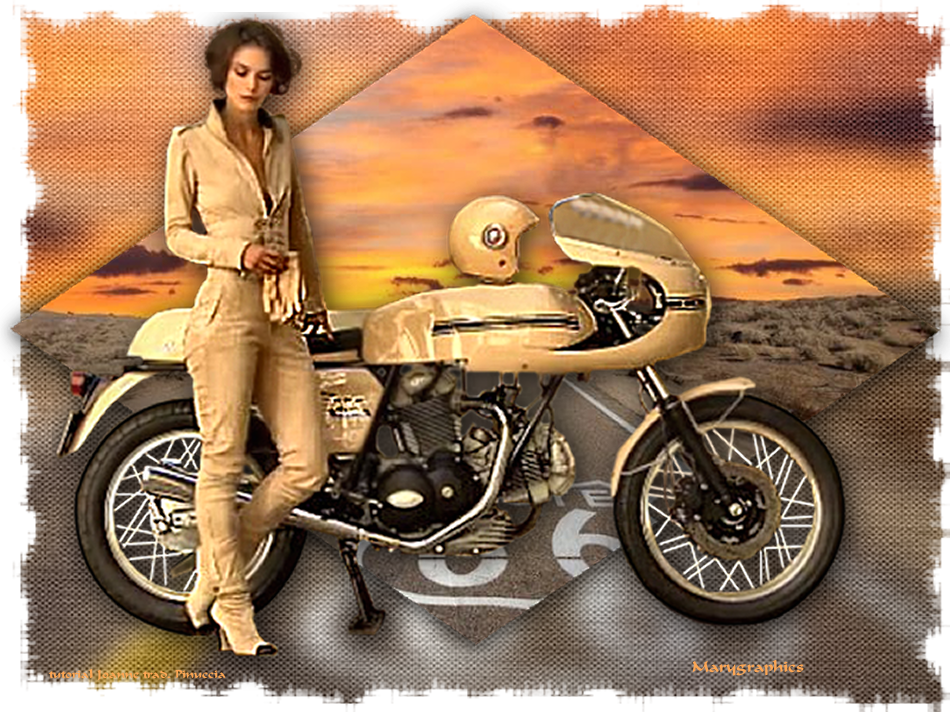
ROUTE 66
 ENGLISH VERSION ENGLISH VERSION
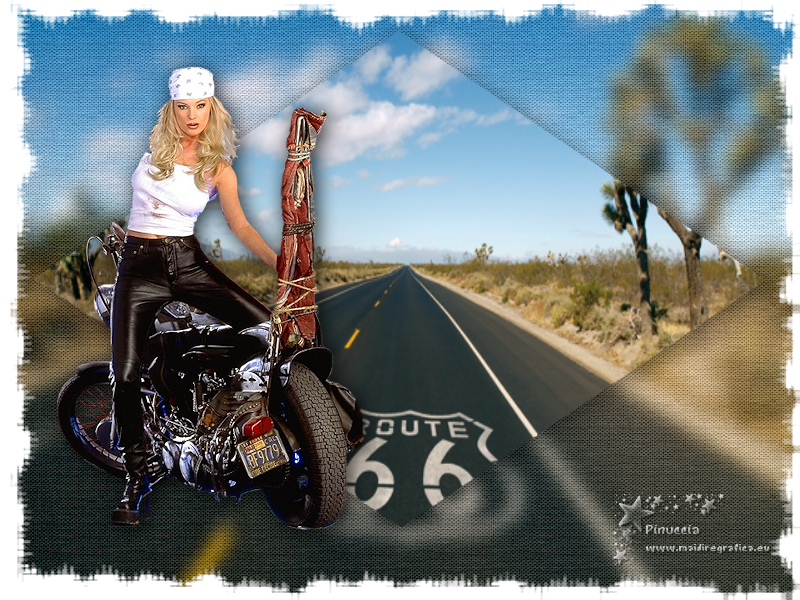

This tutorial was translated with PSPX3 but it can also be made using other versions of PSP.
Since version PSP X4, Image>Mirror was replaced with Image>Flip Horizontal,
and Image>Flip with Image>Flip Vertical, there are some variables.
In versions X5 and X6, the functions have been improved by making available the Objects menu.
In the latest version X7 command Image>Mirror and Image>Flip returned, but with new differences.
See my schedule here
Italian translation here
For this tutorial, you will need:
Material here
Thanks Nolver for a mask.
Thanks also to the unknown authors of the rest of the material.
Plugins
Filters Unlimited 2.0 here

Open the masks in PSP and minimize them with the rest of the material.
1. Open a new transparent image 800 x 600 pixels.
Selections>Select All.
2. Open the image of the Route 66 and go to Edit>Copy.
Go back to your work and go to Edit>Paste into Selection.
Selections>Select None.
3. Layers>Duplicate.
Close this layer and activate the layer below of the original.
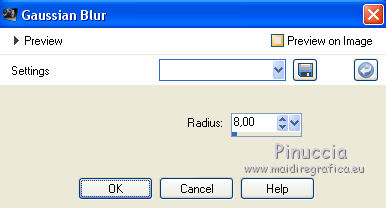
4. Adjust>Blur>Gaussian Blur - radius 8
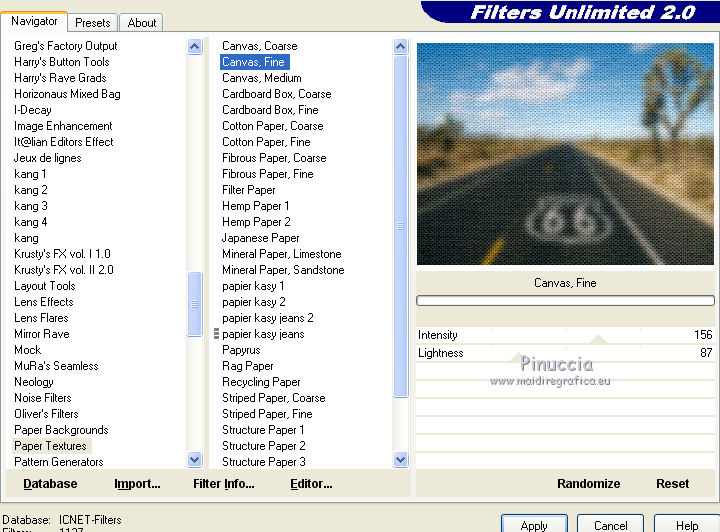
5. Effects>Plugins>Filters Unlimited 2.0 - Paper Texture - Canvas Fine
6. Close this layer.
Open again and activate the top layer of the copy.
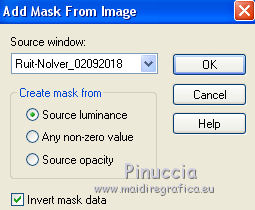
Layers>New Mask layer>From image
Open the menu under the source window and you'll see all the files open.
Select the mask Ruit-Nolver_02092018
Layers>Merge>Merge Group.
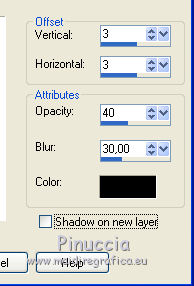
7. Effects>3D Effects>Drop Shadow.
8. Open the tube of the woman and go to Edit>Copy.
Go back to your work and go to Edit>Paste as new layer.
Place  the tube as below. the tube as below.
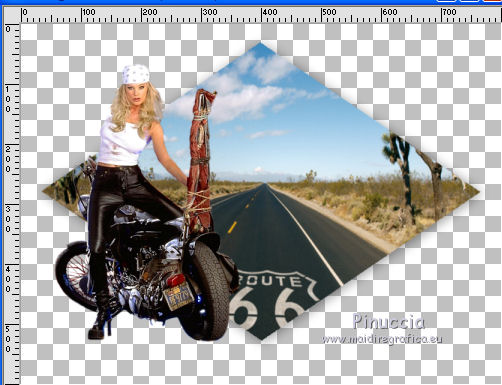
Adjust>Sharpness>Sharpen.
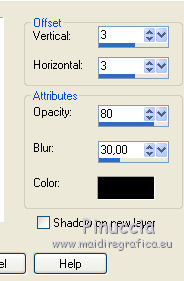
9. Effects>3D Effects>Drop Shadow.
10. Open the bottom layer.
Layers>Merge>Merge visible.
11. Layers>New Mask layer>From image
Open the menu under the source window
and select the mask s508uxcm
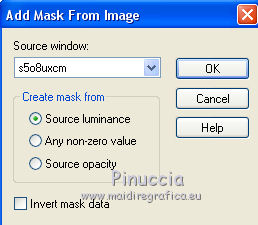
Layers>Merge>Merge Group.
12. Sign your work on a new layer.
little note about the watermark:
I never ask to put watermark on the versions made by my translations.
But if you decide to use the watermark supplied by the author (to change in Soft Light),
I would appreciate that my work as translator was respected too.
For that, I added my watermark to the material (a layer for every language that I translate).
13. Layers>Merge>Merge visible.
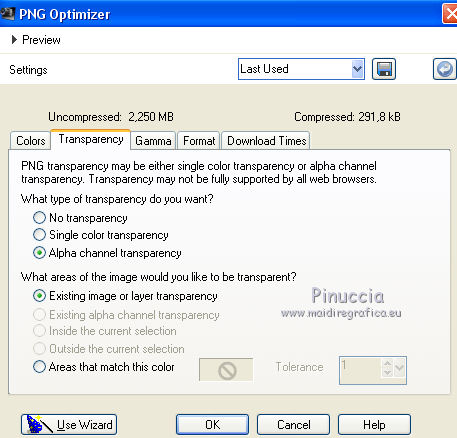
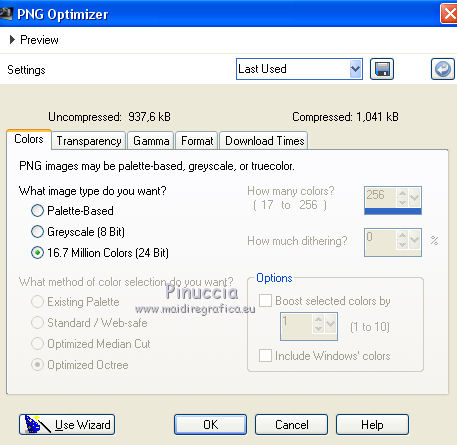
14. Save as png: File>Export>PNG Optimizer
The tube of this versions is by Sadie
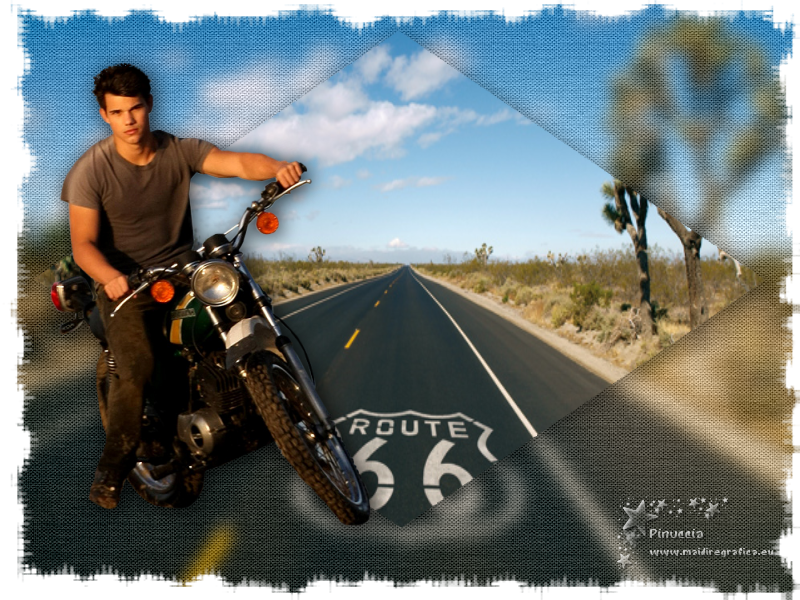
a curiosity: if you save your work with File>Save as...

your work will be lighter: 257 kb vs. 877 kb.
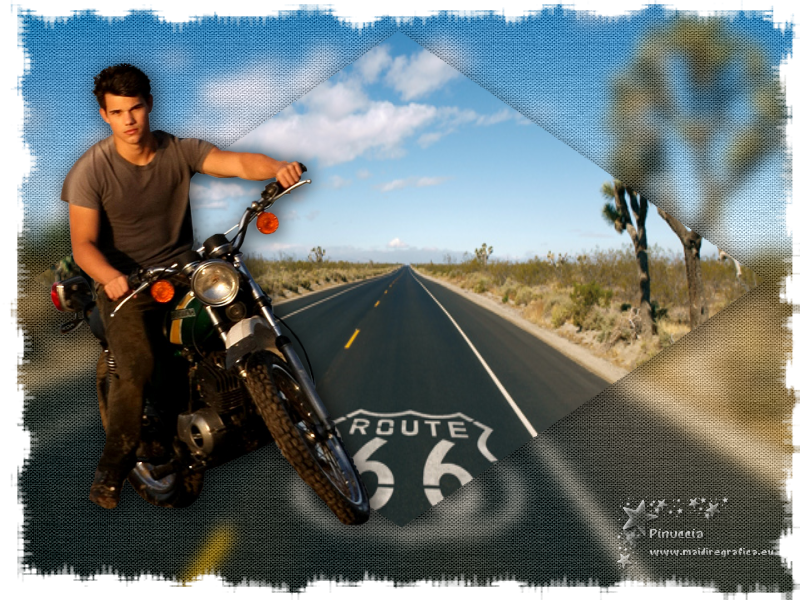

Le vostre versioni. Grazie
Your versions. Thanks
Marygraphics

If you have problems or doubts, or you find a not worked link, or only for tell me that you enjoyed this tutorial, write to me.
27 January 2019
|
 ENGLISH VERSION
