|
PREMIER MAI
 ENGLISH VERSION ENGLISH VERSION

Here you find the original of this tutorial:

This tutorial was translated with PSPX3 but it can also be made using other versions of PSP.
Since version PSP X4, Image>Mirror was replaced with Image>Flip Horizontal,
and Image>Flip with Image>Flip Vertical, there are some variables.
In versions X5 and X6, the functions have been improved by making available the Objects menu.
In the latest version X7 command Image>Mirror and Image>Flip returned, but with new differences.
See my schedule here
Italian translation here
For this tutorial, you will need:
Material here
For the woman tube thanks Gaia.
Thanks also to the authors, that I don't know, of the rest of the material.

In the newest versions of PSP, you don't find the foreground/background gradient (Corel_06_029).
You can use the gradients of the older versions.
The Gradient of CorelX here
Open the masks in PSP and minimize them with the rest of the material.
1. Set your foreground color to #86b54f.
Set your background color to #1f4919.
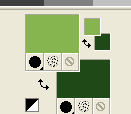
2. Set your foreground color to a Foreground/Background Gradient, style Sunburst.
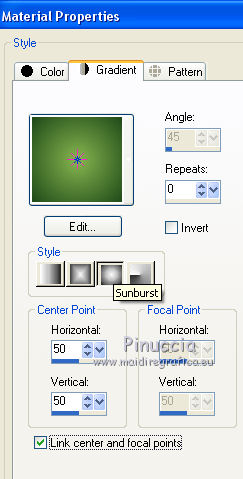
3. Open a new transparent image 800 x 600 pixels.
Flood Fill  with your Gradient. with your Gradient.
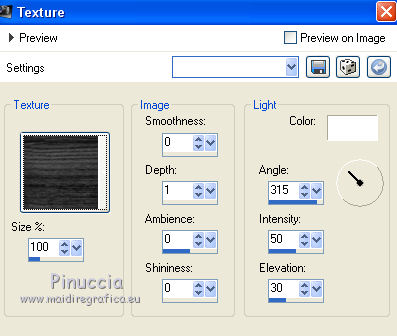
4. Effects>Texture Effects>Texture - Woodgrain
5. Layers>New Raster Layer.
Flood Fill  with your dark background color. with your dark background color.
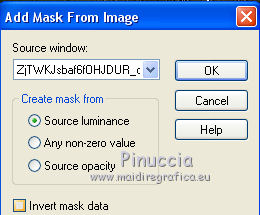
6. Layers>New Mask layer>From image
Open the menu under the source window and you'll see all the files open.
Select the mask ZjTWK...
Layers>Merge>Merge Group.
7. Effects>3D Effects>Drop Shadow.
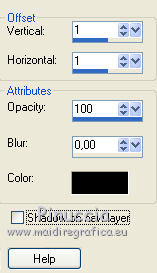
8. Layers>Duplicate.
Layers>Merge>Merge Down.
9. Open the tube of the woman and go to Edit>Copy.
Go back to your work and go to Edit>Paste as new layer.
Image>Resize, to 120%, resize all layers not checked.
Adjust>Sharpness>Sharpen.
10. Effects>Image Effects>Offset.
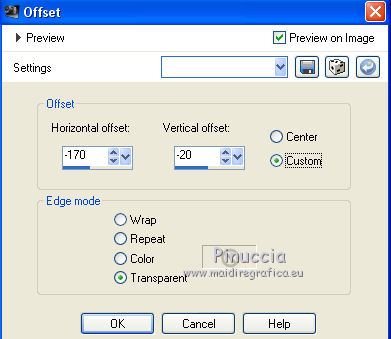
11. Effects>3D Effects>Drop Shadow.
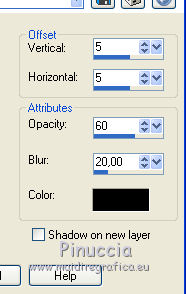
Repeat Drop shadow, but vertical and horizontal -5.
12. Open the tube of th basket and go to Edit>Copy.
Go back to your work and go to Edit>Paste as new layer.
Image>Resize, to 80%, resize all layers not checked.
Adjust>Sharpness>Sharpen More.
13. Effects>3D Effects>Drop Shadow, same settings step 11.
14. Effects>Image Effects>Offset.
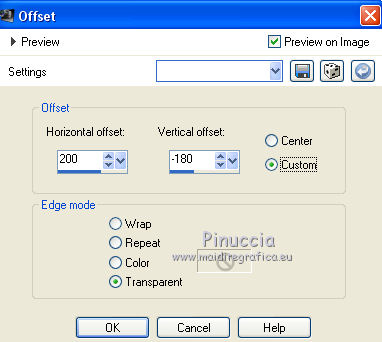
15. Layers>Merge>Merge visible.
16. Layers>New Mask layer>From image
Open the menu under the source window and you'll see all the files open.
Select the mask 2b6932fc19e...
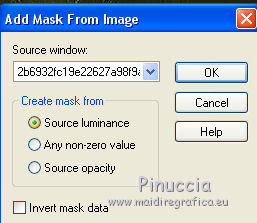
Layers>Merge>Merge Group.
Layers>Duplicate.
17. Open the text and go to Edit>Copy.
Go back to your work and go to Edit>Paste as new layer.
Place  the text as in my example. the text as in my example.
18. Sign your work on a new layer.
little note about the watermark:
I never ask to put watermark on the versions made by my translations.
But if you decide to use the watermark supplied by the author,
I would appreciate that my work as translator was respected too.
For that, I added my watermark to the material (in italian and in english).
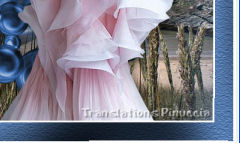
19. Layers>Merge>Merge visible.
20. Effects>3D Effects>Drop Shadow.
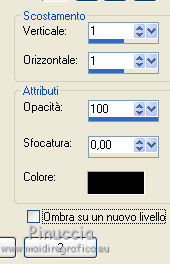
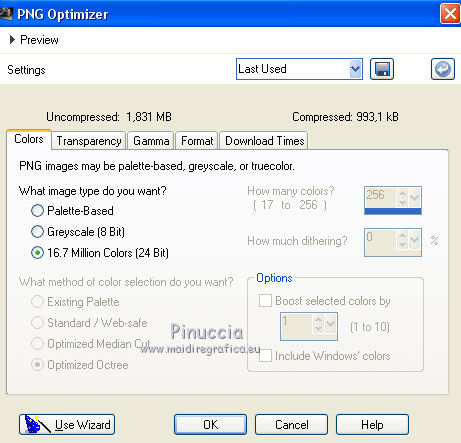
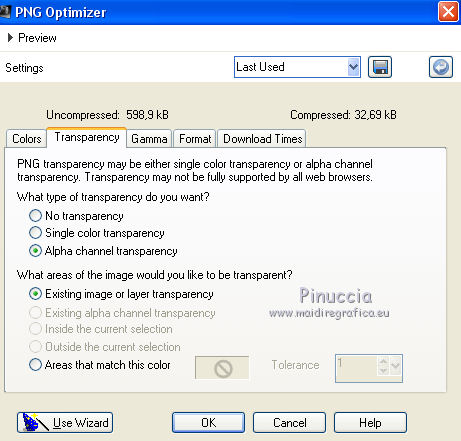
Save as png to keep the transparence of the background.
Files>Export>PNG Optimizer:
The tube of this version is by Mina


If you have problems or doubts, or you find a not worked link, or only for tell me that you enjoyed this tutorial, write to me.
30 April 2018
|
 ENGLISH VERSION

 ENGLISH VERSION
