|
MIRANDA
 ENGLISH VERSION ENGLISH VERSION

Here you find the original of this tutorial:

This tutorial was translated with PSPX3 but it can also be made using other versions of PSP.
Since version PSP X4, Image>Mirror was replaced with Image>Flip Horizontal,
and Image>Flip with Image>Flip Vertical, there are some variables.
In versions X5 and X6, the functions have been improved by making available the Objects menu.
In the latest version X7 command Image>Mirror and Image>Flip returned, but with new differences.
See my schedule here
Italian translation here
le vostre versioni/your versions qui
For this tutorial, you will need:
Material here
Thanks to the authors of the material, that I don't know.
Plugins
Filters Unlimited 2.0 here
Flaming Pear - Flexify 2 here
Graphics Plus - Cross Shadow here
Filters Graphics Plus can be used alone or imported into Filters Unlimited.
(How do, you see here)
If a plugin supplied appears with this icon  it must necessarily be imported into Unlimited it must necessarily be imported into Unlimited

Open the mask in PSP and minimize it with the rest of the material.
1. Set your foreground color to #7abd3e,
and the background color to #1e4000.
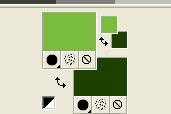
2. Open a new transparent image 800 x 600 pixels.
Flood Fill  the transparent image with your light color. the transparent image with your light color.
3. Effects>Plugins>Graphics Plus - Cross shadow, default settings.

4. Layers>New Raster Layer.
Flood Fill  with your dark color. with your dark color.
5. Layers>New Mask layer>From image
Open the menu under the source window and you'll see all the files open.
Select the mask b479194d:
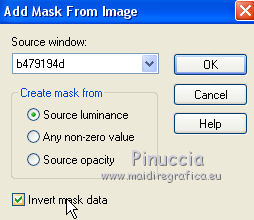
Layers>Merge>Merge group.
6. Effects>Plugins>Flaming Pear - Flexify 2.
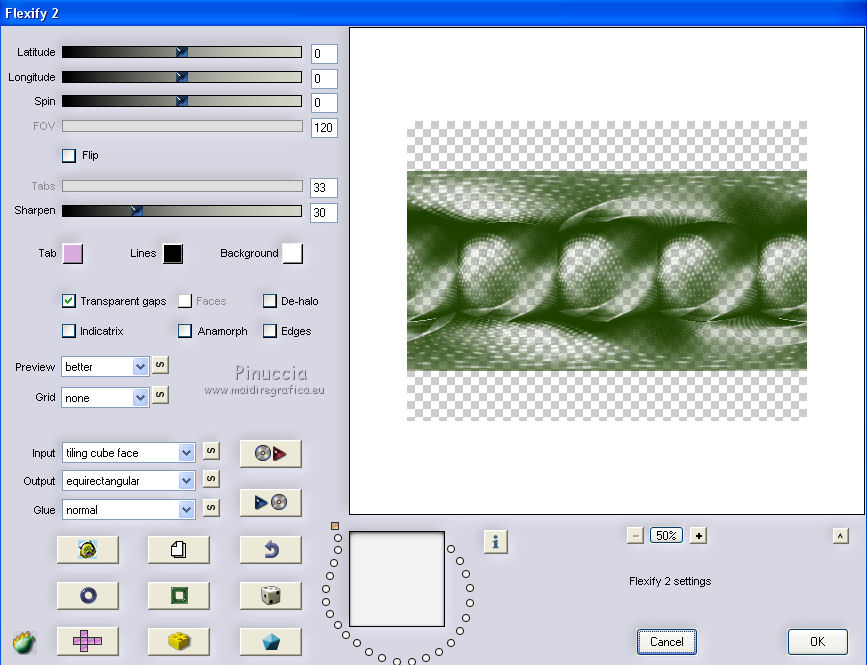
7. Edit>Cut (this cuts and also keeps in memory).
8. Selections>Select All.
Edit>Paste into Selection.
Selections>Select None.
9. Image>Mirror.
Effects>Reflection Effects>Rotating Mirror.

10. Open the tube of the column and go to Edit>Copy.
Go back to your work and go to Edit>Paste as new layer.
Image>Resize, to 60%, resize all layers not checked.
11. Effects>3D Effects>Drop Shadow.
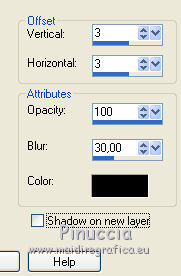
Repeat Drop Shadow, but vertical and horizontal -3.
12. Move  the tube to the right side, see my example. the tube to the right side, see my example.
13. Open the tube of the woman and go to Edit>Copy.
Go back to your work and go to Edit>Paste as new layer.
14. Effects>3D Effects>Drop Shadow, as step 11.
15. Move  the tube to the right side. the tube to the right side.
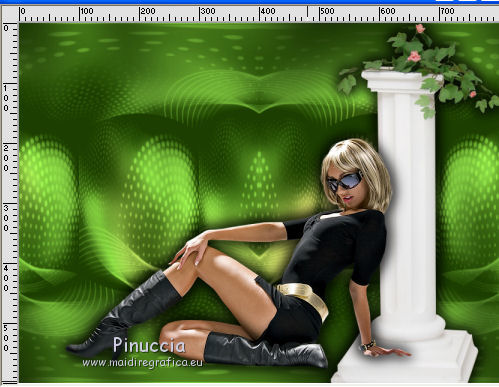
16. Layers>New Raster Layer.
Flood Fill  with your light color. with your light color.
17. Selections>Select All.
Selections>Modify>Contract - 20 pixels.
Press CANC on the keyboard 
Selections>Select None.
18. Image>Resize, to 95%, resize all layers not checked.
19. Effects>Distortion Effects>Wave.
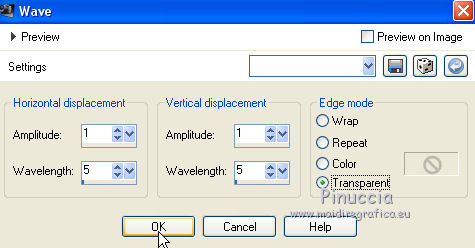
20. Effects>Plugins>Graphics Plus - Cross Shadow, default settings.
21. Activate the Magic Wand Tool 
and click on the external space of the frame to select it.
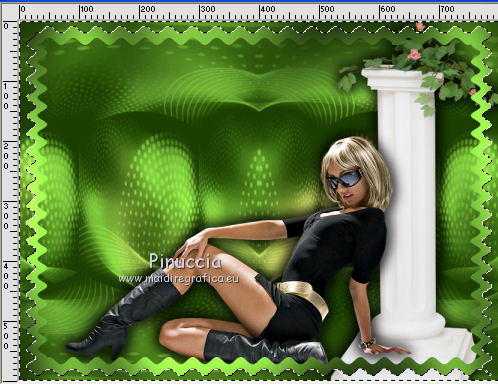
22. Activate the layers, one at a time, and press CANC on the keyboard.
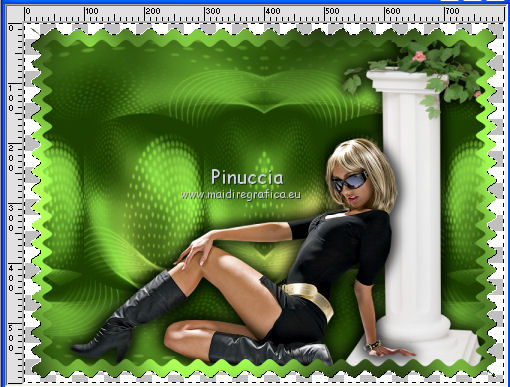
Selections>Select None.
23. Activate the top layer.
Click in the middle of the frame with your Magic Wand tool  to select it. to select it.
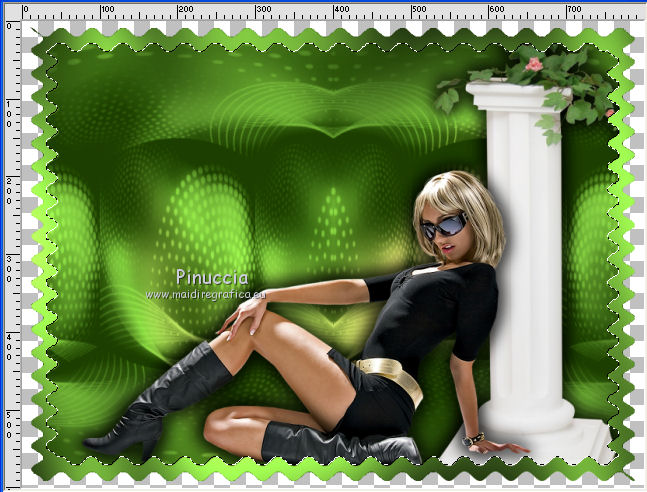
21. Effects>3D Effects>Drop Shadow, as step 11.
Selections>Select None.
22. Sign your work on a new layer.
little note about the watermark:
I never ask to put watermark on the versions made by my translations.
But if you decide to use the watermark supplied by the author,
I would appreciate that my work as translator was respected too.
For that, I added my watermark to the material (in italian and in english).
23. Layers>Merge>Merge visible, to keep the background transparent.
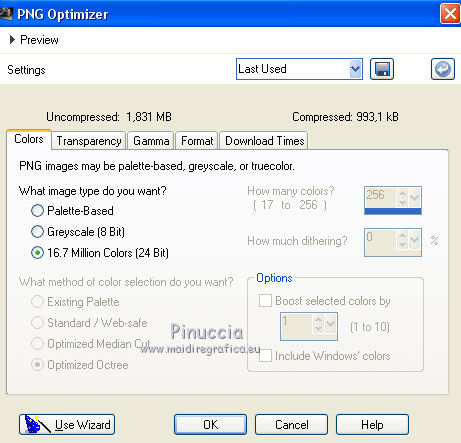
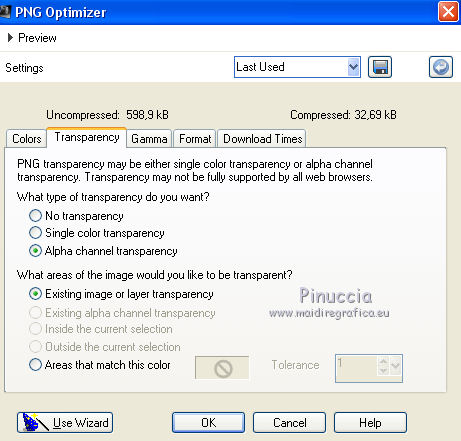
Save as png: File>Export>PNG Optimizer

If you have problems or doubts, or you find a not worked link, or only for tell me that you enjoyed this tutorial, write to me.
19 August 2018
|
 ENGLISH VERSION
