|
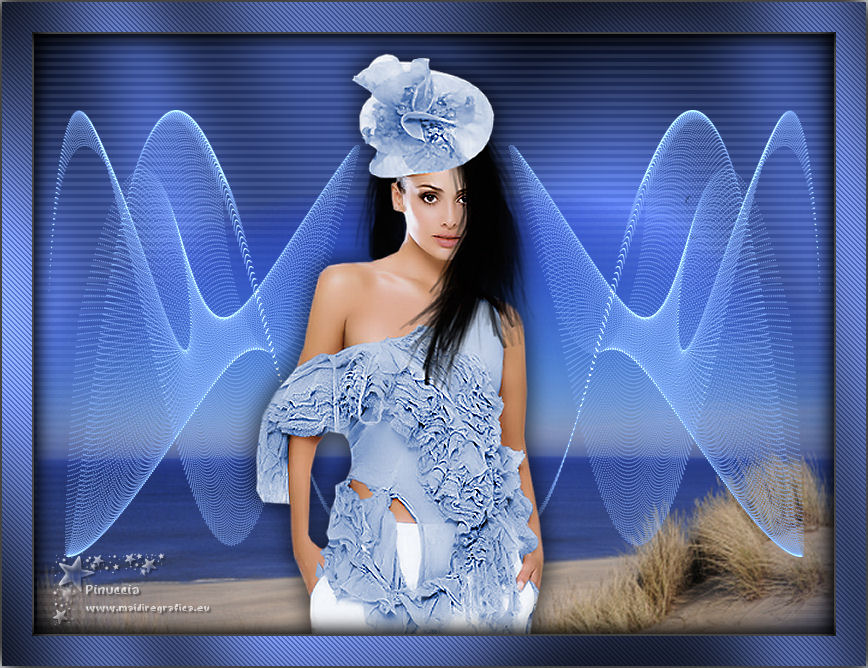
MARION
 ENGLISH VERSION ENGLISH VERSION

This tutorial was translated with PSPX3 but it can also be made using other versions of PSP.
Since version PSP X4, Image>Mirror was replaced with Image>Flip Horizontal,
and Image>Flip with Image>Flip Vertical, there are some variables.
In versions X5 and X6, the functions have been improved by making available the Objects menu.
In the latest version X7 command Image>Mirror and Image>Flip returned, but with new differences.
See my schedule here
Italian translation here
your versions here
For this tutorial, you will need:
Material here
Thanks Faline of DreamCréation for the landscape.
Thanks also the unknown author of the woman tube.
Plugins
Filters Unlimited 2.0 here
Graphics Plus - Cross Shadow here
Carolaine and Sensibility - CS-HLines, CS-DLines here
Dragonfly - SinedotsII here
Filters Graphics Plus can be used alone or imported into Filters Unlimited.
(How do, you see here)
If a plugin supplied appears with this icon  it must necessarily be imported into Unlimited it must necessarily be imported into Unlimited

1. Set your foreground color to #384c8a.
2. Open a new transparent image 450 x 450 pixels.
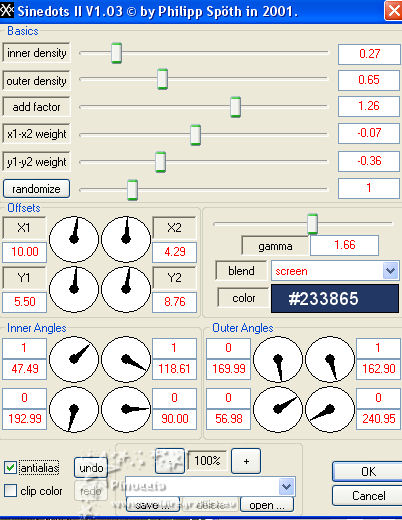
3. Effects>Plugins>Dragonfly - Sinedots II.
Minimize your work for a moment.
4. Open a new transparent image 800 x 600 pixels,
Flood Fill  with your foreground color. with your foreground color.
5. Effects>Plugins>Graphics Plus - Cross Shadow, default settings.

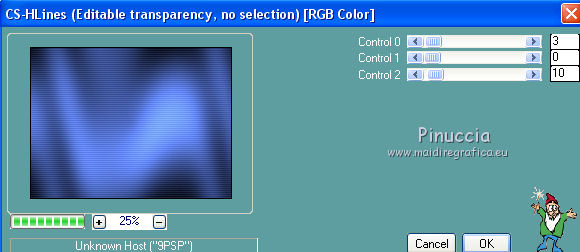
6. Effects>Plugins>Carolaine and Sensibility - CS-HLines, default settings
Close this layer.
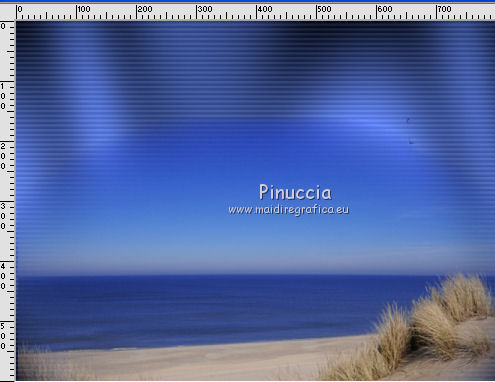
7. Open your landscape and go to Edit>Copy.
Go back to your work and go to Edit>Paste as new layer.
Image>Resize, to 160%, resize all layers not checked.
8. Layers>Duplicate - 4 times (for a total of 5).
9. Layers>Merge>Merge visible.
10. Reopen the layer below and stay on the top layer.
Move  the landscape a bit down. the landscape a bit down.
11. Activate the image with Sinedots and go to Edit>Copy.
Go back to your work and go to Edit>Paste as new layer.
12. Image>Free Rotate - 90 degrees to left.

13. Image>Mirror.
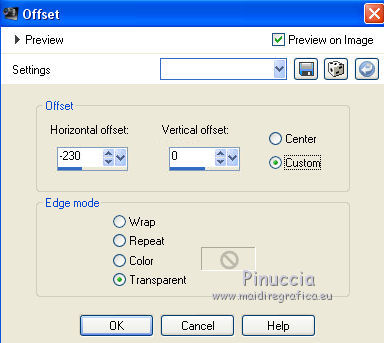
14. Effects>Image Effects>Offset.
15. Effects>Reflection Effects>Rotating Mirror.

16. Open the woman tube and go to Edit>Copy.
Go back to your work and go to Edit>Paste as new layer.
Image>Resize, to 120%, resize all layers not checked.
Adjust>Sharpness>Sharpen - 2 times.
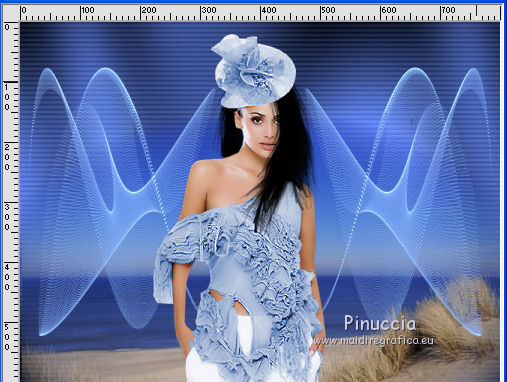
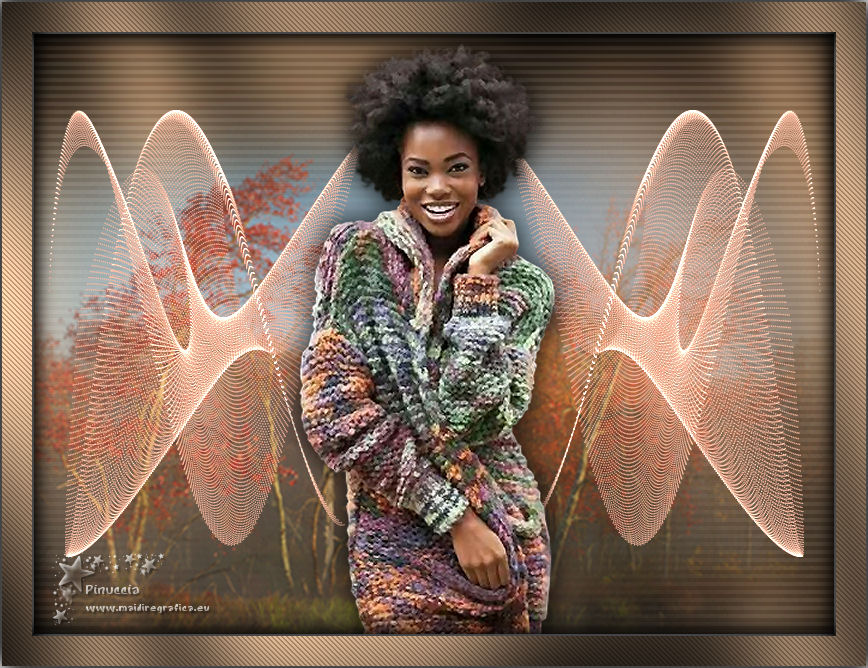
Place rightly the tube, see my example.
17. Effects>3D Effects>Drop Shadow.
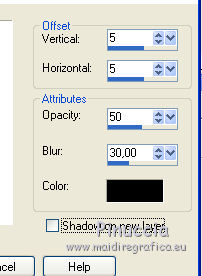
Repeat Drop Shadow, vertical and horizontal -5.
18. Sign your work on a new layer.
little note about the watermark:
I never ask to put watermark on the versions made by my translations.
But if you decide to use the watermark supplied by the author (to change in Soft Light),
I would appreciate that my work as translator was respected too.
For that, I added my watermark to the material (a layer for every language that I translate).
19. Layers>Merge>Merge All.
20. Image>Add borders, 2 pixels, symmetric, color white.
Image>Add borders, 30 pixels, symmetric, foreground color.
Image>Add borders, 2 pixels, symmetric, color white.
21. Activate your Magic Wand Tool 
and click on the 30 pixels border to select it.
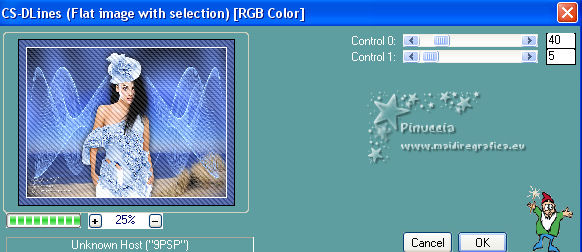
22. Effects>Plugins>Carolaine and Sensibility - CS-DLines, default settings
23. Effects>Plugins>Graphics Plus - Cross Shadow, default settings.
24. Effects>3D Effects>Drop Shadow.
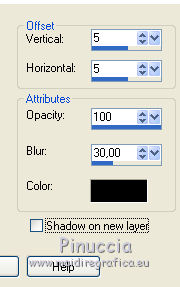
Repeat Drop Shadow, vertical and horizontal -5.
Selections>Select None.
25. Save as jpg.
The tubes of this version are by Wieskes and Cibi.

If you have problems or doubts, or you find a not worked link, or only for tell me that you enjoyed this tutorial, write to me.
27 March 2019
|


