|
SOIRÉE EN VILLE

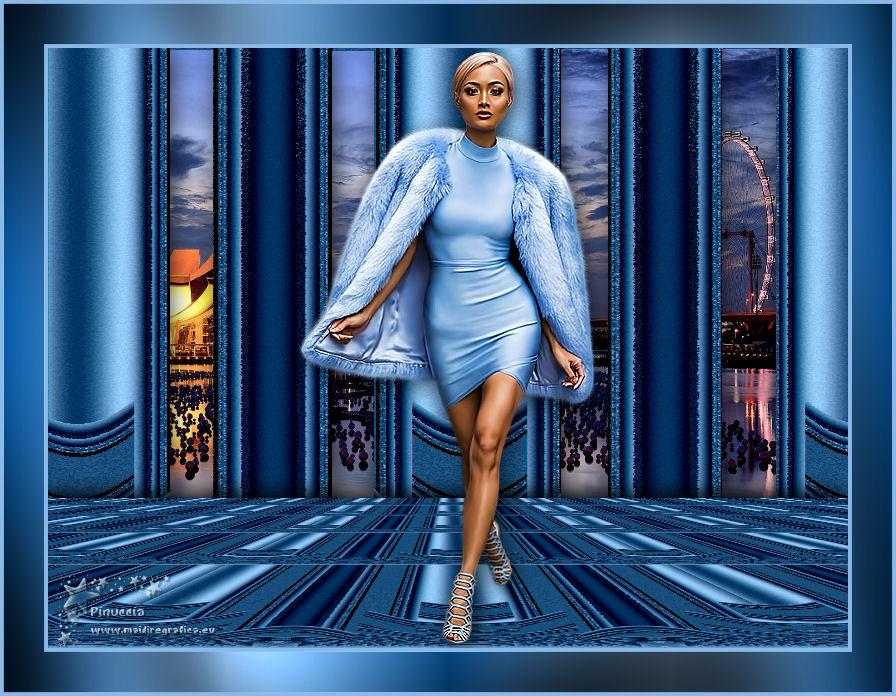
Thanks Joanne for the invitation to translate your tutorials:

This tutorial was translated with PSPX3 but it can also be made using other versions of PSP.
Since version PSP X4, Image>Mirror was replaced with Image>Flip Horizontal,
and Image>Flip with Image>Flip Vertical, there are some variables.
In versions X5 and X6, the functions have been improved by making available the Objects menu.
In the latest version X7 command Image>Mirror and Image>Flip returned, but with new differences.
See my schedule here
 Italian translation here Italian translation here
For this tutorial, you will need:
Material here
Thanks for the tube Vio.
The rest of the material is not signed.
(The links of the tubemakers sites here).
consult, if necessary, my filter section here
Plugins:
Graphics Plus - Cross Shadow here
Filters Unlimited 2.0 here
Krusty's FX Vol.II 2.0 - Generator L-1 (Curtains) here
Mura's Meister - Perspective Tiling here
Filters Graphics Plus and Krusty can be used alone or imported into Filters Unlimited.
(How do, you see here)
If a plugin supplied appears with this icon  it must necessarily be imported into Unlimited it must necessarily be imported into Unlimited

You can change Blend Modes according to your colors.
In the newest versions of PSP, you don't find the foreground/background gradient (Corel_06_029).
You can use the gradients of the older versions.
The Gradient of CorelX here
Copy the Selection in the Selection Folder.
Open the rest of the material in PSP and minimize it.
1. Set your foreground color to #8ab9e8,
and your background color to #043867.
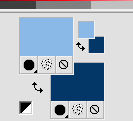
Set your foreground color to a Foreground/Background Gradient, style Linear.

2. Open a new transparent image 800 x 600 pixels.
Selections>Select All.
3. Open the landscape image and go to Edit>Copy.
Go back to your work and go to Edit>Paste into Selection.
Selections>Select None.
4. Layers>New Raster Layer.
Effects>Plugins>Krusty's FX Vol II 2.0 - Generator L-1 (Curtains)
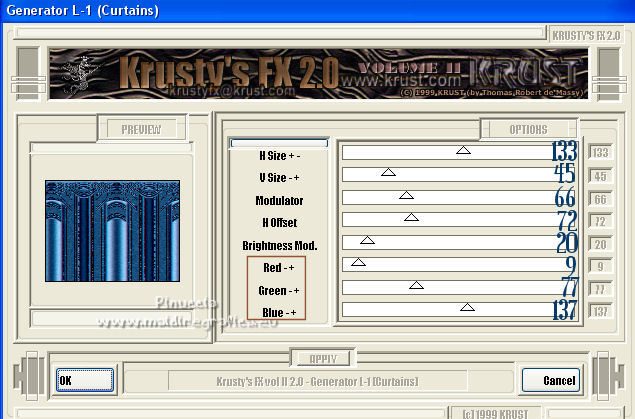
in case you have to redo the tutorial,
using the filter in Unlimited, you will have to set the settings again.
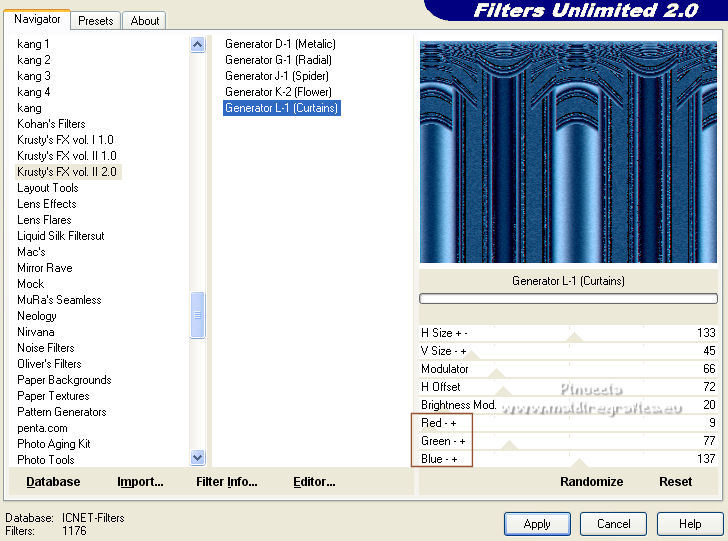
If you are using other colors, play with Red,Blue, Green settings
5. Image>Flip.
Layers>Duplicate.
Close this layer
and activate the layer below of the original.
6. Selections>Load/Save Selection>Load Selection from Disk.
Look for and load the selection Joanne_sélection_Soirée_en_ville

Press CANC on the keyboard 
Selections>Select None.
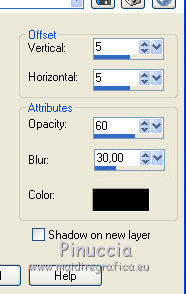
7. Effects>3D Effects>Drop Shadow.

8. Re-open and activate the layer above of the copy.
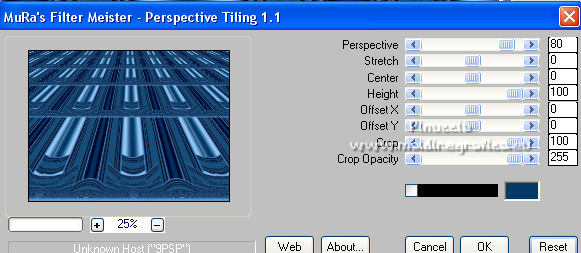
Effects>Plugins>Mura's Meister - Perspective Tiling, default settings.
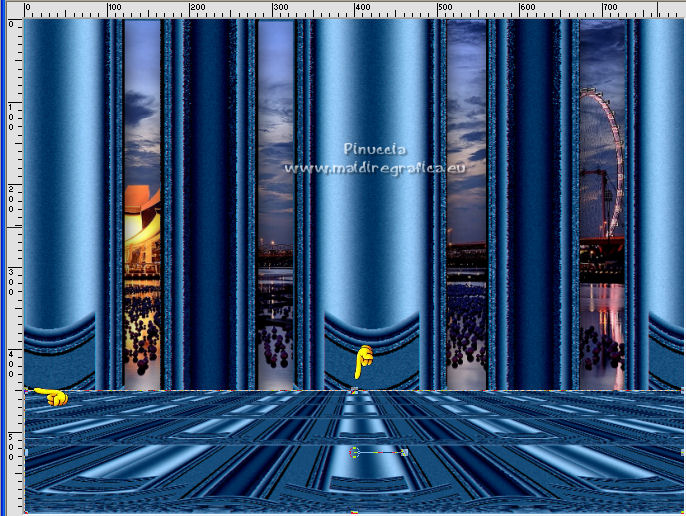
9. Activate your Pick Tool 
mode Scale 
pull the top central knot down, until 450 pixels.
(if you don't see the rules, go to View>Rules)
10. Effects>3D Effects>Drop Shadow.

11. Open the woman tube and go to Edit>Copy.
Go back to your work and go to Edit>Paste as new layer.
Image>Resize, to 80%, resize all layers not checked.
Adjust>Sharpness>Sharpen.
12. Effects>3D Effects>Drop Shadow.
13. Sign your work on a new layer.
If you add the author watermark (to put in mode Soft Light),
don't forget to add also the translator watermark.
14. Layers>Merge>Merge All.
15. Image>Add borders, 4 pixels, symmetric, light color.
Image>Add borders, 40 pixels, symmetric, dark color.
Image>Add borders, 4 pixels, symmetric, light color.
16. Activate your Magic Wand Tool 
and click in the 40 pixels border to select it.
Flood Fill  the selection with your Gradient. the selection with your Gradient.
17. Effects>Plugins>Graphics plus - Cross Shadow, default settings.

Selections>Select None.
18. Save as jpg.
Version with tube by Luz Cristina (Florence in the background)
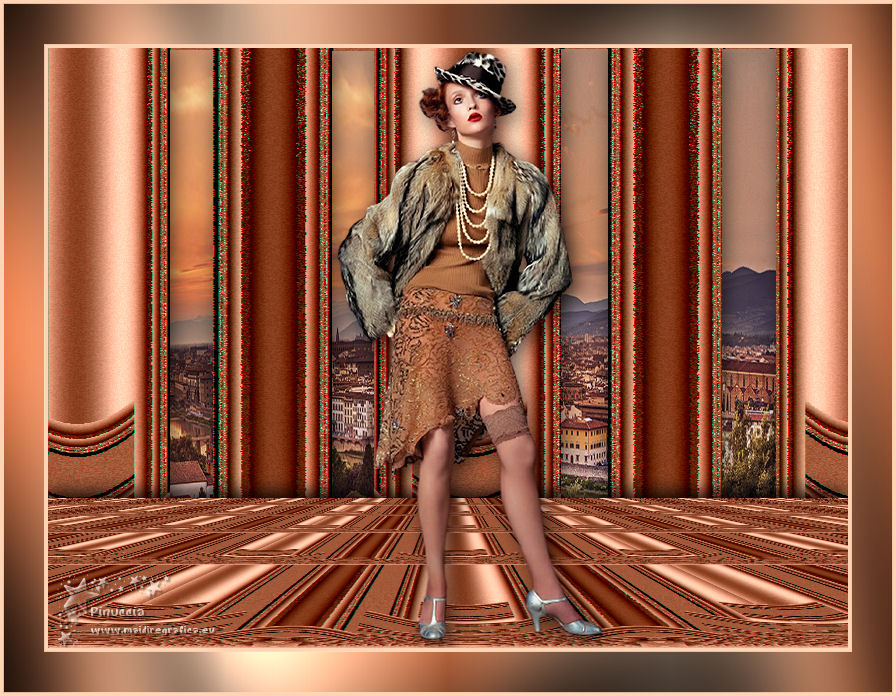
Version with tube by Beatriz (Paris in the background)
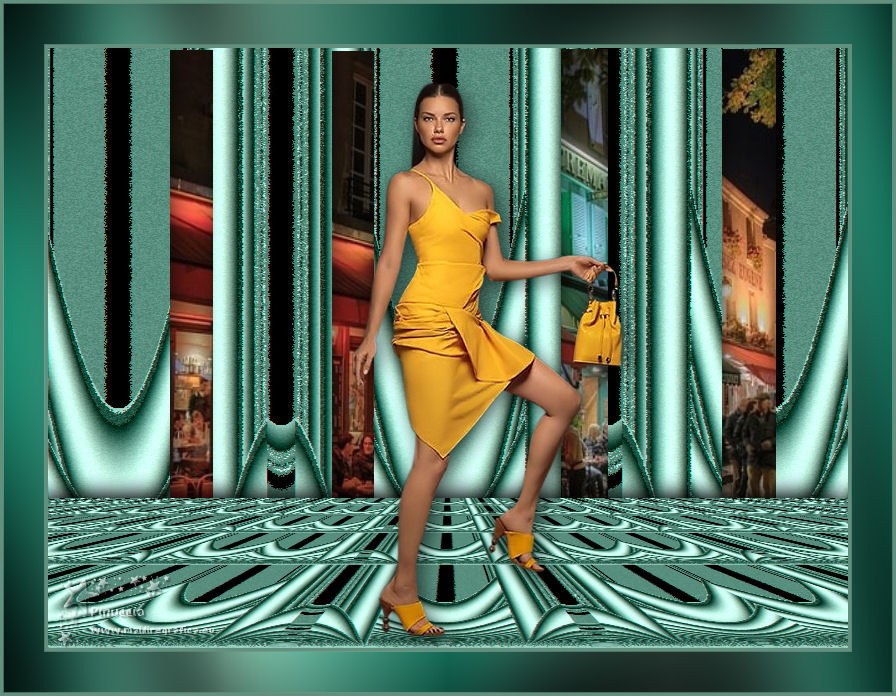

Your versions. Thanks
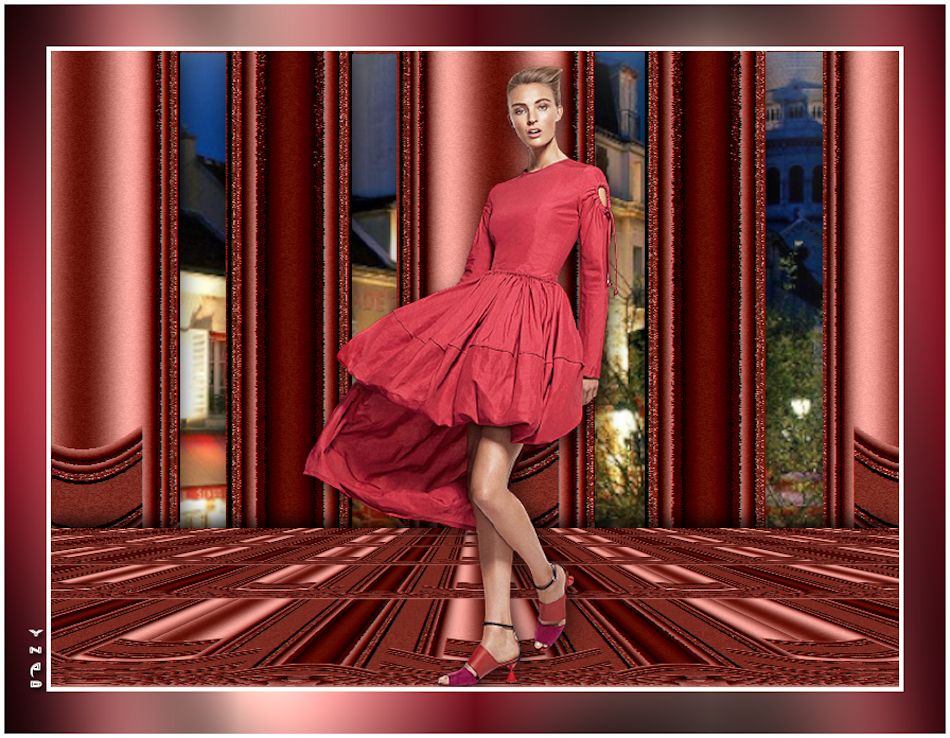
Dany

If you have problems or doubts, or you find a not worked link,
or only for tell me that you enjoyed this tutorial, write to me.
21 September 2021

|

