|
POSITIVE GIRL
 ENGLISH VERSION ENGLISH VERSION
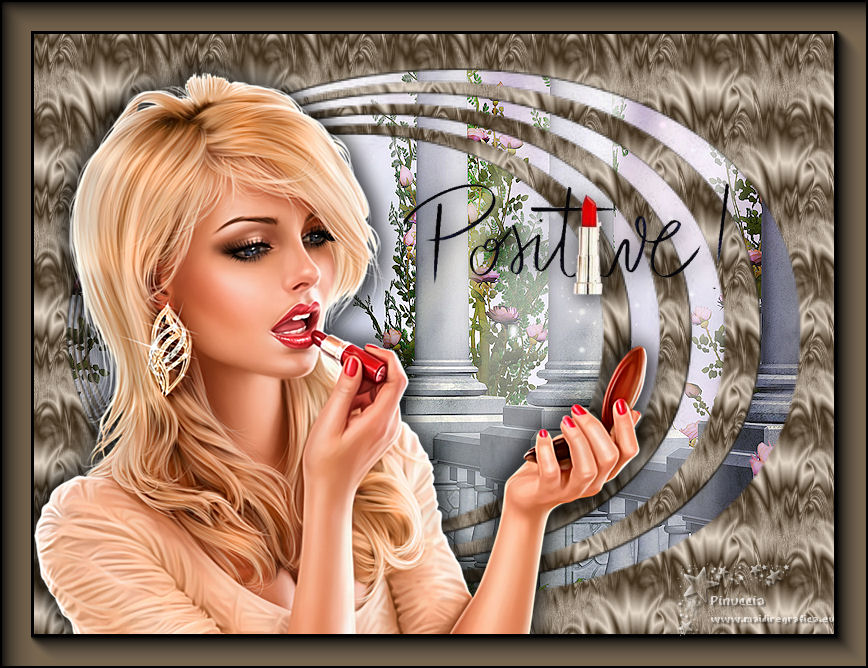
Thanks Joanne for the invitation to translate your tutorials:

This tutorial was translated with PSPX3 but it can also be made using other versions of PSP.
Since version PSP X4, Image>Mirror was replaced with Image>Flip Horizontal,
and Image>Flip with Image>Flip Vertical, there are some variables.
In versions X5 and X6, the functions have been improved by making available the Objects menu.
In the latest version X7 command Image>Mirror and Image>Flip returned, but with new differences.
See my schedule here
Italian translation here
your versions here
For this tutorial, you will need:
Material here
For the landscape thanks Mina.
(The links of the tubemakers sites here).
Plugins
Filters Unlimited 2.0 here
Unplugged Tools - Copy star here
AAA Frames - Foto Frame here
Simple - Quick Tile here
Filters Unplugged Tools and Simple can be used alone or imported into Filters Unlimited.
(How do, you see here)
If a plugin supplied appears with this icon  it must necessarily be imported into Unlimited it must necessarily be imported into Unlimited

You can change Blend Modes according to your colors.
The Gradient Deux tons marron is standard in PSP (Duotone Brown or Corel_06_004).
If you don't find it in your PSP, copy the supplied gradient in the Gradients Folder.
The pattern Gouttes d'eau is standard in PSP (Puddle drops or Corel_04_003).
If you don't find it in your PSP, copy the supplied pattern in the Displacement Maps Folder.
Open the masks in PSP and minimize them with the rest of the material.
1. Open a new transparent image 300 x 300 pixels.
2. Set your foreground color to Gradient and select the gradient Duotone Brown or Corel_06_004, style Sunburst.
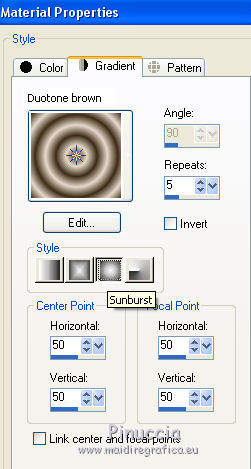
Flood Fill  the transparent image with the Gradient. the transparent image with the Gradient.
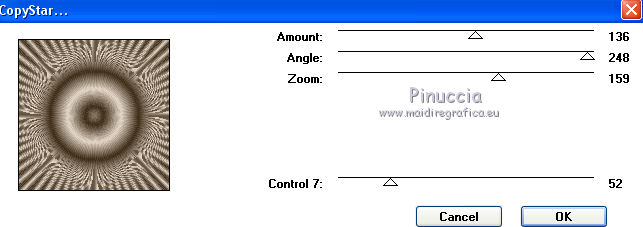
3. Effects>Plugins>Unplugged Tools - Copy Star.
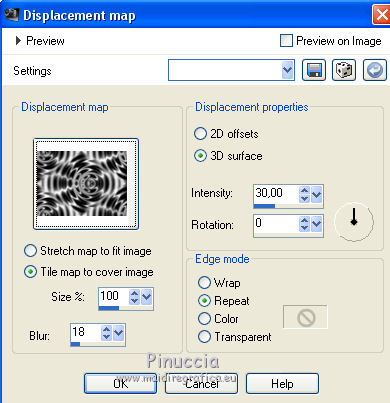
4. Effects>Distortion Effects>Displacement Maps
select the pattern Puddle drops or Corel_04_003, with these settings
5. Effects>Distortion Effects>Polares Coordinates.

6. Effects>Plugins>Simple - Quick Tile.
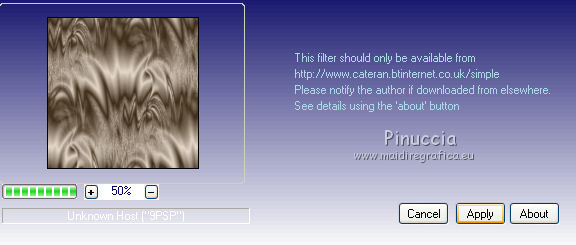
7. Minimize this image and set the pattern as your Foreground pattern
(the image will have the progressive number of the images opened from the opening of PSP).
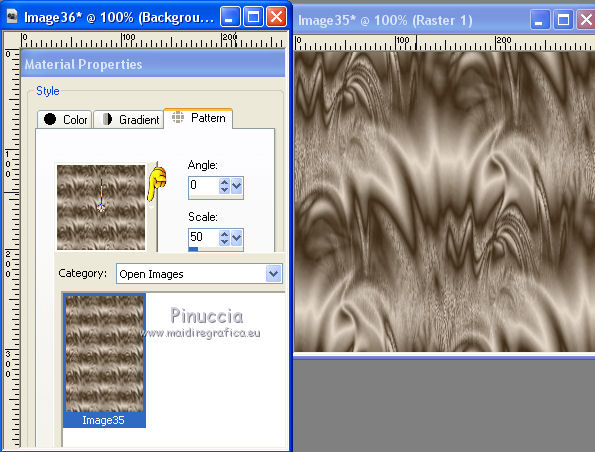
8. Open a new transparent image 800 x 600 pixels.
Flood Fill  the transparent image with your Foreground Pattern. the transparent image with your Foreground Pattern.
9. Open the landscape tube and go to Edit>Copy.
Go back to your work and go to Edit>Paste as new layer.
10. Layers>New Mask layer>From image
Open the menu under the source window and you'll see all the files open.
Select the mask T60InboCPhD...
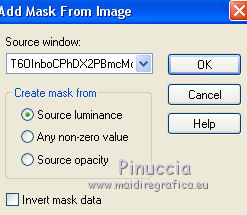
Layers>Merge>Merge Group.
11. Effects>3D Effects>Drop Shadow.
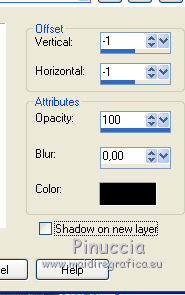
12. Open the tube of the woman and go to Edit>Copy.
Go back to your work and go to Edit>Paste as new layer.
Move  the tube at the bottom left. the tube at the bottom left.
13. Effects>3D Effects>Drop Shadow.
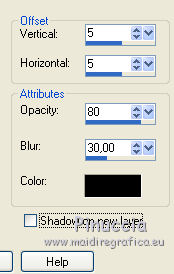
Repeat Drop Shadow, vertical and horizontal -5.
14. Open the text Positive and go to Edit>Copy.
Go back to your work and go to Edit>Paste as new layer.
Move  the text at the upper right. the text at the upper right.
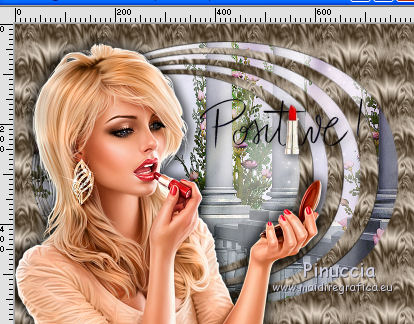
15. Sign your work on a new layer.
little note about the watermark:
I never ask to put watermark on the versions made by my translations.
But if you decide to use the watermark supplied by the author (to change in Soft Light),
I would appreciate that my work as translator was respected too.
For that, I added my watermark to the material (a layer for every language that I translate).
16. Layers>Merge>Merge All.
17. Image>Add borders, 2 pixels, symmetric, color black.
Image>Add borders, 30 pixels, symmetric, color #786956.
Image>Add Borders, 2 pixels, symmetric, color black.
18. Activate your Magic Wand Tool 
and click in the 30 pixels border to select it.
19. Effects>Plugins>AAA Frames - Foto Frame.
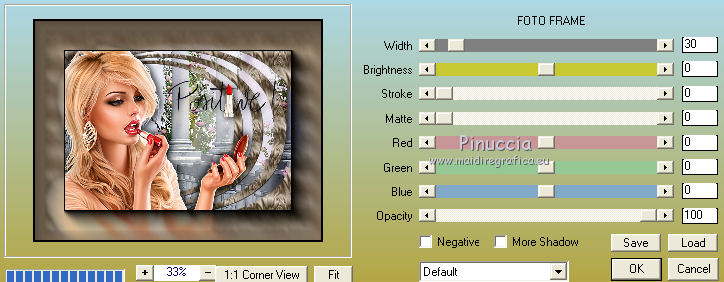
Selections>Select None.
20. Save as jpg.
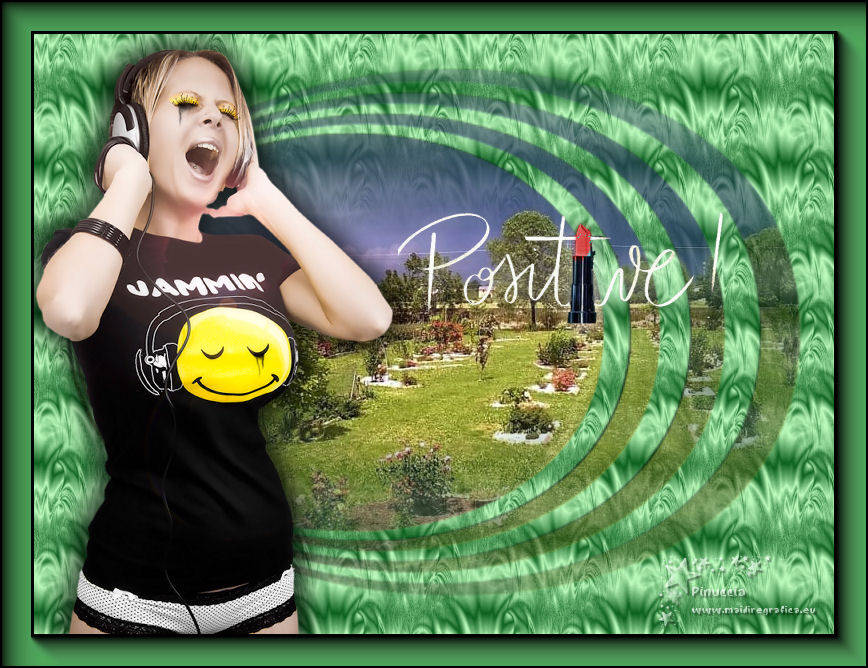
Version with tube by Claudia Viza (the landscape is mine).

If you have problems or doubts, or you find a not worked link, or only for tell me that you enjoyed this tutorial, write to me.
14 November 2019
|
 ENGLISH VERSION
