|
PÂQUES 2020
 ENGLISH VERSION ENGLISH VERSION
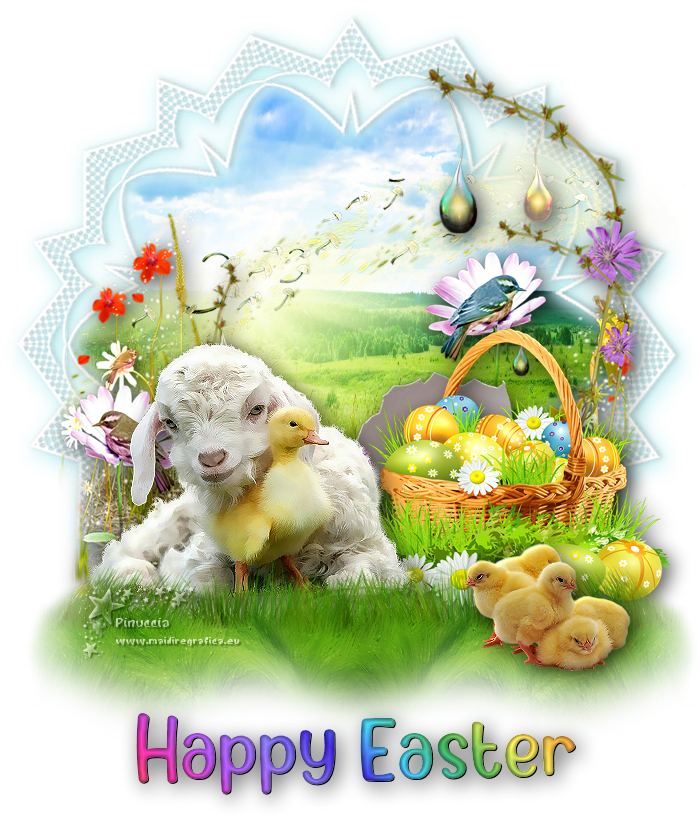
Thanks Joanne for the invitation to translate your tutorials:

This tutorial was translated with PSPX3 but it can also be made using other versions of PSP.
Since version PSP X4, Image>Mirror was replaced with Image>Flip Horizontal,
and Image>Flip with Image>Flip Vertical, there are some variables.
In versions X5 and X6, the functions have been improved by making available the Objects menu.
In the latest version X7 command Image>Mirror and Image>Flip returned, but with new differences.
See my schedule here
 Italian translation here Italian translation here
 Your versions Your versions
For this tutorial, you will need:
Material here
Thanks Nikita for the lambtube.
The rest of the material is not signed
(The links of the tubemakers sites here).

You can change Blend Modes according to your colors.
Open the font and minimize. You'll find it in the list of fonts available when you need it.
With the most recent o.s., this is no longer possible.
To use a font, you must copy it into the Fonts folder in Windows.
Copy the Gradient in the Gradients Folder.
Copy the Selections in the Selections Folder.
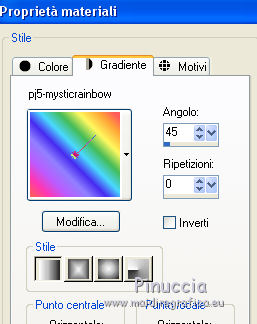
1. Set your background color to Gradient and selet the gradient pj5-mysticrainbow, style Linear.
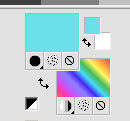
Set your foreground color to #6ce0e9
2. Open a new transparent image 700 x 900 pixels.
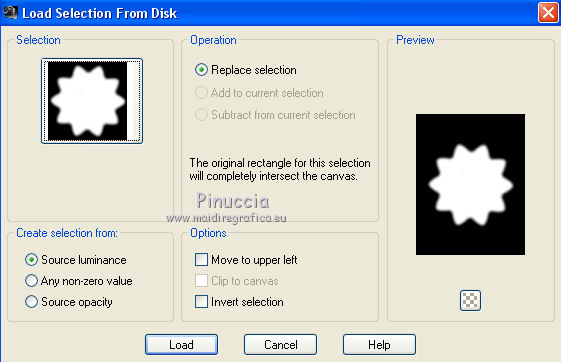
3. Selections>Load/Save Selections>Load Selection from Disk.
Look for and load the selection Sélection_Joanne_Paques_2020.
4. Open the landscape image and go to Edit>Copy.
Go back to your work and go to Edit>Paste into Selection.
Selections>Select None.
5. Open the frame cadrelu101b and go to Edit>Copy.
Go back to your work and go to Edit>Paste as new layer.
Image>Resize, to 140%, resize all layers not checked.
6. Layers>Merge>Merge visible.
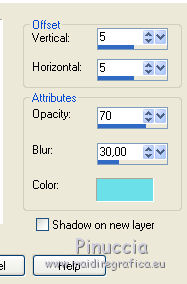
7. Effects>3D Effects>Drop Shadow, foreground color.
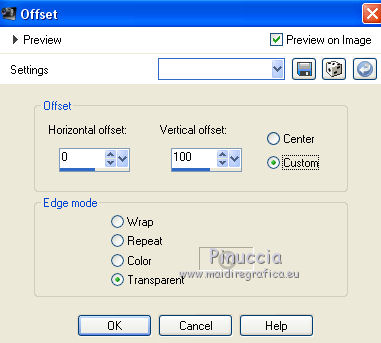
8. Effects>Image Effects>Offset.
9. Selections>Load/Save Selections>Load Selection from Disk.
Look for and load the selection Sélection_Joanne_Paques_2_2020.
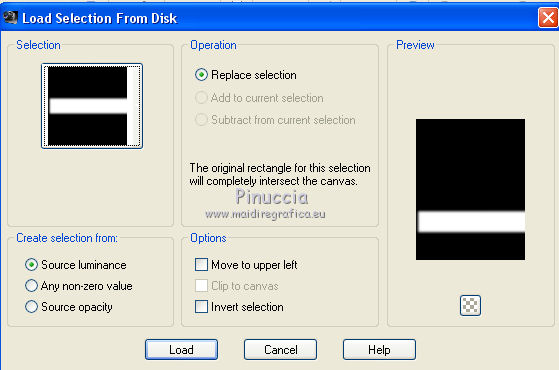
Press CANC on the keyboard 
Selections>Select None.
10. Open the tube of the flowers in the wind pgpkHNEL99k... and go to Edit>Copy.
Go back to your work and go to Edit>Paste as new layer.
Image>Resize, to 80%, resize all layers not checked.
Adjust>Sharpness>Sharpen.
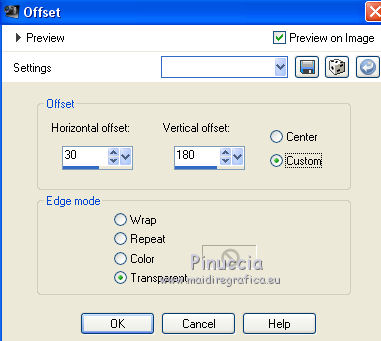
11. Effects>Image Effects>Offset.
12. Open the flower tube b70c6187 and go to Edit>Copy.
Go back to your work and go to Edit>Paste as new layer.
Adjust>Sharpness>Sharpen.
13. Effects>Image Effects>Offset, as step 8.

14. Effects>3D Effects>Drop Shadow, color black.
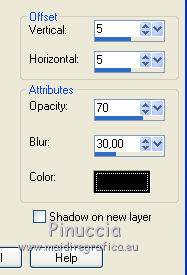
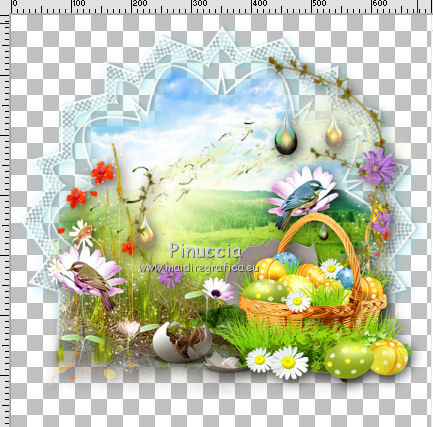
15. Open the basket tube image-paques and go to Edit>Copy.
Go back to your work and go to Edit>Paste as new layer.
Image>Resize, to 80%, resize all layers not checked.
16. Effects>3D Effects>Drop Shadow, same settings.
Move  the tube to the right side, see my example. the tube to the right side, see my example.
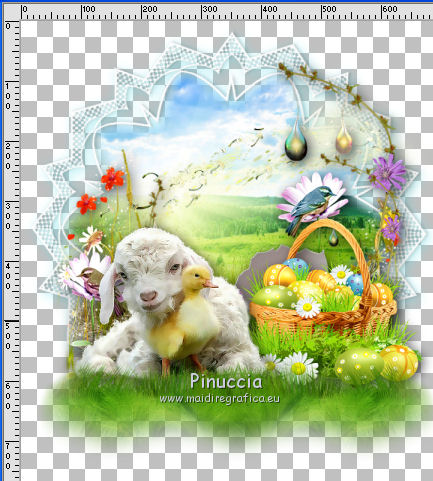
17. Open the lamb tube and go to Edit>Copy.
Go back to your work and go to Edit>Paste as new layer.
Image>Resize, to 50%, resize all layers not checked.
Adjust>Sharpness>Sharpen - 2 times.
Move  the tube to the left side. the tube to the left side.
Effects>3D Effects>Drop Shadow, same settings.
18. Open the grass tube and go to Edit>Copy.
Go back to your work and go to Edit>Paste as new layer.
Move  the tube down, as in my example. the tube down, as in my example.
19. Open the tube of the chicks and go to Edit>Copy.
Go back to your work and go to Edit>Paste as new layer.
Image>Resize, to 40%, resize all layers not checked.
Adjust>Sharpness>Sharpen.
Effects>3D Effects>Drop Shadow, same settings.
Move  the tube at the bottom right, see my example. the tube at the bottom right, see my example.
20. Sign your work on a new layer.
little note about the watermark:
I never ask to put watermark on the versions made by my translations.
But if you decide to use the watermark supplied by the author (to change in Soft Light),
I would appreciate that my work as translator was respected too.
For that, I added my watermark to the material (a layer for every language that I translate).
21. Layers New Raster Layer.
Activate your Text Tool 
font Candy Cake, size 72/90 (to adapt according to your text et/or your PSP version)

Close your foreground color and write your text
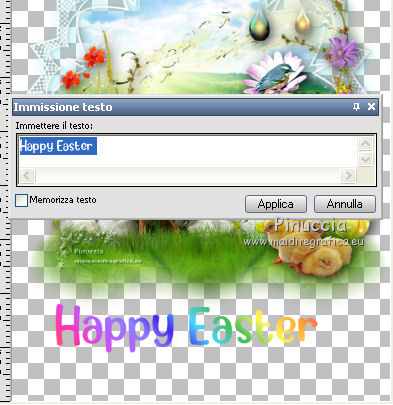
22. Effects>3D Effects>Inner Bevel.
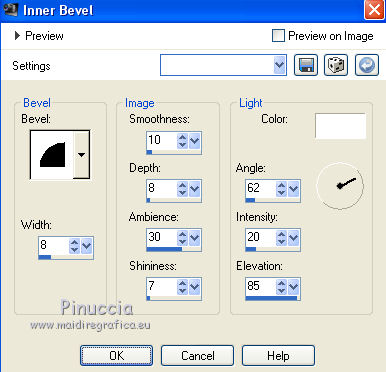
23. Effects>3D Effects>Drop Shadow.
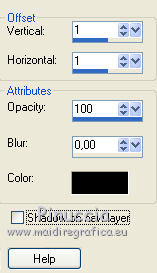
24. Again Effects>3D Effects>Drop Shadow, as step 14

Selections>Select None.
Place  correctly the text in the center. correctly the text in the center.
25. Layers>Merge>Merge visible.
26. Selections>Load/Save Selections>Load Selection from Disk.
Look for and load the selection Sélection_Joanne_Paques_3_2020.
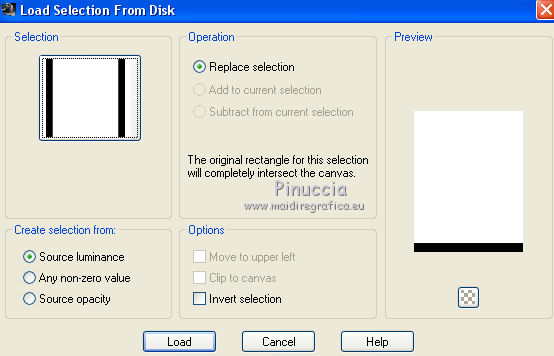
Image>Crop to Selection.
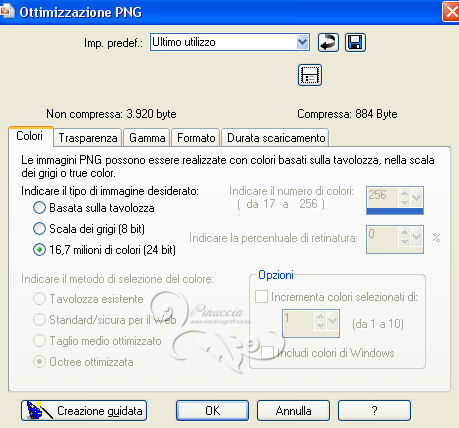
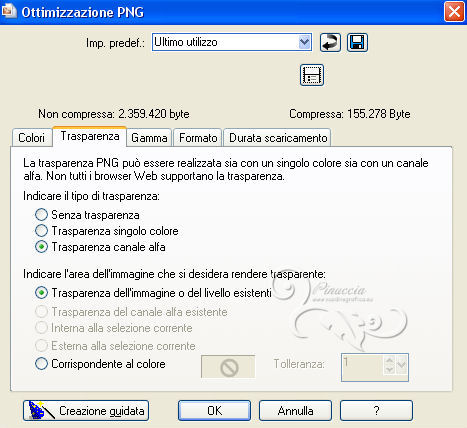
27. Save as png to keep the transparence of your background.
File>Esporta>Ottimizzazione PNG
Version with tube by Danimage


Your versions Thanks

If you have problems or doubts, or you find a not worked link, or only for tell me that you enjoyed this tutorial, write to me.
11 Avril 2019
|
 ENGLISH VERSION

 ENGLISH VERSION
