|
MARY LOU
 ENGLISH VERSION ENGLISH VERSION

Thanks Joanne for the invitation to translate your tutorials:

This tutorial was translated with PSPX3 but it can also be made using other versions of PSP.
Since version PSP X4, Image>Mirror was replaced with Image>Flip Horizontal,
and Image>Flip with Image>Flip Vertical, there are some variables.
In versions X5 and X6, the functions have been improved by making available the Objects menu.
In the latest version X7 command Image>Mirror and Image>Flip returned, but with new differences.
See my schedule here
Italian translation here
your versions here
For this tutorial, you will need:
Material here
Thanks for the unknown authors of the used material.
Plugins
Filters Unlimited 2.0 here
Graphics Plus - Cross Shadow here
Flaming Pear - Flexify - in the material.
Filters Graphics Plus can be used alone or imported into Filters Unlimited.
(How do, you see here)
If a plugin supplied appears with this icon  it must necessarily be imported into Unlimited it must necessarily be imported into Unlimited

Open the pattern goldbead in PSP and minimize it with the rest of the material.
1. Open a new transparent image 300 x 300 pixels.
Selections>Select All.
2. Open the woman tube and go to Edit>Copy.
Minimize the tube.
Go back to your work and go to Edit>Paste into Selection.
Selections>Select None.
3. Effects>Image Effects>Seamless Tiling, default settings.

4. Adjust>Blur>Gaussian Blur - radius 20.

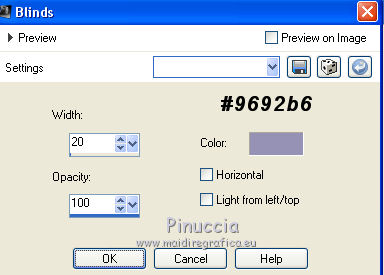
5. Effects>Texture Effects>Blinds, color #9692b6.
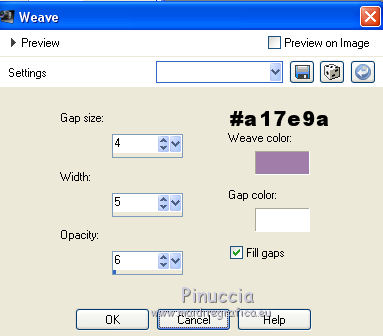
6. Effects>Texture Effects>Weave
weave color: #a17e9a,
gap color: #ffffff.
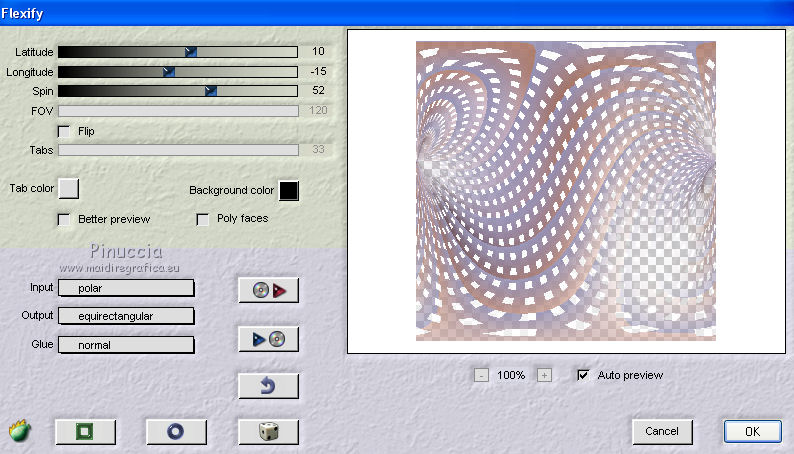
7. Effects>Plugins>Flaming Pear - Flexify
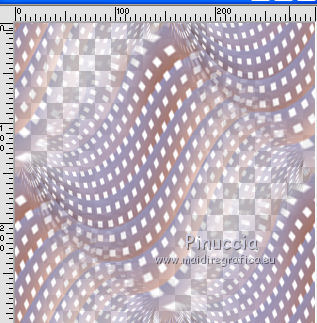
8. Effects>Image Effects>Seamless Tiling, default settings.

9. Minimize this image
Set your foreground color to Pattern,
look for the image under the Open images Category,
with these settings (the image will have the number of your images opened by the PSP opening)
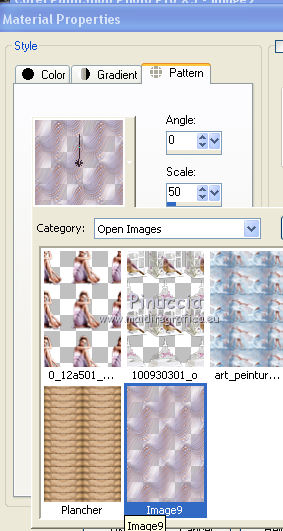
10. Set your background color to #77556e.
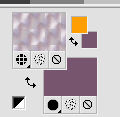
Open a new transparent image 800 x 600 pixels.
Flood Fill  with your background color #77556e. with your background color #77556e.
11. Layers>New Raster Layer.
Flood Fill  with your foreground pattern. with your foreground pattern.
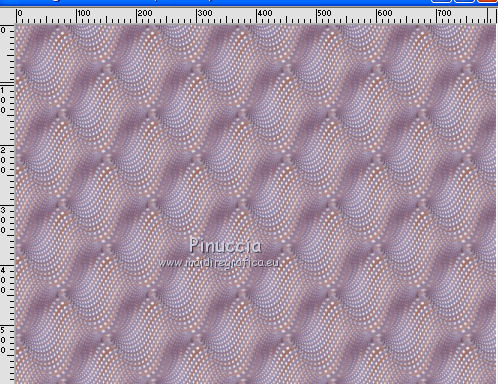
12. Adjust>Sharpness>Sharpen More.
13. Open the tube "plancher" and go to Edit>Copy.
Go back to your work and go to Edit>Paste as new layer.
14. Effects>Image Effects>Offset.
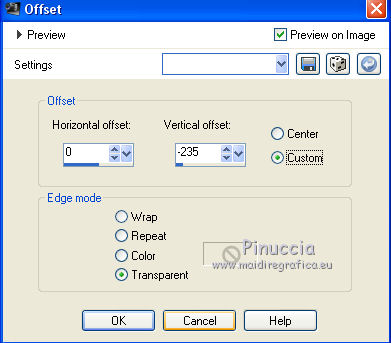
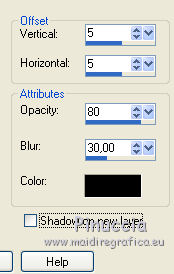
15. Effects>3D Effects>Drop Shadow.
16. Open the tube of the frame and go to Edit>Copy.
Go back to your work and go to Edit>Paste as new layer.
Image>Resize, to 50%, resize all layers not checked.
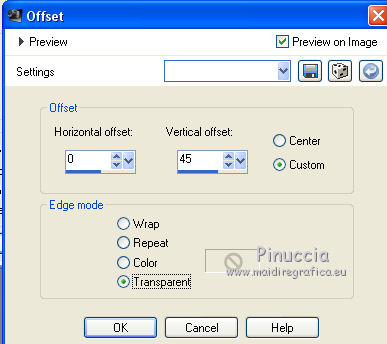
17. Effects>Image Effects>Offset.
Adjust>Sharpness>Sharpen More.
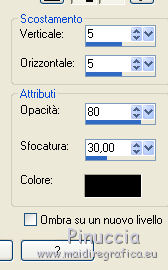
18. Effects>3D Effects>Drop Shadow, same settings.
19. Activate your Magic Wand Tool 
and click in the frame to select it.
20. Selections>Modify>Expand - 15 pixels.
Layers>New Raster Layer.
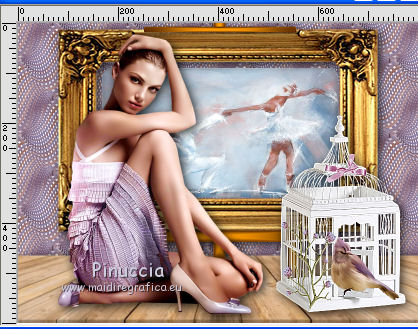
Open the dancer picture and go to Edit>Copy.
Go back to your work and go to Edit>Paste into Selection.
Image>Mirror.
Selections>Select None.
21. Layers>Arrange>Move Down.
22. Activate the top layer.
Open the woman tube and go to Edit>Copy.
Go back to your work and go to Edit>Paste as new layer.
Image>Resize, to 80%, resize all layers not checked.
Move  the tube to the left side. the tube to the left side.
Effects>3D Effects>Drop Shadow, same settings.

23. Open the cage tube and go to Edit>Copy.
Go back to your work and go to Edit>Paste as new layer.
Image>Resize, to 50%, resize all layers not checked.
Adjust>Sharpness>Sharpen More.
Move  the tube at the bottom right. the tube at the bottom right.
Effects>3D Effects>Drop Shadow, same settings.
24. Sign your work on a new layer.
little note about the watermark:
I never ask to put watermark on the versions made by my translations.
But if you decide to use the watermark supplied by the author (to change in Soft Light),
I would appreciate that my work as translator was respected too.
For that, I added my watermark to the material (a layer for every language that I translate).
Layers>Merge>Merge All.
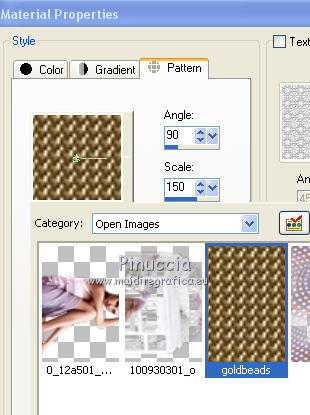
25. Change the foreground pattern and select the golden pattern Goldbeads,
with these settings.
26. Image>Add borders, 1 pixel, symmetric, color black.
Image>Add borders, 6 pixels, symmetric, color white.
Image>Add borders, 30 pixels, symmetric, color #58344e.
Image>Add borders, 6 pixels, symmetric, color white.
Image>Add borders,1 pixel, symmetric, color black.
24. Activate your Magic Wand Tool 
and click on the two white borders to select them.
Flood Fill  with your golden pattern. with your golden pattern.
Selections>Sélect None.
28. Select the 30 pixels border with your Magic Wand Tool 
Effects>Plugins>Graphics Plus - Cross Shadow, default settings.

Repeat the Plugins another time.
Selections>Select None.
29. Save as jpg.
The tube of this version is by Beatriz


If you have problems or doubts, or you find a not worked link, or only for tell me that you enjoyed this tutorial, write to me.
28 April 2019
|
 ENGLISH VERSION

 ENGLISH VERSION
