|
ADÉLIE

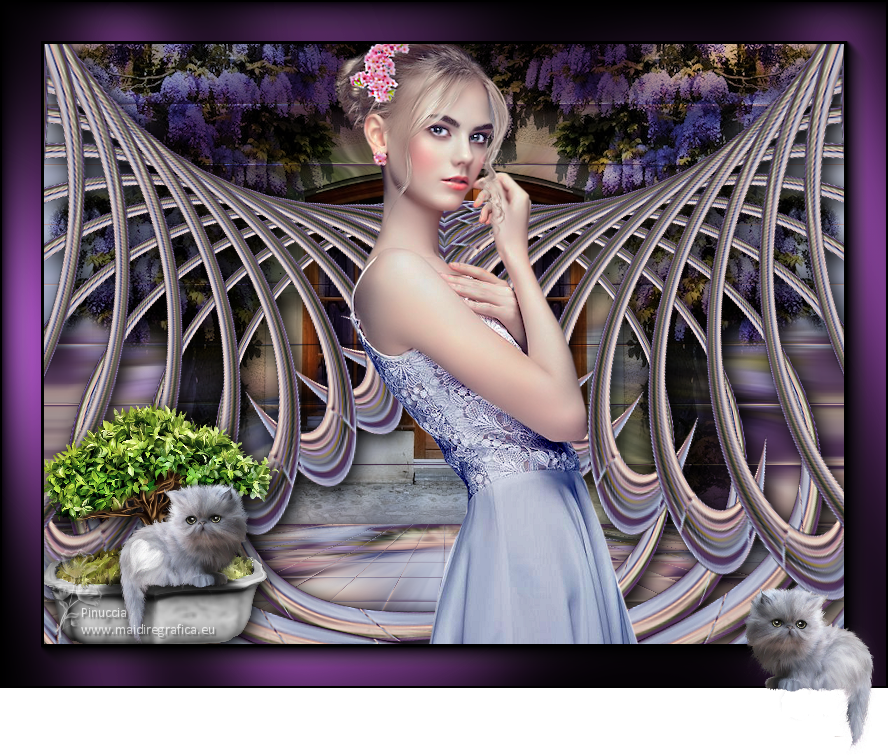
Thanks Joanne for the invitation to translate your tutorials:

This tutorial was translated with PSPX3 but it can also be made using other versions of PSP.
Since version PSP X4, Image>Mirror was replaced with Image>Flip Horizontal,
and Image>Flip with Image>Flip Vertical, there are some variables.
In versions X5 and X6, the functions have been improved by making available the Objects menu.
In the latest version X7 command Image>Mirror and Image>Flip returned, but with new differences.
See my schedule here
 Italian translation here Italian translation here
For this tutorial, you will need:
Material here
Thanks for the tubes Gabry, Maryse and Katnkda..
The rest of the materil is not signed.
(The links of the tubemakers sites here).
Plugins
consult, if necessary, my filter section here
Filters Unlimited 2.0 - here
Ormente's Filters - Miropads here
Mura's Meister - Perspective Tiling here
Mura's Meister - Copies here
Flaming Pear - Flexify 2 here
Graphics Plus - Cross Shadow here
AAA Frames - Foto Frame here
Filters Graphics Plus can be used alone or imported into Filters Unlimited.
(How do, you see here)
If a plugin supplied appears with this icon  it must necessarily be imported into Unlimited it must necessarily be imported into Unlimited

You can change Blend Modes according to your colors.
1. Set your foreground color to #503258,
and your background color to black.
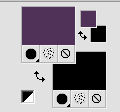
2. Open a new transparent image 800 x 600 pixels.
Flood Fill  the transparent image with your foreground color. the transparent image with your foreground color.
3. Open the misted MR_Glycine, erase the watermark and go to Edit>Copy.
Go back to your work and go to Edit>Paste as new layer.
Rename this layer "landscape".
4. Layers>Duplicate.
Close this layer and activate the layer below of the original.
5. Layers>New Raster Layer.
Selections>Select All.
6. Open the woman tube by Gabry and go to Edit>Copy.
Go back to your work and go to Edit>Paste into Selection.
Selections>Select None.
7. Effects>Image Effects>Seamless Tiling, default settings.

8. Layers>Merge>Merge visible.
Rename this layer background.
9. Adjust>Blur>Radial Blur.
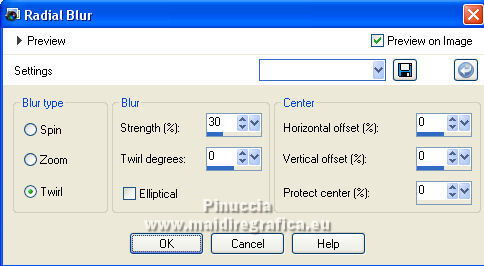
10. Layers>Duplicate and rename the layer "floor".
Close this layer.
Activate the layer "background".
Effects>Plugins>Ormente's Filters, Miropads
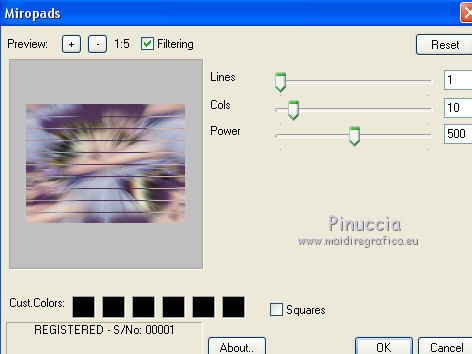
11. Open and activate the layer of the copy "floor".
Effects>Plugins>Ormente's Filters - Miropads.
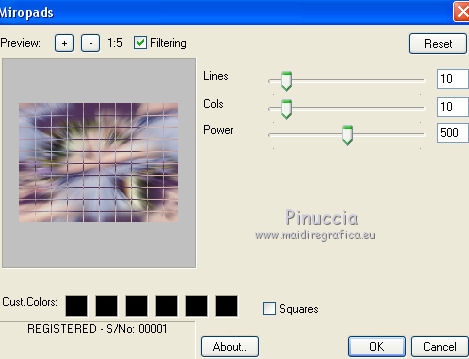
12. Layers>Duplicate and keep the name Copy of floor.
Close this layer and activate the layer below "floor".
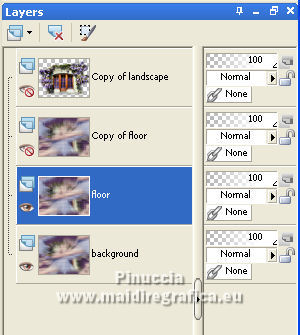
13. Effects>Plugins>Mura's Meister - Perspective Tiling.
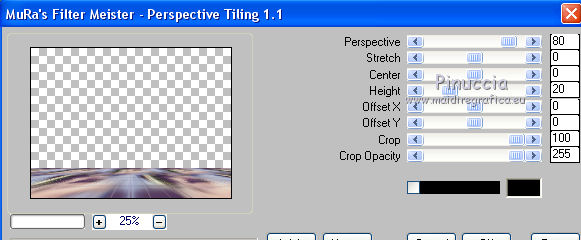
14. Effects>3D Effects>Drop Shadow.
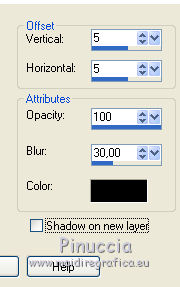
15. Open and activate the layer copy of floor.
K key to activate your Pick Tool 
Mode Scale 
push the top central node down to 200 pixels,
and the lower central node at the top up to 220 pixels.
(if you don't see the rules, go to View>Rulers)
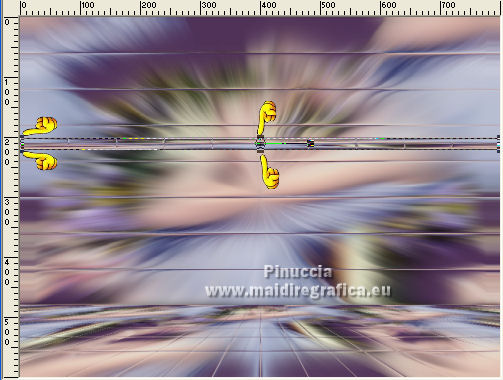
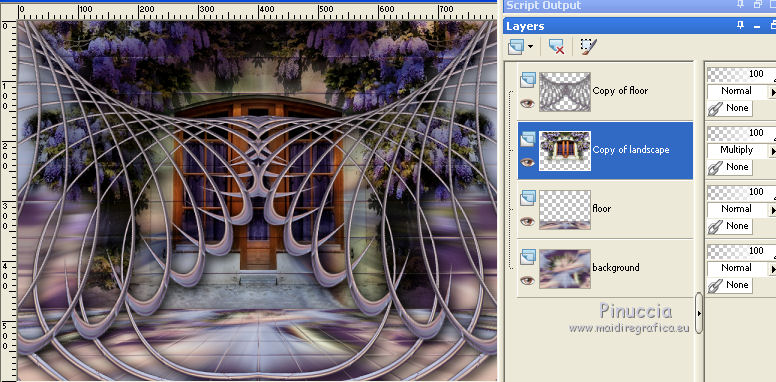
If you close the other layers, you should see this
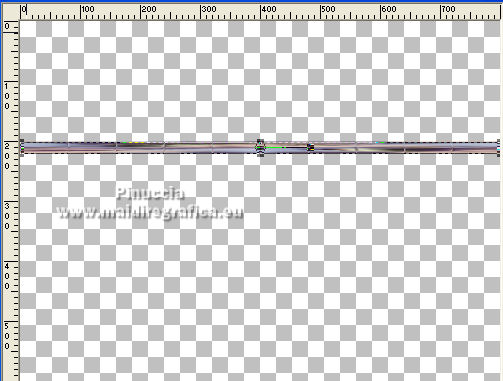
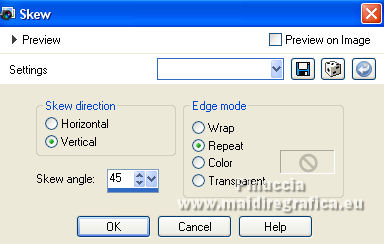
16. Effects>Geometric Effects>Skew.
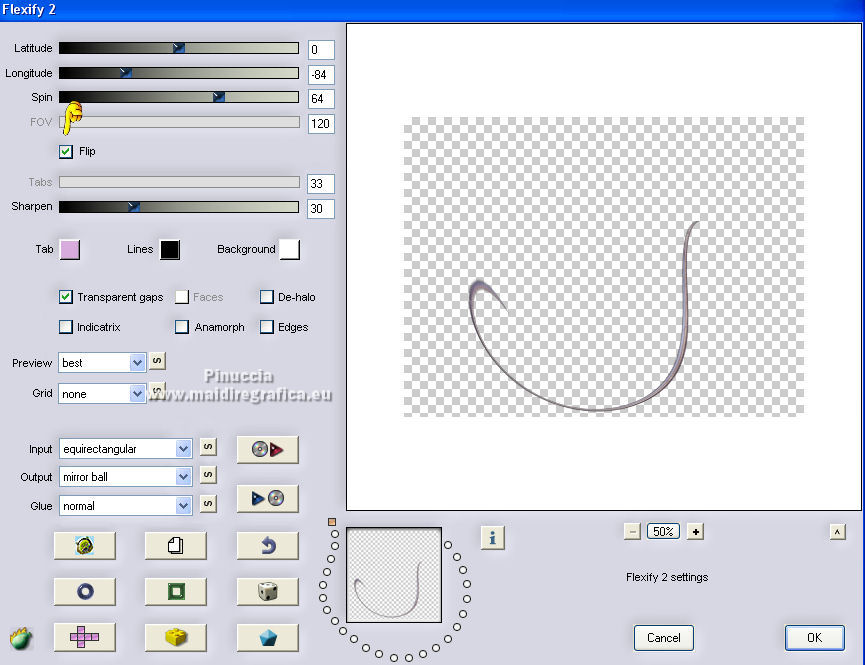
17. Effects>Plugins>Flaming Pear - Flexify 2.
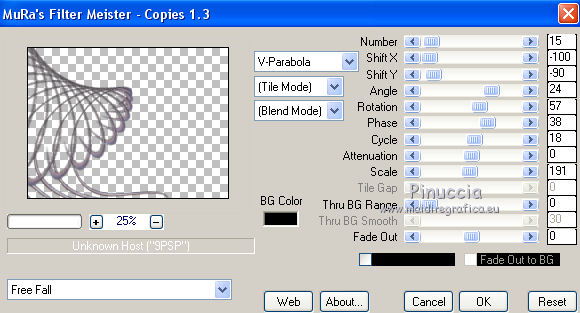
18. Effects>Plugins>Mura's Meister - Copies.
19. Effects>Reflection Effects>Rotating Mirror.
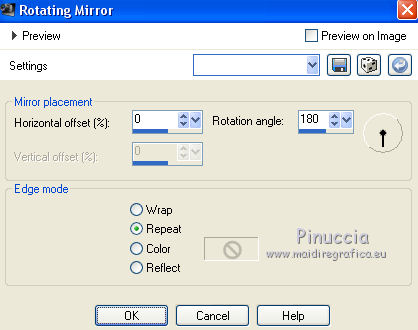
Adjust>Sharpness>Sharpen More.
20. Effects>3D Effects>Drop Shadow, same settings.

21. Open and activate the layer Copy of landscape.
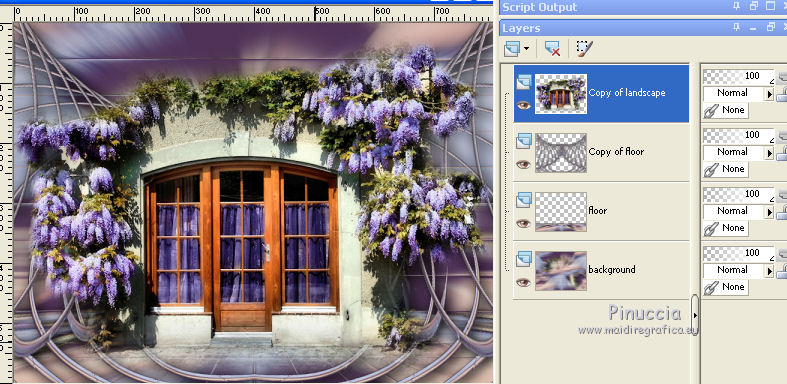
Layers>Arrange>Move Down.
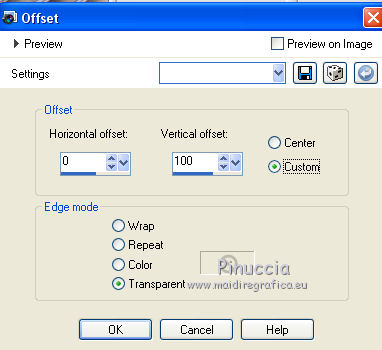
22. Effects>Image Effects>Offset.
23. Image>Mirror.
Effects>Reflection Effects>Rotating Mirror, same settings.
Change the Blend Mode of this layer to Multiply.
24. Activate the top layer.
Open the tube katnkdaBonsaiTube01 and go to Edit>Copy.
Go back to your work and go to Edit>Paste as new layer.
Image>Resize, to 15%, resize all layers not checked.
Move  the tube at the bottom left. the tube at the bottom left.
Effects>3D Effects>Drop Shadow, same settings.
25. Activate again the woman tube and go to Edit>Copy.
Go back to your work and go to Edit>Paste as new layer.
Image>Mirror.
Place  correctly the tube. correctly the tube.
Effects>3D Effects>Drop Shadow, same settings.
26. Sign your work on a new layer.
If you add the author watermark (to put in mode Soft Light),
don't forget to add also the translator watermark.
Attention please, keep the right side free.
27. Layers>Merge>Merge All.
28. Image>Add borders, 4 pixels, symmetric, color black.
Image>Add borders, 40 pixels, symmetric, foreground color.
Image>Add borders, 4 pixels, symmetric, color black.
29. Activate your Magic Wand Tool 
and click on the 40 pixels border to select it.
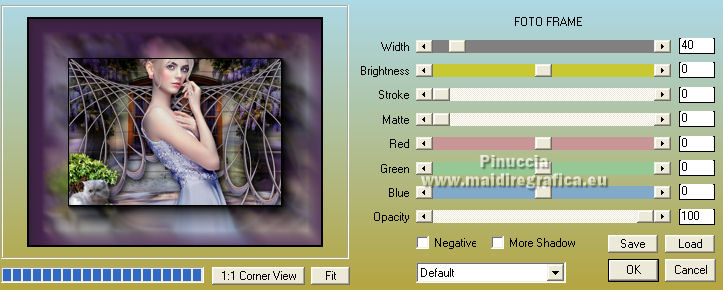
30. Effects>Plugins>AAA Frames - Foto Frame.
31. Effects>Plugins>Graphics Plus - Cross Shadow, default settings - 2 times.

Selections>Select None.
32. Layers>Promote Background Layer.
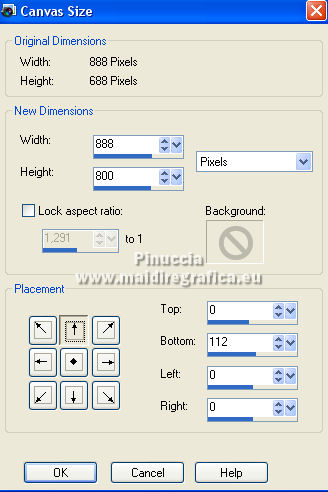
Image>Canvas size - 888 x 800 pixels.
33. Open the tube katnkdaBonsaiTube07 and go to Edit>Copy.
Go back to your work and go to Edit>Paste as new layer.
Image>Resize, to 15%, resize all layers not checked.
Image>Mirror.
Move  the tube at the bottom right. the tube at the bottom right.
Layers>Merge>Merge visible.
If there is excess transparent space left and you want to delet it:
Activate your Selection Tool 
and click on Layer opaque
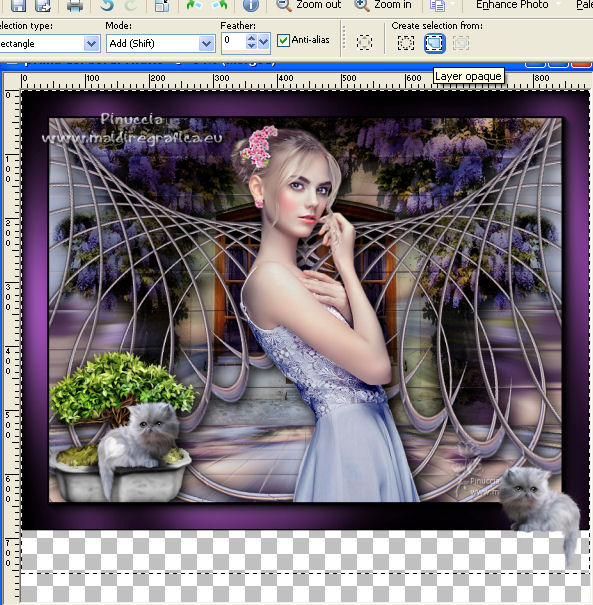
Image>Crop to Selection
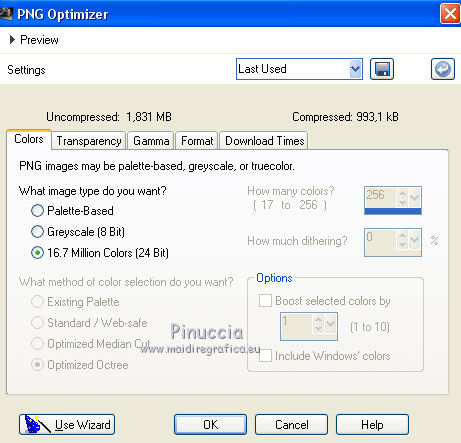
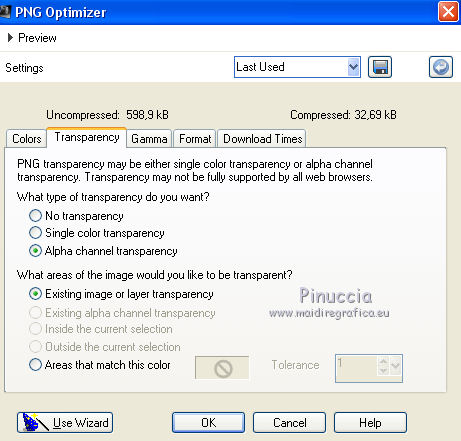
34. Save as png to keep the transparence of the background.
Files>Exporter>PNG Optimizer
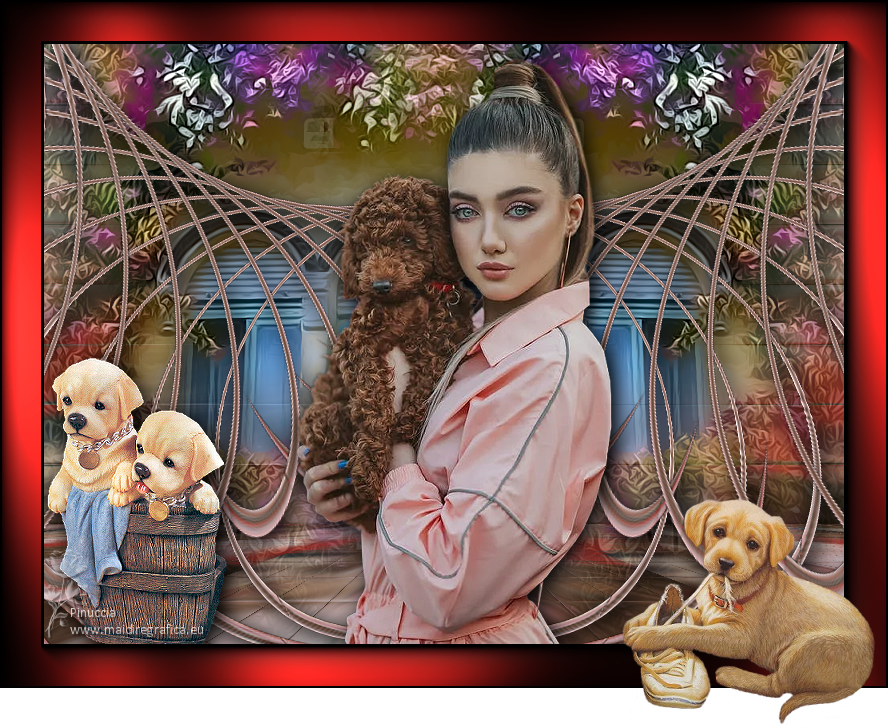
For the tubes of this version thanks Lana and Nena Silva.

If you have problems or doubts, or you find a not worked link,
or only for tell me that you enjoyed this tutorial, write to me.
28 April 2022

|


