|
GWENDOLINE
 ENGLISH VERSION ENGLISH VERSION
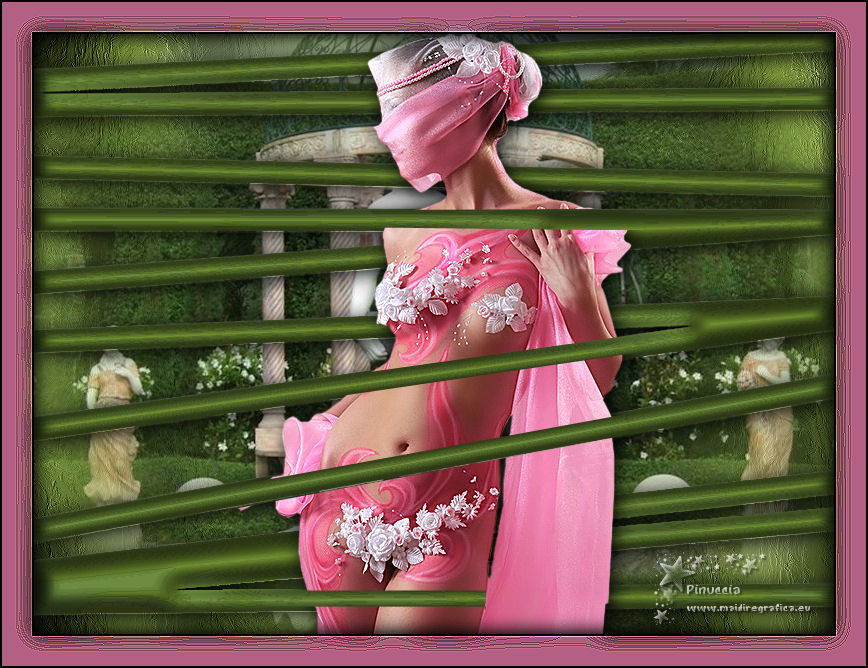
Here you find the original of this tutorial:

This tutorial was translated with PSPX3 but it can also be made using other versions of PSP.
Since version PSP X4, Image>Mirror was replaced with Image>Flip Horizontal,
and Image>Flip with Image>Flip Vertical, there are some variables.
In versions X5 and X6, the functions have been improved by making available the Objects menu.
In the latest version X7 command Image>Mirror and Image>Flip returned, but with new differences.
See my schedule here
Italian translation here
le vostre versioni/your versions qui
For this tutorial, you will need:
Material here
For the landscape tube thanks ClaudiaViza.
Thanks to the unknown authors of the rest of the material.
(The links of the tubemakers here).
Plugins
Filters Unlimited 2.0 here
Graphics Plus - Cross Shadow, Emboss here
Transparency - Eliminate White here
Filters Graphics Plus and Eliminate White can be used alone or imported into Filters Unlimited.
(How do, you see here)
If a plugin supplied appears with this icon  it must necessarily be imported into Unlimited it must necessarily be imported into Unlimited

Copy the Selection in the Selections Folder.
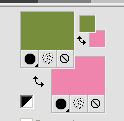
1. Set your Foreground color to #778e3c,
and your background color to #ef85ad.
2. Open a new transparent image 800 x 600 pixels.
Flood Fill  with your green foreground color. with your green foreground color.
3. Effects>Plugins>Graphics Plus - Cross Shadow, default settings.

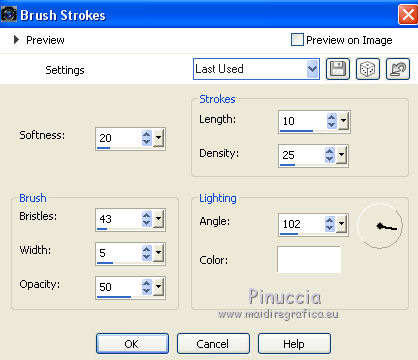
4. Effects>Art Media Effects>Brush Strokes.
5. Open the landscape tube and go to Edit>Copy.
Go back to your work and go to Edit>Paste as new layer.
6. Layers>Duplicate.
Layers>Merge>Merge Down.
7. Layers>New Raster Layer.
Selections>Select All.
8. Open the image with the black bars and go to Edit>Copy.
Go back to your work and go to Edit>Paste into Selection.
Selections>Select None.
9. Effects>Plugins>Transparency - Eliminate White.
This plugin works without window. Result
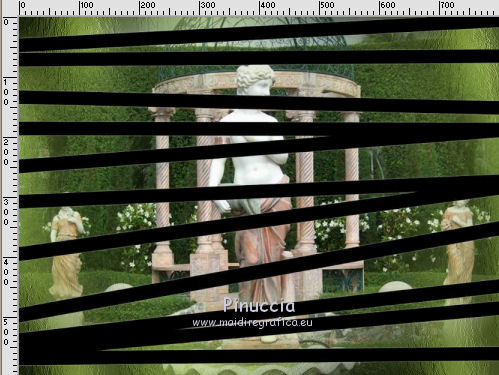
10. Activate your Magic Wand Tool 
I set the tolerance to 10 (to you to decide as you prefer)
and click on the black bars to select them.
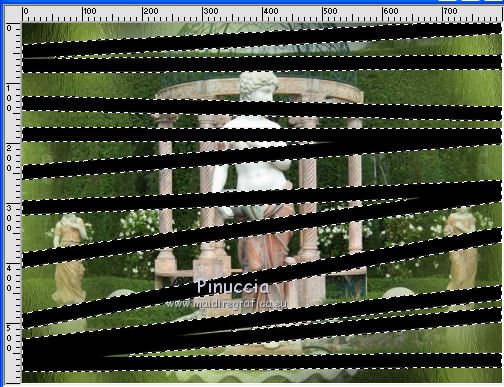
11. Flood Fill  the selection with your green foreground color. the selection with your green foreground color.
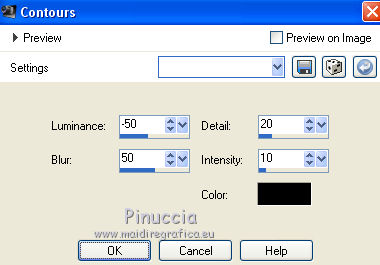
12. Effects>Artistic Effects>Contours.
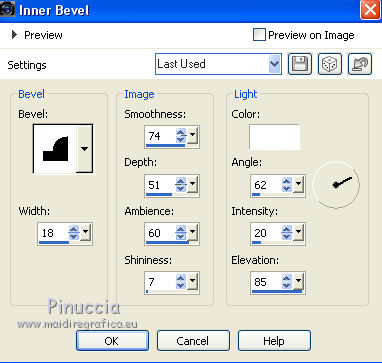
13. Effects>3D Effects>Inner Bevel.
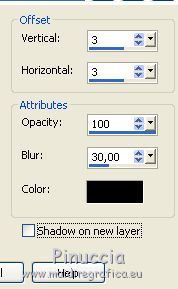
14. Effects>3D Effects>Drop Shadow.
Selections>Select None.
15. Open the woman tube and go to Edit>Copy.
Go back to your work and go to Edit>Paste as new layer.
16. Effects>3D Effects>Drop Shadow, same settings.

17. Selections>Load/Save Selection >Load Selection from disk.
Look for and load the selection Selection_Joanne_Gwendoline.
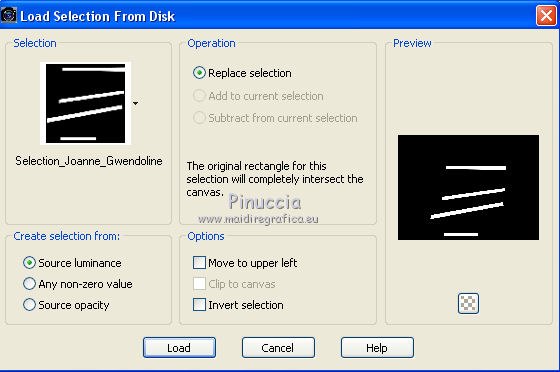
Press CANC on the keyboard 
Selections>Select None.
18. Firma il tuo lavoro su un nuovo livello.
little note about the watermark:
I never ask to put watermark on the versions made by my translations.
But if you decide to use the watermark supplied by the author (to put in mode Soft Light),
I would appreciate that my work as translator was respected too.
For that, I added my watermark to the material (in italian and in english).
Layers>Merge>Merge All.
19. Image>Add borders, 2 pixels, symmetric, color black.
Image>Add borders, 30 pixels, symmetric, color white.
Image>Add borders, 2 pixels, symmetric, color black.
20. Activate the Magic Wand Tool  , tolerance and feather 0, , tolerance and feather 0,
and click on the white border to select it.
Flood Fill  the selection with your pink background color. the selection with your pink background color.
21. Effects>Artistic Effects>Contours, same settings.

Effects>Edge Effects>Enhance.
22. Effects>Plugins>Graphics Plus - Cross Shadow, default settings.

23. Effects>3D Effects>Drop Shadow, same settings.

Repeat Drop Shadow, vertical and horizontal -3.
Selections>Select None.
Save as jpg.
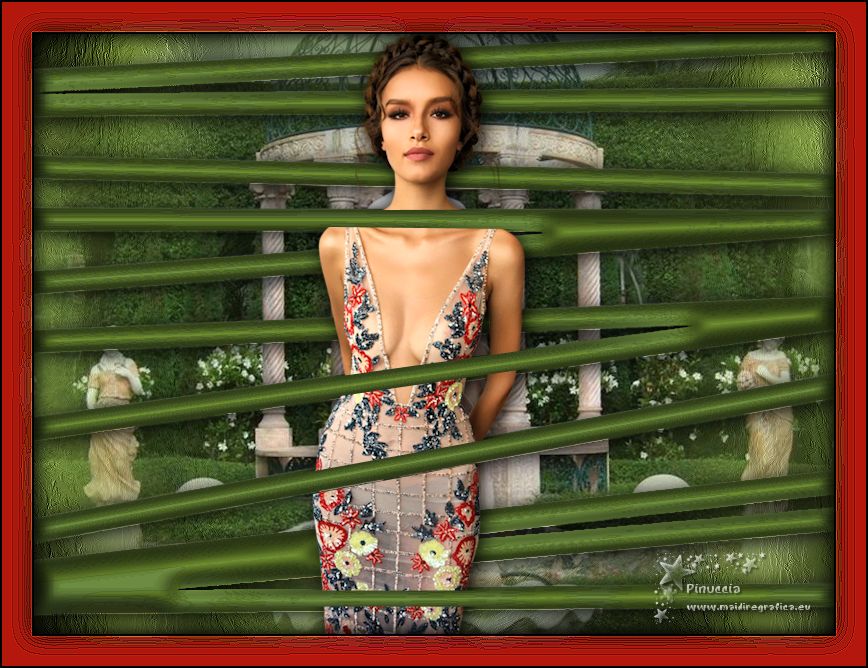
The tube of this version is by Jewel

If you have problems or doubts, or you find a not worked link, or only for tell me that you enjoyed this tutorial, write to me.
10 October 2018
|
 ENGLISH VERSION
