|
FRACTALE HARMONIE
 ENGLISH VERSION ENGLISH VERSION


This tutorial was translated with PSPX3 but it can also be made using other versions of PSP.
Since version PSP X4, Image>Mirror was replaced with Image>Flip Horizontal,
and Image>Flip with Image>Flip Vertical, there are some variables.
In versions X5 and X6, the functions have been improved by making available the Objects menu.
In the latest version X7 command Image>Mirror and Image>Flip returned, but with new differences.
See my schedule here
Italian translation here
For this tutorial, you will need:
Material here
Thanks also to the unknown authors of the material.
Plugins
Filters Unlimited 2.0 here
Graphics Plus - Cross Shadow, Quick Tile II here
Transparency - Eliminate Black here
Flaming Pear - Flexify 2 here
Filters Graphics Plus and Transparency can be used alone or imported into Filters Unlimited.
(How do, you see here)
If a plugin supplied appears with this icon  it must necessarily be imported into Unlimited it must necessarily be imported into Unlimited

1. Set your foreground color to black
and your background color to #183ac4.
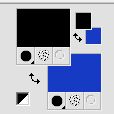
2. Open a new transparente image 800 x 600 pixels,
Flood Fill  with color black. with color black.
Close this layer.
3. Open the fractal image and go to Edit>Copy.
Go back to your work and go to Edit>Paste as new layer.
4. Effects>Plugins>Filters Unlimited 2.0 - Transparency - Eliminate Black.
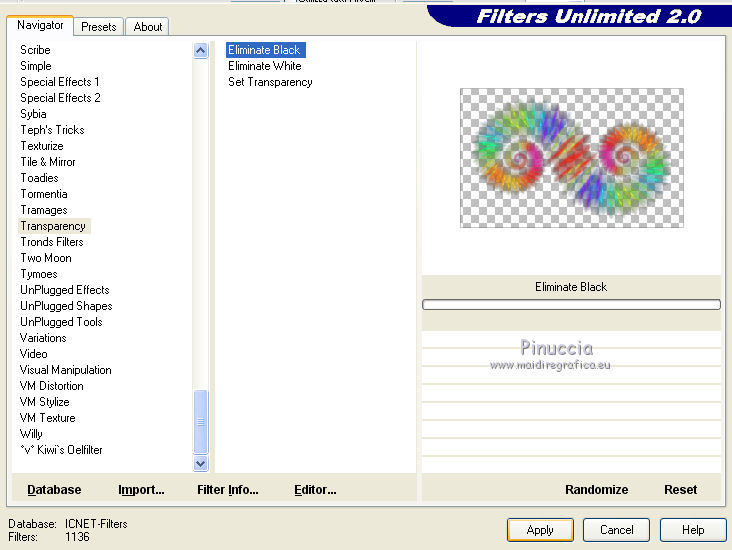
5. Activate your Magic Wand Tool 
and click on the white part to select it
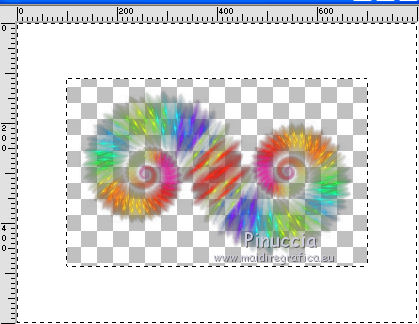
Attention please, If you use the plugin alone, the result will be influenced by your background color,
and the part to select will be of the same tones of your background color.
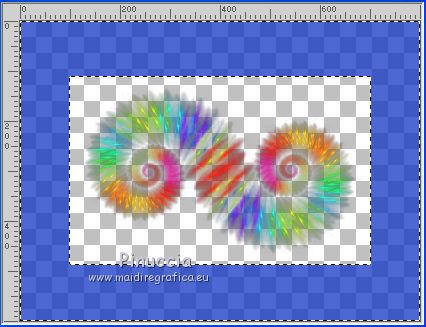
Press CANC on the keyboard 
Selections>Select None.
6. Layers>Duplicate and stay on this layer.
7. Effects>Plugins>Graphics Plus - Quick Tile II, default settings.
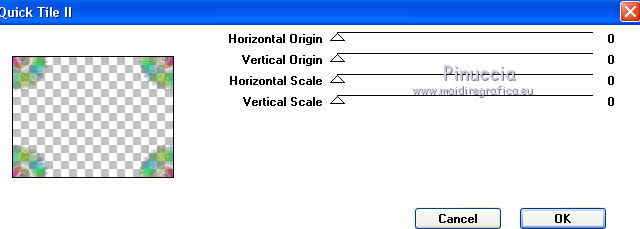
8. Activate the layer below.
Effects>Image Effects>Offset.
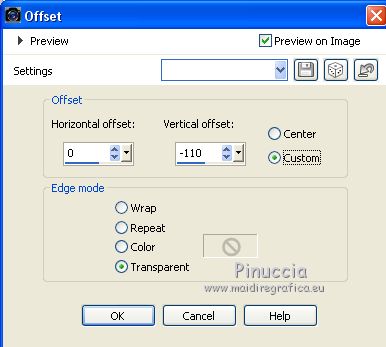
9. Layers>Duplicate.
Image>Flip.
Image>Mirror.
10. Layers>Merge>Merge visible.
11. Effects>Plugins>Flaming Pear - Flexify 2.
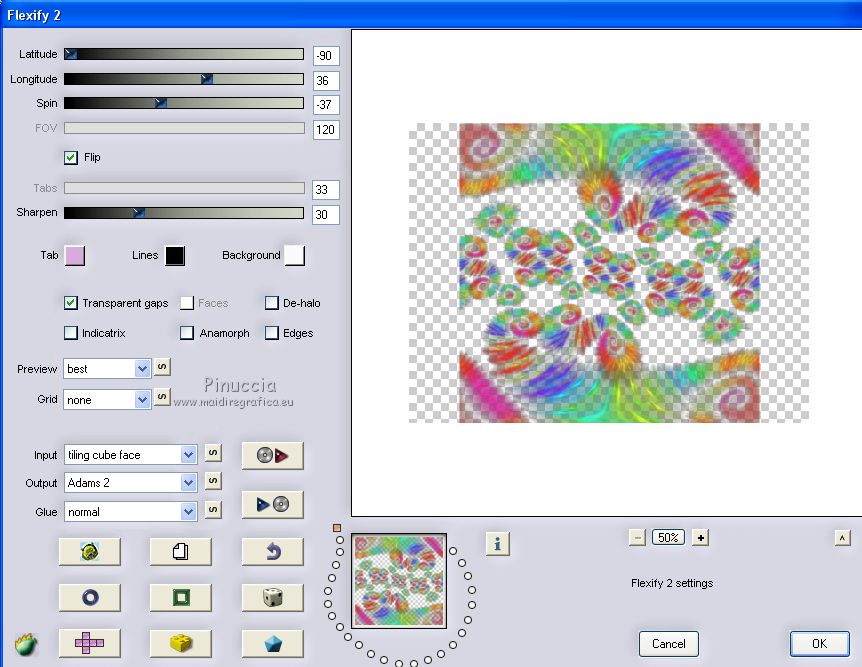
12. Effects>Reflection Effects>Rotating Mirror.

13. Edit>Cut.
This command keep in memory and leave the layer empty.
Stay on the empty layer
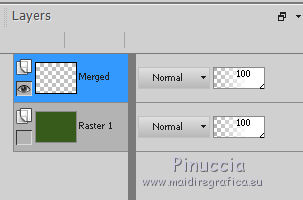
14. Selections>Select All.
Edit>Paste into Selection.
Selections>Select None.
15. Effects>Edge Effects>Enhance.
Open the bottom layer.
and stay on the top layer.
16. Open the woman tube and go to Edit>Copy.
Go back to your work and go to Edit>Paste as new layer.
Image>Resize, to 110%, resize all layers not checked.
Place  the tube as in my example. the tube as in my example.
Adjust>Sharpness>Sharpen.
17. Effects>3D Effects>Drop Shadow.
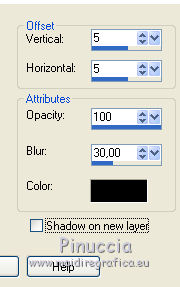
Repeat Drop Shadow, vertical and horizontal -5.
18. Sign your work on a new layer.
little note about the watermark:
I never ask to put watermark on the versions made by my translations.
But if you decide to use the watermark supplied by the author (to change in Soft Light),
I would appreciate that my work as translator was respected too.
For that, I added my watermark to the material (a layer for every language that I translate).
19. Layers>Merge>Merge All.
20. Image>Add borders, 3 pixels, symmetric, color black.
Image>Add borders, 30 pixels, symmetric, background color.
Image>Add borders, 3 pixels, symmetric, color black.
21. Activate your Magic Wand Tool 
and click on the 30 pixels border to select it.
22. Effects>Plugins>Graphics Plus - Cross shadow, 2 times, default settings.

23. Effects>3D Effects>Drop Shadow, as at step 17.
Selections>Select None.
24. Save as jpg.
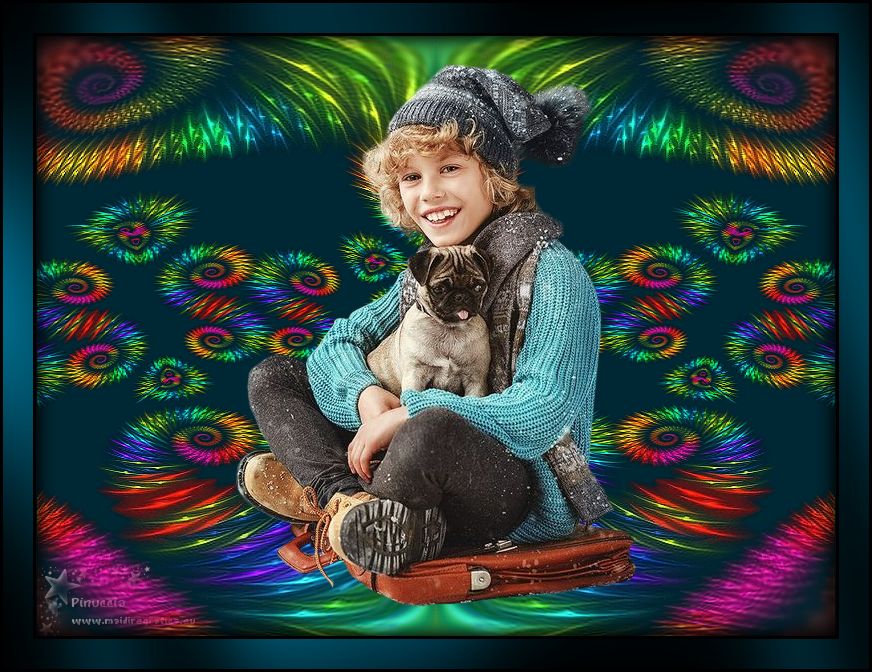
The tube of this version is by Tigre Blanc

If you have problems or doubts, or you find a not worked link, or only for tell me that you enjoyed this tutorial, write to me.
26 February 2019
|
 ENGLISH VERSION

 ENGLISH VERSION
