|
FÊTE DES MÈRE
 ENGLISH VERSION ENGLISH VERSION
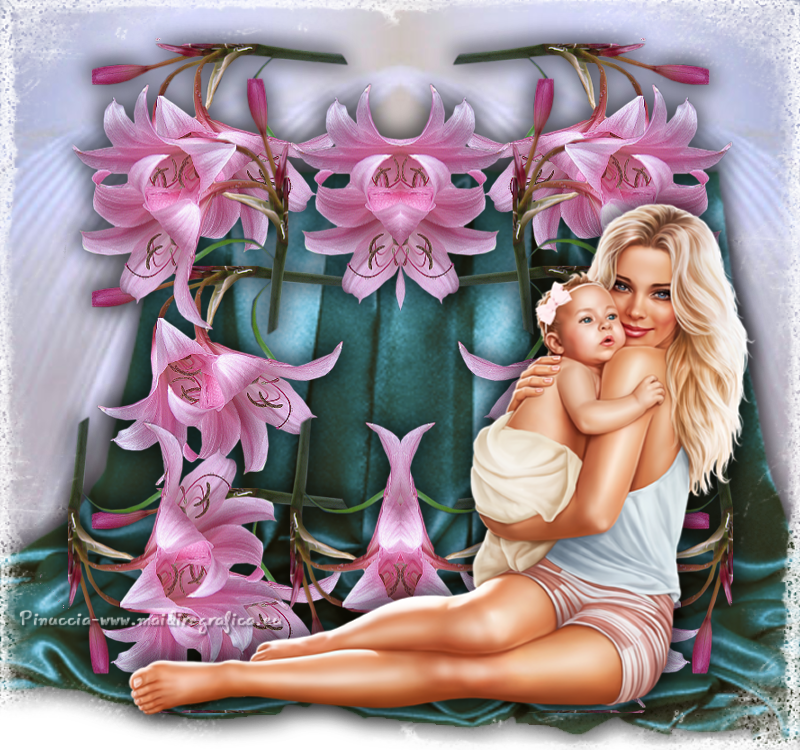
Here you find the original of this tutorial:

This tutorial was translated with PSPX3 but it can also be made using other versions of PSP.
Since version PSP X4, Image>Mirror was replaced with Image>Flip Horizontal,
and Image>Flip with Image>Flip Vertical, there are some variables.
In versions X5 and X6, the functions have been improved by making available the Objects menu.
In the latest version X7 command Image>Mirror and Image>Flip returned, but with new differences.
See my schedule here
Italian translation here
For this tutorial, you will need:
Material here
For the mask thanks Linda
Thanks also to the authors, that I don't know, of the rest of the material.
Plugins
Mura's Meister - Copies here

Open the mask in PSP and minimize it with the rest of the material.
1. Open a new transparent image 800 x 750 pixels.
2. Selections>Select All.
Open the image "émotion" and go to Edit>Copy.
Go back to your work and go to Edit>Paste into Selection.
Selections>Select None.
3. Image>Resize, to 120%, resize all layers not checked.
4. Effects>Reflection Effects>Rotating Mirror.

5. Close this layer.
6. Open the tube of the curtain and go to Edit>Copy.
Go back to your work and go to Edit>Paste as new layer.
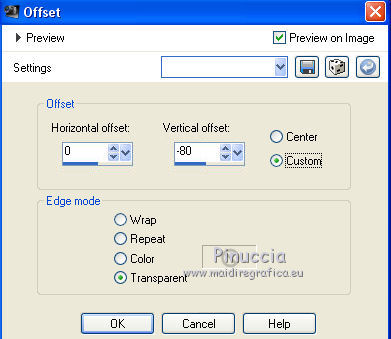
7. Effects>Image Effects>Offset.
8. Activate the Magic Wand Tool 
and click on the transparent part under the curtain to select it.
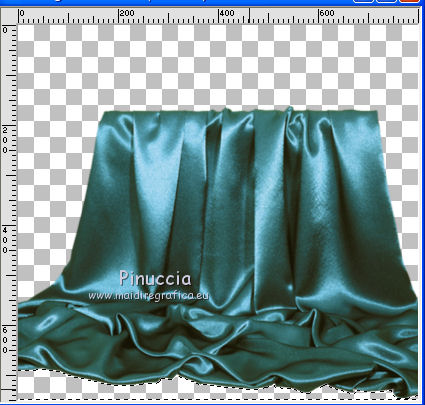
9. Selections>Modify>Expand - 3 pixels.
Open and activate the layer below.
Press CANC on the keyboard 
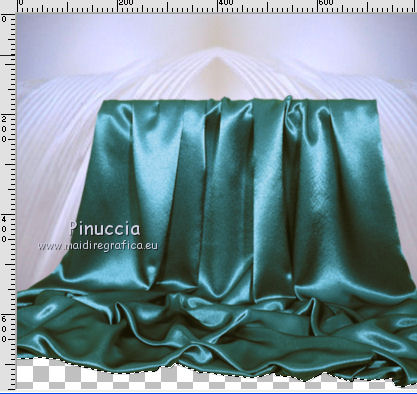
Selections>Select None.
10. Activate again the top layer.
Effects>3D Effects>Drop Shadow.
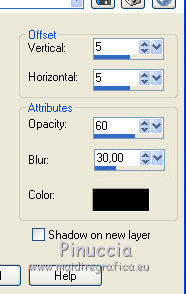
Repeat Drop Shadow, but vertical and horizontal -5.
11. Open the flowers tube and go to Edit>Copy.
Go back to your work and go to Edit>Paste as new layer.
Image>Resize, to 50%, resize all layers not checked.
12. Effects>Plugins>Mura's Meister - Copies.
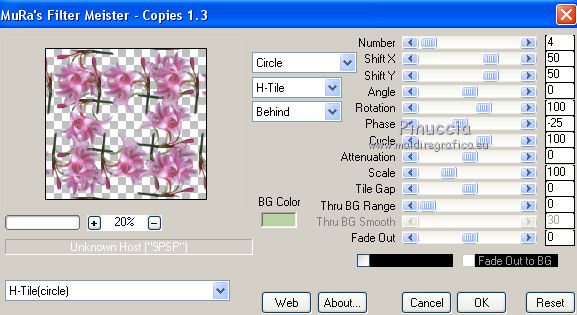
13. Image>Resize, to 90%, resize all layers not checked.
14. Effects>Reflection Effects>Rotating Mirror, same settings.

15. Activate the Eraser Tool 
and erase the indicated parts as below.
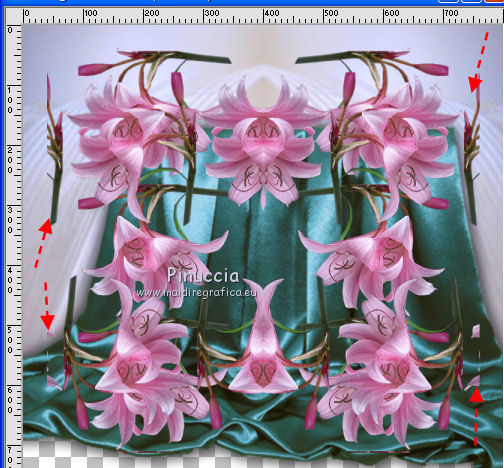
16. Effects>3D Effects>Drop Shadow, as at step 10.
17. Layers>Merge>Merge visible.
18. Layers>New Mask layer>From image
Open the menu under the source window and you'll see all the files open.
Select the mask LF-Mask-60.
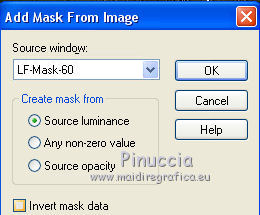
Layers>Merge>Merge Group.
19. Open the woman tube and go to Edit>Copy.
Go back to your work and go to Edit>Paste as new layer.
Image>Resize, to 115%, resize all layers not checked.
Move  the tube at the bottom, see my example. the tube at the bottom, see my example.
20. Sign your work on a new layer.
little note about the watermark:
I never ask to put watermark on the versions made by my translations.
But if you decide to use the watermark supplied by the author,
I would appreciate that my work as translator was respected too.
For that, I added my watermark to the material (in italian and in english).

21. Layers>Merge>Merge visible.
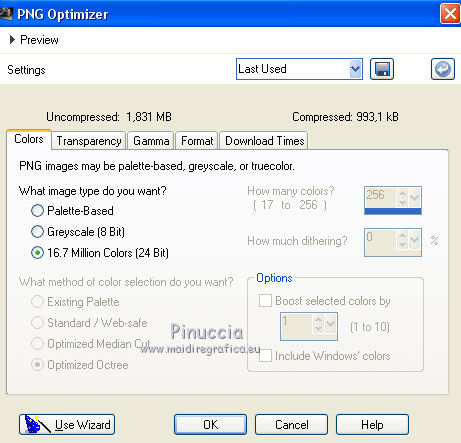
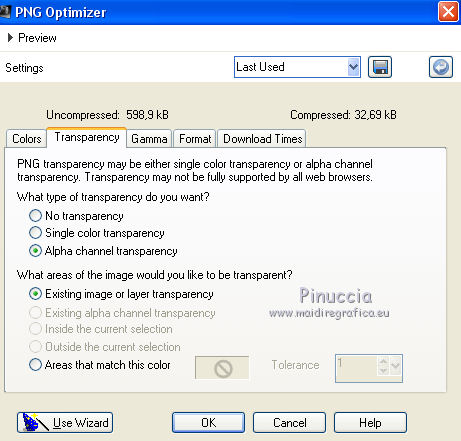
Save as png to keep the transparence of the background.
Files>Export>PNG Optimizer:

If you have problems or doubts, or you find a not worked link, or only for tell me that you enjoyed this tutorial, write to me.
27 May 2018
|
 ENGLISH VERSION
