|
CRÈCHE DE NOËL
 ENGLISH VERSION ENGLISH VERSION


This tutorial was translated with PSPX3 but it can also be made using other versions of PSP.
Since version PSP X4, Image>Mirror was replaced with Image>Flip Horizontal,
and Image>Flip with Image>Flip Vertical, there are some variables.
In versions X5 and X6, the functions have been improved by making available the Objects menu.
In the latest version X7 command Image>Mirror and Image>Flip returned, but with new differences.
See my schedule here
Italian translation here
le vostre versioni/your versions qui
For this tutorial, you will need:
Material here
For the images tubed by Joanne thanks to Martino Landi.
For the mask thanks Essex Girl.
The other tubes are by Joanne.
Plugins
Alien Skin Xenofex 2 - Constellation here

Copy the Selections in the Selections Folder.
Open the mask in PSP and minimize it with the rest of the material.
1. Set your Foreground color to #091a2b.
2. Open a new transparent image 800 x 600 pixels.
Flood Fill  the transparent image with your foreground color #091a2b. the transparent image with your foreground color #091a2b.
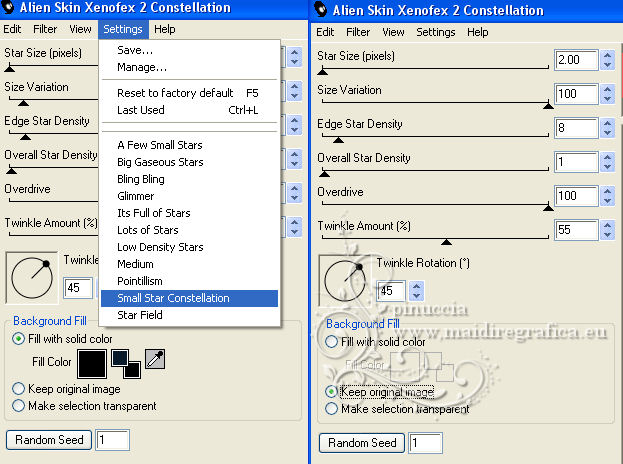
3. Effects>Plugins>Alien Skin Xenofex 2 - Constellation
Settings: Small Star Constellation
4. Layers>New Raster Layer.
Selections>Select All.
Open the image of the straw and go to Edit>Copy.
Go back to your work and go to Edit>Paste into Selection.
Selections>Select None.
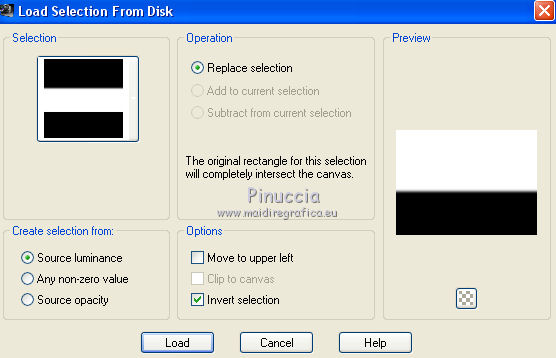
5. Selections>Load/Save Selection>Load Selection from Disk.
Look for and load the Selection Selection_Joanne_Crèche-2018
Attention please: Invert selection is checked.
Click CANC on the keyboard 
Selections>Select None.
6. Layers>Duplicate.
Close this layer and activate the layer below of the original.
7. Open the tube of the cave and go to Edit>Copy.
Go back to your work and go to Edit>Paste as new layer.
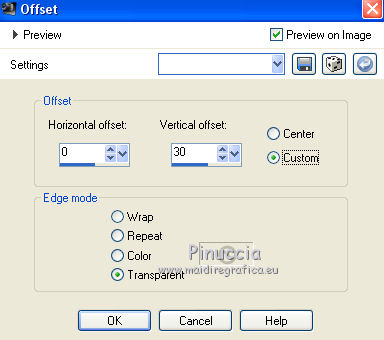
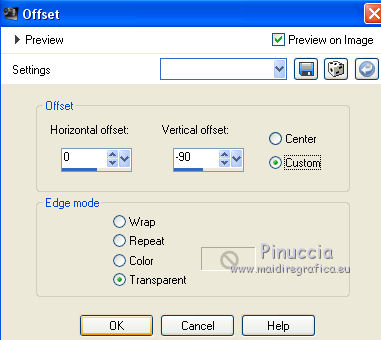
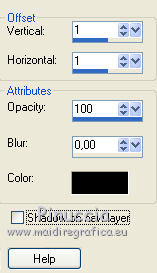
8. Effects>Image Effects>Offset.
9. Effects>3D Effects>Drop Shadow.
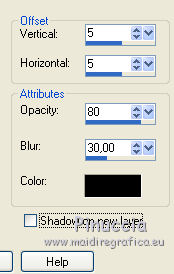
Repeat Drop Shadow, but vertical and horizontal -5.
10. Open the tube of the persons and go to Edit>Copy.
Go back to your work and go to Edit>Paste as new layer.
Image>Resize, to 70%, resize all layers not checked.
Adjust>Sharpness>Sharpen.
11. Effects>3D Effects>Drop Shadow.
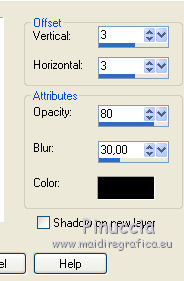
Repeat Drop Shadow, but vertical and horizontal -3.
12. Open and activate the layer of the straw.
Effects>Image Effects>Offset.
13. Open the tube of the animals and Copy/Paste as new layer the first tubes of the ox and of the ass.
Place  rightly the tubes. rightly the tubes.
14. Copy/Paste as new layer the tubes of the sheeps.
Both: Image>Resize, to 80%, resize all layers not checked.
Place rightly the tubes.
15. Activate the top layer of the sheeps.
Layers>Merge>Merge Down.
Rename this layer "sheeps" and close this layer.
16. Sign your work on a new layer.
little note about the watermark:
I never ask to put watermark on the versions made by my translations.
But if you decide to use the watermark supplied by the author (to put in mode Soft Light),
I would appreciate that my work as translator was respected too.
For that, I added my watermark to the material (a layer for every language that I translate).
Attention: for this work I suggest you to sign at the end.
17. Layers>Merge>Merge visible, and rename this layer "crib".
18. Activate the top layer.
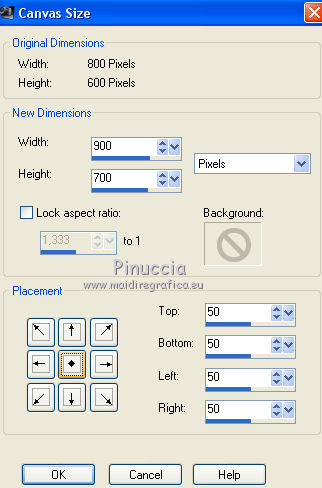
Image>Canvas Size - 900 x 700 pixels.
19. Layers>New Raster Layer.
Selections>Select All.
Open again the image of the straw and go to Edit>Copy.
Go back to your work and go to Edit>Paste into Selection.
Selections>Select None.
20.
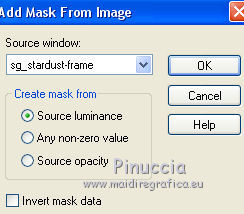
Layers>New Mask layer>From image
Open the menu under the source window and you'll see all the files open.
Select the mask sg_stardust-frame:
Layers>Merge>Merge group.
Layers>Duplicate
On the layer of the copy: Adjust>Sharpness>Sharpen More.
On the layer below of the original: Effects>3D Effects>Drop Shadow.
21. Activate the layer "crib".
Selections>Load/Save Selection>Load Selection from Disk.
Look for and load the Selection Selection_Joanne_Crèche-2018
Attention please: don't forget to unchecked Invert selection.
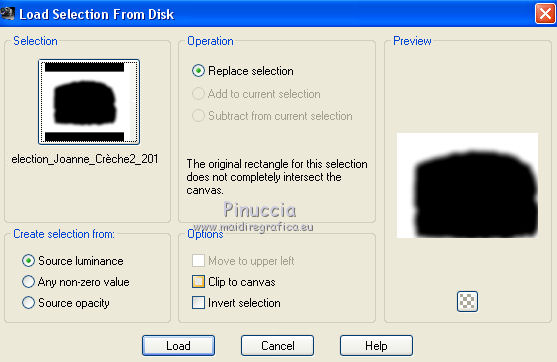
Press CANC on the keyboard.
Selections>Select None.
22. Open and activate the layer of the sheeps.
Layers>Arrange>Bring to Top.
Don't forget, if you have not done, to sign your work.
Layers>Merge>Merge visible.
23. Image>Resize, to 90%, resize all layers not checked.
Adjust>Sharpness>Sharpen.
24. Selections>Load/Save Selection>Load Selection from Disk.
Look for and load the Selection Selection_Joanne_Crèche3-2018
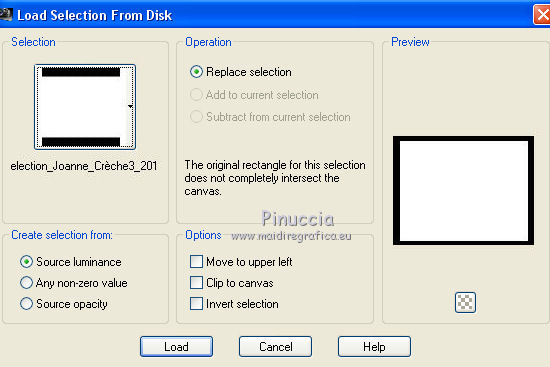
Image>Crop to selection.
Selections>Select None.
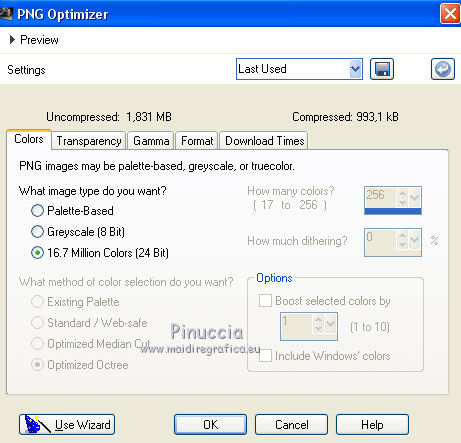
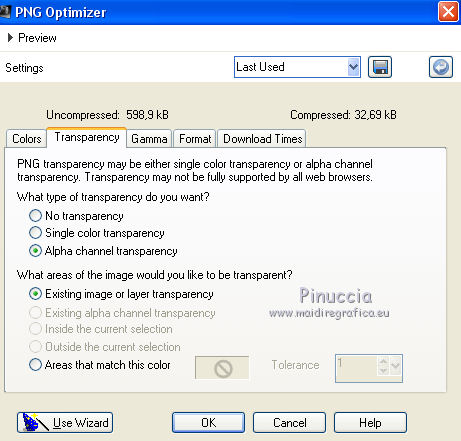
25. Save as png to keep the transparency of the background.
File>Export>PNG Optimizer

If you have problems or doubts, or you find a not worked link, or only for tell me that you enjoyed this tutorial, write to me.
29 December 2018
|


