|
BOULE DE NOËL
 ENGLISH VERSION ENGLISH VERSION
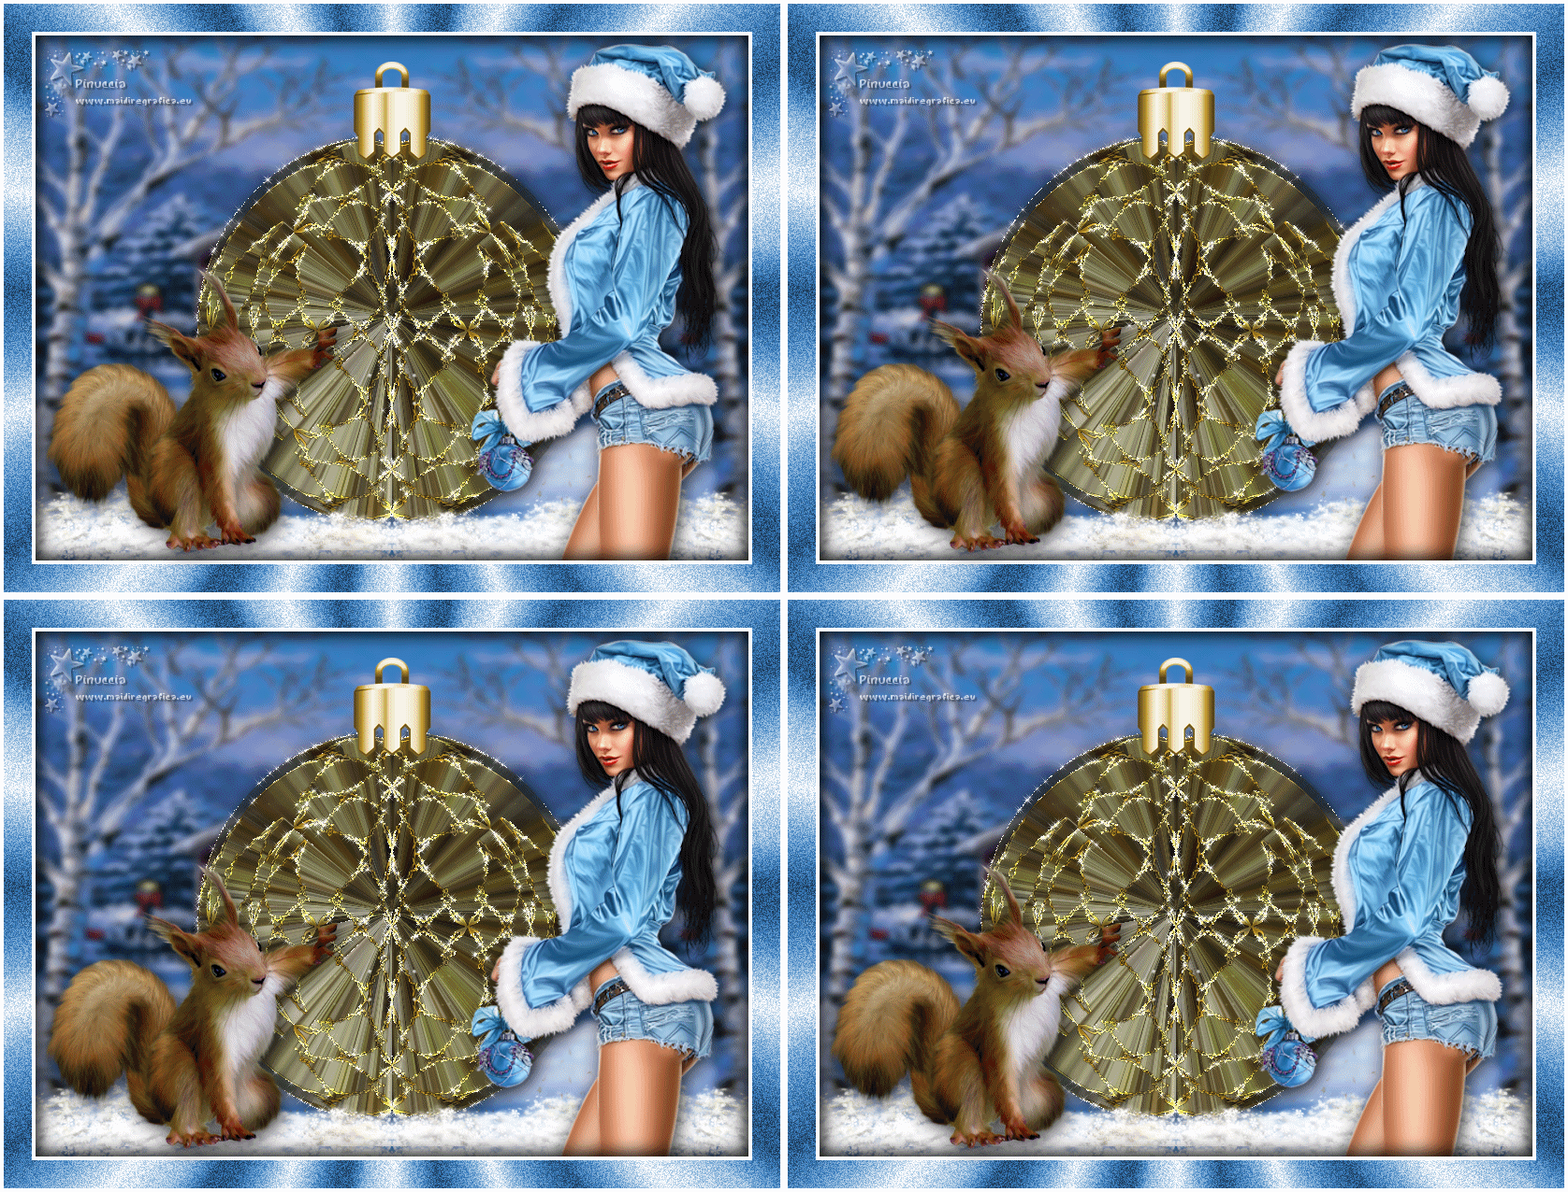
Here you find the original of this tutorial:

This tutorial was translated with PSPX3 but it can also be made using other versions of PSP.
Since version PSP X4, Image>Mirror was replaced with Image>Flip Horizontal,
and Image>Flip with Image>Flip Vertical, there are some variables.
In versions X5 and X6, the functions have been improved by making available the Objects menu.
In the latest version X7 command Image>Mirror and Image>Flip returned, but with new differences.
See my schedule here
Italian translation here
le vostre versioni/your versions qui
For this tutorial, you will need:
Material here
Thanks to the author of the woman (proxyi.mgsmail.ru) and to Corbert Gauthier for the landscape.
Thanks to the authors, that I don't know, of the rest of the material.
(The links of the tubemakers here).
Plugins
Flaming Pear - Flexify 2 here
Alien Skin Eye Candy 5 Impact - Extrude here
Alien Skin Xenofex 2 - Constellation here
Animation Shop here

Copy the preset  in the folder of the plugins Alien Skin Eye Candy 5. in the folder of the plugins Alien Skin Eye Candy 5.
One or two clic on the file (it depends by your settings), automatically the preset will be copied in the right folder.
why one or two clic see here
Copy the Gradient in the Selections Folder.
Copy the Selections in the Selections Folder.
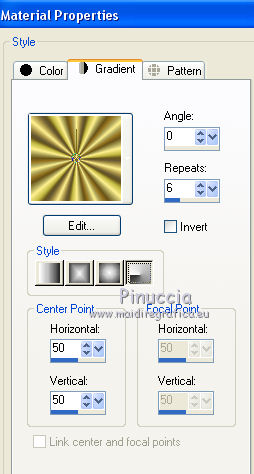
1. Set your Foreground color to Gradient, and select the gradient pigold, style Radial.
2. Open a new transparent image 800 x 600 pixels.
Selections>Select All.
3. Open the landscape and go to Edit>Copy.
Go back to your work and go to Edit>Paste into Selection.
Selections>Select None.
4. Effects>Reflection Effects>Rotating Mirror.

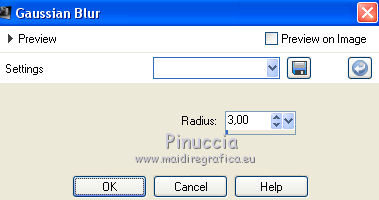
5. Adjust>Blur>Gaussian Blur- radius 3.
Close this layer.
6. Layers>New Raster Layer.
Selections>Load/Save Selection>Load Selection from Disk.
Look for and load the Selection Selection_Joanne_Neige
Attention please: Invert selection is checked.

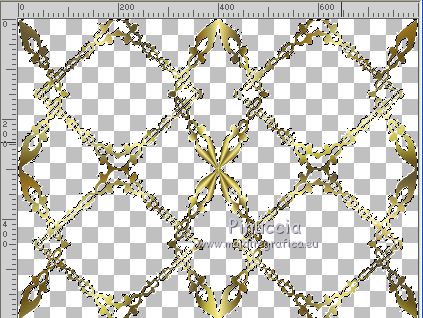
7. Flood Fill  the selection with your gold Gradient. the selection with your gold Gradient.
Selections>Select None.
8. Effects>Distortion Effects>Pinch.

9. Selections>Load/Save Selection>Load Selection from Disk.
Look for and load the Selection Selection_Joanne_Neige1
Attention please: don't forget to unchecked Invert selection.
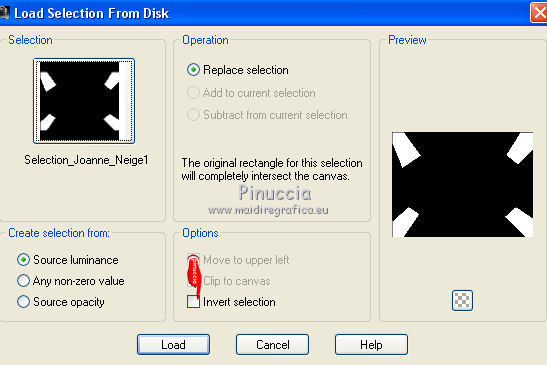
Press CANC on the keyboard 
Selections>Select None.
10. Effects>Plugins>Flaming Pear - Flexify 2.
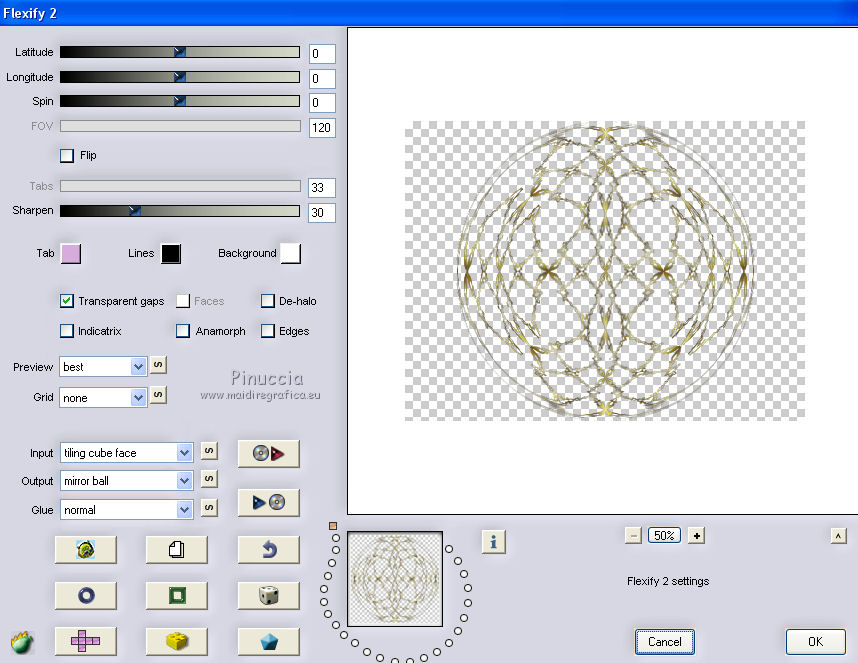
11. Layers>Duplicate.
Layers>Merge>Merge down.
12. Image>Resize, to 70%, resize all layers not checked.
Adjust>Sharpness>Sharpen More.
13. Effects>Plugins>Alien Skin Eye Candy 5 Impact - Extrude.
select the preset "boule de Noel_extrude" and ok.
Here below the settings, in case of problems with the preset.
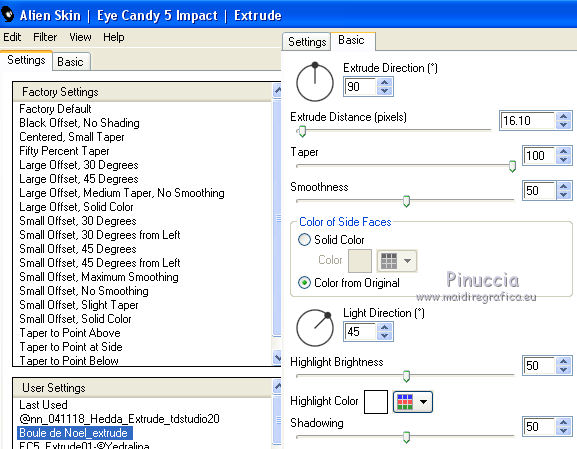
14. Effects>Image Effects>Offset.
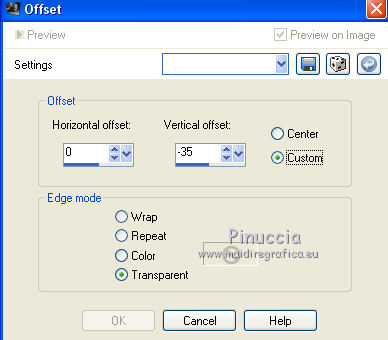
15. Effects>3D Effects>Drop Shadow.
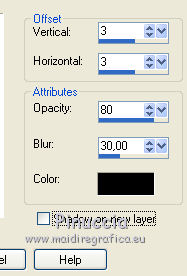
16. Rename this layer "boule".
Layers>Duplicate - 3 times.
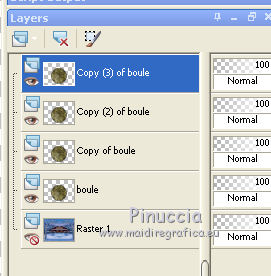
17. Open thel tube "suspension" and go to Edit>Copy.
Go back to your work and go to Edit>Paste as new layer.
Place  the tube on the ball. the tube on the ball.
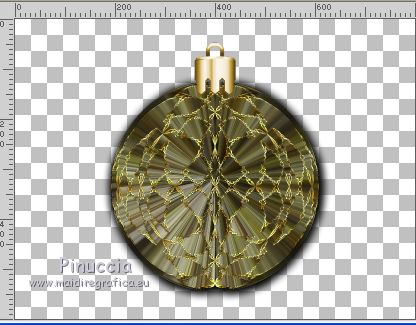
18. Close the 3 layers and activate the layer "boule".
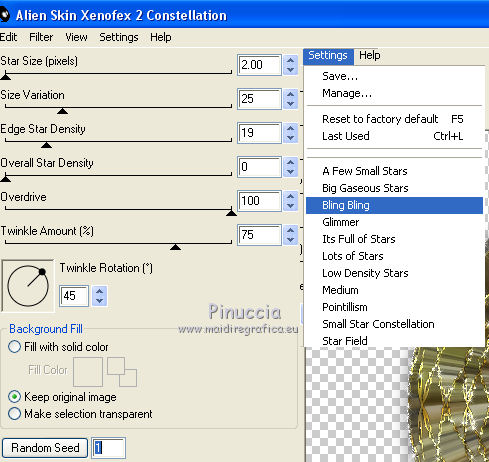
19. Effects>Plugins>Alien Skin Xenofex 2 - Constellation.
Settings: Bling Bling with these settings.
20. Close the layer "boule".
Open and activate the layer above of the first copy.
Effects>Plugins>Alien Skin Xenofex 2 - Constellation, click on Random Seed and ok.
21. Close this layer and activate the layer above of the second copy.
Effects>Plugins>Alien Skin Xenofex 2 - Constellation, click on Random Seed and ok.
22. Close this layer and activate the layer above of the third copy.
Effects>Plugins>Alien Skin Xenofex 2 - Constellation, click on Random Seed and ok.
23. Open the tube of the snow and go to Edit>Copy.
Go back to your work and go to Edit>Paste as new layer.
24. Effects>Image Effects>Offset.

25. Layers>Duplicate.
Image>Mirror.
Layers>Merge>Merge Down.
26. Again Layers>Duplicate.
Layers>Merge>Merge Down.
27. One more time Layers>Duplicate.
Effects>Image Effects>Offset.
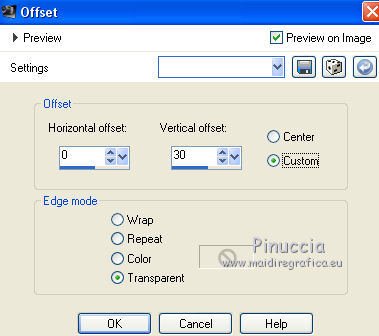
28. Open the tube of the woman and go to Edit>Copy.
Go back to your work and go to Edit>Paste as new layer.
Image>Resize, to 120%, resize all layers not checked.
Move  the tube to the right side. the tube to the right side.
29. Effects>3D Effects>Drop Shadow, same settings.

30. Open the tube of the squirrel and go to Edit>Copy.
Go back to your work and go to Edit>Paste as new layer.
Image>Resize, to 70%, resize all layers not checked.
Move  the tube to the left side. the tube to the left side.
31. Effects>3D Effects>Drop Shadow, same settings.
32. Sign your work on a new layer.
little note about the watermark:
I never ask to put watermark on the versions made by my translations.
But if you decide to use the watermark supplied by the author (to put in mode Soft Light),
I would appreciate that my work as translator was respected too.
For that, I added my watermark to the material (a layer for every language that I translate).
33. Image>Canvas Size 838 x 638 pixels.
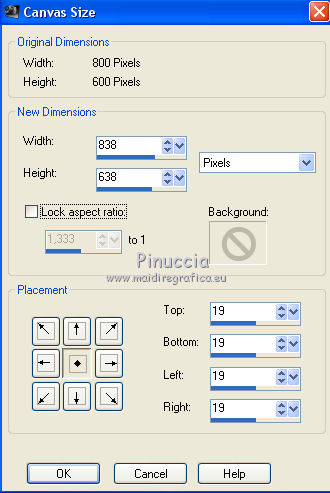
34. Layers>New Raster Layer.
Set your foreground color to white,
and your background color to black.
Flood Fill  with color white. with color white.
35. Selections>Select All.
Selections>Modify>Contract i - 4 pixels.
Press CANC on the keyboard.
Flood Fill  with color black. with color black.
36. Selections>Modify>Contract - 30 pixels.
Press CANC on the keyboard.
Flood Fill  with color white. with color white.
37. Selections>Modify>Contract - 4 pixels.
Press CANC on the keyboard.
38. Selections>Invert.
Effects>3D Effects>Drop Shadow, same settings.

Repeat Drop Shadow, but vertical and horizontal -3.
Selections>Select None.
39. Activate your Magic Wand Tool 
and click on the 30 pixels border to select it.
Set again your foreground color to Gradient.
Flood Fill  the selection with your golden Gradient. the selection with your golden Gradient.
40. Adjust>Remove/Add Noise>Add Noise.
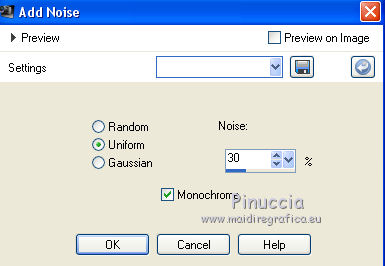
41. Adjust>Hue and Saturation>Colorize.
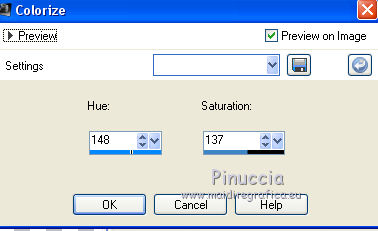
Selections>Select None.
42. Oopen again your background layer.
The layer "boule" is open,
and the layer of the 3 copies are close.
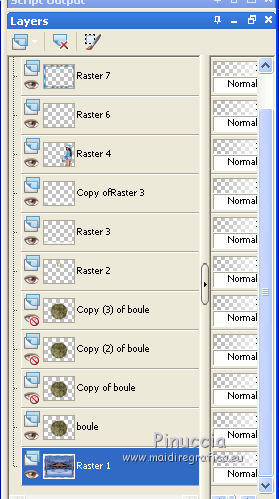
You can stay on the background layer (to open or close the other layer it is not necessary to activate them).
43. Edit>Copy Special>Copy Merged.
Open Animation Shop and go to Edit>Paste>Paste as new image.
44. Go back to PSP.
Close the layer "boule" and open the layer of the first copy.
Edit>Copy Special>Copy Merged.
Go back to Animation Shop and go to Edit>Paste>Paste after current frame.
45. In PSP, close the layer of the first copy and open the layer of the second copy.
Edit>Copy Special>Copy Merged.
In Animation Shop go to Edit>Paste>Paste after current frame.
46. In PSP, close the layer of the second copy and open the layer of the third copy.
Edit>Copy Special>Copy Merged.
In Animation Shop go to Edit>Paste>Paste after current frame.
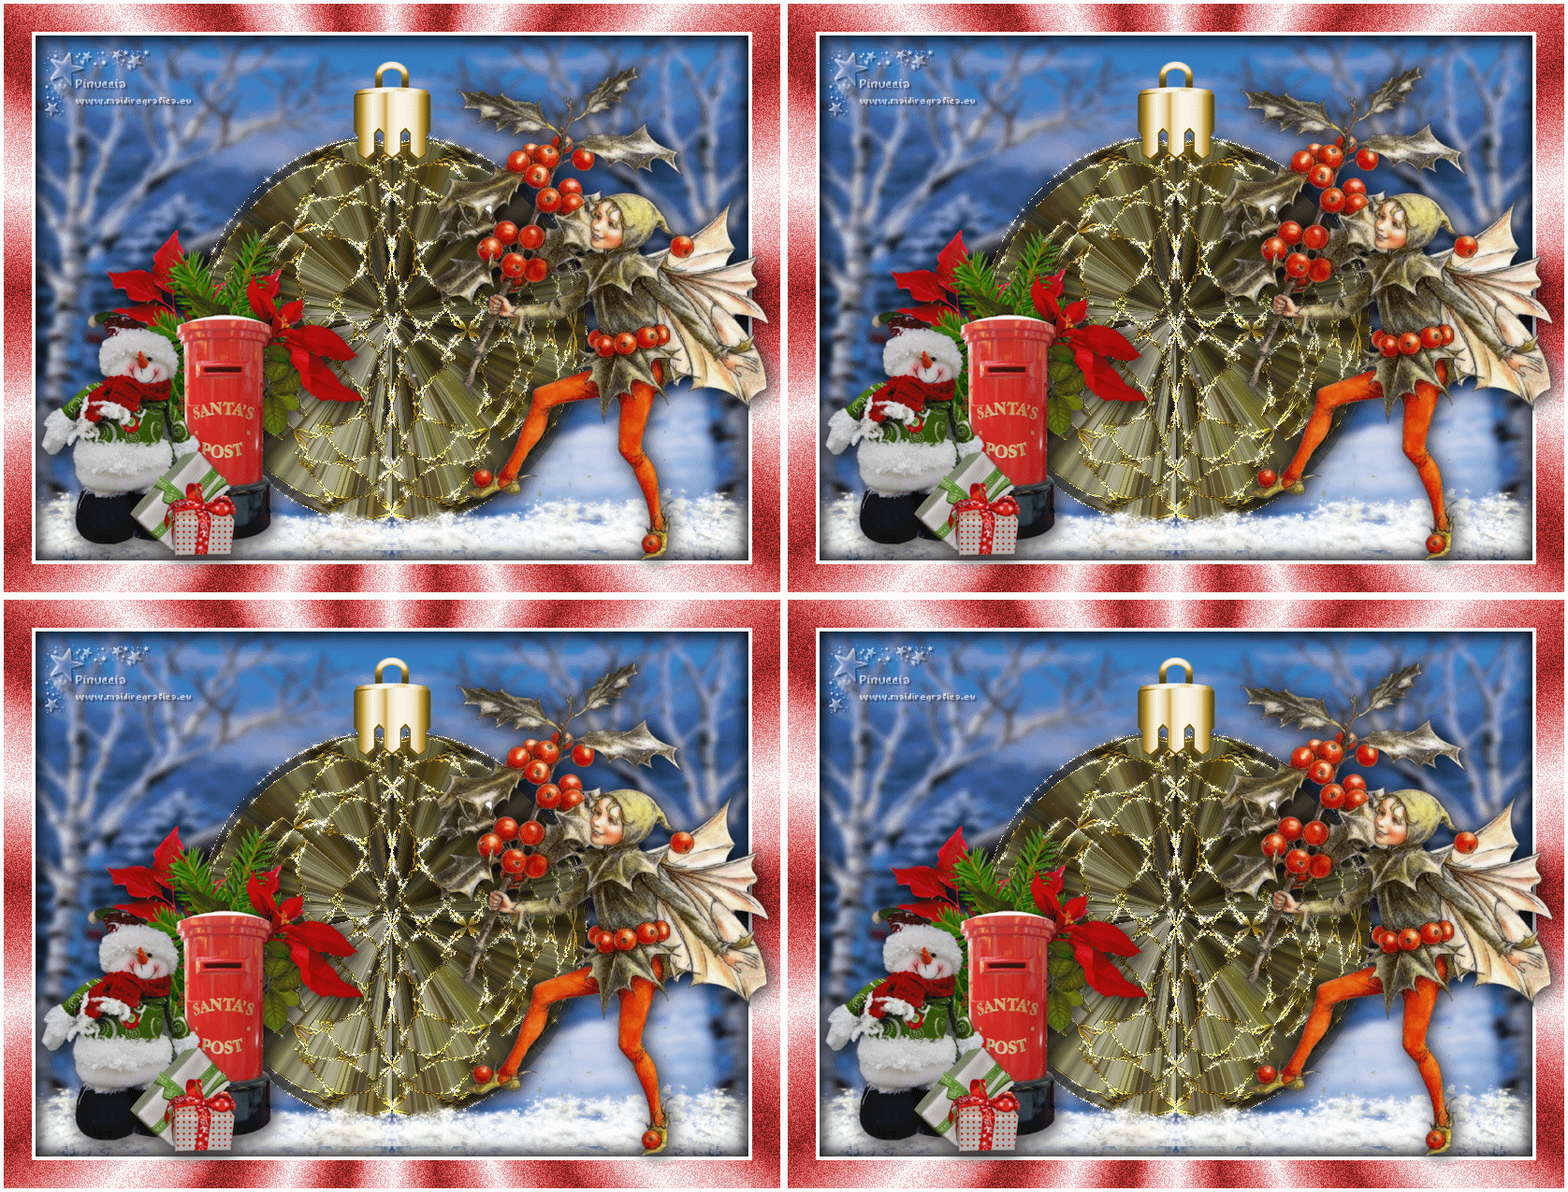
And you'll get your animation compose by 4 frames.
47. Check the result clicking on View Animation 
and save as gif.
The tube of this version is by Jewel
If you have problems or doubts, or you find a not worked link, or only for tell me that you enjoyed this tutorial, write to me.
22 December 2018
|
 ENGLISH VERSION

 ENGLISH VERSION
