|
ALISON
 ENGLISH VERSION ENGLISH VERSION
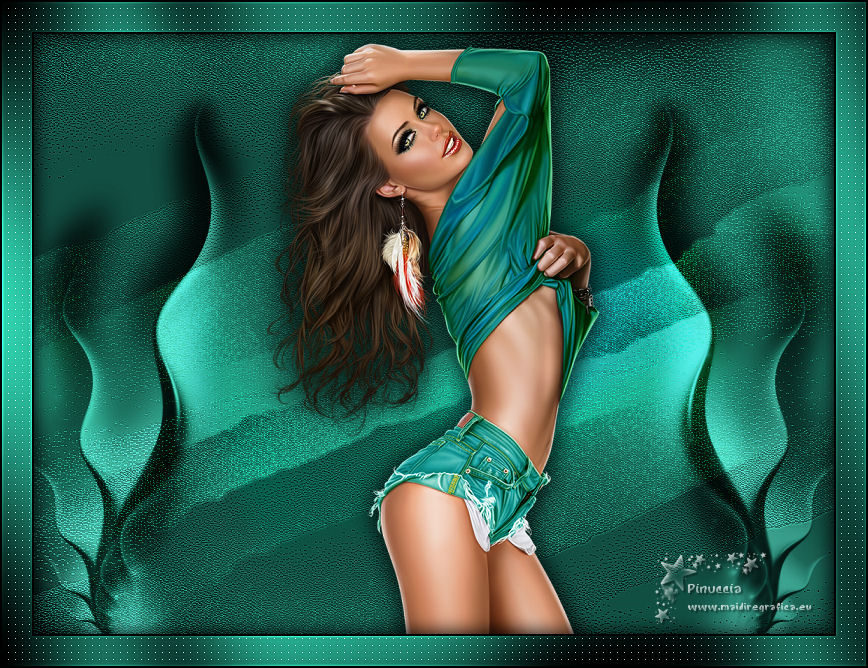
Here you find the original of this tutorial:

This tutorial was translated with PSPX3 but it can also be made using other versions of PSP.
Since version PSP X4, Image>Mirror was replaced with Image>Flip Horizontal,
and Image>Flip with Image>Flip Vertical, there are some variables.
In versions X5 and X6, the functions have been improved by making available the Objects menu.
In the latest version X7 command Image>Mirror and Image>Flip returned, but with new differences.
See my schedule here
Italian translation here
le vostre versioni/your versions qui
For this tutorial, you will need:
Material here
Thanks for the tube @nn and the other unknown autheurs of the material.
Plugins
Filters Unlimited 2.0 here
Graphics Plus - Cross shadow here
Penta.com - Color Dot here
Filters Graphics Plus and Penta.com can be used alone or imported into Filters Unlimited.
(How do, you see here)
If a plugin supplied appears with this icon  it must necessarily be imported into Unlimited it must necessarily be imported into Unlimited

Open the mask in PSP and minimize it with the rest of the material.
1. Set your Foreground color to #124e41.
2. Open a new transparent image 800 x 600 pixels.
Flood Fill  the transparent image with your foreground color #124e41. the transparent image with your foreground color #124e41.
3. Layers>Duplicate.
Close this layer and activate the layer below of the original.
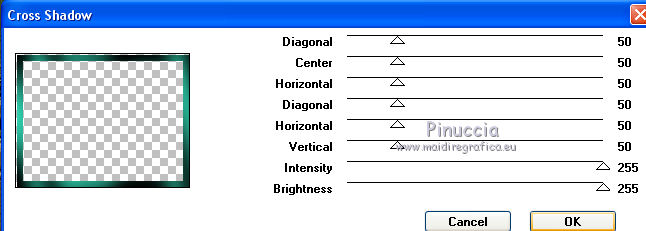
4. Effects>Plugins>Graphics Plus - Cross Shadow.
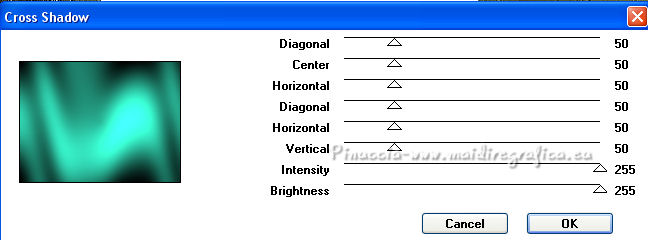
if you are using another color, you should have a less pleasant result;
in this cause, change the last two parameters according to your color
Close this layer.
5. Open and activate the layer of the copy.
Layers>New Mask layer>From image
Open the menu under the source window and you'll see all the files open.
Select the mask 8d9968ac....
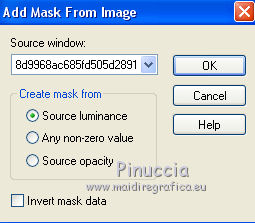
Layers>Merge>Merge Group.
Effects>Edge Effects>Enhance.
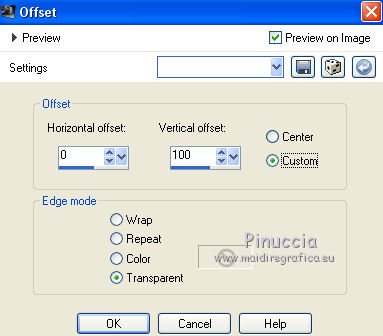
8. Effects>Image Effects>Offset.
9. Layers>Duplicate, and stay on this layer.
Image>Flip.
Image>Mirror.
10. Effects>Image Effects>Offset.
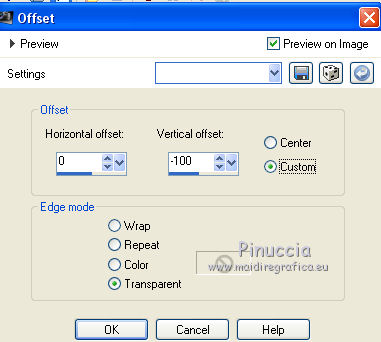
Layers>Merge>Merge Down.
11. Change the Blend Mode of this layer to Luminance.
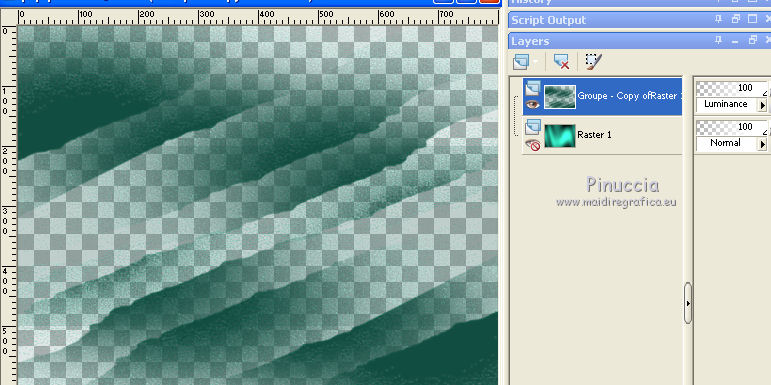
12. Open the tube by @nn and go to Edit>Copy.
Go back to your work and go to Edit>Paste as new layer.
13. Effects>Image Effects>Offset.
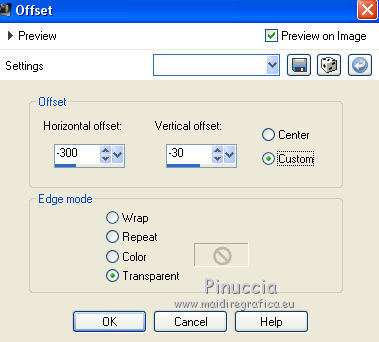
14. Layers>Duplicate.
Image>Mirror.
Layers>Merge>Merge Down.
15. Change the Blend Mode of this layer to Overlay.
Layers>Duplicate.
Change the Blend Mode of this layer to Soft Light.
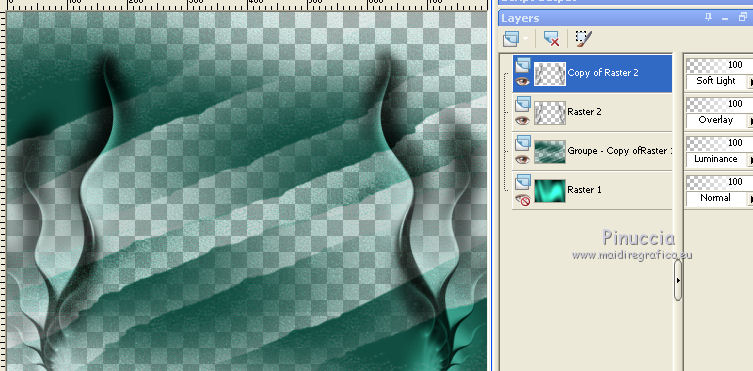
16. Open the tube of the woman and go to Edit>Copy.
Go back to your work and go to Edit>Paste as new layer.
Image>Resize, to 70%, resize all layers not checked.
Image>Mirror.
Place  rightly the tube. rightly the tube.
Adjust>Sharpness>Sharpen.
17. Effects>3D Effects>Drop Shadow.
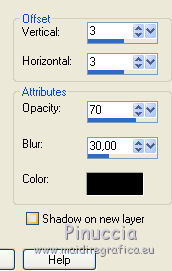
Repeat Drop Shadow, but vertical and horizontal -3.
18. Sign your work on a new layer.
little note about the watermark:
I never ask to put watermark on the versions made by my translations.
But if you decide to use the watermark supplied by the author (to put in mode Soft Light),
I would appreciate that my work as translator was respected too.
For that, I added my watermark to the material (a layer for every language that I translate).
19. Open the bottom layer.
Layers>Merge>Merge All.
20. Image>Add borders, 2 pixels, symmetric, color black.
Image>Add borders, 30 pixels, symmetric, foreground color.
Image>Add borders, 2 pixels, symmetric, color black.
21. Activate your Magic Wand Tool 
and click on the border of 30 pixels to select it.
Selections>Promote Selection to Layer.
22. Effects>Plugins>Graphics Plus - Cross shadow, same settings.
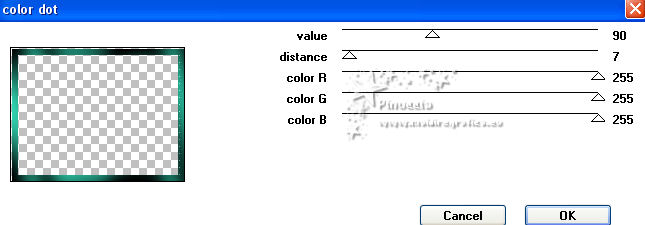
23. Effects>Plugins>Penta.com - Color Dot.
Adjust>Sharpness>Sharpen More.
24. Effects>3D Effects>Drop Shadow, last settings.
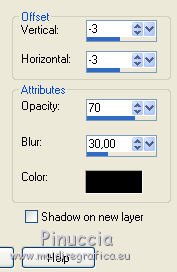
Repeat Drop Shadow positive.

Selections>Select None.
25. Layers>Merge>Merge All and save as jpg.
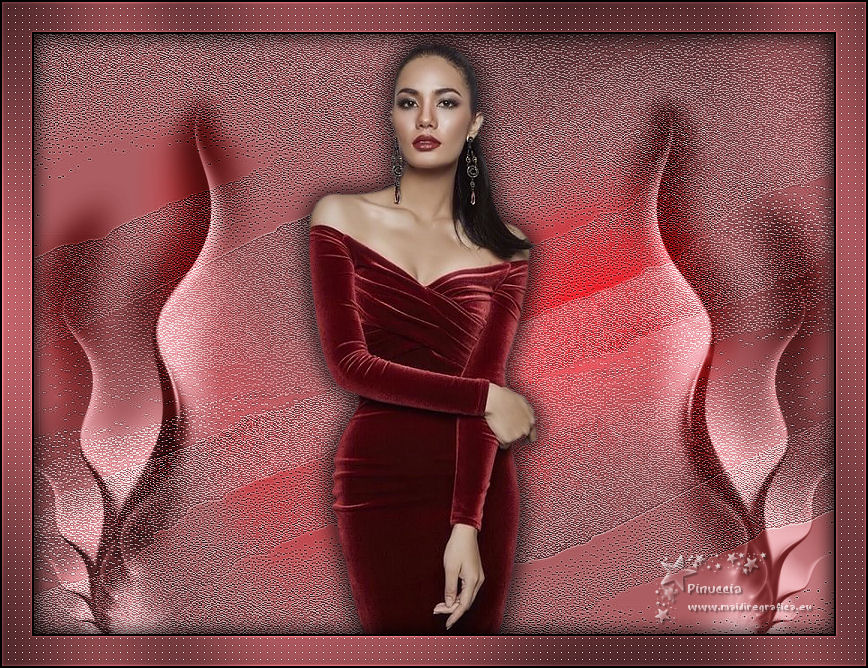
The tube of this version is by Beatriz

If you have problems or doubts, or you find a not worked link, or only for tell me that you enjoyed this tutorial, write to me.
My mail is in the menu on the top of the page.
4 January 2019
|
 ENGLISH VERSION

 ENGLISH VERSION
