|
À L'HEURE DE L'AUTOMNE
 ENGLISH VERSION ENGLISH VERSION

Here you find the original of this tutorial:

This tutorial was translated with PSPX3 but it can also be made using other versions of PSP.
Since version PSP X4, Image>Mirror was replaced with Image>Flip Horizontal,
and Image>Flip with Image>Flip Vertical, there are some variables.
In versions X5 and X6, the functions have been improved by making available the Objects menu.
In the latest version X7 command Image>Mirror and Image>Flip returned, but with new differences.
See my schedule here
Italian translation here
le vostre versioni/your versions qui
For this tutorial, you will need:
Material here
Thanks: for the woman Gabry and for the mask Lia.
Thanks to the unknown authors of the rest of the material.
(The links of the tubemakers here).
Plugins
Filters Unlimited 2.0 here
Graphics Plus - Cross Shadow, Emboss here
Penta.com - Jeans here
Filters Graphics Plus and Penta.com can be used alone or imported into Filters Unlimited.
(How do, you see here)
If a plugin supplied appears with this icon  it must necessarily be imported into Unlimited it must necessarily be imported into Unlimited

Open the masks in PSP and minimize them with the rest of the material.
1. Set your Foreground color to #7a0d0d.
2. Open a new transparent image 400 x 400 pixels.
3. Selections>Select All.
Open the image Abstract and go to Edit>Copy.
Go back to your work and go to Edit>Paste into Selection.
Selections>Select None.
4. Layers>New Mask layer>From image
Open the menu under the source window and you'll see all the files open.
Select the mask 1_9_2945_1.
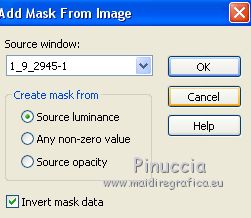
Layers>Merge>Merge Group.
5. Layers>Duplicate.
Layers>Merge>Merge visible.
6. Adjust>Sharpness>Sharpen More.
7. Effects>3D Effects>Drop Shadow.
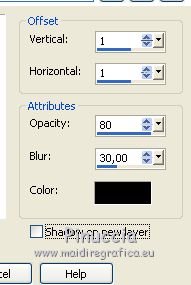
8. Minimize this work for a moment.
9. Open a new transparent image 800 x 600 pixels.
10. Selections>Select All.
Activate again the image Abstract and go to Edit>Copy.
Go back to your work and go to Edit>Paste into Selection.
Selections>Select None.
11. Layers>Duplicate.
Close the layer above and keep the copy layer selected.
12. Layers>New Mask layer>From image
Open the menu under the source window
and select the mask Lia-puntos-04.
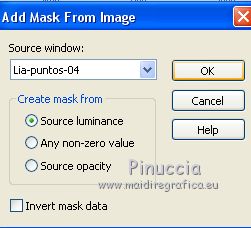
Layers>Merge>Merge Group.
Image>Flip.
13. Layers>Duplicate.
Layers>Merge>Merge visible.
14. Effects>3D Effects>Inner Bevel.
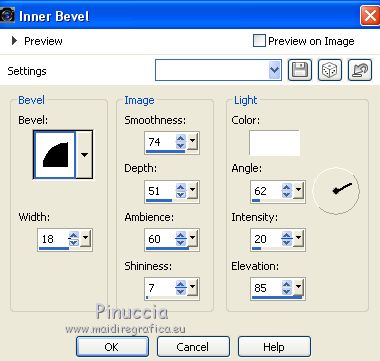
15. Effects>3D Effects>Drop Shadow, same settings.

16. Activate the first work (400x400) and go to Edit>Copy.
Go back to the second work (800x600) and go to Edit>Paste as new layer.
Place  the image as below the image as below
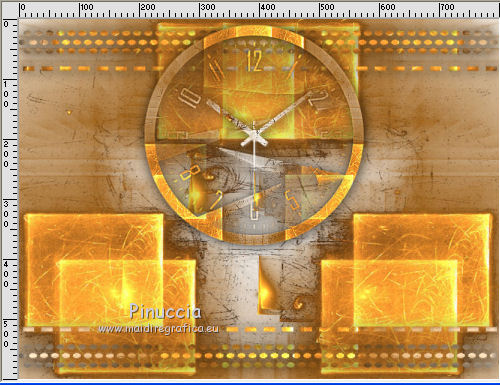
17. Re-open the bottom layer and keep the top layer selected.
18. Open the tube of the pot and go to Edit>Copy.
Go back to your work and go to Edit>Paste as new layer.
Place  the tube as below. the tube as below.
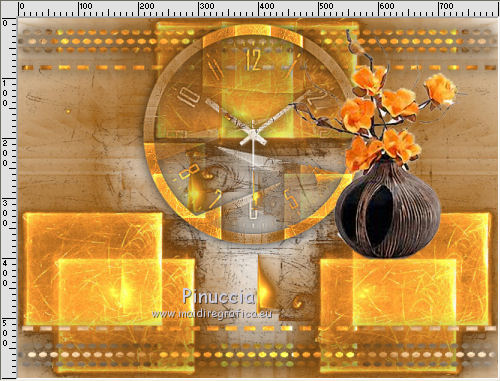
19. Effects>3D Effects>Drop Shadow, same settings.
Repeat Drop Shadow, but vertical and horizontal -1.
20. Activate the Erase Tool 
and erase the shadow under the pot border.
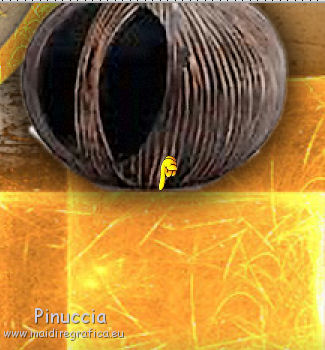 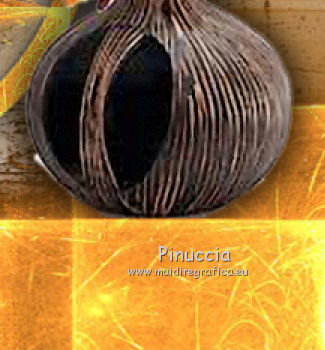
21. Open the woman tube and go to Edit>Copy.
Go back to your work and go to Edit>Paste as new layer.
Image>Resize, to 80%, resize all layers not checked.
Move  the tube to the left side. the tube to the left side.
Effects>3D Effects>Drop Shadow, as at step 19.
22. Sign your work on a new layer.
little note about the watermark:
I never ask to put watermark on the versions made by my translations.
But if you decide to use the watermark supplied by the author (to put in mode Soft Light),
I would appreciate that my work as translator was respected too.
For that, I added my watermark to the material (in italian and in english).
Layers>Merge>Merge All.
23. Image>Add borders, 2 pixels, symmetric, color black.
Image>Add borders, 30 pixels, symmetric, foreground color.
Image>Add borders, 2 pixels, symmetric, color black.
24. Activate the Magic Wand Tool 
and click on the 30 pixels border to select it.
25. Effects>Plugins>Penta.com - Jeans, default settings.

26. Effects>3D Effects>Inner Bevel, same settings.

27. Effects>Plugins>Graphics Plus - Cross Shadow, default settings.

28. Effects>3D Effects>Drop Shadow.
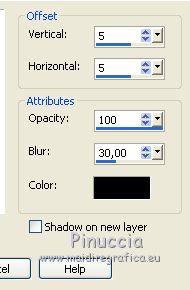
Repeat Drop Shadow, but vertical and horizontal -5.
Selections>Select None.
Save as jpg.
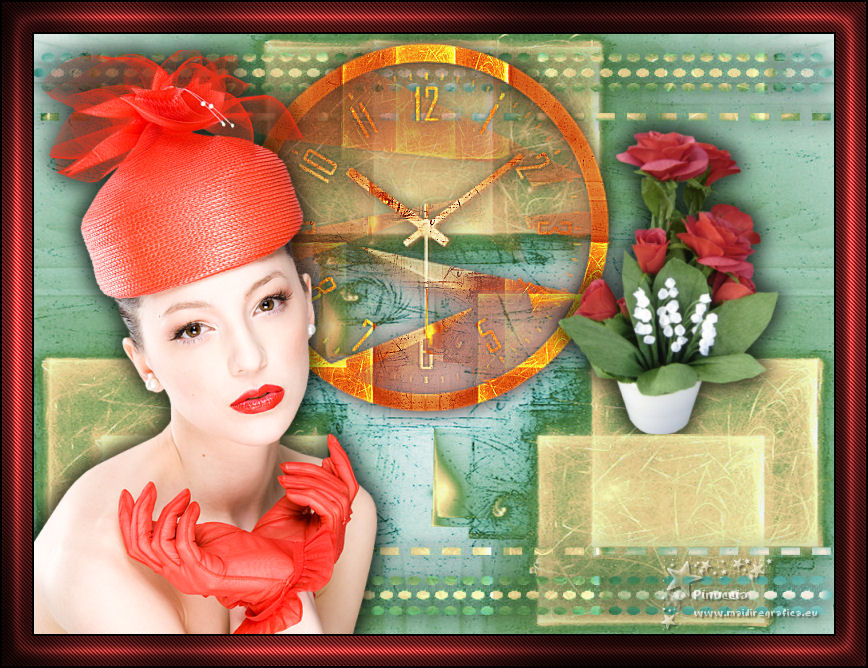
The tubes of this version are by Guismo

If you have problems or doubts, or you find a not worked link, or only for tell me that you enjoyed this tutorial, write to me.
16 October 2018
|
 ENGLISH VERSION
