|
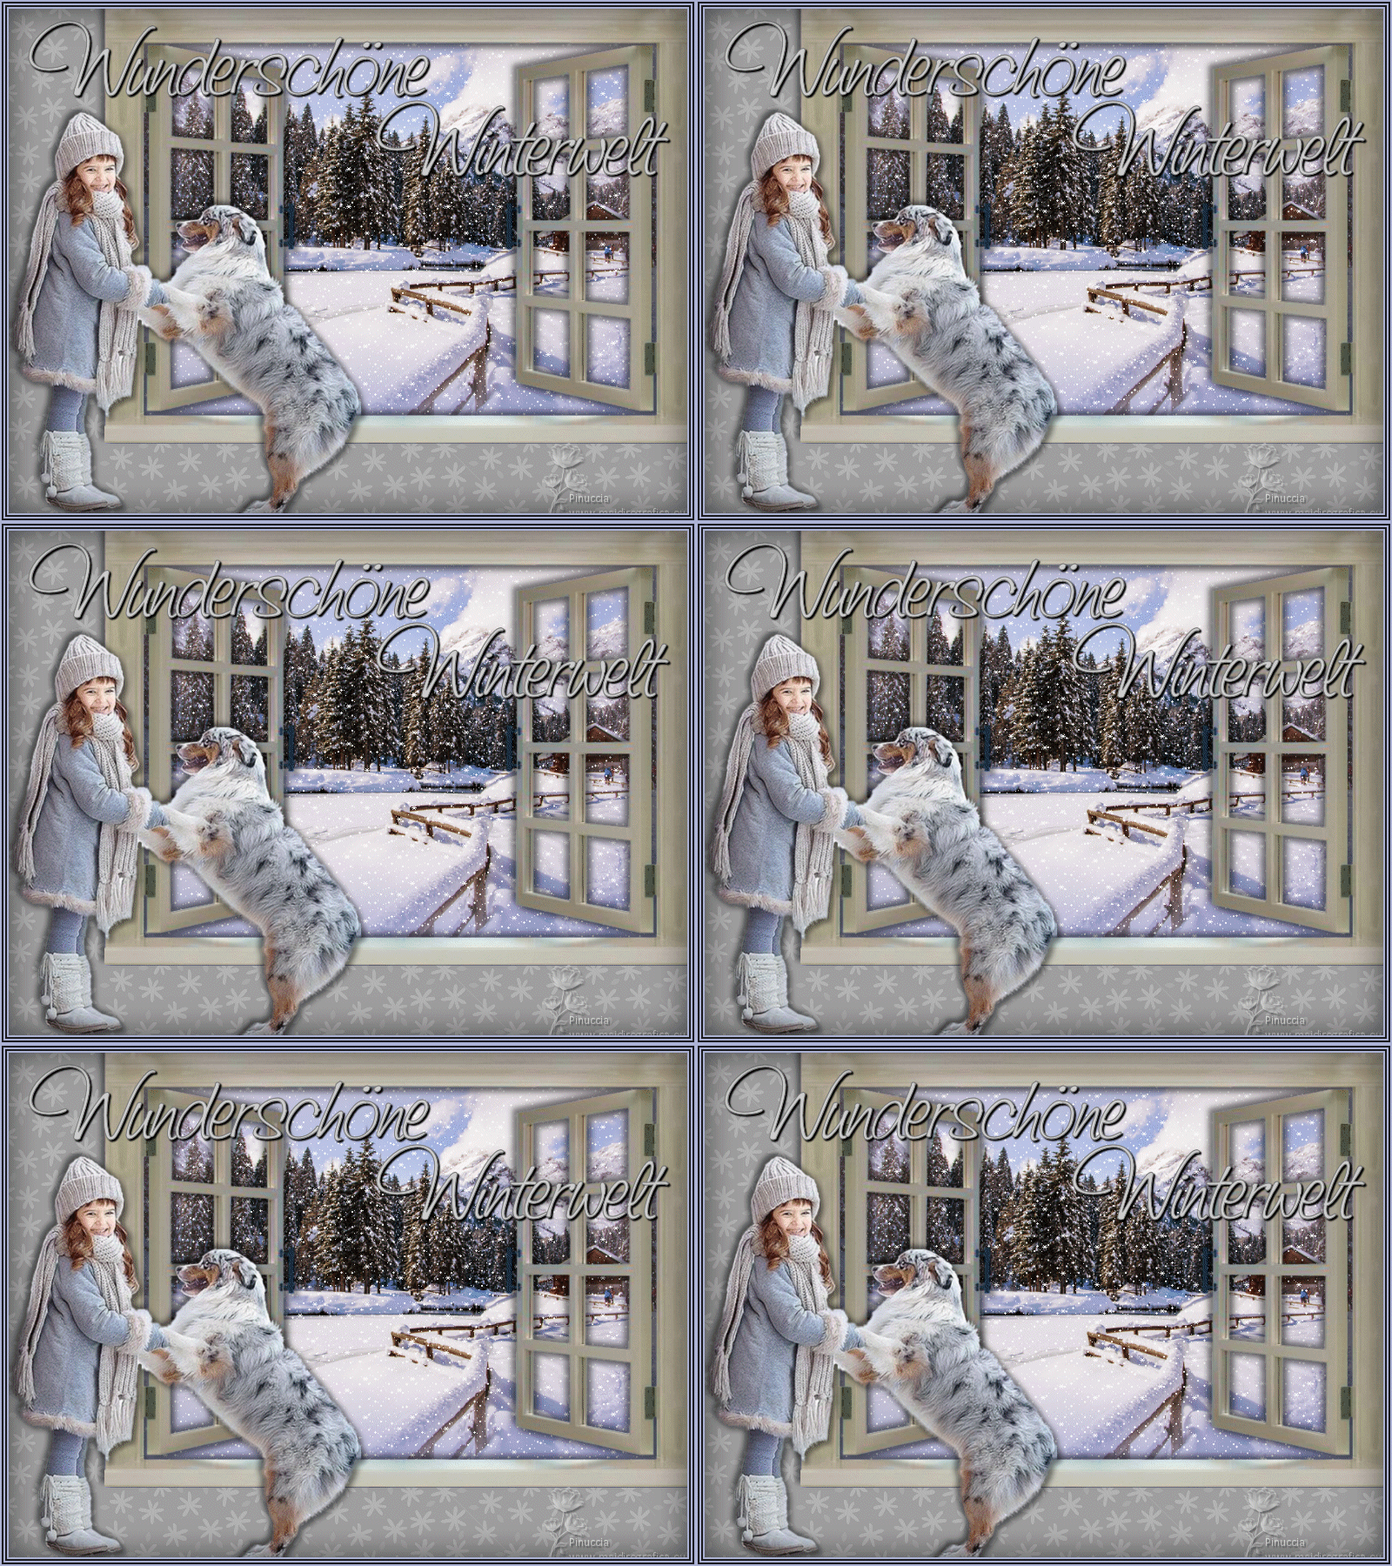
WUNDERSCHÖNE WINTERZEIT
 BEAUTIFUL WINTER WORLD BEAUTIFUL WINTER WORLD
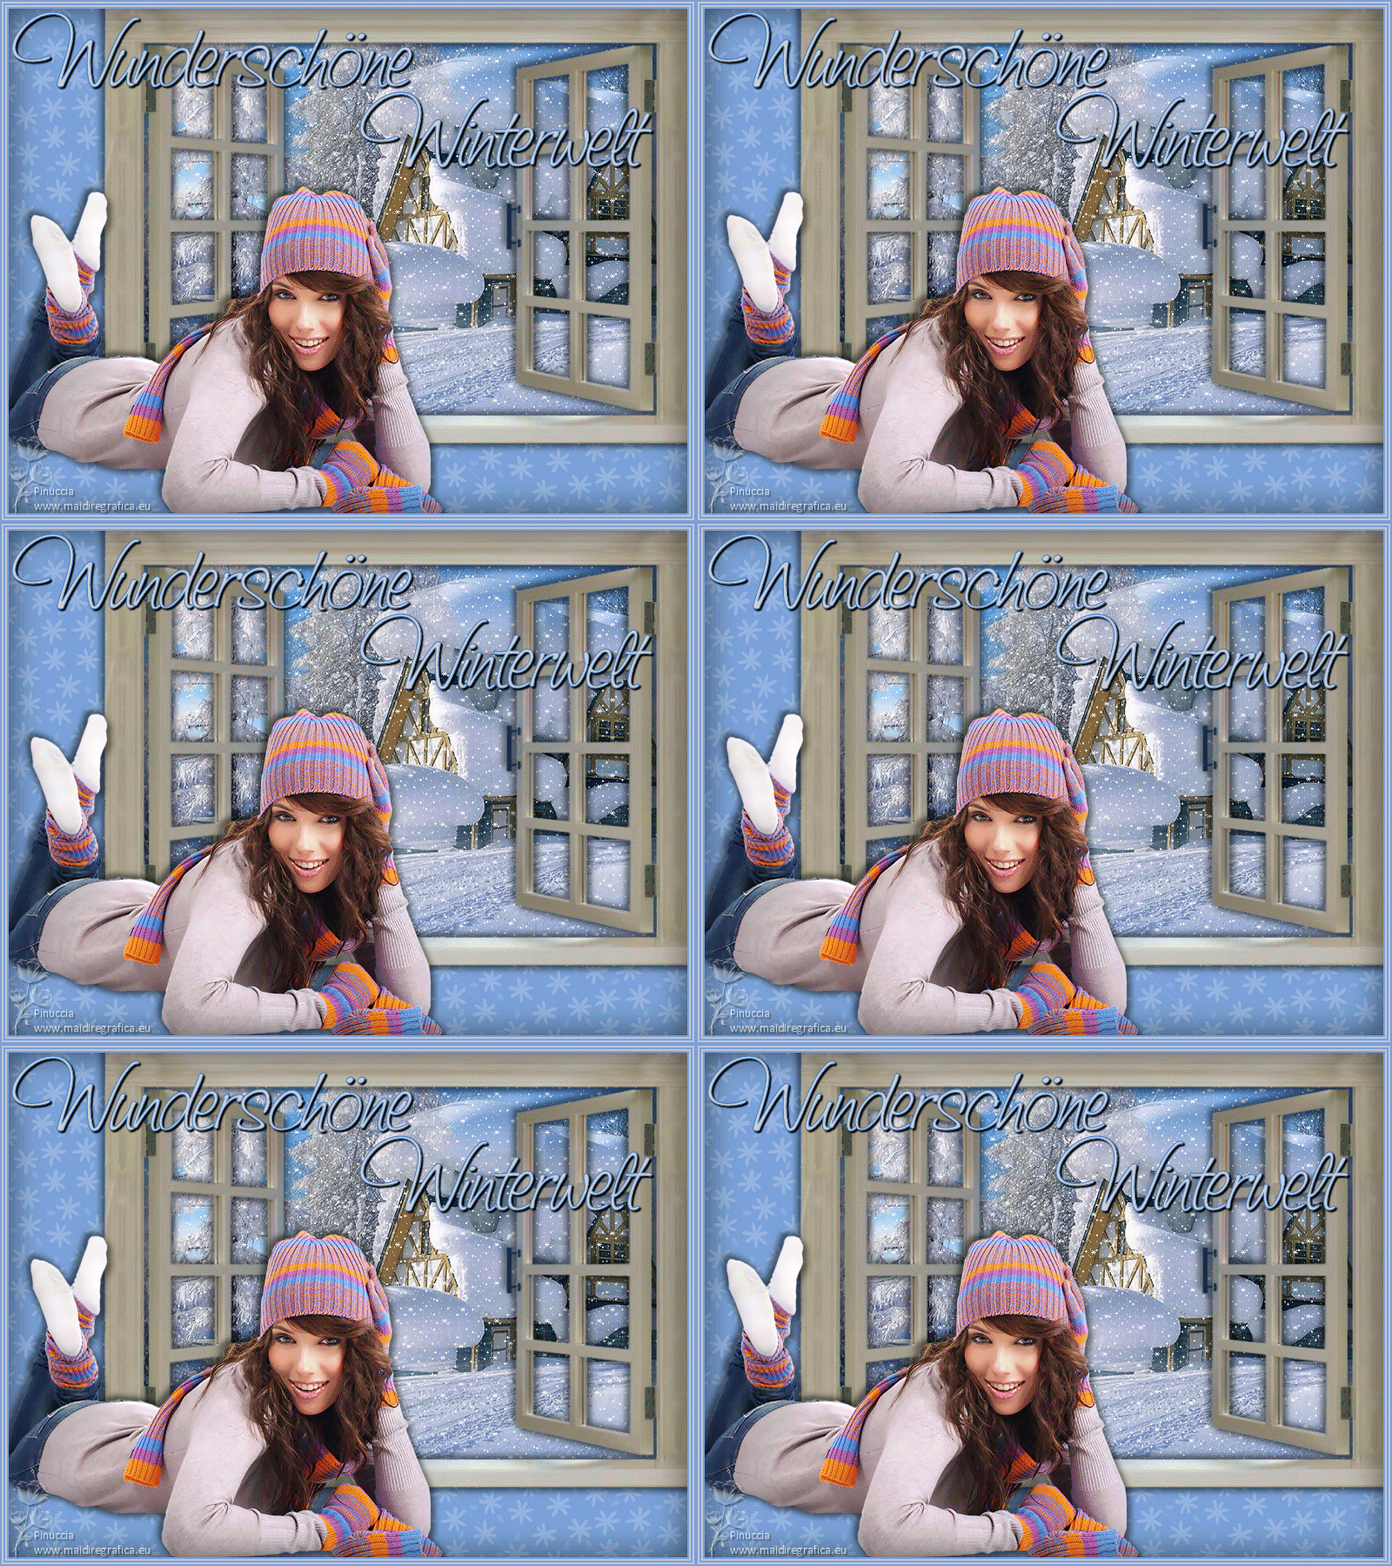
Thanks Inge-lore for your invitation to translate your tutorials.

This tutorial was translated with PSPX, PSPX2, PSPX3, but it can also be made using other versions of PSP.
Since version PSP X4, Image>Mirror was replaced with Image>Flip Horizontal,
and Image>Flip with Image>Flip Vertical, there are some variables.
In versions X5 and X6, the functions have been improved by making available the Objects menu.
In the latest version X7 command Image>Mirror and Image>Flip returned, but with new differences.
See my schedule here
 Italian translation qui Italian translation qui
 French translation here French translation here
 Your versions ici Your versions ici
For this tutorial, you will need:

For the tube thanks Corinne Vicaire.
(you find here the links to the material authors' sites)

consult, if necessary, my filter section here
Xero - Improver here

here

In the newest versions of PSP, you don't find the foreground/background gradient (Corel_06_029).
You can use the gradients of the older versions.
The Gradient of CorelX here

Copy the pattern Corel_08_016, or Floral 24, in the Patterns Folder.
If you open the pattern in PSP and minimize it, you will find it in the list of available pattern,
when you need it.
1. Choose two colors from your landscape,
set the foreground color with your light color,
and the background color with your dark color.
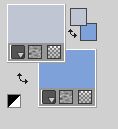
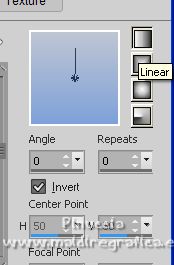
Set your foreground color to a Foreground/Background Gradient, style Linear.
Open a new transparent image 800 x 600 pixels,
Flood fill  the transparent image with your Gradient. the transparent image with your Gradient.
2. Open fond-ecran-paysage-enneige 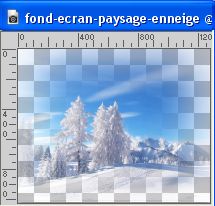
Edit>Copy.
Go back to your work and go to Edit>Paste as new layer.
Move  the image up so that the smaller trees touch the top edge. the image up so that the smaller trees touch the top edge.
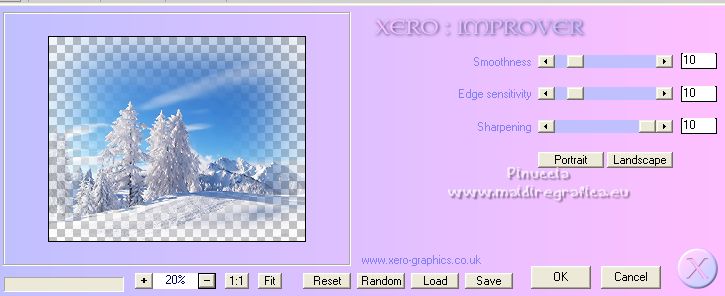
Effects>Plugins>Xero - Improver.
Open Image7 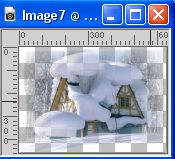
Edit>Copy.
Go back to your work and go to Edit>Paste as new layer.
Move  the image to the right and a little higher. the image to the right and a little higher.
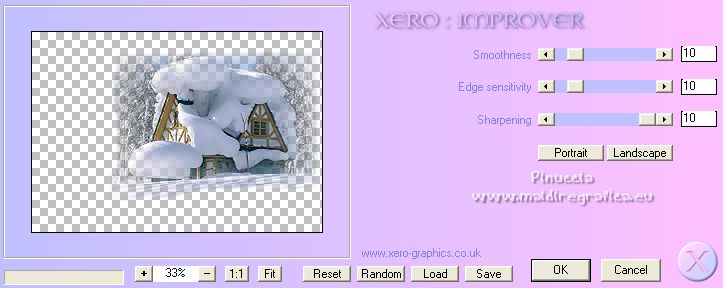
Effects>Plugins>Xero - Improver, same settings.
3. Layers>New Raster Layer.
Selections>Select All.
Open WindowOpen_KK 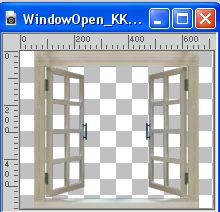
Edit>Copy.
Go back to your work and go to Edit>Paste into Selection.
Selections>Select None.
Close this layer and activate the bottom layer.
Layers>Merge>Merge visible.
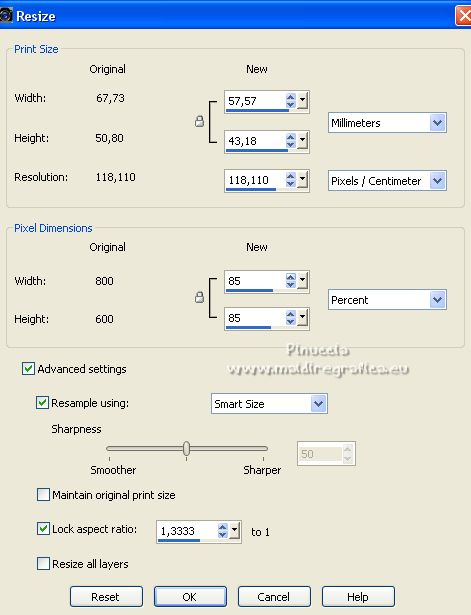
Image>Resize, to 85%, resize all layers not checked.
Move  the layer at the upper right. the layer at the upper right.
4. Re-open and activate the window layer.
Image>Resize, to 85%, resize all layers not checked.
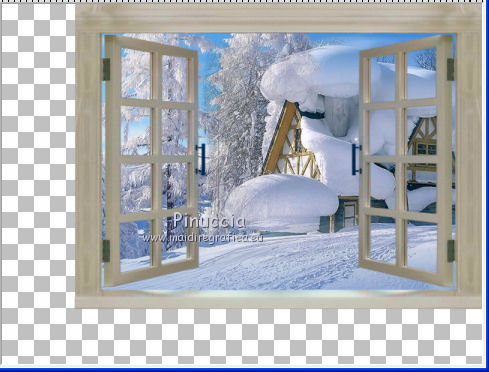
Move  the window over the landscape. the window over the landscape.
Effects>3D Effects>Drop Shadow.
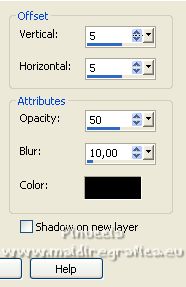
Repeat Drop Shadow, vertical and horizontal -5.
Layers>New Raster Layer.
Layers>Arrange>Send to bottom.
Set your foreground color to Pattern and select the pattern Corel_08_0016, or Floral 24.
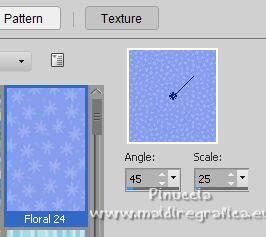
Flood Fill  the layer with your foreground pattern. the layer with your foreground pattern.
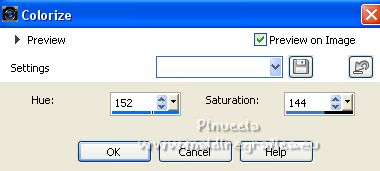
Adjust>Hue and Saturation>Colorize, with the Hue (H) and Saturation (S) values of one of your colors.
My settings.
5. Activate again the top layer.
Open the tube tube corinne.vicaire-Femme 03-12-10.06 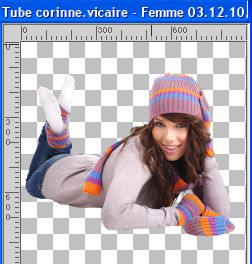
Edit>Copy.
Go back to your work and go to Edit>Paste as new layer.
Image>Resize, to 60%, resize all layers not checked.
Effects>Plugins>Xero - Improver, same settings.
Effects>3D Effects>Drop Shadow, settings still in memory.
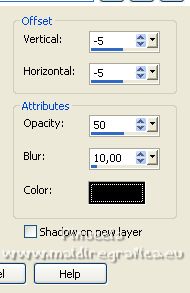
Repeat Drop shadow, vertical and horizontal 5.

Move  the tube at the bottom left. the tube at the bottom left.
6. Activate your bottom layer.
Selections>Select All.
Image>Crop to Selection.
Activate your top layer.
Layers>New Raster Layer.
Flood Fill  with your dark background color. with your dark background color.
Selections>Select All.
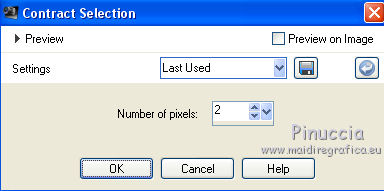
Selections>Modify>Contract - 2 pixels.
Set your foreground to Color.
Flood Fill  with your foreground color. with your foreground color.
Selections>Modify>Contract - 2 pixels.
Flood Fill  with your background color. with your background color.
Selections>Modify>Contract - 2 pixels.
Flood Fill  with your foreground color. with your foreground color.
Selections>Modify>Contract - 2 pixels.
Flood Fill  with your background color. with your background color.
Selections>Modify>Contract - 2 pixels.
Effects>3D Effects>Cutout.
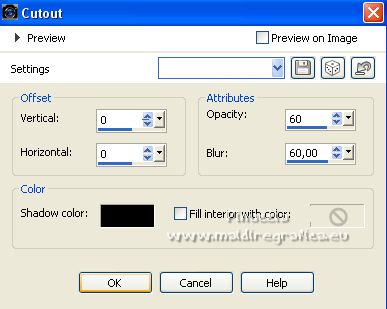
Selections>Select None.
Open the text text
Edit>Copy.
Go back to your work and go to Edit>Paste as new layer.
Move  the text up. the text up.
(If you prefer write your text).
Sign your work on a new layer.
7. Close the 2 bottom layers (the background layer and the landscape layer).
Layers>Merge>Merge visible.
Close this layer.
Open the 2 bottom layers and activate the background layer.
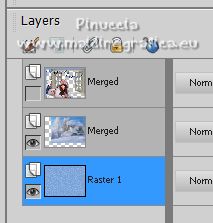
Layers>Merge>Merge visible.
And now you have 2 layers.
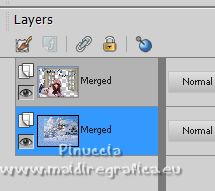
Activate the bottom layer and go to Edit>Copy.
8. Open Animation Shop and go to Edit>Paste>Paste as new animation.
Edit>Duplicate, and repeat until yoy have 10 frames.
Click on the first frame to select it and go to Edit>Selection All.
Open the animation sneuuw.mng, also composed by 10 frames.
Edit>Selection All.
Edit>Copy.
Activate your work and go to Edit>Paste>Paste in the selected frame.
Place the snow in the landscape box,
and release the mouse button when you are sure you have found the correct position.
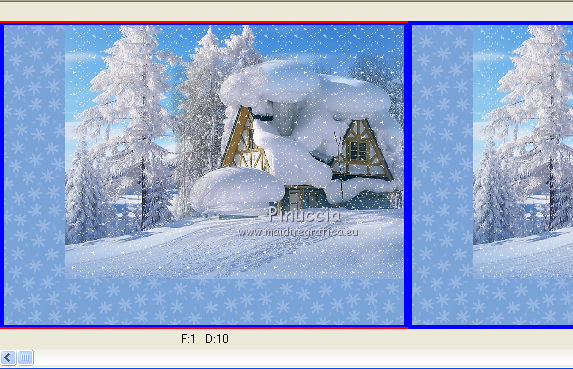
Go back to PSP.
Activate the top layer and go to Edit>Copy.
Go back to Animation Shop and go to Edit>Paste>Paste as new animation.
Edit>Duplicate, and repeat until you have 10 frames.
Edit>Selection All.
Edit>Copy.
Activate your work and go to Edit>Paste>Paste in the selected frame.
Position the image perfectly in the center and, when you are sure you have found the correct position, release the mouse button.
Check your result clicking on View  and save as gif. and save as gif.
For the tube of this version thanks Tigre Blanc
If you have problems or doubts, or you find a not worked link, or only for tell me that you enjoyed this tutorial, write to me.
26 January 2023

|
 BEAUTIFUL WINTER WORLD