|
VIKA

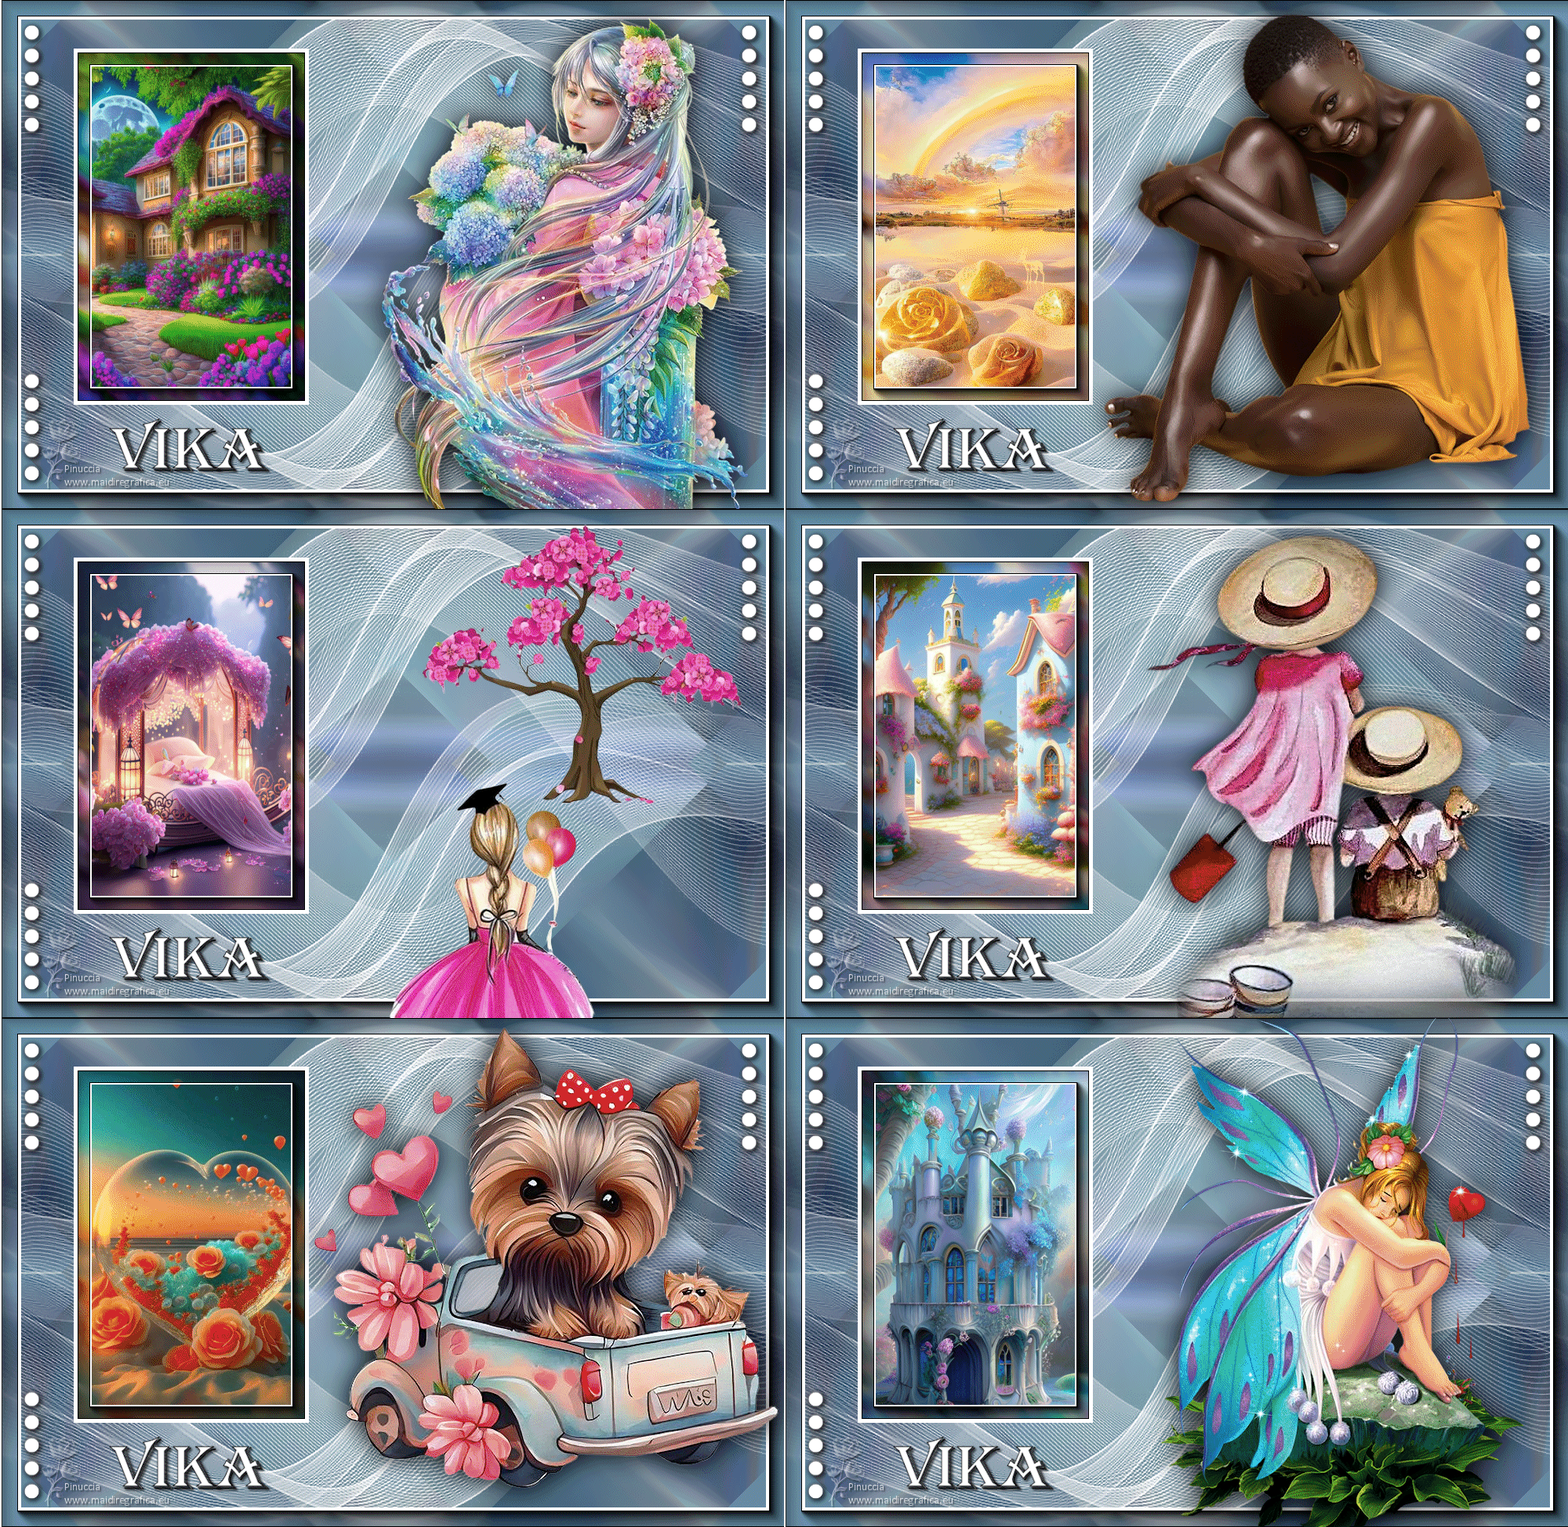
Thanks Inge-lore for your invitation to translate your tutorials.

This tutorial was translated with PSPX, PSPX2, PSPX3, but it can also be made using other versions of PSP.
Since version PSP X4, Image>Mirror was replaced with Image>Flip Horizontal,
and Image>Flip with Image>Flip Vertical, there are some variables.
In versions X5 and X6, the functions have been improved by making available the Objects menu.
In the latest version X7 command Image>Mirror and Image>Flip returned, but with new differences.
See my schedule here
 Italian translation qui Italian translation qui
 French translation here French translation here
 Your versions ici Your versions ici
Material:
10 person tubes (the tubes used by Inge-Lore are under licence).
The rest of the material here
For the tubes of my version thanks Beatriz, Riet, Cal, Lana, Renée, JHanna, Tati.
(you find here the links to the material authors' sites)

consult, if necessary, my filter section here
AAA Frames - Foto Frame here
Mehdi - Sorting Tiles here
Animation Shop here

You can change Blend Modes according to your colors.

Open the mask in PSP and minimize it with the rest of the material.
Choose some nice colors from your tubes and pictures.
These are my colors that I played with.

Open a new transparent image 1000 x 650 pixels.
Selections>Select All.
Open your background image and go to Edit>Copy.
Go back to your work and go to Edit>Paste into Selection.
Selections>Select None.
Effects>Image Effects>Seamless Tiling, default settings.

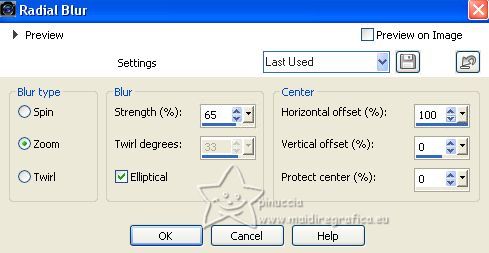
2. Adjust>Blur>Radial Blur.
Effects>Reflection Effects>Rotating Mirror, default settings.

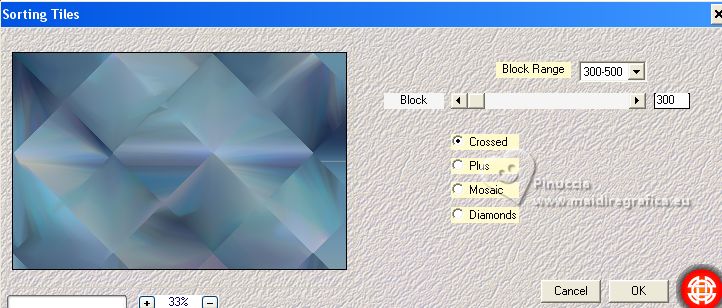
Effects>Plugins>Mehdi – Sorting Tiles
Effects>Edge Effects>Enhance.
Effects>Reflection Effects>Rotating Mirror.

Again Effects>Reflection Effects>Rotating Mirror, default settings.

3. Set your foreground color to white #ffffff.
Layers>New Raster Layer.
Flood Fill  the layer with color white. the layer with color white.
Layers>New Mask layer>From image
Open the menu under the source window and you'll see all the files open.
Select the mask Silvie_Mask_Deco21M
Effects>Edge Effects>Enhance.
Layers>Merge>Merge Group.
Image>Mirror.
Objects>Align>Bottom,
or activate your Pick Tool 
and set Position Y: 88,00

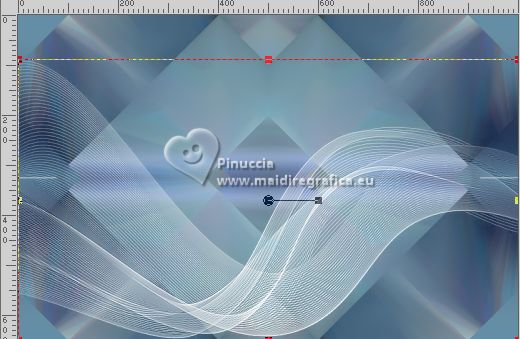
Layers>Duplicate.
Image>Flip.
Image>Mirror.
Layers>Merge>Merge Down - 2 times.
Rename this layer Background
4. Selection Tool 
(no matter the type of selection, because with the custom selection your always get a rectangle)
clic on the Custom Selection 
and set the following settings.
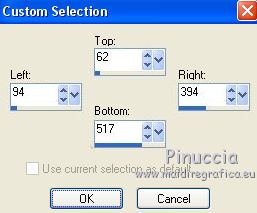
Layers>New Raster Layer, Raster 1.
Flood Fill  the layer with color white. the layer with color white.
Selections>Modify>Contract - 5 pixels.
Open your first background image and go to Edit>Copy.
Go back to your work and go to Edit>Paste into Selection.
Effects>Plugins>AAA Frames - Foto Frame.
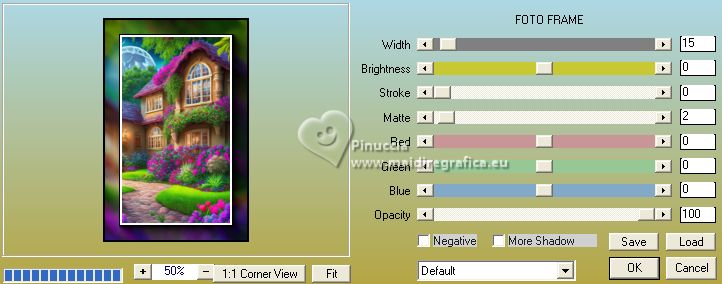
Selections>Select None.
5. Open your first person tube.
Edit>Copy.
Go back to your work and go to Edit>Paste as new layer.
Image>Resize, if necessary, resize all layers not checked.
Adjust>Sharpness>Sharpen.
Effects>3D Effects>Drop Shadow.
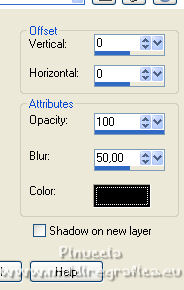
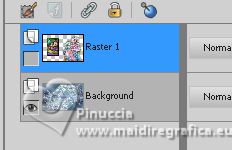
Layers>Merge>Merge Down.
Close this layer.
6. Custom Selection  , same settings. , same settings.

Layers>New Raster Layer, Raster 2.
Flood Fill  the layer with color white. the layer with color white.
Selections>Modify>Contract - 5 pixels.
Open your second background image and go to Edit>Copy.
Go back to your work and go to Edit>Paste into Selection.
Effects>Plugins>AAA Frames - Foto Frame, same settings.
Selections>Select None.
7. Open your second person tube and go to Edit>Copy.
Go back to your work and go to Edit>Paste as new layer.
Image>Resize, if necessary, resize all layers not checked.
Adjust>Sharpness>Sharpen.
Effects>3D Effects>Drop Shadow, same settings.

Layers>Merge>Merge Down.
Close this layer.
Repeat the steps 6 and 7, until your have used all the background image and your person tubes.
8. Where you're done,
activate the layer Raster 1.
Effects>Plugins>AAA Frames - Foto Frame.

Open the tube Deko 1 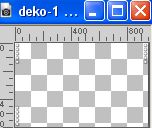
Edit>Copy.
Go back to your work and go to Edit>Paste as new layer.
Layers>Merge>Merge Down.
Activate your top layer.
Open the text Text 
Edit>Copy.
Go back to your work and go to Edit>Paste as new layer.
K key to activate your Pick Tool 
and set Position X: 65,00 and Position Y: 511,00.
For my example, I used only the text Vika
Sign your work on a new layer.
9. Animation.
Stay always on the background layer,
and open the layer Raster 1.
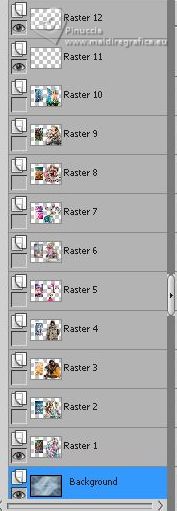
Edit>Copy Special>Copy Merged.
Open Animation Shop and go to Edit>Paste>Paste as new image.
Go back to PSP.
Close the layer Raster 1 and open the layer Raster 2
Edit>Copy Special>Copy Merged.
Go back to Animation Shop and go to Edit>Paste>Paste after the current frame.
Go back to PSP.
Close the layer Raster 2 and open the layer Raster 3
Edit>Copy Special>Copy Merged.
Go back to Animation Shop and go to Edit>Paste>Paste after the current frame.
And so on, up the level 10.
And at the end you'll have an animation composed of 10 frames.
Edit>Select All.
Animation>Frame Properties and set to 300.
Check the result clicking on View animation 
and save as gif.

If you have problems or doubts, or you find a not worked link, or only for tell me that you enjoyed this tutorial, write to me.
9 August 2023

|

