|
SUMMER FEELING

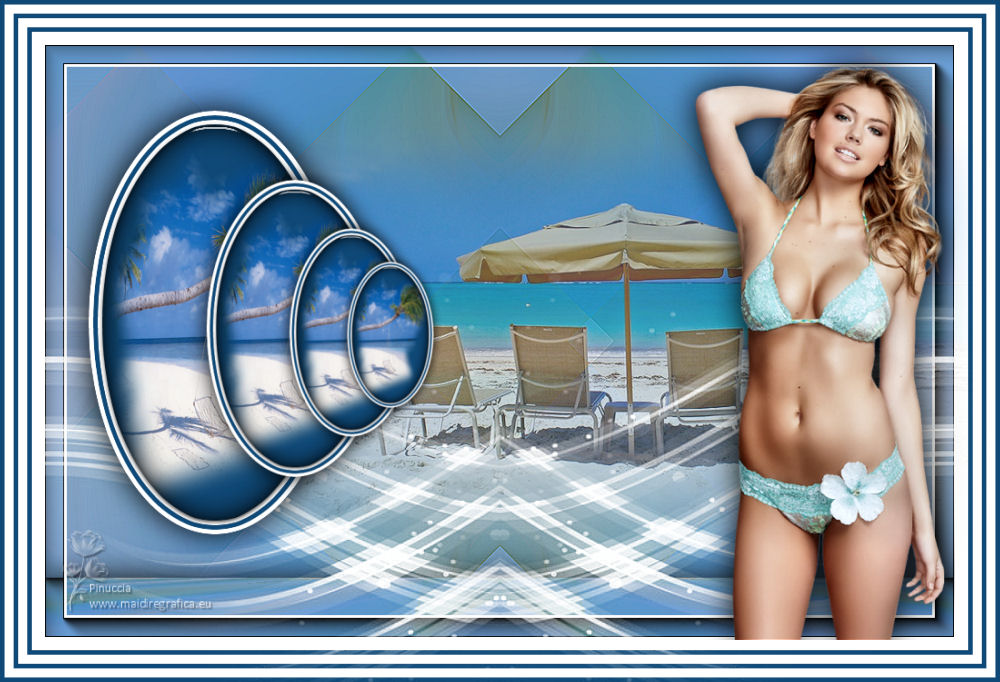
Thanks Inge-lore for your invitation to translate your tutorials.

This tutorial was translated with PSPX, PSPX2, PSPX3, but it can also be made using other versions of PSP.
Since version PSP X4, Image>Mirror was replaced with Image>Flip Horizontal,
and Image>Flip with Image>Flip Vertical, there are some variables.
In versions X5 and X6, the functions have been improved by making available the Objects menu.
In the latest version X7 command Image>Mirror and Image>Flip returned, but with new differences.
See my schedule here
 Italian translation qui Italian translation qui
 French translation here French translation here
 Your versions ici Your versions ici
For this tutorial, you will need:
Tube at your choice (the tube used by Inge-Lore is under licence)
The rest of the material 
For the mask thanks Narah.
For the tube used for my translation thanks Azalée.
(you find here the links to the material authors' sites)

consult, if necessary, my filter section here
Mehdi - Sorting Tiles here
Alien Skin Eye Candy 5 Impact - Glass here
Mura's Meister - Perspective Tiling here
AAA Frames - Foto Frame here

You can change Blend Modes according to your colors.

Copy the Selection in the Selections Folder.
Open the mask in PSP and minimize it with the rest of the material.
1. Choose 2 colors from your material;
set your foreground color to the light color; for me #7da1d3
and your background color to the dark color; for me #0f4977

Open a new transparent image 1000 x 650 pixels.
Flood Fill  the transparent image with your light color. the transparent image with your light color.
Selections>Select All.
Open your first landscape tube Mina@.paesaggiomarino1.31.7 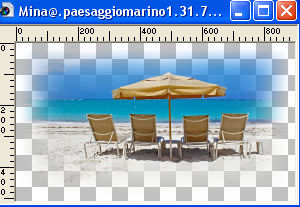
Edit>Copy.
Go back to your work and go to Edit>Paste into Selection.
Selections>Select None.
Adjust>Blur>Radial Blur
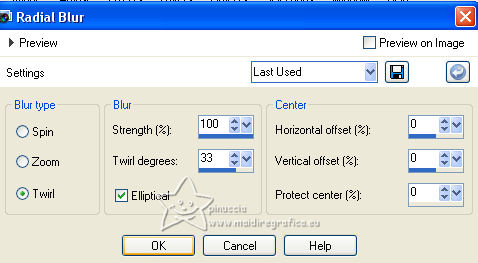
2. Effects>Plugins>Mehdi - Sorting Tiles.
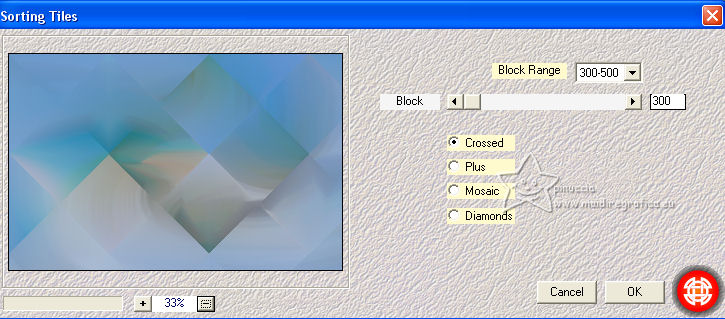
Effects>Edge Effects>Enhance More.
Effects>Reflection Effects>Rotating Mirror, default settings.

Effects>Reflection Effects>Rotating Mirror.

Another time Effects>Reflection Effects>Rotating Mirror.

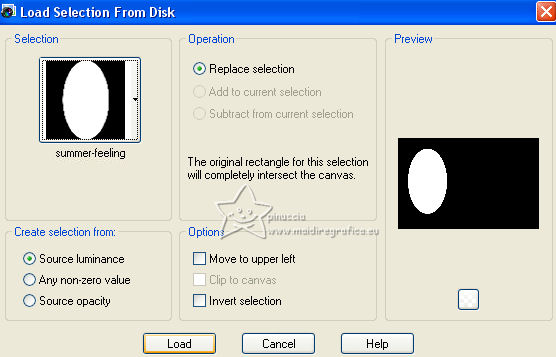
Selections>Load/Save Selection>Load Selection from Disk.
Look for and load the selection summer-feeling
3. Set your foreground color to white.
Layers>New Raster Layer.
Flood Fill  with color white. with color white.
Selections>Modify>Contract - 5 pixels.
Flood Fill  with your dark color. with your dark color.
Selections>Modify>Contract - 5 pixels.
Flood Fill  with color white. with color white.
Selections>Modify>Contract - 5 pixels.
Flood Fill  with your dark color. with your dark color.
Layers>New Raster Layer.
Open your second landscape tube MKM 2014 JUNE SERIES SEASCAPE-2_T3 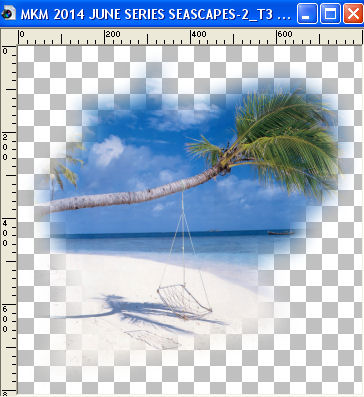
Edit>Copy.
Go back to your work and go to Edit>Paste into Selection.
Adjust>Sharpness>Sharpen.
4. Layers>New Raster Layer.
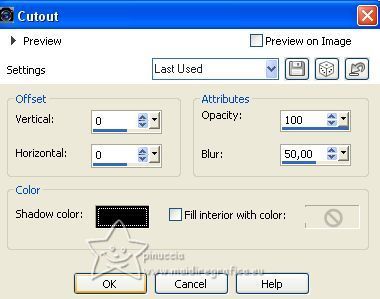
Effects>3D Effects>Cutout.
Effects>Plugins>Alien Skin Eye Candy 5 Impact - Glass - Clear.
Select the preset Clear and ok.

Selections>Select None.
Layers>Merge>Merge Down - 2 times.
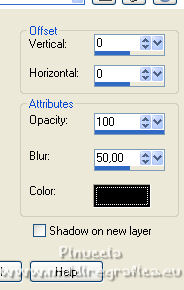
Effects>3D Effects>Drop Shadow.
Layers>Duplicate.
Image>Resize, to 70%, resize all layers not checked.
5. Layers>Duplicate.
Image>Resize, to 70%, resize all layers not checked.
Layers>Duplicate.
Image>Resize, to 70%, resize all layers not checked.
Layers>Merge>Merge Down - 3 times.
K key to activate your Pick Tool 
and set Position X: 10,00 and Position Y: 36,00.

Activate the layer Raster 1.
Open again your first landscape Mina@.paesaggiomarino1.31.7 
Edit>Copy.
Go back to your work and go to Edit>Paste as new layer.
Resize, if necessary.
Adjust>Sharpness>Sharpen.
Reduce the opacity of this layer to 70%.
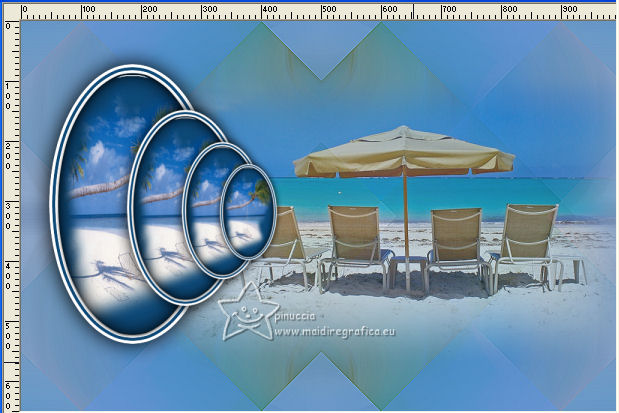
6. Activate the layer Raster 1.
Layers>Duplicate.
Effects>Plugins>Mura's Meister - Perspective Tiling.
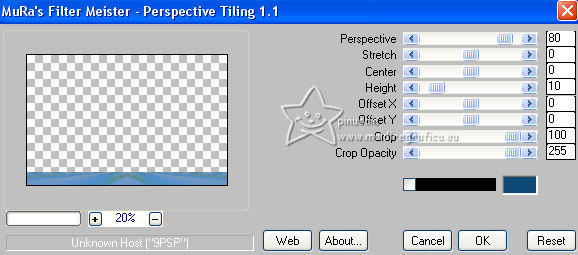
Effects>3D EffectsDrop Shadow, same settings.
Activate the layer above of the landscape.
Layers>New Raster Layer.
Flood Fill  the layer with color white. the layer with color white.
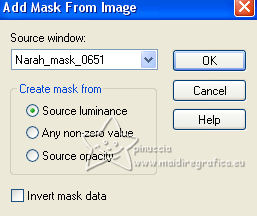
7. Layers>New Mask layer>From image
Open the menu under the source window and you'll see all the files open.
Select the mask Narah_mask_0651
Effects>Edge Effects>Enhance.
Layers>Merge>Merge Group.
Effects>Reflection Effects>Rotating Mirror, default settings.

K key to activate your Pick Tool 
keep Position X: 0,00 and set Position Y: 159,00.

Activate your top layer.
Open your tube, for me Femme-1388-Azalee 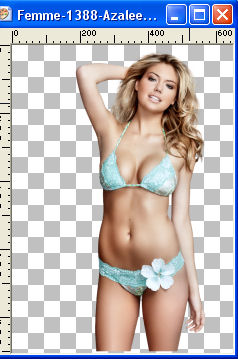
Edit>Copy.
Go back to your work and go to Edit>Paste as new layer.
Image>Resize, if necessary, resize all layers not checked.
Adjust>Sharpness>Sharpen.
Move  the tube to the right side. the tube to the right side.
Effects>3D Effects>Drop Shadow.

7. Activate the layer Raster 1.
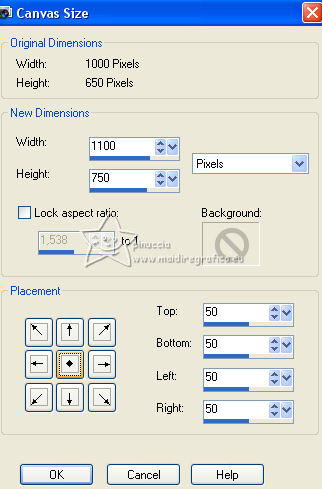
Image>Canvas Size - 1100 x 750 pixels.
Layers>New Raster Layer.
Layers>Arrange>Move Down.
Selections>Select All.
Flood Fill  with your dark color. with your dark color.
8. Selections>Modify>Contract - 5 pixels.
Flood Fill  with color white. with color white.
Selections>Modify>Contract - 10 pixels.
Flood Fill  with your dark color. with your dark color.
Selections>Modify>Contract - 5 pixels.
Flood Fill  with color white. with color white.
Selections>Modify>Contract - 10 pixels.
Flood Fill  with your dark color. with your dark color.
Selections>Modify>Contract - 5 pixels.
Flood Fill  with color white. with color white.
Selections>Select None.
9. Activate the layer Raster 1.
Selections>Select All.
Selections>Float.
Selections>Defloat.
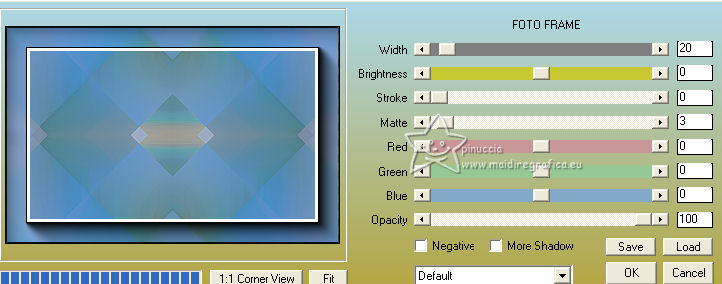
Effects>Plugins>AAA Frames - Foto Frame.
Activate the layer Copy of Raster 1.
Repeat Effects>Plugins>AAA Frames - Foto Frame.

Selections>Select None.
Sign your work on a new layer.
Layers>Merge>Merge All and save as jpg.
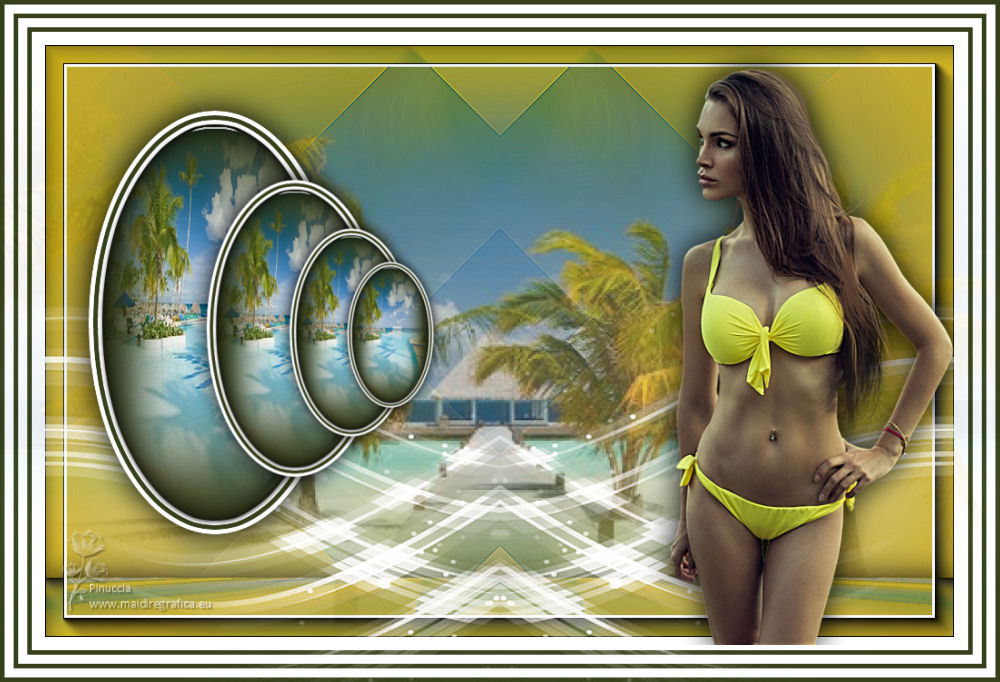
Version with my misted; for the tube thanks Krys

If you have problems or doubts, or you find a not worked link, or only for tell me that you enjoyed this tutorial, write to me.
10 July 2023

|

