|
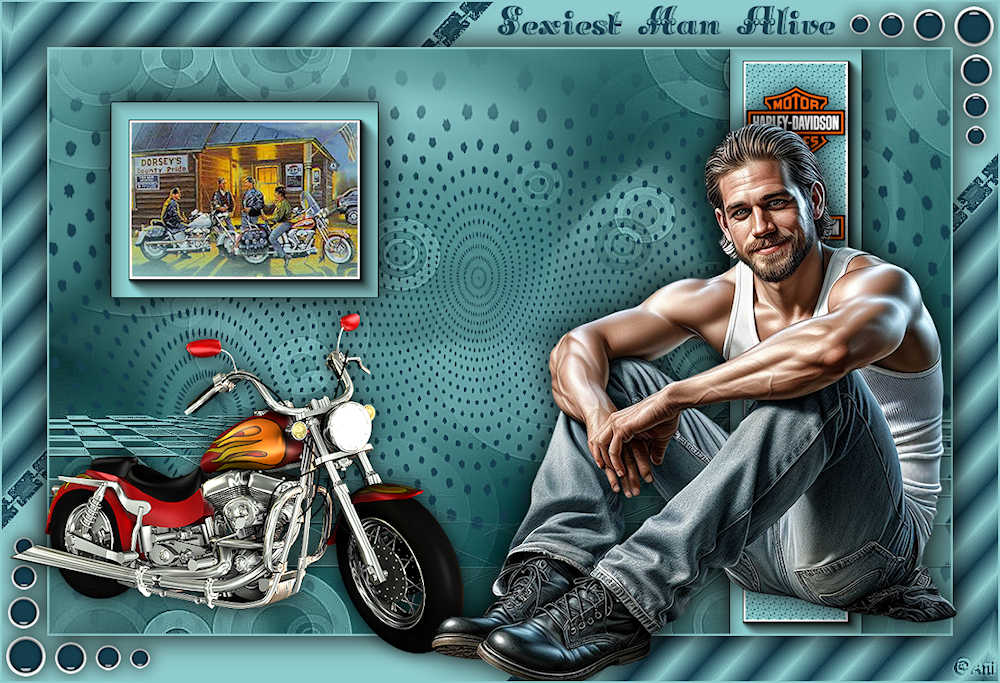
SEXIEST MAN ALIVE

Thanks Inge-Lore for your invitation to translate your tutorials.

This tutorial, created with PSP2019, was translated with PSPX9 and PSP2020, but it can also be made using other versions of PSP.
Since version PSP X4, Image>Mirror was replaced with Image>Flip Horizontal,
and Image>Flip with Image>Flip Vertical, there are some variables.
In versions X5 and X6, the functions have been improved by making available the Objects menu.
In the latest version X7 command Image>Mirror and Image>Flip returned, but with new differences.
See my schedule here
 Italian translation qui Italian translation qui
 French translation here French translation here
 Your versions ici Your versions ici

For this tutorial, you will need:
Tubes of yours
The rest of the material

For the tubes thanks AigenbyCaz.
Thanks for the background image Kamil and Montana Kate, for two masks Animabelle et Yedralina.
(you find here the links to the material authors' sites)

consult, if necessary, my filter section here
Filters Unlimited 2.0 here
Mehdi - Sorting Tiles here
Toadies - What are you here
AAA Frames - Foto Frame here
Filters Toadies can be used alone or imported into Filters Unlimited.
(How do, you see here)
If a plugin supplied appears with this icon  it must necessarily be imported into Unlimited it must necessarily be imported into Unlimited
You can change Blend Modes according to your colors.

Open the masks in PSP and minimize them with the rest of the material.
Choose 3 colors from your material.

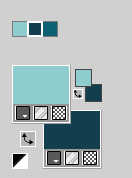
Set your foreground color to color 1 #8fcccd,
and your background color to color 3 #153f4f
Open a new transparent image 1000 x 650 pixels.
Selections>Select All.
Flood Fill  with one of your colors. with one of your colors.
Layers>New Raster Layer.
Open your background image KamilTube-1689-BG 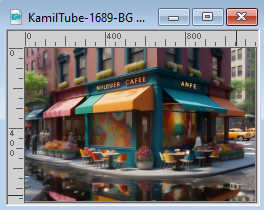
Edit>Copy.
Go back to your work and go to Edit>Paste into Selection.
Selections>Select None.
Change the Blend Mode of this layer to Luminance (legacy).
Layers>Merge>Merge Down.
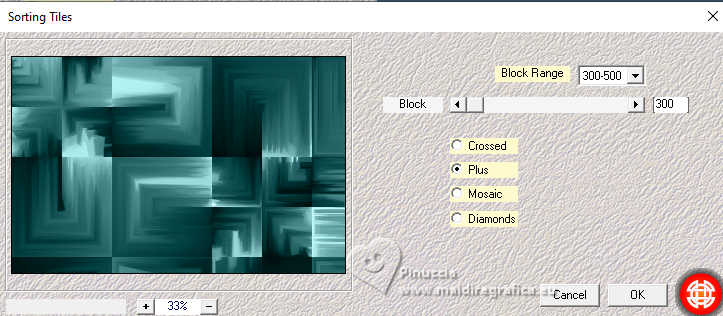
2. Effects>Plugins>Mehdi - Sorting Tiles.
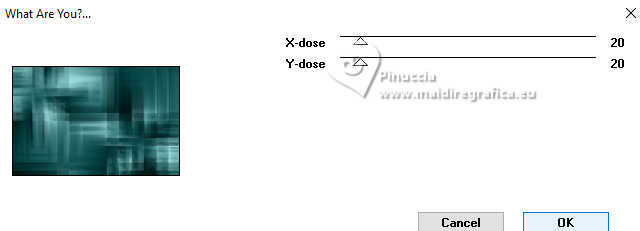
Effects>Plugins>Toadies - What are you, default settings.
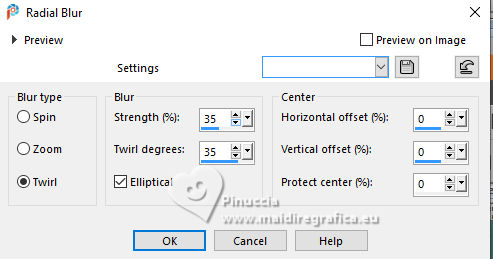
Adjust>Blur>Radial Blur.
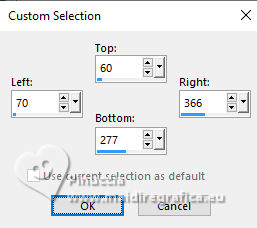
Selection Tool 
(no matter the type of selection, because with the custom selection your always get a rectangle)
clic on the Custom Selection 
and set the following settings.
Layers>New Raster Layer.
Flood Fill  the layer with your color 1 (foreground color) #8fcccd. the layer with your color 1 (foreground color) #8fcccd.
Effects>Plugins>AAA Frames - Foto Frame.
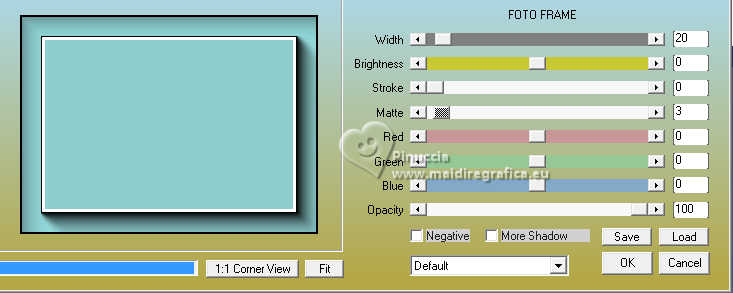
Selections>Modifier>Contracter - 23 pixels.
3. Open the misted June Series Memories 1-1 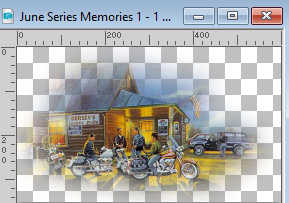
Edit>Copy.
Go back to your work and go to Edit>Paste as new layer.
Image>Resize, if necessary (for the supplied tube I resize 2 times to 90%),
Place  the tube in the selection. the tube in the selection.
Selections>Invert.
Press CANC on the keyboard 
Selections>Select None.
Layers>Merge>Merge Down.
Effects>3D Effects>Drop Shadow, color black.

Custom Selection 
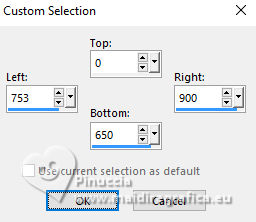
Layers>New Raster Layer.
Flood Fill  the layer with your color 1 (foreground color) #8fcccd. the layer with your color 1 (foreground color) #8fcccd.
4. Effects>Plugins>AAA Frames - Foto Frame.
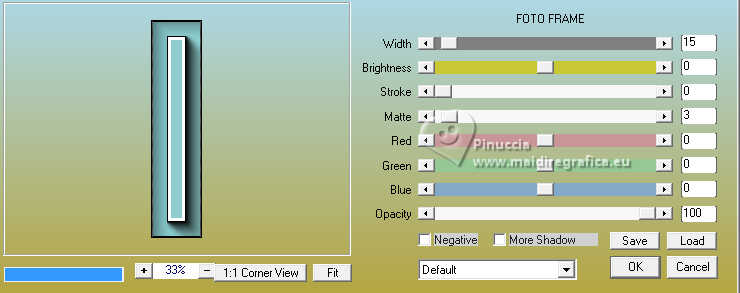
Selections>Modifier>Contracter - 18 pixels.
Effects>Texture Effects>Weave
weave color: color 2 #0e6173,
gap color: color 1 #8fcccd
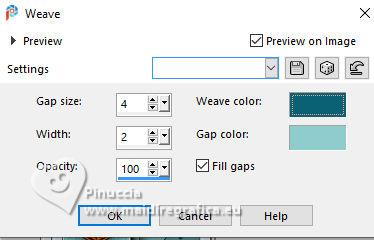
Selections>Select None.
Effects>3D Effects>Drop Shadow, same settings.
5. Open deco-1 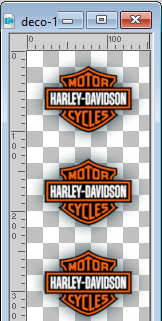
Edit>Copy.
Go back to your work and go to Edit>Paste as new layer.
K key to activate your Pick Tool 
and set Position X: 750,00 and Position Y: 24,00.

(of course you can use another tube, according to your main tube)
Activate the layer Raster 1.
Layers>New Raster Layer.
Flood Fill  the layer with your color 1 (foreground color) #8fcccd. the layer with your color 1 (foreground color) #8fcccd.
6. Layers>New Mask layer>From image
Open the menu under the source window and you'll see all the files open.
Select the mask Mask-MD-134
Effects>Edge Effects>Enhance More.
Layers>Merge>Merge Group.
Effects>Image Effects>Seamless Tiling, default settings.

Layers>New Raster Layer.
Flood Fill  the layer with your color 3 (background color) #153f4f. the layer with your color 3 (background color) #153f4f.
Layers>New Mask layer>From image
Open the menu under the source window
and select the mask m-dot
Effects>Edge Effects>Enhance.
Layers>Merge>Merge Group.
7. Layers>New Raster Layer.
Flood Fill  the layer with your color 1 (foreground color) #8fcccd. the layer with your color 1 (foreground color) #8fcccd.
Layers>New Mask layer>From image
Open the menu under the source window
and select the mask Masc132©Yedralina
Effects>Edge Effects>Enhance More.
Layers>Merge>Merge Group.
Layers>Duplicate.
Image>Mirror.
Layers>Merge>Merge Down.
Effects>3D Effects>Drop Shadow, color black.

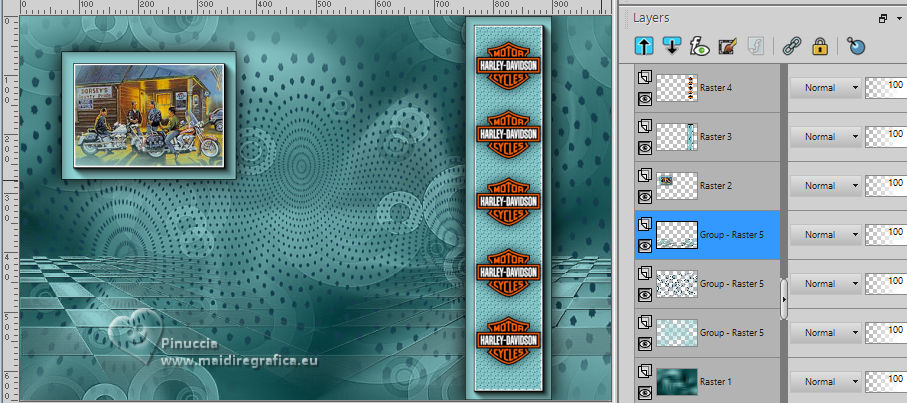
8. Layers>Merge>Merge visible.
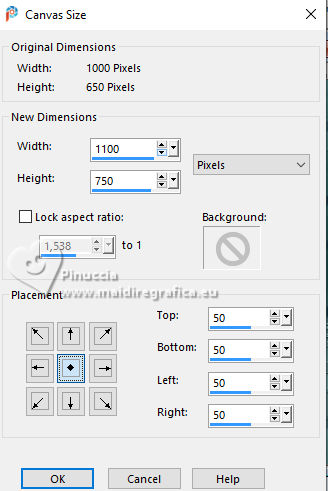
Selections>Select All.
Image>Canvas Size - 1100 x 750 pixels
Selections>Invert.
Flood Fill  the layer with your color 3 (background color) #153f4f. the layer with your color 3 (background color) #153f4f.
Layers>New Raster Layer.
Flood Fill  the layer with your color 1 (foreground color) #8fcccd. the layer with your color 1 (foreground color) #8fcccd.
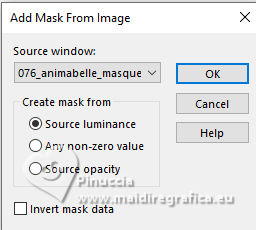
Layers>New Mask layer>From image
Open the menu under the source window
and select the mask 076_animabelle-masques
Effects>Edge Effects>Enhance More.
Layers>Merge>Merge Group.
9. Selections>Invert.
Effects>3D Effects>Drop Shadow, color black.

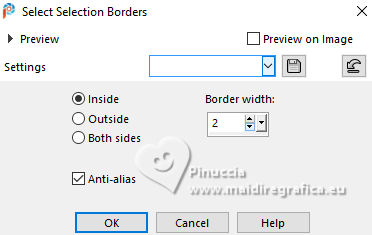
Selections>Modify>Select Selection Borders.
Flood Fill  the layer with your color 1 (foreground color) #8fcccd. the layer with your color 1 (foreground color) #8fcccd.
Selections>Select None.
Open deco-2 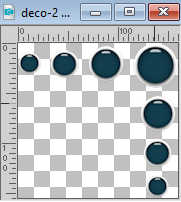
Edit>Copy.
Go back to your work and go to Edit>Paste as new layer.
Move  the tube at the upper right corner. the tube at the upper right corner.
Layers>Duplicate.
Image>Mirror.
Image>Flip.
Layers>Merge>Merge Down.
Effects>3D Effects>Drop Shadow, color black.

10. Open your main tube and go to Edit>Copy.
Go back to your work and go to Edit>Paste as new layer.
Image>Resize, if necessary, resize all layers not checked.
Adjust>Sharpness>Sharpen.
Move  the tube to the right side. the tube to the right side.
Effects>3D Effects>Drop Shadow, color black.

Open your deco tube 11470 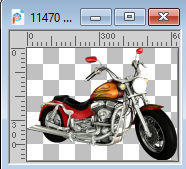
Edit>Copy.
Go back to your work and go to Edit>Paste as new layer.
Image>Resize, if necessary, for me to 80%, resize all layers not checked.
Adjust>Sharpness>Sharpen.
Move  the tube to the left side. the tube to the left side.
Effects>3D Effects>Drop Shadow, color black.

11. Open the text text 
Edit>Copy.
Go back to your work and go to Edit>Paste as new layer.
Move  the text in the colored part of the top border. the text in the colored part of the top border.
Image>Add borders, 2 pixels, symmetric, light foreground color #8fcccd.
Sign your work and save as jpg.

If you have problems or doubts, or you find a not worked link, or only for tell me that you enjoyed this tutorial, write to me.
27 March 2024

|

