|
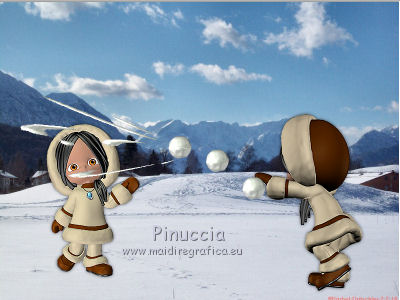
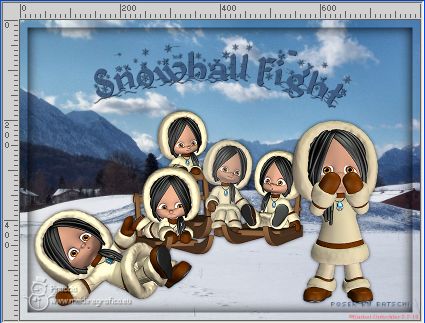
SCHNEEBALLSCHLACHT
 SNOWBALL FIGHT SNOWBALL FIGHT
Thanks Inge-lore for your invitation to translate your tutorials.

This tutorial was translated with PSPX, PSPX2, PSPX3, but it can also be made using other versions of PSP.
Since version PSP X4, Image>Mirror was replaced with Image>Flip Horizontal,
and Image>Flip with Image>Flip Vertical, there are some variables.
In versions X5 and X6, the functions have been improved by making available the Objects menu.
In the latest version X7 command Image>Mirror and Image>Flip returned, but with new differences.
See my schedule here
 Italian translation qui Italian translation qui
 French translation here French translation here
 Your versions ici Your versions ici
For this tutorial, you will need:

For the landscape thanks Bärbel and for the poser thanks Batschi.
(you find here the links to the material authors' sites)

consult, if necessary, my filter section here
Filters Unlimited 2.0 here
Xero - Improver here
here

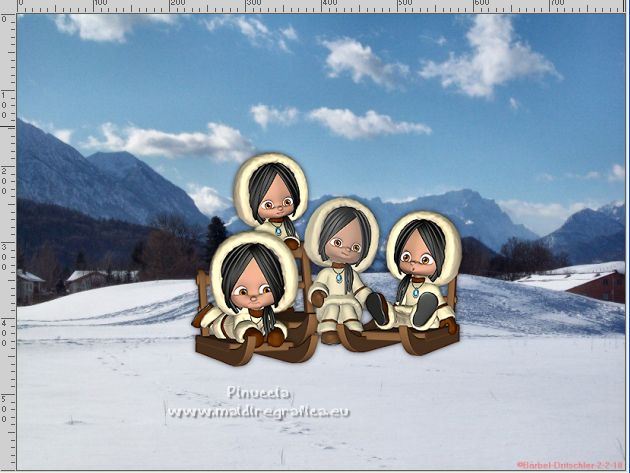
1. Open berge-5-bd-2-2-10  . .
Window>Duplicate, or on the keyboard shift+D to make a copy.
Close the original.
The copy will be the basis of your work.
Image>Resize, to 800 pixels width, resize all layers checked.
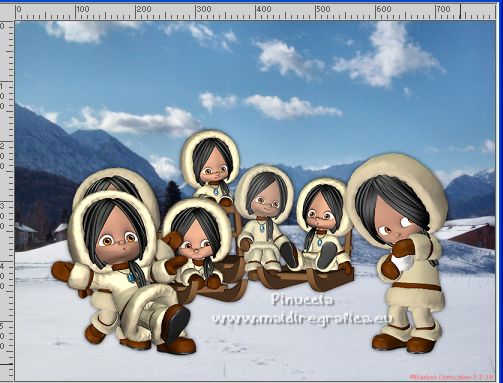
Open alle-poser  . .
Activate the layer Raster 2.
Edit>Copy.
Go back to your work and go to Edit>Paste as new layer.
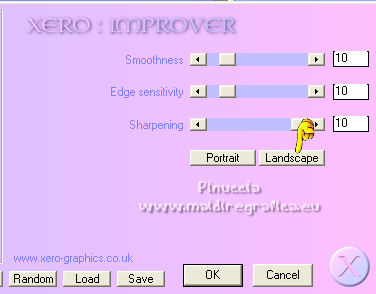
Effects>Plugins>Xero - Improver.
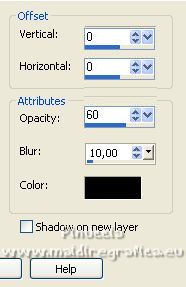
Effects>3D Effects>Drop shadow.
Move  the poser to the left side. the poser to the left side.
Activate alle-poser and copy the layer Raster 3.
Go back to your work and go to Edit>Paste as new layer.
Move the poser over the sled.
Repeat the Plugin Improver and the Drop Shadow
(you will have to repeat these effects on all subsequent posers;
I won't write it again every time).
Copy Raster 4 of alle-poser.
Edit>Paste as new layer.
Move the poser to the right side.
Copy Raster 5 of alle-poser.
Edit>Paste as new layer.
Move this poser next to the poser with the sled.
Copy Raster 6 of alle-poser.
Edit>Paste as new layer.
Move the tube to the right side.
Copy Raster 7 of alle-poser.
Edit>Paste as new layer.
Move this tube above the previous tube.
Don't forget the plugin Improver and the Drop Shadow on all the layers.
Close this layer.
3. Copy Raster 8 of alle-poser.
Edit>Paste as new layer.
Move this tube above the right poser.
Close this layer.
Copy Raster 9 of alle-poser.
Edit>Paste as new layer.
Move also this poser above the right poser.
Close this layer.
Repeat this step for the layers 10-11 et 12 of alle-poser.
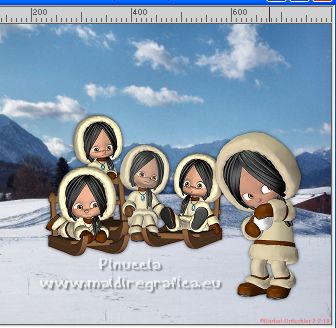
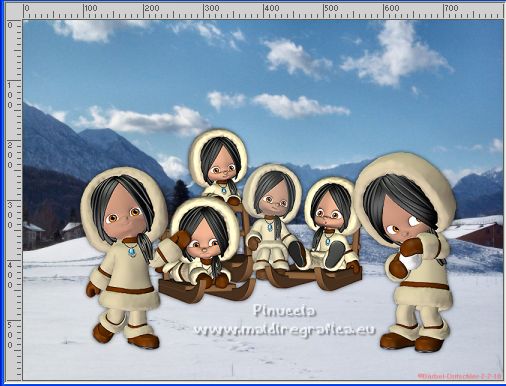
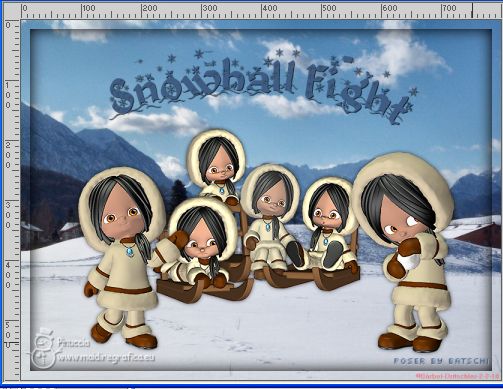
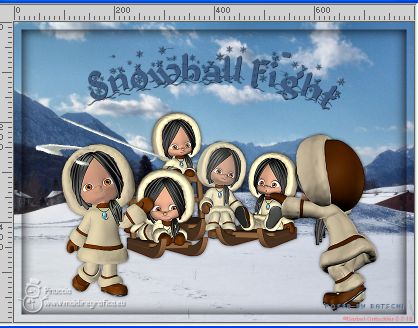
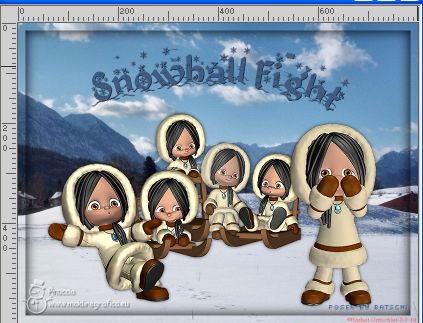
With the levels open, you should have something like this
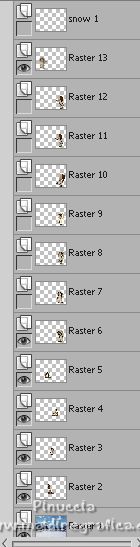
4. Copy Raster 13 of alle-poser.
Edit>Paste as new layer.
Move this tube to the left side.
Copy Raster 14 of alle-poser (the snowball).
Edit>Paste as new layer.
Open for a moment the last right poser, Raster 12,
and place the snowball under the poser's hand.
After Layers>Duplicate, 4 times, and place the snowballs something like this
Rename these layers "snow 1", "snow 2", "snow 3", "snow 4" and "snow 5".
Activate the layer "snow 4" (the right snowball to the right of the left poser).
Effects>Plugins>Filters Unlimited - Distortion Filters - Splash.
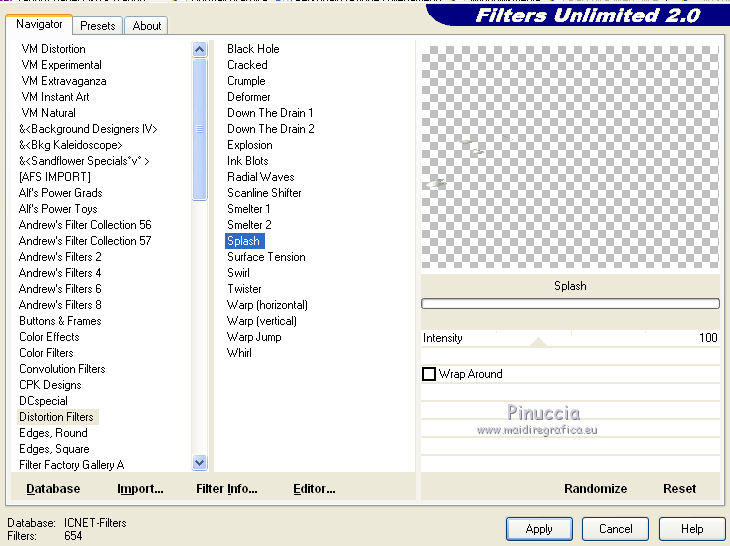
Activate the layer "snow 5" - (the snowball over the face of the poser).
Repeat the Effect Splash, this time Intensity 150.
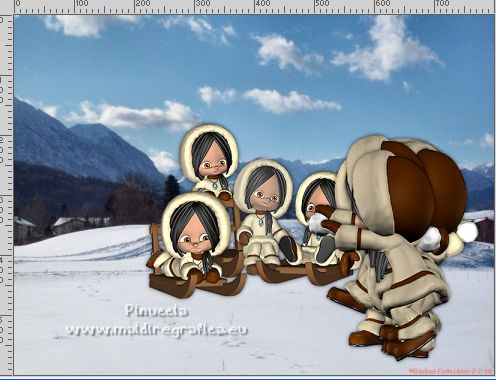
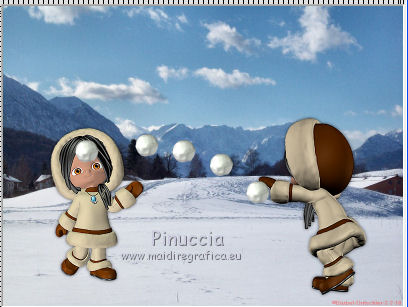
You should have something like this.
Close all the layers "snow".
5. Copy Raster 15 of alle-poser.
Edit>Paste as new layer.
Move this tube above the left poser.
Dont' forget the plugin Improver and the Drop Shadow.
Close this layer.
Copy Raster 16 of alle-poser.
Edit>Paste as new layer.
Move also this tube above the left poser.
Close this layer.
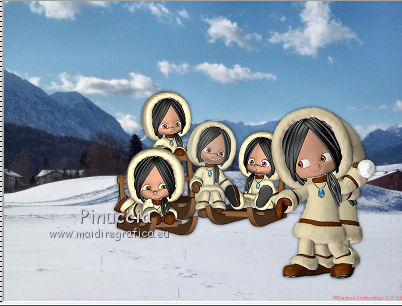
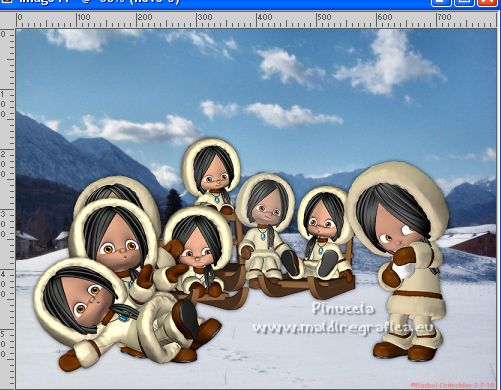
With the levels open, you should have something like this.
Copy Raster 17 of alle-poser.
Edit>Paste as new layer.
Move this poser above the right poser.
Close this layer.
Copy Raster 18 of alle-poser.
Edit>Paste as new layer.
Move this tube above the right poser.
Close this layer.
Copy Raster 19 of alle-poser.
Edit>Paste as new layer.
Move this tube over the right poser.
Close the layer.
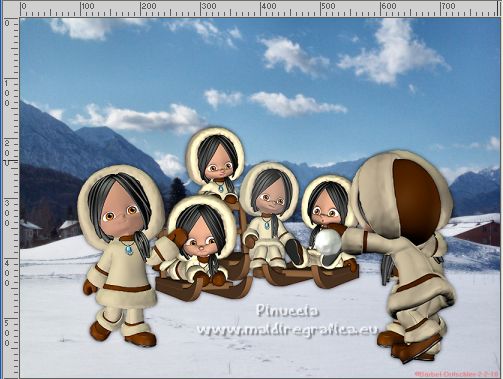
With the levels open, you should have something like this
6. Activate your bottom layer.
Selections>Select All.
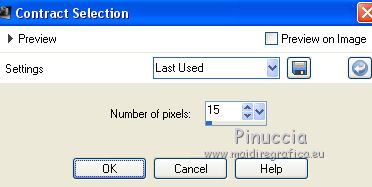
Selections>Modify>Contract - 15 pixels.
Selections>Invert.
Edit>Copy.
Activate the top layer.
Layers>New Raster Layer.
Edit>Paste into Selection.
Selections>Invert.
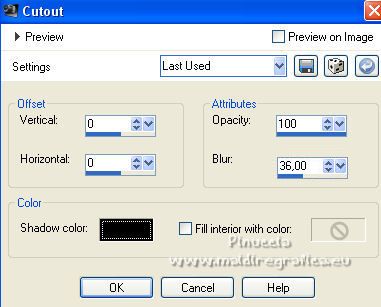
Effects>3D Effects>Cutout.
Selections>Select None.
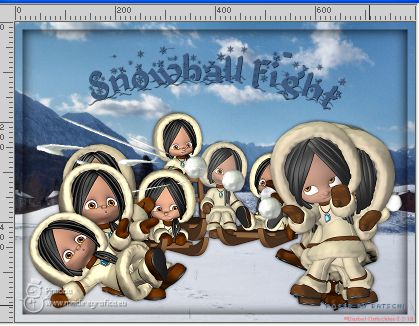
Write your text or copy/paste as new layer the supplied text.
Sign your work on a new layer, without to forget the Batschi copyright.
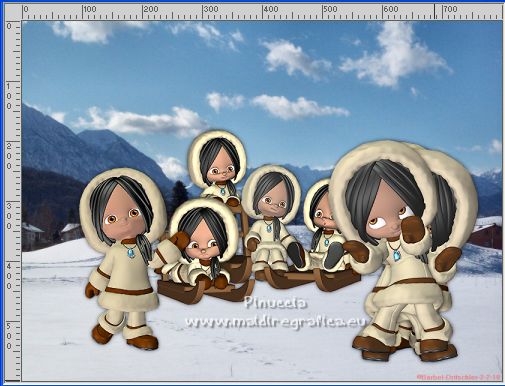
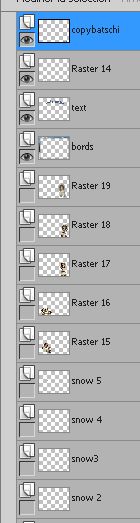
With the levels open, you should have something like this.
Close all the layers of the posers, except the layers from Raster 2 to Raster 6
and the layer Raster 13.
7. Animation.
Edit>Copy Special>Copy Merged.
Open Animation Shop and go to Edit>Paste>Paste as new animation.
Go back to PSP.
Close the layer Raster 6 and open the layer Raster 7.
Edit>Copy Special>Copy Merged.
Go back to Animation Shop and go to Edit>Paste after the current frame.
In PSP.
Close the layer Raster 7 and open the layer Raster 8.
Edit>Copy Special>Copy Merged.
In Animation Shop: Edit>Paste>Paster after the current frame.
In PSP.
Close the layer Raster 8 and open the layer Raster 9.
Edit>Copy Special>Copy Merged.
In Animation Shop: Edit>Paste>Paster after the current frame.
In PSP.
Close the layer Raster 9 and open the layer Raster 10.
Edit>Copy Special>Copy Merged.
In Animation Shop: Edit>Paste>Paster after the current frame.
In PSP.
Close the layer Raster 10 and open the layer Raster 11.

Edit>Copy Special>Copy Merged.
In Animation Shop: Edit>Paste>Paster after the current frame (frame 6).
In PSP.
Close the layer Raster 11 and open the layer Raster 12.
Open the layer "snow 1".
Edit>Copy Special>Copy Merged.
In Animation Shop: Edit>Paste>Paster after the current frame (frame 7).
In PSP.
Close the layer "snow" and open the layer "snow 2".
Edit>Copy Special>Copy Merged.
In Animation Shop: Edit>Paste>Paster after the current frame (frame 8).
In PSP.
Close the layer "snow 2" and open the layer "snow 3".
Edit>Copy Special>Copy Merged.
In Animation Shop: Edit>Paste>Paster after the current frame (frame 9).
In PSP.
Close the layer "snow 3" and open the layer "snow 4".
Edit>Copy Special>Copy Merged.
In Animation Shop: Edit>Paste>Paster after the current frame (frame 10).
In PSP.
Close the layer "snow 4" and open the layer "snow 5".
Edit>Copy Special>Copy Merged.
In Animation Shop: Edit>Paste>Paster after the current frame (frame 11).
In PSP.
Close the layer "snow 5".
Close the layer Raster 12 and open the layer Raster 17.
Close the layer Raster 13 and open the layer Raster 15.
Edit>Copy Special>Copy Merged.
In Animation Shop: Edit>Paste>Paster after the current frame (frame 12).
In PSP.
Close the layer Raster 15 and open the layer Raster 16.
Edit>Copy Special>Copy Merged.
In Animation Shop: Edit>Paste>Paster after the current frame (frame 13).
In PSP.
Close the layer Raster 17 and open the layer Raster 18.
Edit>Copy Special>Copy Merged.
In Animation Shop: Edit>Paste>Paster after the current frame (frame 14).
In PSP.
Close the layer Raster 18 and open the layer Raster 19.
Edit>Copy Special>Copy Merged.
In Animation Shop: Edit>Paste>Paster after the current frame (frame 15).
In PSP.
Close the layer Raster 19 and open the layer Raster 18.
Edit>Copy Special>Copy Merged.
In Animation Shop: Edit>Paste>Paster after the current frame (frame 16).
8.
In PSP.
Close the layer Raster 18 and open the layer Raster 19.
Edit>Copy Special>Copy Merged.
In Animation Shop: Edit>Paste>Paster after the current frame (frame 17).
In PSP.
Close the layer Raster 19 and open the layer Raster 18.
Edit>Copy Special>Copy Merged.
In Animation Shop: Edit>Paste>Paster after the current frame (frame 18).
In PSP.
Close the layer Raster 18 and open the layer Raster 19.
Edit>Copy Special>Copy Merged.
In Animation Shop: Edit>Paste>Paster after the current frame (frame 19).
In PSP.
Close the layer Raster 19 and open the layer Raster 18.
Edit>Copy Special>Copy Merged.
In Animation Shop: Edit>Paste>Paster after the current frame (frame 20).
In PSP.
Close the layer Raster 18 and open the layer Raster 19.
Edit>Copy Special>Copy Merged.
In Animation Shop: Edit>Paste>Paster after the current frame (frame 21).
And you'll have an animation composed by 21 frames.
Edit>Select All.
Animation>Frame Properties and set to 15.
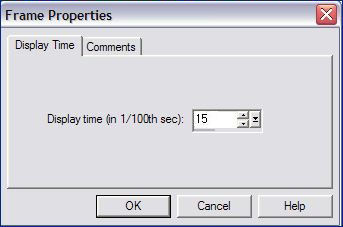
Click in the first frame to select it.
Animation>Properties and set to 200.
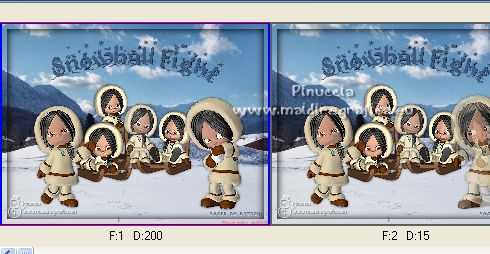
Click in the frame 12 and set to 30.
click in the frame 13 and set to 100.
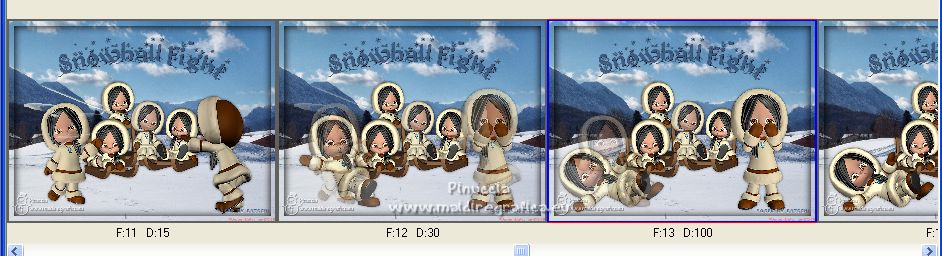
Check your result clicking on View  and save as gif. and save as gif.

If you have problems or doubts, or you find a not worked link, or only for tell me that you enjoyed this tutorial, write to me.
26 January 2023

|


