|
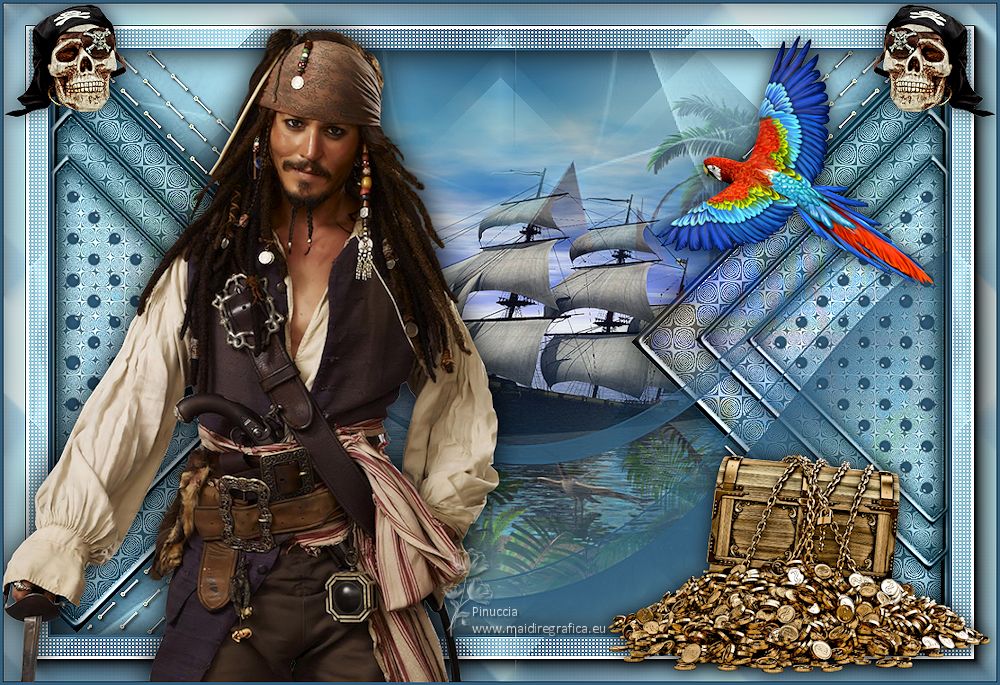
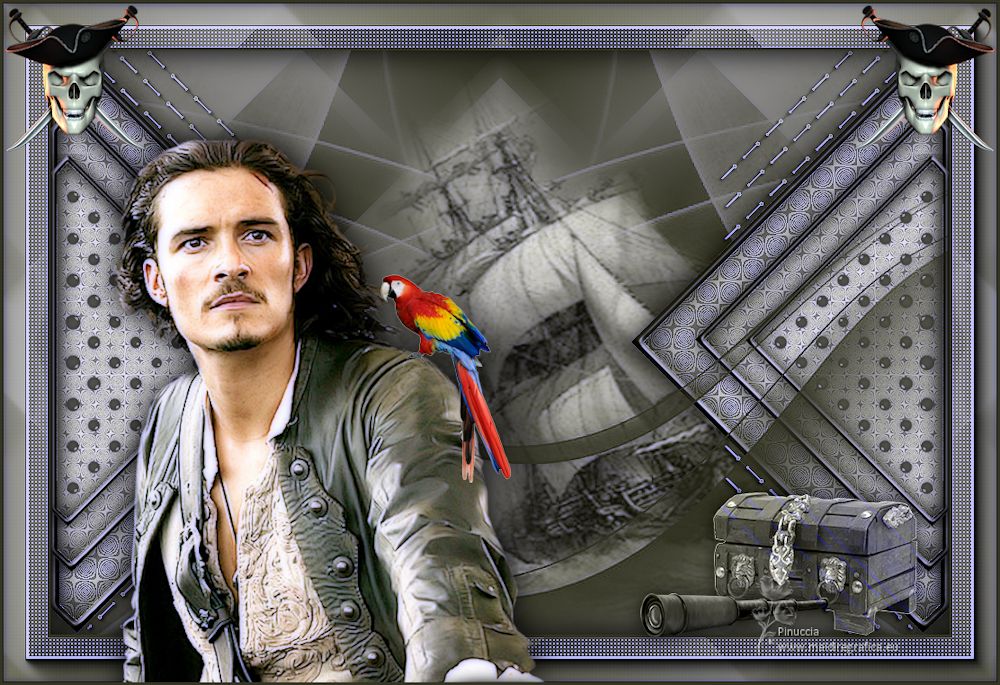
PIRATES OF THE CARIBBEAN

Thanks Inge-lore for your invitation to translate your tutorials.

This tutorial was translated with PSPX, PSPX2, PSPX3, but it can also be made using other versions of PSP.
Since version PSP X4, Image>Mirror was replaced with Image>Flip Horizontal,
and Image>Flip with Image>Flip Vertical, there are some variables.
In versions X5 and X6, the functions have been improved by making available the Objects menu.
In the latest version X7 command Image>Mirror and Image>Flip returned, but with new differences.
See my schedule here
 Italian translation qui Italian translation qui
 French translation here French translation here
 Your versions ici Your versions ici
For this tutorial, you will need:
Tube at your choice (the tube used by Inge-Lore is under licence)
The rest of the material 
For the masks thanks Narah.
For my tube thanks Chris Pastel
(you find here the links to the material authors' sites)

consult, if necessary, my filter section here
Filters Unlimited 2.0 here
Birgits Chaos - Circle here
AAA Frames - Foto Frame here
Mehdi - Sorting Tiles here
[AFS IMPORT] - sqborder2 here
Filters [AFS IMPORT] can be used alone or imported into Filters Unlimited.
(How do, you see here)
If a plugin supplied appears with this icon  it must necessarily be imported into Unlimited it must necessarily be imported into Unlimited

In the newest versions of PSP, you don't find the foreground/background gradient (Corel_06_029).
You can use the gradients of the older versions.
The Gradient of CorelX here

Copy the Selection in the Selections Folder.
Open the masks in PSP and minimize them with the rest of the material.
1. Choose 2 colors from your material;
set your foreground color to the light color; for me #b3e4f2
and your background color to the dark color; for me #33607f
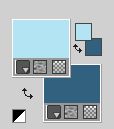
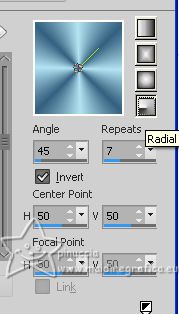
Set your foreground color to a Foreground/Background Gradient, style Radial.
Open a new transparent image 1000 x 650 pixels.
Flood Fill  the transparent image with your Gradient. the transparent image with your Gradient.
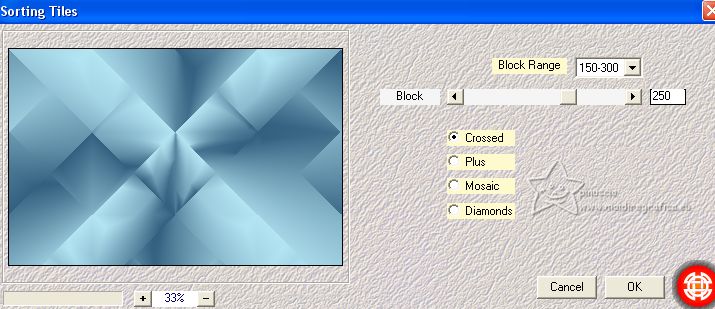
Effects>Plugins>Mehdi - Sorting Tiles.
Effects>Reflection Effects>Rotating Mirror

Effects>Image Effects>Seamless Tiling, Side by Side.

Effects>Reflection Effects>Rotating Mirror.

2. Selections>Load/Save Selection>Load Selection from Disk.
Look for and load the selection Pirates-1
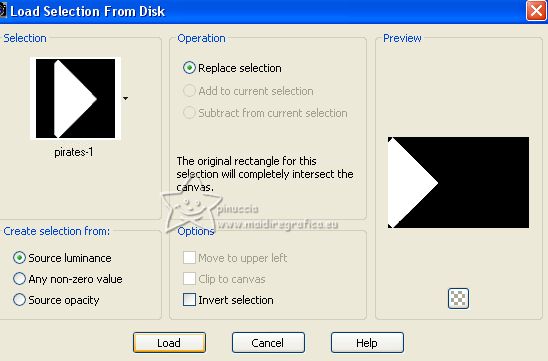
Selections>Promote Selection to Layer.
Effects>Plugins>Birgits Chaos - Circles, default settings.
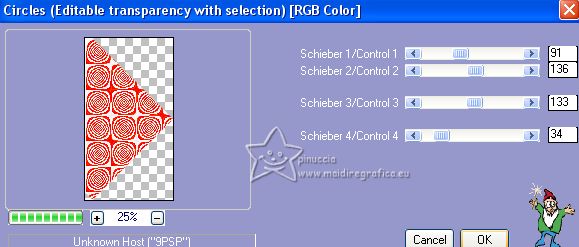
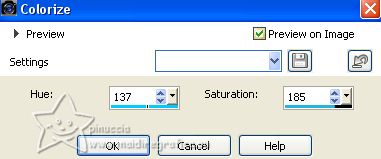
Colorize according to your colors, for me
Adjust>Hue and Saturation>Colorize.
Selections>Modify>Select Selection Borders.
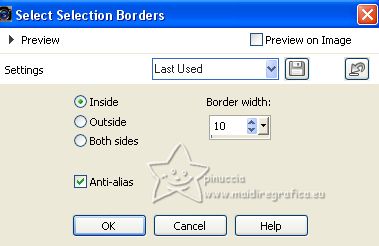
3. Layers>New Raster Layer.
Flood Fill  the selection with your dark background color. the selection with your dark background color.
Effects>3D Effects>Inner Bevel.
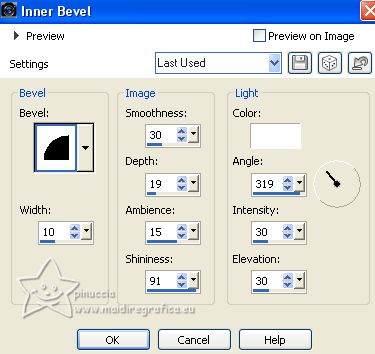
Selections>Select None.
Activate your Magic Wand Tool  , tolerance and feather 0, , tolerance and feather 0,
and click in the frame to select it.
Effects>3D Effects>Cutout.

Selections>Select None.
Layers>Merge>Merge Down.
Effects>3D Effects>Drop Shadow.
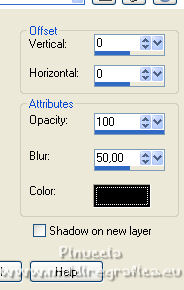
4. Layers>Duplicate.
Image>Mirror.
Layers>Duplicate.
Image>Redimensionner, à 80%, resize all layers not checked.
K key to activate your Pick Tool 
and set Position X: 692,00 and Position Y: 62,00.

Layers>Duplicate.
Image>Mirror.
Layers>Duplicate.
Image>Redimensionner, à 80%, resize all layers not checked.
K key to activate your Pick Tool 
set Position X: 0,00 and keep Position Y: 115,00.

Layers>Duplicate.
Image>Mirror.
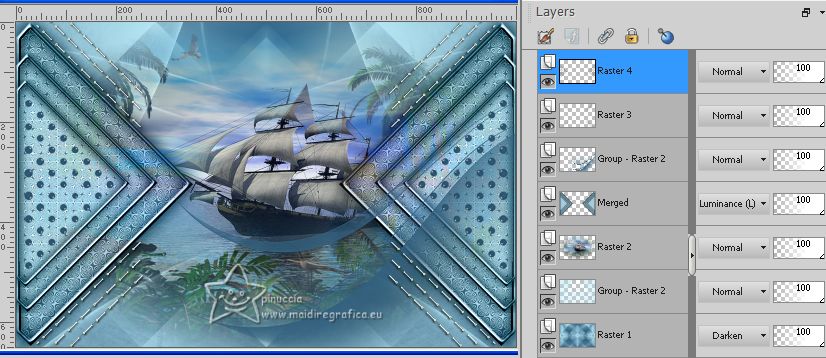
5. Close the layer Raster 1.
Layers>Merge>Merge visible.
Change the Blend Mode of this layer to Luminance (legacy).
Open and activate the layer Raster 1.
Layers>New Raster Layer.
Set your foreground color to Color.
Flood Fill  the layer with your light color. the layer with your light color.
Layers>New Mask layer>From image
Open the menu under the source window and you'll see all the files open.
Select the mask Narah_Mask_1099
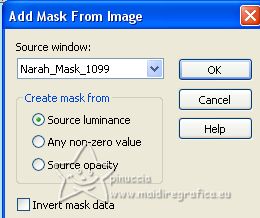
Effects>Edge Effects>Enhance.
Layers>Merge>Merge Group.
Layers>Duplicate.
Image>Mirror.
Layers>Merge>Merge Down.
6. Activate your top layer.
Layers>New Raster Layer.
Flood Fill  the layer with your dark layer. the layer with your dark layer.
Layers>New Mask layer>From image
Open the menu under the source window
and select the mask Narah_Mask_1091
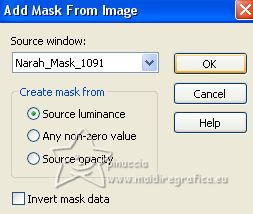
Effects>Edge Effects>Enhance.
Layers>Merge>Merge Group.
Set Position X: 262,00 and Position Y: 57,00.

Activate your Erase Tool 
and erase the thin border of the mask
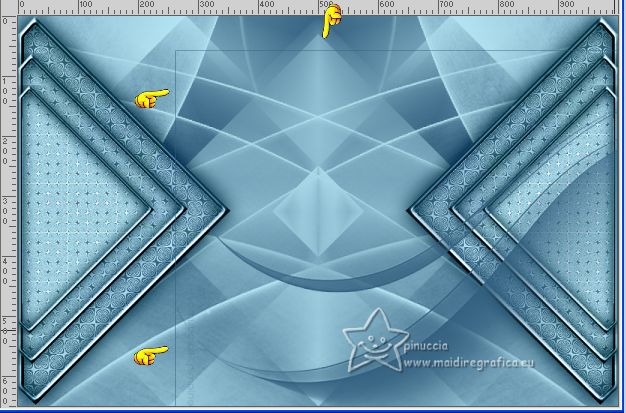
7. Activate the second layer from the bottom.
Layers>New Raster Layer.
Selections>Select All.
Open the background image background 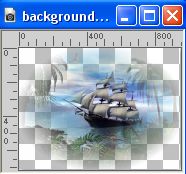
Edit>Copy.
Go back to your work and go to Edit>Paste into Selection.
Selections>Select None.
Adjust>Sharpness>Sharpen.
Activate your Top Layer.
Open deco-2 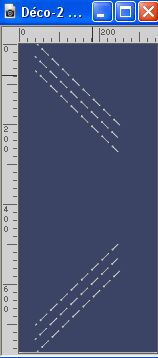
Edit>Copy.
Go back to your work and go to Edit>Paste as new layer.
Set Position X: 40,00 and Position Y: -60,00.

Effects>3D Effects>Drop Shadow.

Layers>Duplicate.
Image>Mirror.
Layers>Merge>Merge Down.
Open deco-1 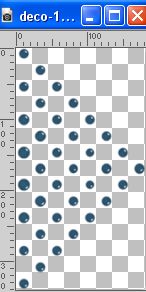
Edit>Copy.
Go back to your work and go to Edit>Paste as new layer.
Set Position X: 14,00 and keep Position Y: 155,00.

Layers>Duplicate.
Image>Mirror.
Layers>Merge>Merge Down.
9. Activate the layer Raster 1.
Edit>Copy
Image>Add borders, 3 pixels, symmetric, dark color.
Selections>Select All.
Image>Add borders, 50 pixels, symmetric, light color.
Selections>Invert.
Edit>Paste into Selection.
Effects>Edge Effects>Enhance.
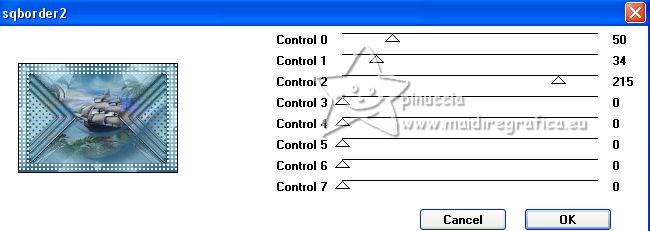
10. Effects>Plugins>[AFS IMPORT] - sqborder2.
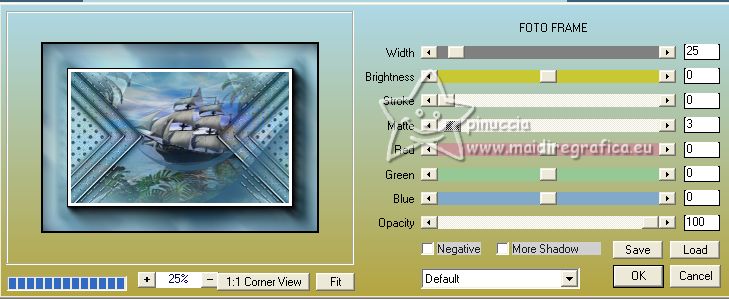
Effects>Plugins>AAA Frames - Foto Frame.
Selections>Invert.
Selections>Modify>Contract - 3 pixels.
Effects>3D Effects>Cutout, same settings.
Selections>Select None.
11. Open the person tube,
for my example chris-johnnydepp 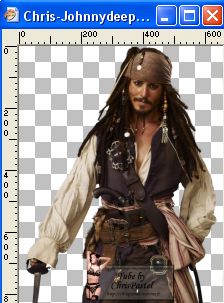
Edit>Copy.
Go back to your work and go to Edit>Paste as new layer.
Image>Resize, if necessary.
Adjust>Sharpness>Sharpen.
Place  the tube to your liking. the tube to your liking.
Effects>3D Effects>Drop Shadow.

Open the tube Captain's Beauty (80) 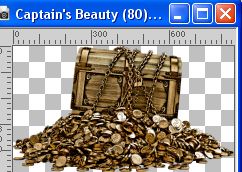
Edit>Copy.
Go back to your work and go to Edit>Paste as new layer.
Image>Resize, to 50%, resize all layers not checked.
Adjust>Sharpness>Sharpen.
Move  the tube at the bottom right. the tube at the bottom right.
Effects>3D Effects>Drop Shadow.
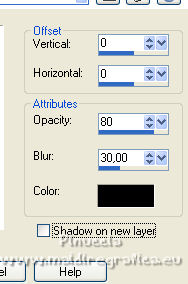
Open the tube FwTagsDaydreamerBeachElement(64) 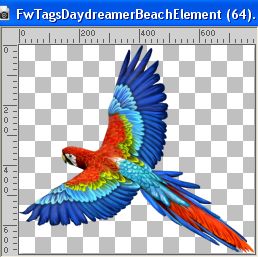
Edit>Copy.
Go back to your work and go to Edit>Paste as new layer.
Image>Resize, to 40%, resize all layers not checked.
Adjust>Sharpness>Sharpen.
Move  the tube at the upper right. the tube at the upper right.
Effects>3D Effects>Drop Shadow, same settings.

12. Open the tube skull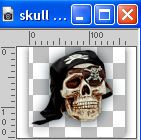
Edit>Copy.
Go back to your work and go to Edit>Paste as new layer.
Move  the tube to the upper left corner. the tube to the upper left corner.
Layers>Duplicate.
Image>Mirror.
Layers>Merge>Merge Down.
Image>Add borders, 3 pixels, symmetric, dark color.
Image>Resize, 1030 pixels width, resize all layers checked.
If necessary. Adjust>Sharpness>Sharpen.
Sign your work and save as jpg.
For the tube of this version thanks Silke

If you have problems or doubts, or you find a not worked link, or only for tell me that you enjoyed this tutorial, write to me.
16 June 2023

|

