|
ONCE UPON A TIME

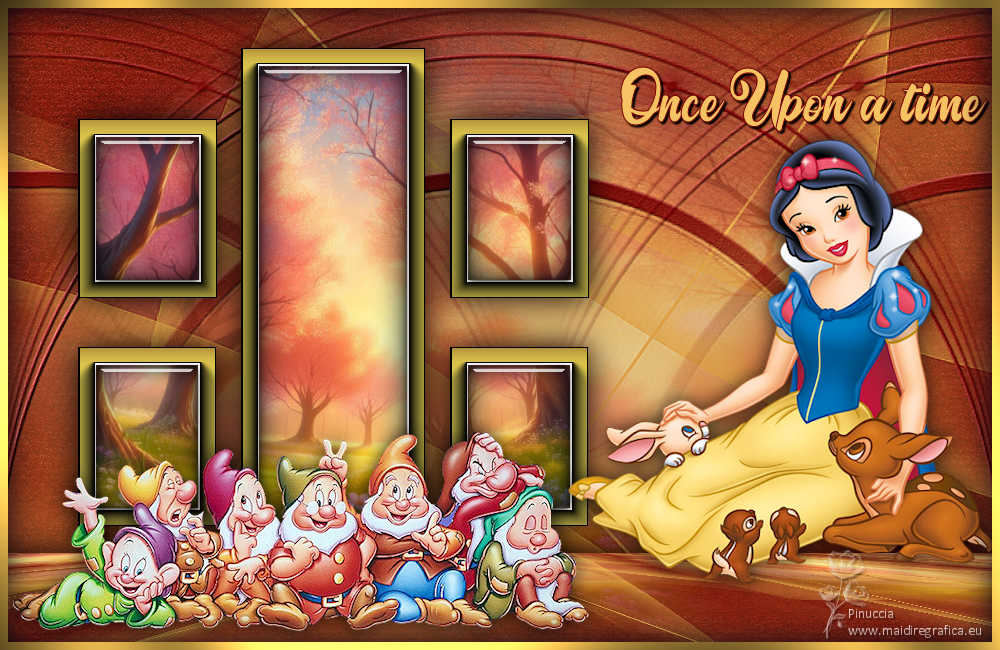
Thanks Inge-Lore for your invitation to translate your tutorials.

This tutorial, created with PSP2019, was translated with PSPX9 and PSP2020, but it can also be made using other versions of PSP.
Since version PSP X4, Image>Mirror was replaced with Image>Flip Horizontal,
and Image>Flip with Image>Flip Vertical, there are some variables.
In versions X5 and X6, the functions have been improved by making available the Objects menu.
In the latest version X7 command Image>Mirror and Image>Flip returned, but with new differences.
See my schedule here
 Italian translation qui Italian translation qui
 French translation here French translation here
 Your versions ici Your versions ici

For this tutorial, you will need:
Tubes at your choice (the tubes used by Inge-Lore are from Brenda
The rest of the material

For the masks thanks Narah.
(you find here the links to the material authors' sites)

consult, if necessary, my filter section here
Filters Unlimited 2.0 qui
Alien Skin Eye Candy 5 Impact - Glass qui
Mura's Meister - Perspective Tiling qui
AAA Frames - Foto Frame qui
Mura's Seamless - Emboss at Alpha qui
Graphics Plus - Cross Shadow qui
Filters Mura's Seamless and Graphics Plus can be used alone or imported into Filters Unlimited.
(How do, you see here)
If a plugin supplied appears with this icon  it must necessarily be imported into Unlimited it must necessarily be imported into Unlimited
You can change Blend Modes according to your colors.

Copy the mask 20-20 in the Masks Folder.
Open the masks in PSP and minimize them with the rest of the material.
From your tubes choose a light and a dark color.
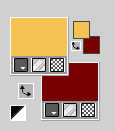
Open a new transparent image 1000 x 650 pixels.
Flood Fill  the transparent image with your dark color. the transparent image with your dark color.
Selection Tool 
(no matter the type of selection, because with the custom selection your always get a rectangle)
clic on the Custom Selection 
and set the following settings.
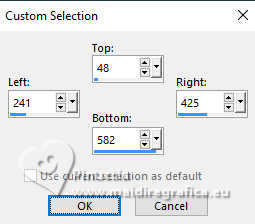
Layers>New Raster Layer.
Flood Fill  the selection with your light color. the selection with your light color.
Effects>Plugins>AAA Frames - Foto Frame.
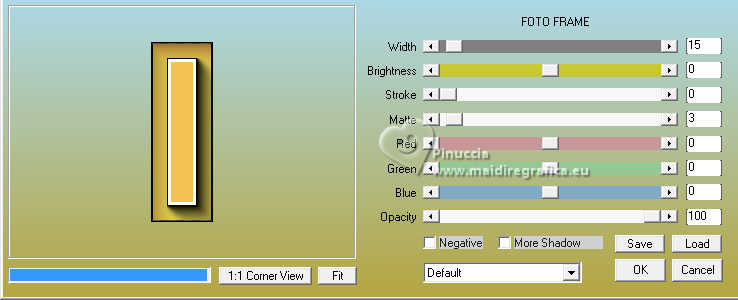
Effects>Reflection Effects>Rotating Mirror, default settings.

Selections>Modify>Contract - 18 pixels.
Press CANC on the keyboard 
Selections>Select None.
2. Custom Selection 
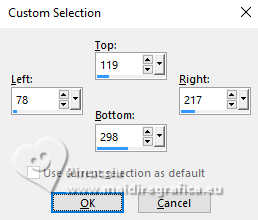
Layers>New Raster Layer.
Flood Fill  the selection with your light color. the selection with your light color.
Effects>Plugins>AAA Frames - Foto Frame, same settings.
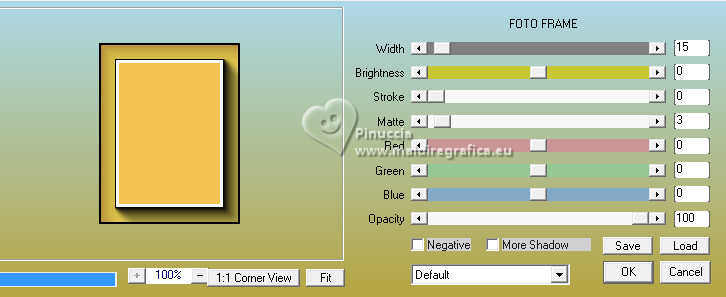
Effects>Reflection Effects>Rotating Mirror, default settings.

Selections>Modify>Contract - 18 pixels.
Press CANC on the keyboard.
Selections>Select None.
3. Stay on this layer.
Custom Selection 
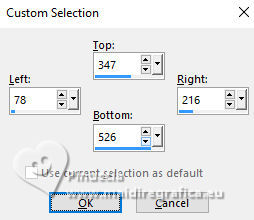
Flood Fill  the selection with your light color. the selection with your light color.
Effects>Plugins>AAA Frames - Foto Frame, same settings.

Effects>Reflection Effects>Rotating Mirror, default settings.

Selections>Modify>Contract - 18 pixels.
Press CANC on the keyboard.
Selections>Select None.
4. Layers>Duplicate.
K key to activate your Pick Tool 
and set Position X: 450,00 and Position Y: 119,00.

Layers>Merge>Merge Down - 2 time.
Activate your Magic Wand Tool 
and click in the 5 frames to select them.
Layers>New Raster Layer.
Layers>Arrange>Move Down.
Open your background image Hintergruende-42-2 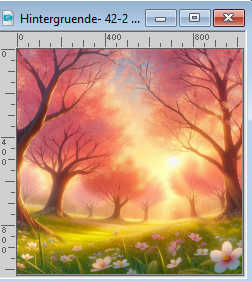
Edit>Copy.
Go back to your work and go to Edit>Paste into Selection.
5. Activate your top layer.
Layers>New Raster Layer.
Effects>3D Effects>Cutout.

Layers>Merge>Merge Down.
Effects>Plugins>Alien Skin Eye Candy 5 Impact - Glass.
Select the preset Clear with these settings.
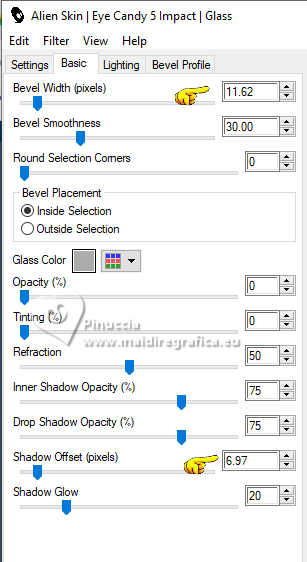
Selections>Select None.
Layers>Merge>Merge Down.
Effects>3D Effects>Drop Shadow, color black.

6. Activate the layer Raster 1.
Layers>New Raster Layer.
Flood Fill  the layer with your light color. the layer with your light color.
Layers>New Mask layer>From image
Open the menu under the source window and you'll see all the files open.
Select the mask Narah_mask_0405
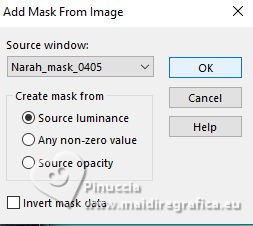
Effects>Edge Effects>Enhance.
Layers>Merge>Merge Group.
Image>Mirror>Mirror horizontal.
Layers>Duplicate.
Image>Mirror>Mirror horizontal.
Image>Mirror>Mirror vertical.
Layers>Merge>Merge Down.
7. Activate again your background image.
On this image:
Layers>Load/Save Mask>Load Mask from Disk.
Look for and load the mask 20-20.
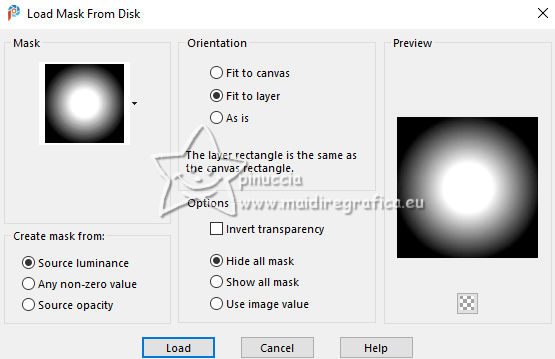
Layers>Merge>Merge Group.
Edit>Copy.
Go back to your work.
Activate the layer Raster 1.
Layers>New Raster Layer.
Selections>Select All.
Edit>Paste into selection.
Selections>Select None.
If necessary - according to your tube: Image>Mirror>Mirror horizontal.
Activate the layer Raster 1.
Effects>Plugins>Filters Unlimited 2.0 - Paper Textures - Rag Paper, default settings.
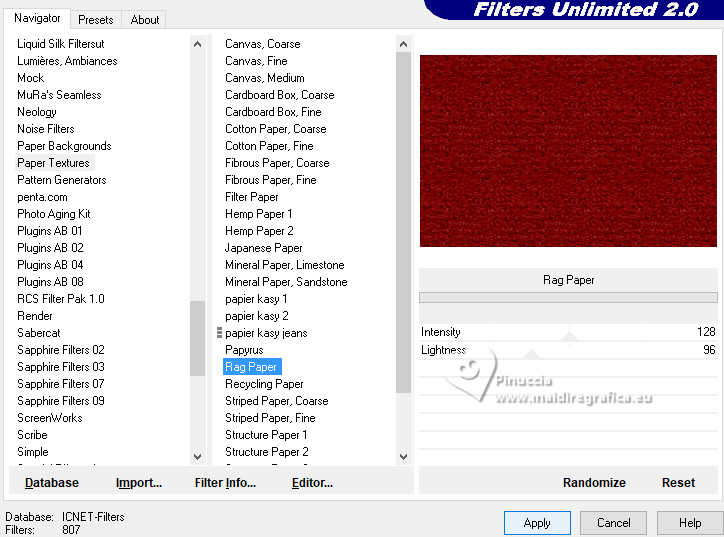
8. Close the layer Raster 3.
Edit>Copy Special>Copy Merged.
Open and activate the layer Raster 3.
Edit>Paste as new layer.
Effects>Plugins>Mura's Meister - Perspective Tiling.
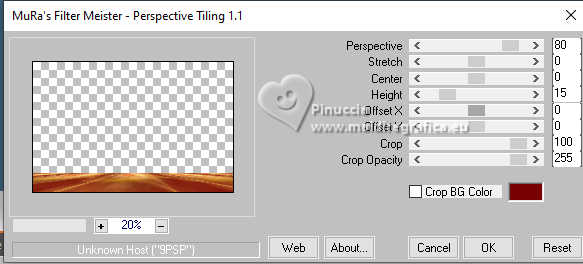
Effects>3D Effects>Drop Shadow, same settings.
Layers>Arrange>Move Down.
Activate the layer Group-Raster 2.
9. Layers>New Raster Layer.
Flood Fill  the layer with your dark color. the layer with your dark color.
Layers>New Mask layer>From image
Open the menu under the source window
and select the mask Narah_mask_1435
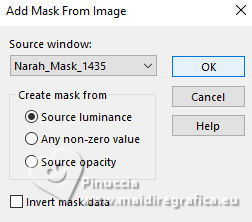
Effects>Edge Effects>Enhance.
Layers>Merge>Merge Group.
Layers>Duplicate.
Effects>Image Effects>Seamless Tiling, Side by Side.

Layers>Merge>Merge Down.
10. Effects>Plugins>Mura's Seamless - Emboss at Alpha, default settings.
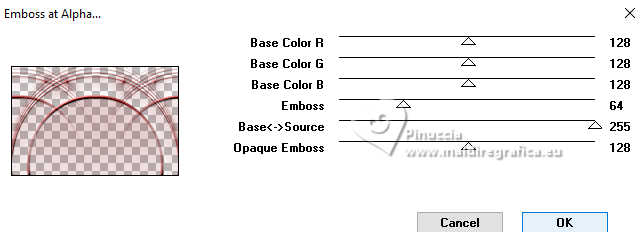
Activate your top layer.
Open the character's tube and go to Edit>Copy.
Go back to your work and go to Edit>Paste as new layer.
Image>Resize, if necessary, resize all layers not checked.
Adjust>Sharpness>Sharpen.
Effects>3D Effects>Drop Shadow, color black.

Open the accessory tube and go to Edit>Copy.
Go back to your work and go to Edit>Paste as new layer.
Image>Resize, if necessary, resize all layers not checked.
Adjust>Sharpness>Sharpen.
Effects>3D Effects>Drop Shadow, same settings.
11. Open text 
Edit>Copy.
Go back to your work and go to Edit>Paste as new layer.
Effects>3D Effects>Drop Shadow, color black.

Layers>New Raster Layer.
Flood Fill  the layer with your light color. the layer with your light color.
Selections>Select All.
Selections>Modify>Contract - 8 pixels.
Press CANC on the keyboard.
Selections>Invert.
Effects>Plugins>Graphics Plus - Cross shadow, default settings.
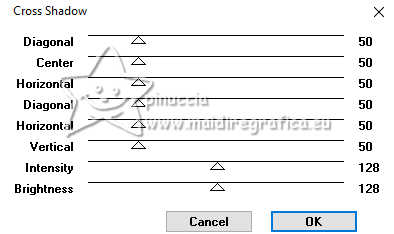
Selections>Invert.
Effects>3D Effects>Cutout, same settings.

Selections>Select None.
Sign your work on a new layer.
Layers>Merge>Merge All and save as jpg.
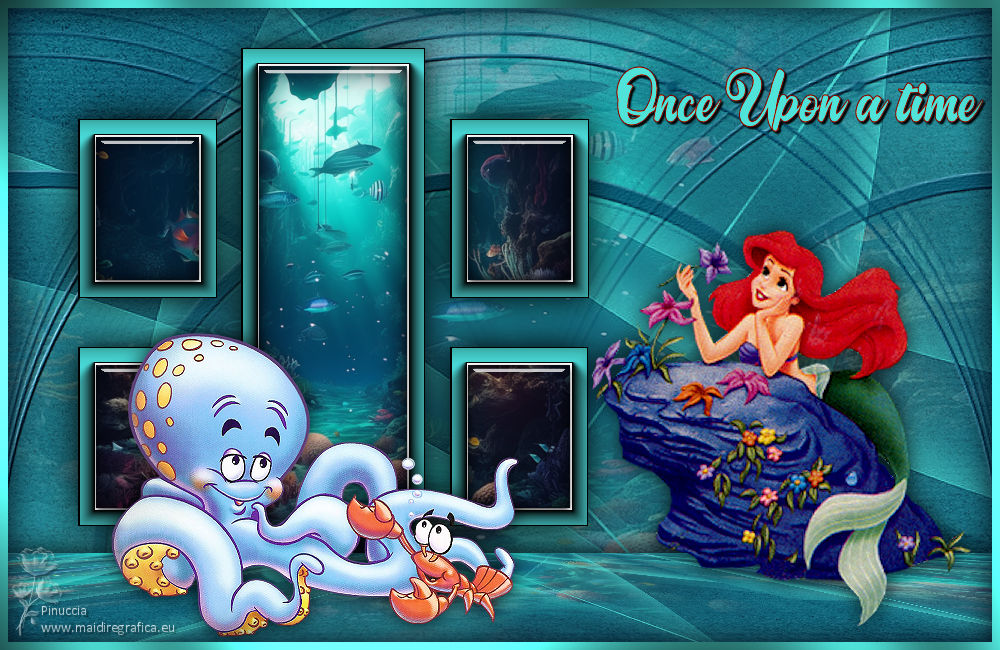
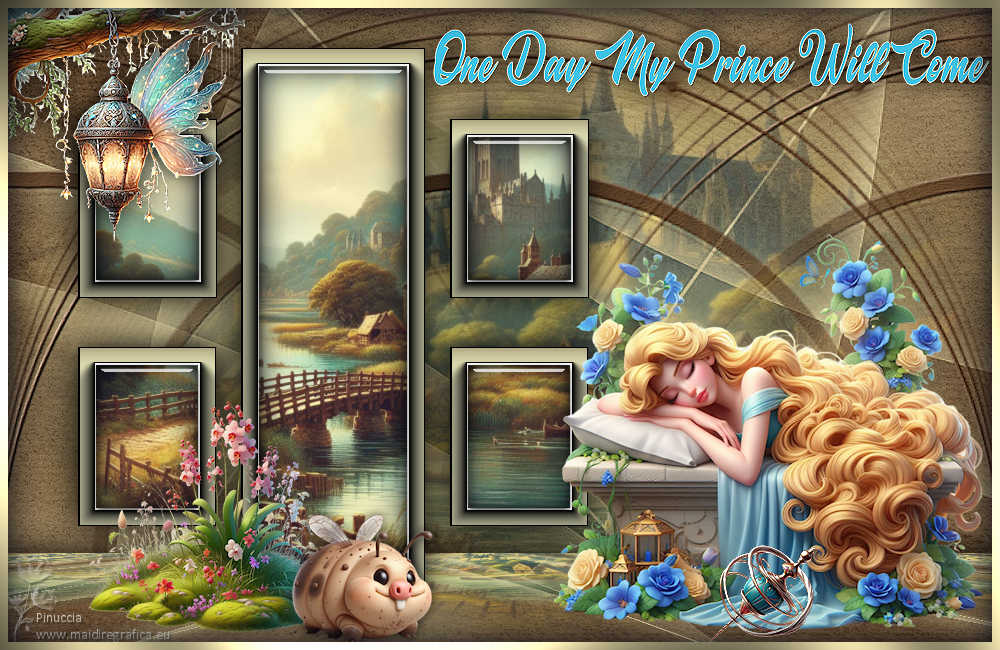

If you have problems or doubts, or you find a not worked link, or only for tell me that you enjoyed this tutorial, write to me.
17 April 2024

|

