|
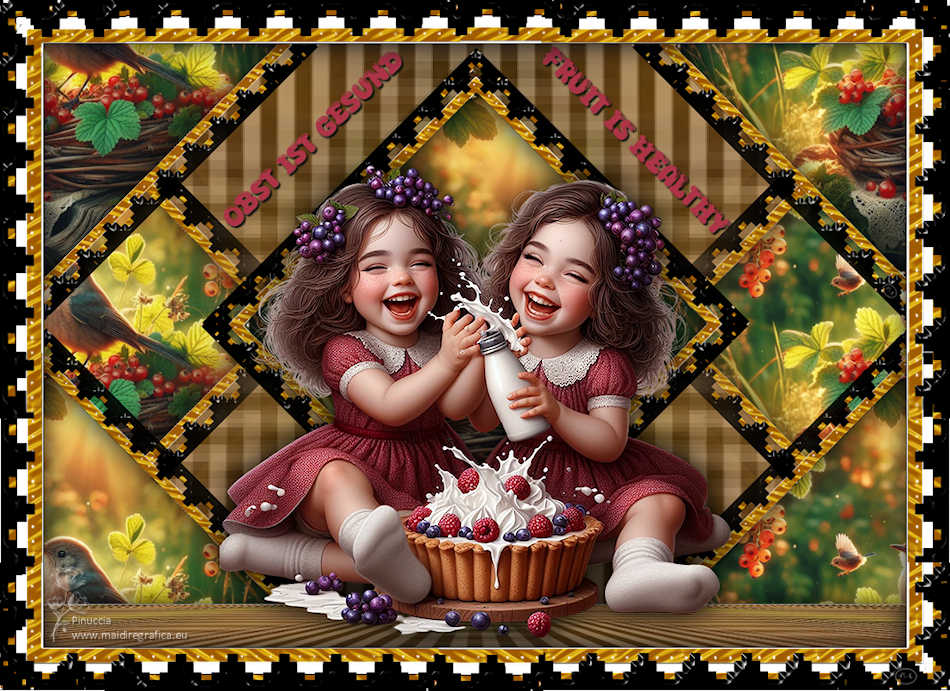
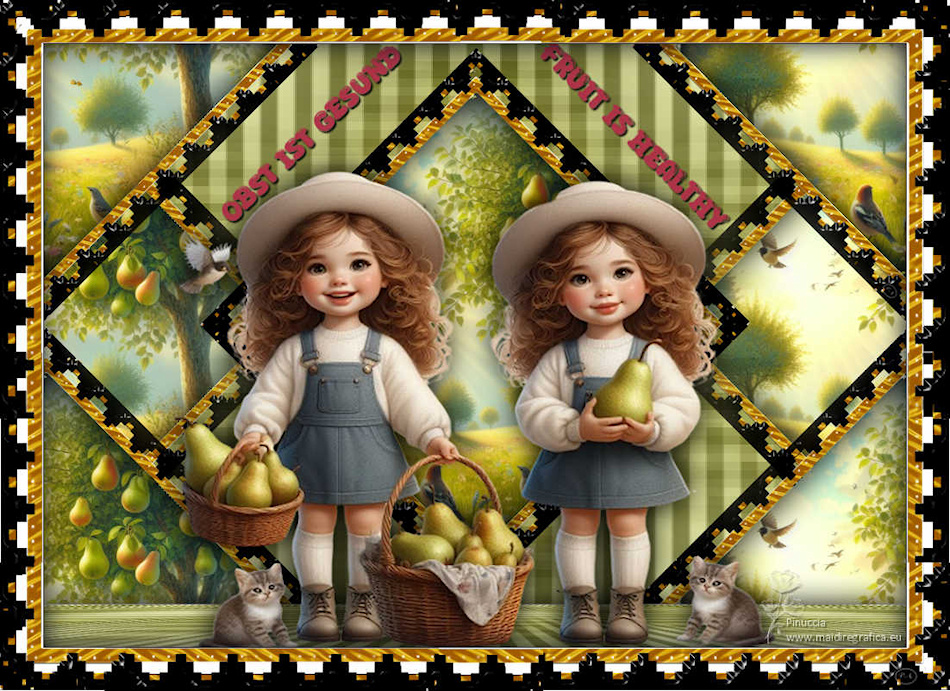
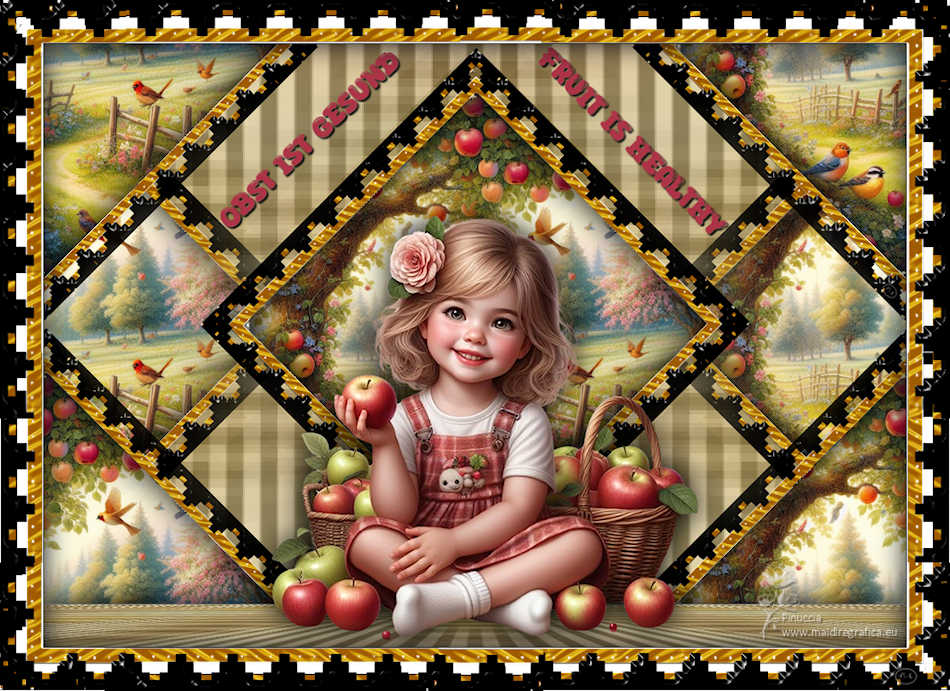
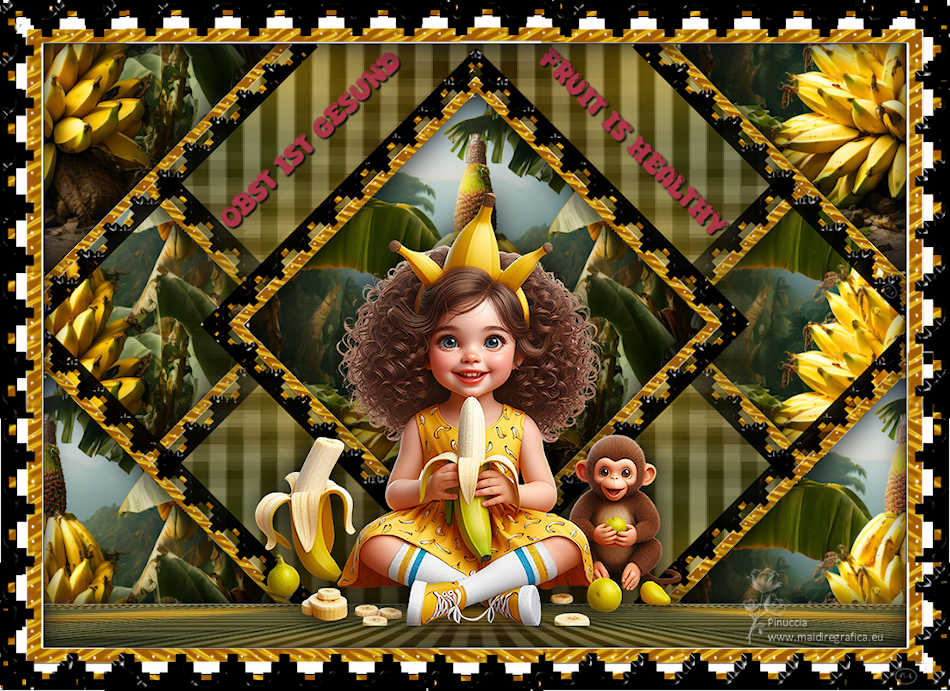
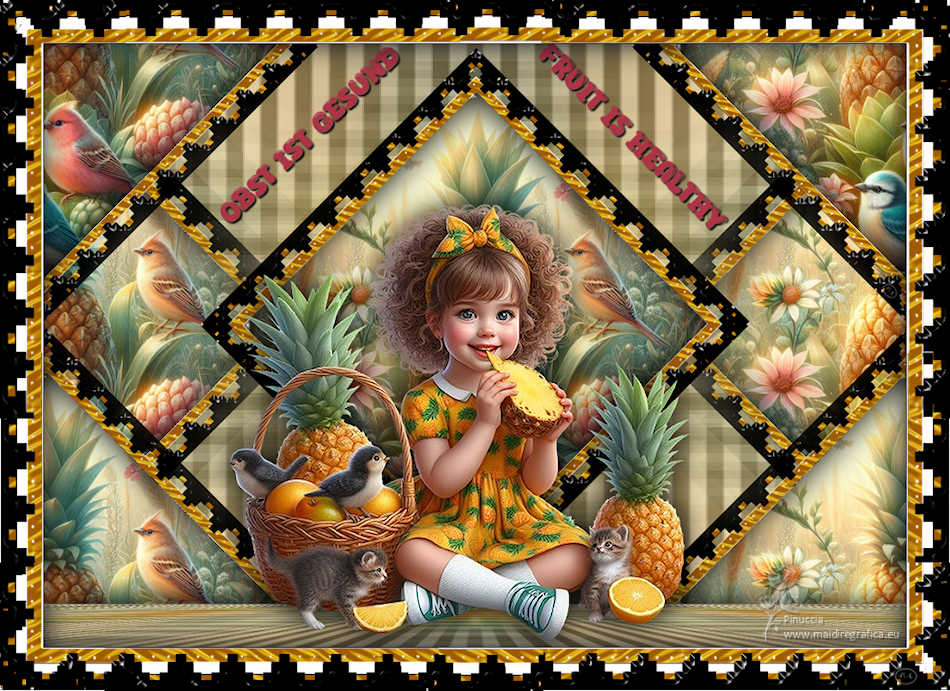
OBST IST GESUND
 FRUIT IS HEALTHY FRUIT IS HEALTHY
Thanks Inge-Lore for your invitation to translate your tutorials.

This tutorial, created with PSP2019, was translated with PSPX9 and PSP2020, but it can also be made using other versions of PSP.
Since version PSP X4, Image>Mirror was replaced with Image>Flip Horizontal,
and Image>Flip with Image>Flip Vertical, there are some variables.
In versions X5 and X6, the functions have been improved by making available the Objects menu.
In the latest version X7 command Image>Mirror and Image>Flip returned, but with new differences.
See my schedule here
 Italian translation qui Italian translation qui
 French translation here French translation here
 Your versions ici Your versions ici

For this tutorial, you will need:
Tubes at your choice (the tubes used by Inge-Lore and for my version are by
Gerda
The rest of the material

(you find here the links to the material authors' sites)

consult, if necessary, my filter section here
Filters Unlimited 2.0 here
Mura's Meister - Perspective Tiling here
VM Extravaganza - Transmission here
Simple - Blintz, Top Left Mirror here
Toadies - What are you here
Filters VM Extravaganza, Simple and Toadies can be used alone or imported into Filters Unlimited.
(How do, you see here)
If a plugin supplied appears with this icon  it must necessarily be imported into Unlimited it must necessarily be imported into Unlimited
You can change Blend Modes according to your colors.

1. Open a new transparent image 1000 x 650 pixels.
Selections>Select All.
Open your background image and go to Edit>Copy.
Go back to your work and go to Edit>Paste into Selection.
Selections>Select None.
Effects>Image Effects>Seamless Tiling, default settings.

Adjust>Blur>Radial Blur.
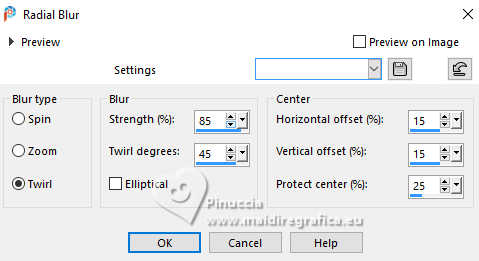
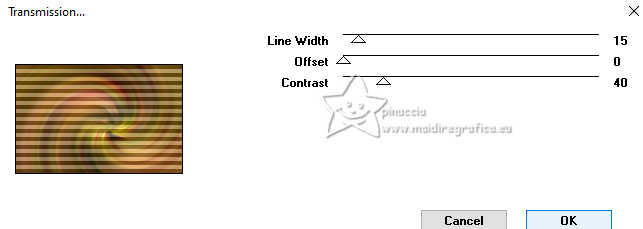
2. Effects>Plugins>VM Extravaganza - Transmission.
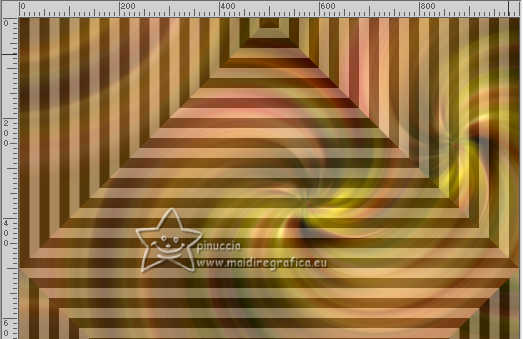
Effects>Plugins>Simple - Blintz.
Cet effect works without window; result
Image>Mirror>Mirror vertical.
Effects>Plugins>Simple - Blintz
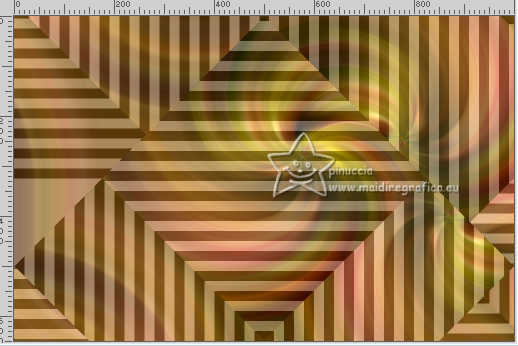
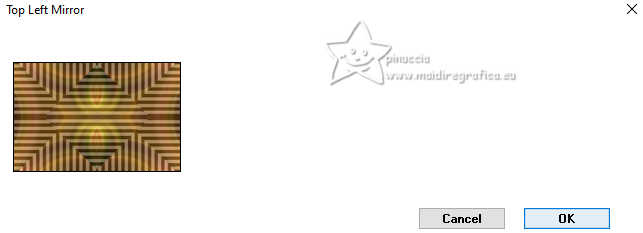
Effects>Plugins>Simple - Top Left Mirror.
Open Black014aa 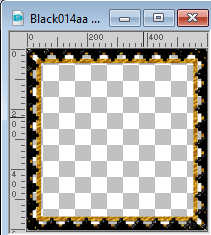
Edit>Copy.
Go back to your work and go to Edit>Paste as new layer.
Image>Free Rotate - 45 degrees to right.

Reduce the opacity of this layer to 75%.
3. Activate your Magic Wand Tool 
and click in the frame to select it.
Layers>New Raster Layer.
Layers>Arrange>Move Down.
Activate again your background image and go to Edit>Copy.
Go back to your work and go to Edit>Paste into Selection.
Activate your top layer.
Selections>Invert.
Effects>3D Effects>Drop shadow, color black.
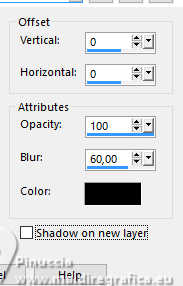
Selections>Select None.
Layers>Merge>Merge Down.
4. Layers>Duplicate.
Effects>Image Effects>Seamless Tiling.

Layers>Arrange>Move Down.
Activate your top layer.
Effects>Image Effects>Seamless Tiling, default settings.

Activate the layer Raster 1.
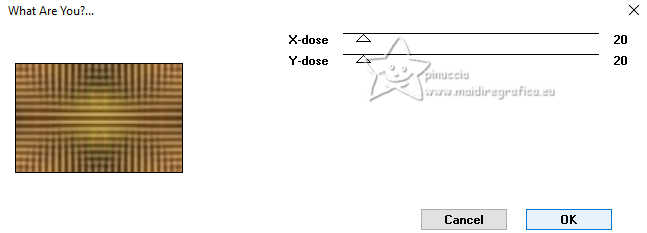
Effects>Plugins>Toadies - What are you, default settings.
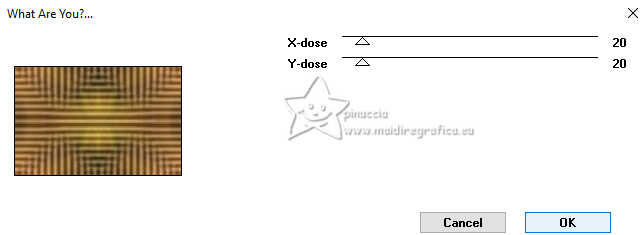
Repeat this Effect another time.
5. Edit>Copy.
Edit>Paste as new image.
Go back to your work.
Layers>Merge>Merge visible.
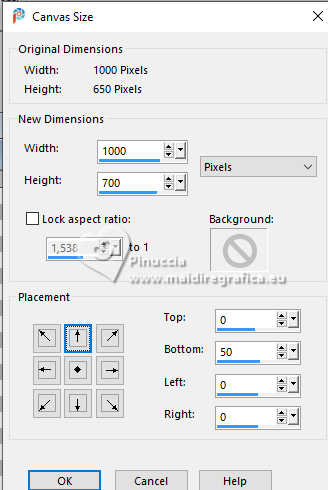
Image>Canvas Size - 1000 x 700 pixels.
Edit>Paste as new layer (the minimized image is in memory).
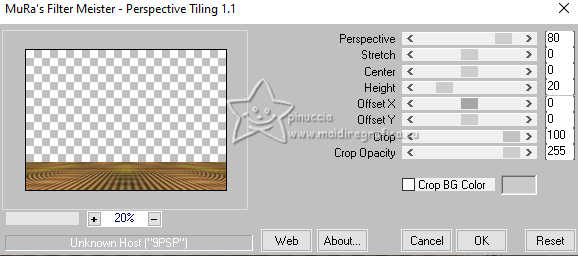
Effects>Plugins>Mura's Meister - Perspective Tiling.
6. K key to activate your Pick Tool 
mode Scale 
pull the central top node down until 650 pixels.
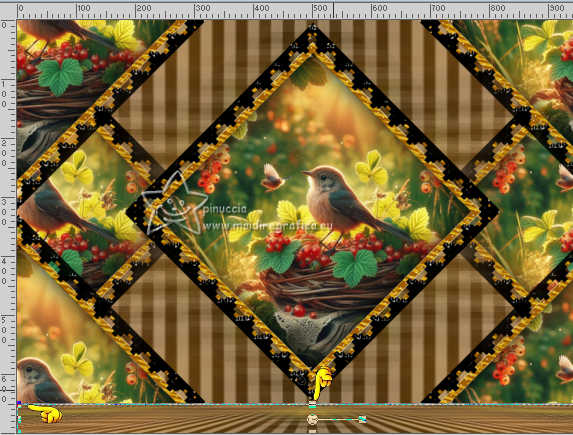
M key to deselect the Tool.
Effects>3D Effects>Drop shadow, color black.

Open your main tube and go to Edit>Copy.
Go back to your work and go to Edit>Paste as new layer.
Image>Resize, if necessary, resize all layers not checked.
Adjust>Sharpness>Sharpen.
Effects>3D Effects>Drop shadow, same settings.
7. Open the text text 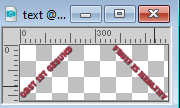
Edit>Copy.
Go back to your work and go to Edit>Paste as new layer.
Move  the text to your liking, the text to your liking,
or write your text.
Image>Add borders, 1 pixel, symmetric, color black.
Selections>Select All.
Image>Add borders, 50 pixels, symmetric, color white.
Selections>Invert.
Open Rand 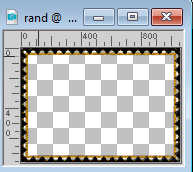
Edit>Copy.
Go back to your work and go to Edit>Paste into Selection.
8. Selections>Invert.
Effects>3D Effects>Cutout.
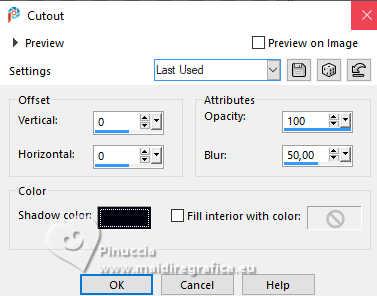
Selections>Select None.
Sign your work on a new layer.
Layers>Merge>Merge All and save as jpg.

If you have problems or doubts, or you find a not worked link, or only for tell me that you enjoyed this tutorial, write to me.
21 April 2024

|
 FRUIT IS HEALTHY
 FRUIT IS HEALTHY