|
MY LITTLE VALENTINO


Thanks Inge-lore for your invitation to translate your tutorials.

This tutorial was translated with PSPX, PSPX2, PSPX3, but it can also be made using other versions of PSP.
Since version PSP X4, Image>Mirror was replaced with Image>Flip Horizontal,
and Image>Flip with Image>Flip Vertical, there are some variables.
In versions X5 and X6, the functions have been improved by making available the Objects menu.
In the latest version X7 command Image>Mirror and Image>Flip returned, but with new differences.
See my schedule here
 Italian translation qui Italian translation qui
 French translation here French translation here
 Your versions ici Your versions ici
For this tutorial, you will need:
Tubes at your choice (the tubes used by Inge-Lore are under licence)

Thanks for the tubes Thafs and Lana, and for a mask Narah.
For the tubes of my versions thanks Yvonne and VPC.
(you find here the links to the material authors' sites)

consult, if necessary, my filter section here
Filters Unlimited 2.0 here
Alien Skin Eye Candy 5 Impact - Glass here
Mura's Meister - Perspective Tiling here

Open the masks in PSP and minimize them with the rest of the material.
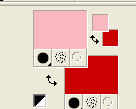
1. Choose two colors from your tube,
and set your foreground color with light color,
and your background color with dark color.
Open a new transparent image 1000 x 700 pixels,
Flood fill  the transparent image with your dark color. the transparent image with your dark color.
Layers>New Raster Layer.
Flood Fill  the layer with your light color. the layer with your light color.
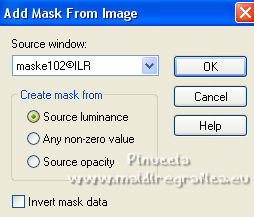
Layers>New Mask layer>From image
Open the menu under the source window and you'll see all the files open.
Select the mask maske102©ILR
Effects>Edge Effects>Enhance.
Layers>Merge>Merge Group.
2. Activate your Magic Wand Tool  , feather 6, , feather 6,
and click in the left heart to select it.
Layers>New Raster Layer.
Layers>Arrange>Move Down.
Open coeur_fleurs_tubed_by_thafs 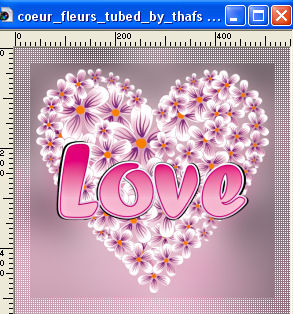
Edit>Copy.
Go back to your work and go to Edit>Paste into Selection.
Selections>Select None.
Activate again the layers of the mask.
Select the right heart with your Magic Wand Tool 
3. Layers>New Raster Layer.
Layers>Arrange>Move Down.
Edit>Paste into Selection (the tube is still in memory).
Selections>Select None.
Layers>Merge>Merge Down.
Activate again the layer of the mask.
Select the middle heart with your Magic Wand Tool 
Layers>New Raster Layer.
Layers>Arrange>Move Down.
Open valentine roses-sm_2-05~pjs 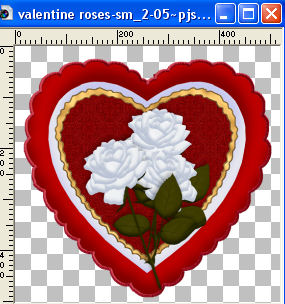
Edit>Copy.
Go back to your work and go to Edit>Paste into Selection.
Selections>Select None.
Layers>Merge>Merge Down.
4. Activate again the layer of the mask.
Select the 3 hearts with your Magic Wand Tool  , always feather 6. , always feather 6.
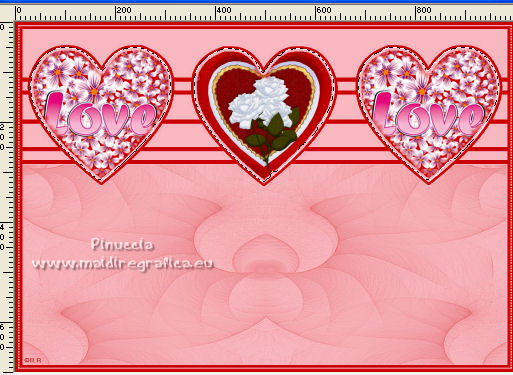
Layers>New Raster Layer.
Layers>Arrange>Move Down.
Effects>3D Effects>Cutout.
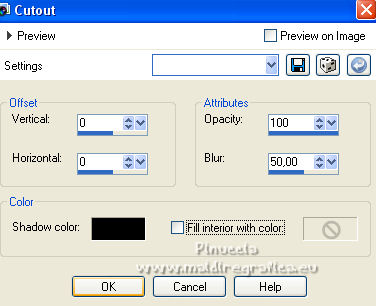
Activate your top layer.
Layers>New Raster Layer.
Effects>Plugins>Alien Skin Eye Candy 5 Impact - Glass.
Glass color: your dark color
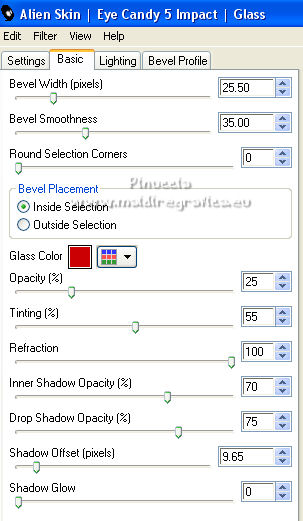
Selections>Select None.
You should have this
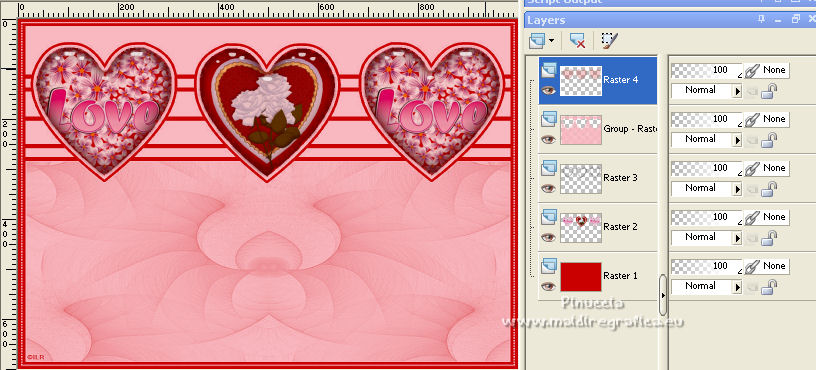
5. Layers>New Raster Layer.
Flood Fill  the layer with your dark color. the layer with your dark color.
Layers>New Mask layer>From image
Open the menu under the source window
and select the mask NarahsMasks_1727
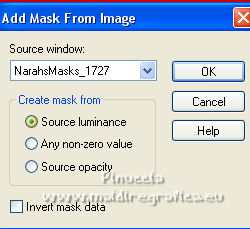
Effects>Edge Effects>Enhance.
Layers>Merge>Merge Group.
Selection Tool 
(no matter the type of selection, because with the custom selection your always get a rectangle)
clic on the Custom Selection 
and set the following settings.
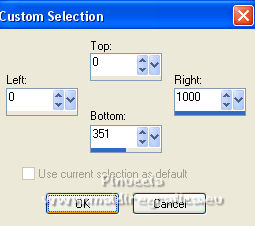
Press CANC on the keyboard 
Selections>Select None.
6. Layers>New Raster Layer.
Flood Fill  the layer with your dark color. the layer with your dark color.
Layers>New Mask layer>From image
Open the menu under the source window
and select the mask 83MaskkelsWWA
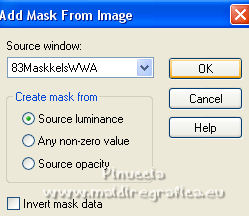
Effects>Edge Effects>Enhance.
Layers>Merge>Merge Group.
Effects>Plugins>Mura's Meister - Perspective Tiling.
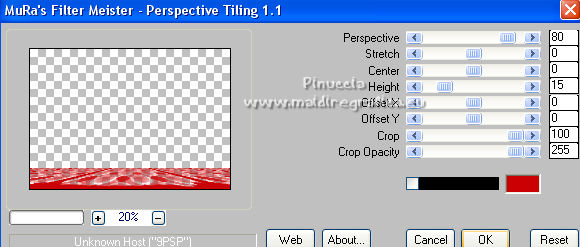
Activate your Magic Wand Tool  , feather 40, , feather 40,
and click in the transparent part to select it.
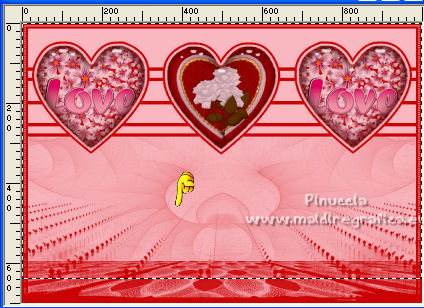
Press 3 times CANC on the keyboard.
Selections>Select None.
7. Open you tube and go to Edit>Copy.
Go back to your work and go to Edit>Paste as new layer.
Image>Resize, if necessary, resize all layers not checked.
Adjust>Sharpness>Sharpen.
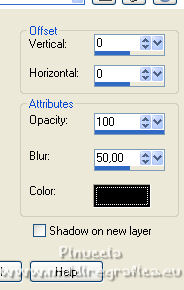
Effects>3D Effects>Drop Shadow.
Open heart and candles 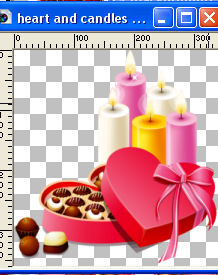
Edit>Copy.
Go back to your work and go to Edit>Paste as new layer.
Image>Resize, to 80%, resize all layers not checked.
Move  the tube at the bottom right. the tube at the bottom right.
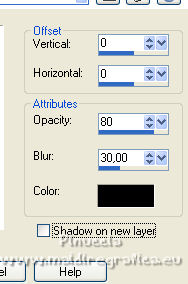
Effects>3D Effects>Drop Shadow.
8. Open LD-valentine roses-chocolate 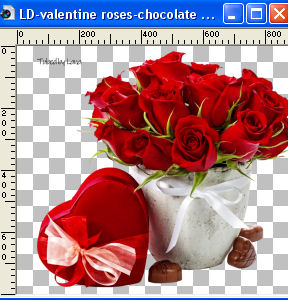
Erase the watermark and go to Edit>Copy.
Go back to your work and go to Edit>Paste as new layer.
Image>Resize, to 30%, resize all layers not checked.
Adjust>Sharpness>Sharpen.
Move  the tube at the bottom left. the tube at the bottom left.
Effects>3D Effects>Drop Shadow, same settings.

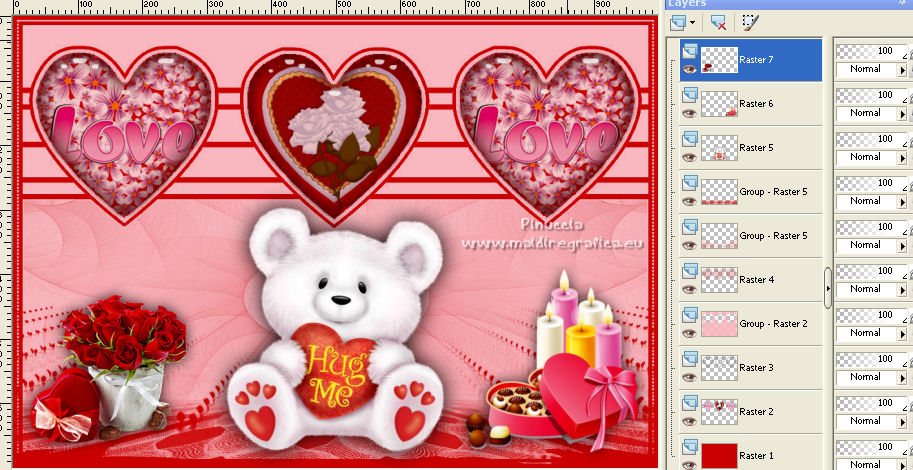
Layers>Merge>Merge visible.
9. Selections>Select All.
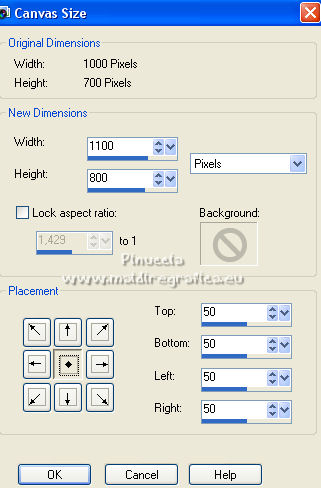
Image>Canvas Size - 1100 x 800 pixels
Selections>Invert.
Layers>New Raster Layer.
Flood Fill  the selection with your light color. the selection with your light color.
Selections>Modify>Contract - 15 pixels.
Open in PSP paper 1 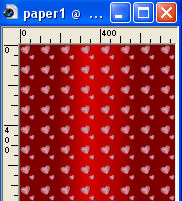 e minimizzalo. e minimizzalo.
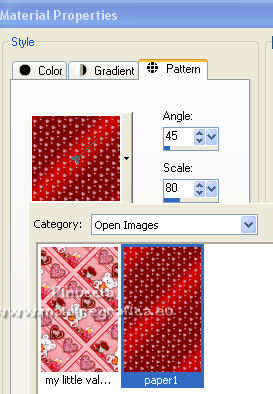
Set your foreground color to Pattern,
look for and select the image under the Open images Category
in the newest versions, the opened images are at the top of the list
Layers>New Raster Layer.
Flood Fill  the selection with your pattern. the selection with your pattern.
Selections>Select None.
10. Activate again the layer Raster 1 (the light border).
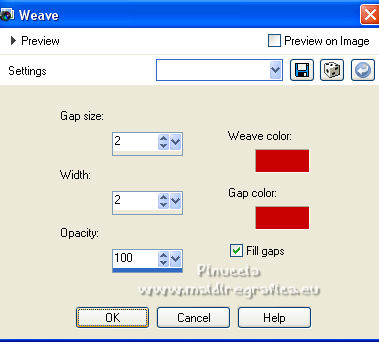
Effects>Texture Effects>Weave - the two colors: your dark color
Activate again the layer Raster 2.
Effects>3D Effects>Drop Shadow.

Image>Add borders, 3 pixels, symmetric, dark color.
Image>Add borders, 5 pixels, symmetric, light color.
Image>Add borders, 3 pixels, symmetric, dark color.
11. Selections>Select All.
Image>Add borders, 30 pixels, symmetric, light color.
Selections>Invert.
Effects>Plugins>Filters Unlimited 2.0 - Tile & Mirror - Mirrored &Scaled.
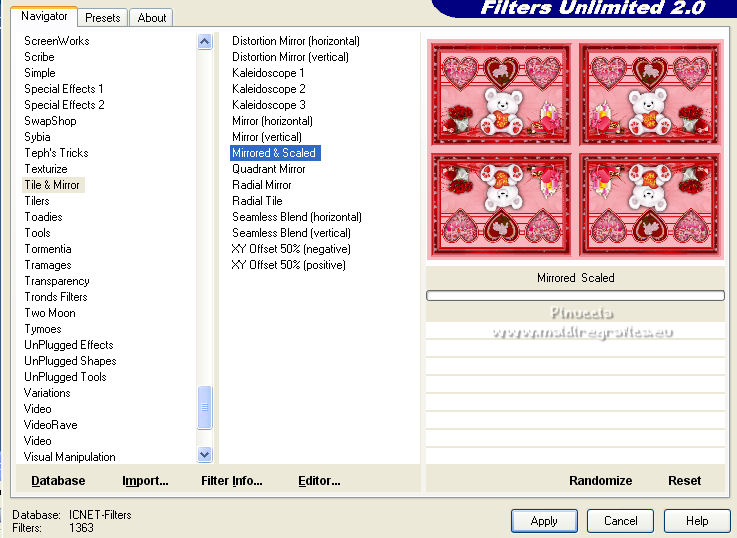
Repeat the Effect other 2 times.
Selections>Inverti.
Effects>3D Effects>Drop shadow.

Selections>Select None.
12. Selections>Select All.
Selections>Modify>Contract - 105 pixels.
Layers>New Raster Layer.
Effects>3D Effects>Cutout, same settings.
Selections>Select None.
Layers>Merge>Merge down.
Image>Resize, 1050 pixels width, resize all layers checked.
Adjust>Sharpness>Sharpen.
Sign your work on a new layer.
Add any copyright of the images used.
Layers>Merge>Merge All and save as jpg.

If you have problems or doubts, or you find a not worked link, or only for tell me that you enjoyed this tutorial, write to me.
19 January 2023

|

