|
MY LITTLE DINO

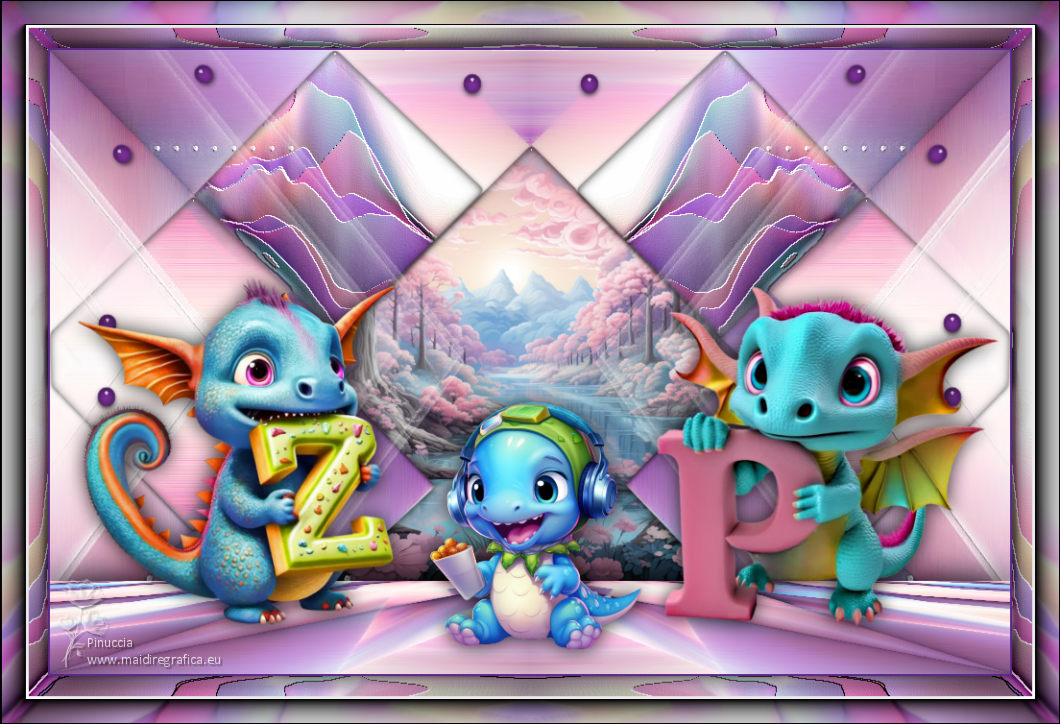
Thanks Inge-lore for your invitation to translate your tutorials.

This tutorial was translated with PSPX, PSPX2, PSPX3, but it can also be made using other versions of PSP.
Since version PSP X4, Image>Mirror was replaced with Image>Flip Horizontal,
and Image>Flip with Image>Flip Vertical, there are some variables.
In versions X5 and X6, the functions have been improved by making available the Objects menu.
In the latest version X7 command Image>Mirror and Image>Flip returned, but with new differences.
See my schedule here
 Italian translation qui Italian translation qui
 French translation here French translation here
 Your versions ici Your versions ici
Material here
For the tubes thanks LisaT
(you find here the links to the material authors' sites)

consult, if necessary, my filter section here
Filters Unlimited 2.0 here
Mehdi - Sorting Tiles here
Mura's Meister - Perspective Tiling here
Mura's Seamless - Emboss at Alpha here
FM Tile Tools - Saturation Emboss here
Simple - Top Left Mirror, Blintz here
Alien Skin Eye Candy 5 Impact - Glass here
AAA Frames - Foto Frame here
Filters Mura's Seamless and Simple can be used alone or imported into Filters Unlimited.
(How do, you see here)
If a plugin supplied appears with this icon  it must necessarily be imported into Unlimited it must necessarily be imported into Unlimited

You can change Blend Modes according to your colors.

Copy the Selections in the Selection Folder.
Open the mask in PSP and minimize it with the rest of the material.
1. Choose 2 colors from your tubes.
Set your foreground color to the light color
and your background color to the dark color.
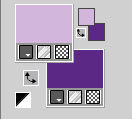
Open a new transparent image 1000 x 650 pixels.
Selections>Select All.
Open l'immagine di sfondo Meadow Fairy Paper (8) 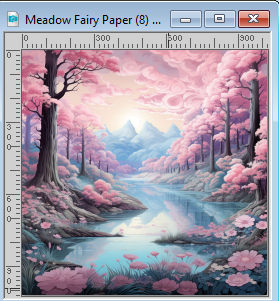
Edit>Copy.
Go back to your work and go to Edit>Paste into Selection.
Selections>Select None.
Effects>Image Effects>Seamless Tiling, default settings.

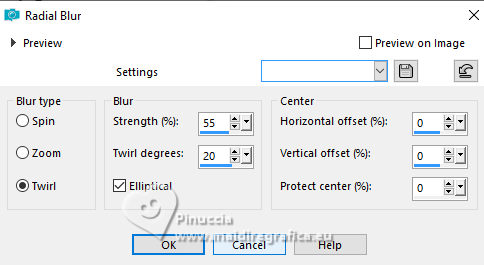
2. Adjust>Blur>Radial Blur.
Effects>Image Effects>Seamless Tiling, default settings.

Effects>Plugins>FM Tile Tools - Saturation Emboss, default settings.

Effects>Edge Effects>Enhance More.
Effects>Plugins>Simple - Blintz - 2 times.
Effects>Plugins>Simple - Top Left Mirror.
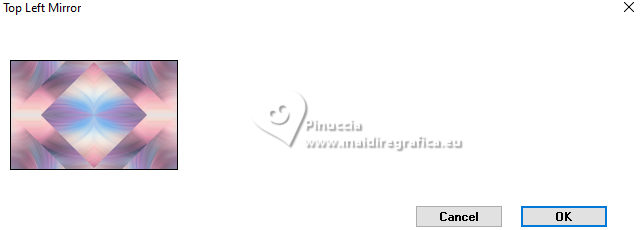
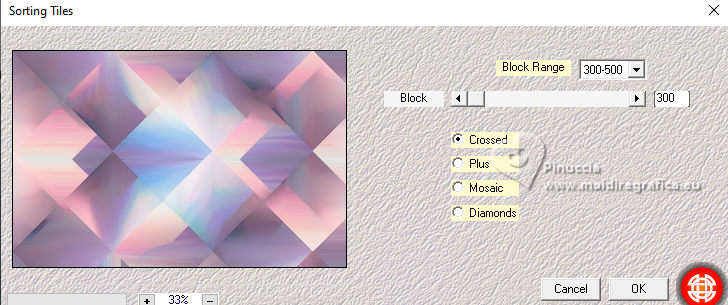
3. Effects>Plugins>Mehdi - Sorting tiles.
Effects>Plugins>Simple - Top Left Mirror.
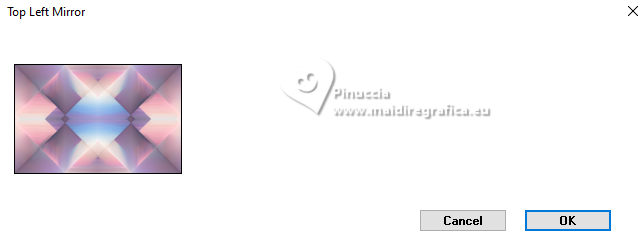
Layers>Duplicate.
Change the Blend Mode of this layer to Overlay.
Layers>Merge>Merge Down.
Layers>Duplicate.
Effects>Plugins>Mura's Meister - Perspective Tiling.
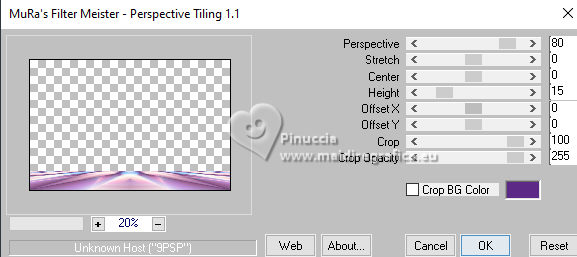
Effects>3D Effects>Drop Shadow.

4. Sélections>Charger/Enregistrer une sélection>Charger à partir du disque.
Chercher et charger la selection little-dino©ILR
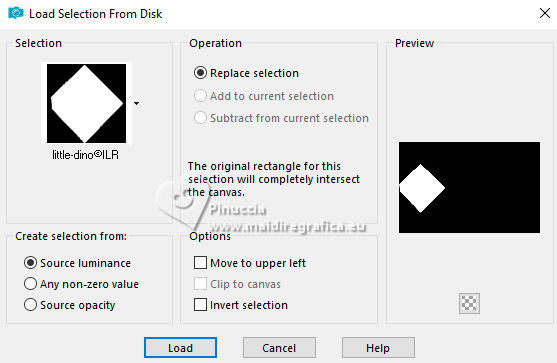
Activate the layer Raster 1.
Selections>Promote Selection to Layer.
Effects>Plugins>Alien Skin Eye Candy 5 Impact - Glass.
Select the preset Clear and ok.

Selections>Select None.
Layers>Duplicate.
Image>Mirror.
Layers>Merge>Merge Down.
5. Activate again the layer Raster 1.
Sélections>Charger/Enregistrer une sélection>Charger à partir du disque.
Chercher et charger la selection little-dino_2©ILR
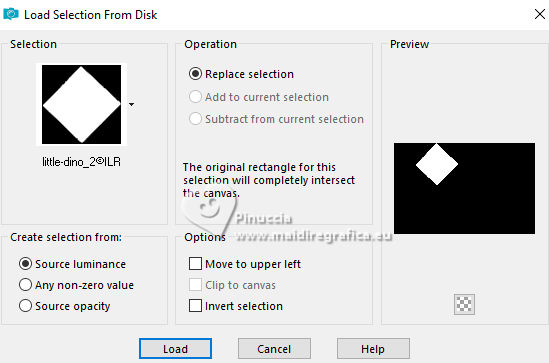
Selections>Promote Selection to Layer.
Effects>Artistic Effects>Enamel, default settings.
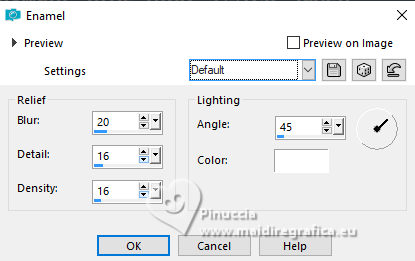
Effects>Plugins>Alien Skin Eye Candy 5 Impact - Glass - preset Clear.
Selections>Select None.
Layers>Duplicate.
Image>Mirror.
Layers>Merge>Merge Down.
6. Activate again the layer Raster 1.
Sélections>Charger/Enregistrer une sélection>Charger à partir du disque.
Chercher et charger la selection little-dino_3©ILR
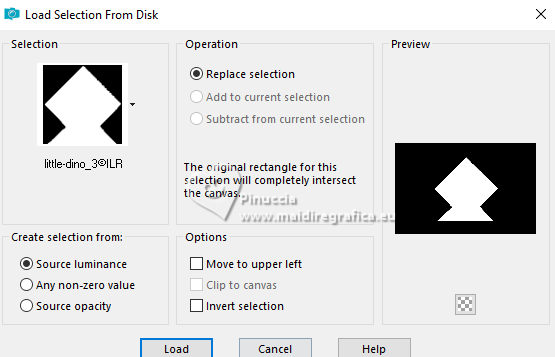
Layers>New Raster Layer.
Edit>Paster into Selection (your background image is still in memory).
Effects>Plugins>Alien Skin Eye Candy 5 Impact - Glass - preset Clear.
Selections>Select None.
7. Activate your top layer.
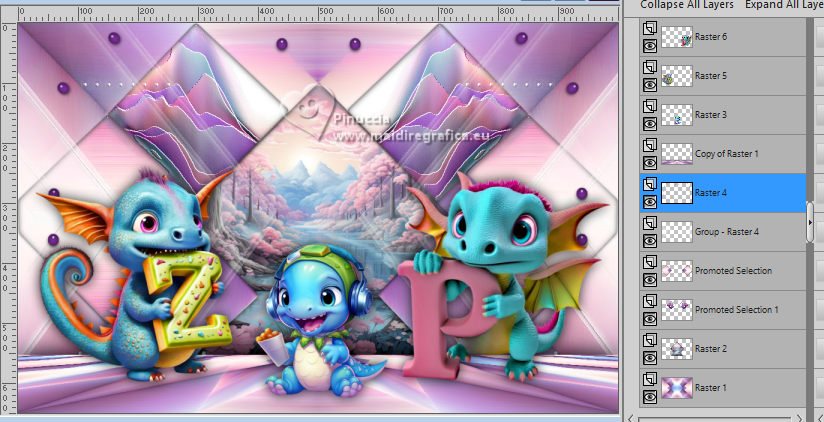
Open the tube of the little dino Baby Dinosaur 5 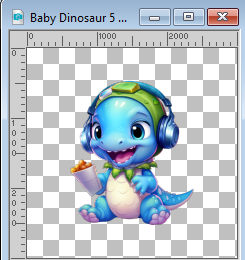
Edit>Copy.
Go back to your work and go to Edit>Paste as new layer.
Image>Resize, to 50%, resize all layers not checked.
if you use the tube as in my example, resize again 2 times to 50%
Place  the tube in the center. the tube in the center.
Effects>3D Effects>Drop Shadow.

"Since I have a double name (Inge-Lore refers to her name),
I also took two dinosaurs), positioned on the sides of the small tube".
For my example, since I don't have a double name, I chose the tubes with my initials
If you want, add an accessory tube.
Resize, if necessary.
Adjust>Sharpness>Sharpen.
Effects>3D Effects>Drop Shadow, same settings.
8. Activate the layer Promoted Selection.
Layers>New Raster Layer.
Set your foreground color to white.
Flood Fill  the layer with color white. the layer with color white.
Layers>New Mask layer>From image
Open the menu under the source window and you'll see all the files open.
Select the mask NarahsMasks_1717
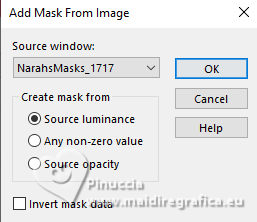
Effects>Edge Effects>Enhance.
Layers>Merge>Merge Group.
Effects>Plugins>Mura's Seamless - Emboss at Alpha, default settings.
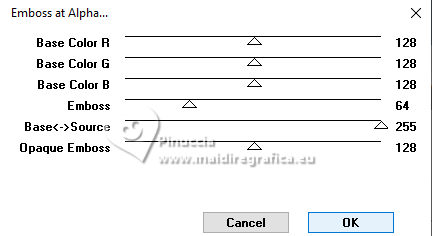
Layers>Duplicate.
Image>Mirror.
Layers>Merge>Merge Down.
9. Open Deco-1©ILR 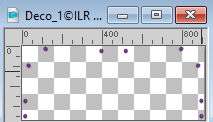
Edit>Copy.
Go back to your work and go to Edit>Paste as new layer.
K key to activate your Pick Tool 
keep Position X: 43,00 and set Position Y: 11,00.

Activate the layer Raster 1.
Edit>Copy
Image>Add borders, 2 pixel, symmetric, dark color.
Selections>Select All.
10. Image>Add borders, 50 pixels, symmetric, light color.
Selections>Invert.
Edit>Paste into Selection.
Effects>Artistic Effects>Enamel, same settings.

Effects>Plugins>AAA Frames - Foto Frame.
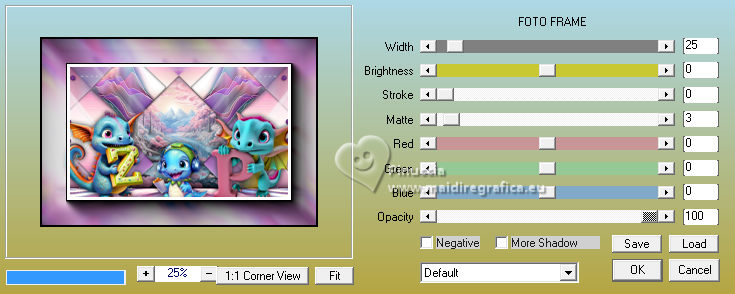
Effects>Reflection Effects>Rotating Mirror, default settings

11. Selections>Invert.
Effects>3D Effects>Drop Shadow.

Selections>Select None.
Image>Resize, 1060 pixels width, resize all layers checked.
Sign your work on a new layer.
Layers>Merge>Merge All and save as jpg.
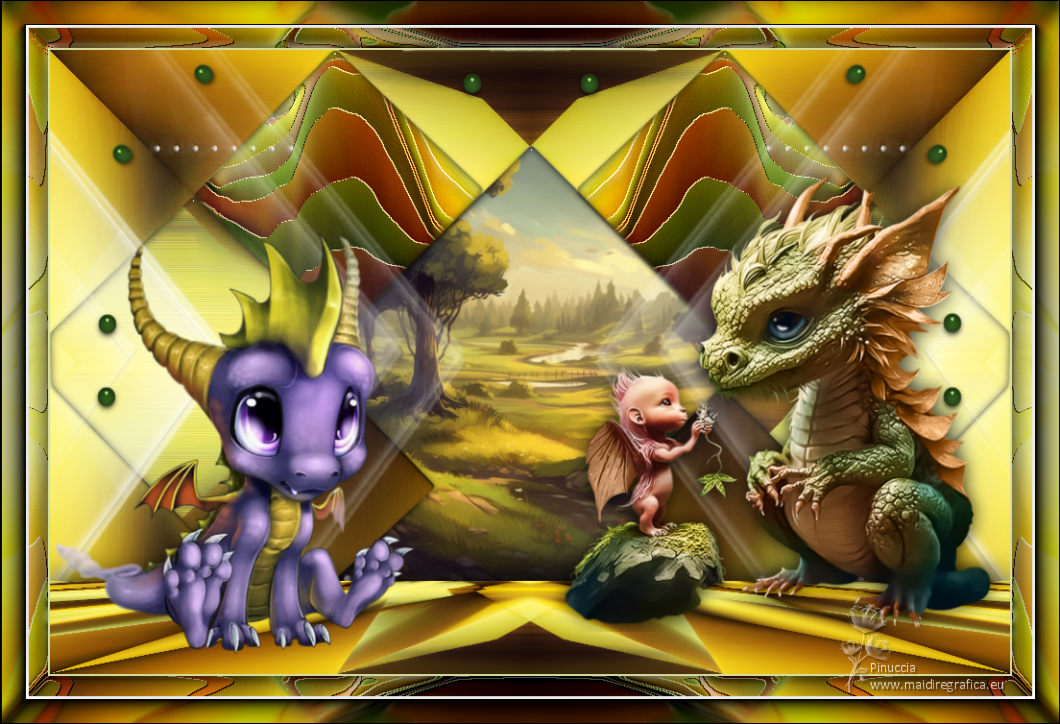
For the tubes of this version thanks LisaT.

If you have problems or doubts, or you find a not worked link, or only for tell me that you enjoyed this tutorial, write to me.
18 Ottobre 2023

|


