|
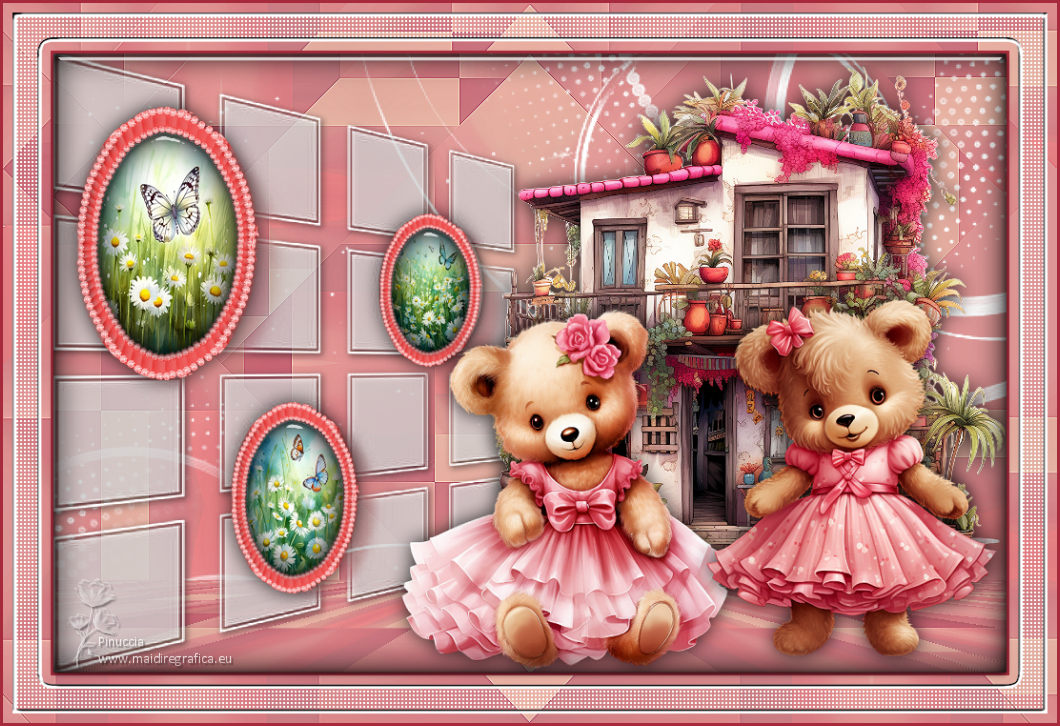
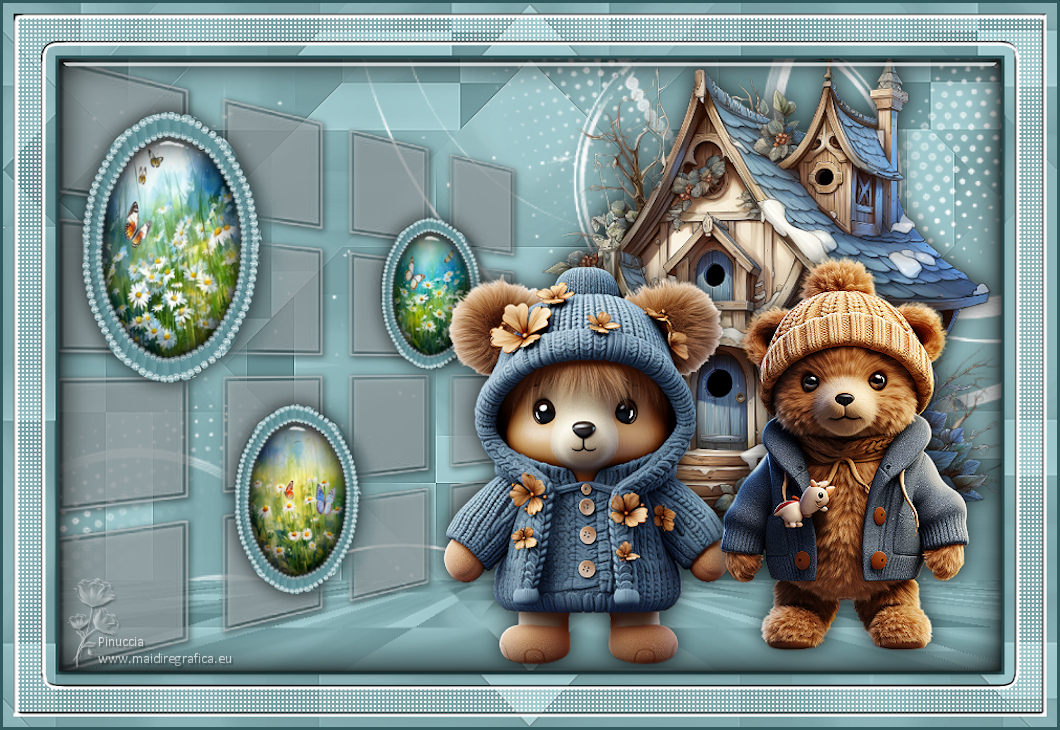
LITTLE SWEETHEART

Thanks Inge-lore for your invitation to translate your tutorials.

This tutorial was translated with PSPX, PSPX2, PSPX3, but it can also be made using other versions of PSP.
Since version PSP X4, Image>Mirror was replaced with Image>Flip Horizontal,
and Image>Flip with Image>Flip Vertical, there are some variables.
In versions X5 and X6, the functions have been improved by making available the Objects menu.
In the latest version X7 command Image>Mirror and Image>Flip returned, but with new differences.
See my schedule here
 Italian translation qui Italian translation qui
 French translation here French translation here
 Your versions ici Your versions ici
Material:
Material here
I tubes sono di Adrienne
(you find here the links to the material authors' sites)

consult, if necessary, my filter section here
Filters Unlimited 2.0 qui
Mehdi - Sorting Tiles qui
Mura's Meister - Perspective Tiling qui
Simple - Top Left Mirror, Blintz qui
Alien Skin Eye Candy 5 Impact - Glass qui
[AFS IMPORT] - sqborder2 qui
AAA Frames - Foto Frame qui
Filters Simple and [AFS IMPORT] can be used alone or imported into Filters Unlimited.
(How do, you see here)
If a plugin supplied appears with this icon  it must necessarily be imported into Unlimited it must necessarily be imported into Unlimited

You can change Blend Modes according to your colors.

Open the masks in PSP and minimize them with the rest of the material.
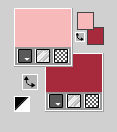
1. Choose 3 colors from your tubes

Set your foreground color to color 1
and your background color to color 2.
Open a new transparent image 1000 x 650 pixels.
Flood Fill  the transparent with your background color (color 2) the transparent with your background color (color 2)
Layers>New Raster Layer.
Selections>Select All.
Open your background image Wine Country Paper (2) 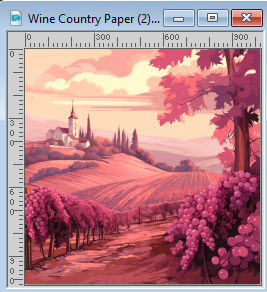
Edit>Copy.
Go back to your work and go to Edit>Paste into Selection.
Selections>Select None.
If necessary, change the Blend Mode of this layer to Luminance (legacy)
Layers>Merge>Merge Down.
Effects>Image Effects>Seamless Tiling default settings.

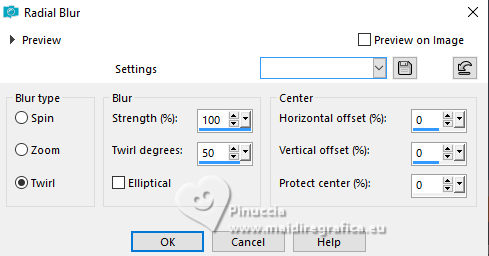
2. Adjust>Blur>Radial Blur.
Effects>Plugins>Mehdi – Sorting Tiles
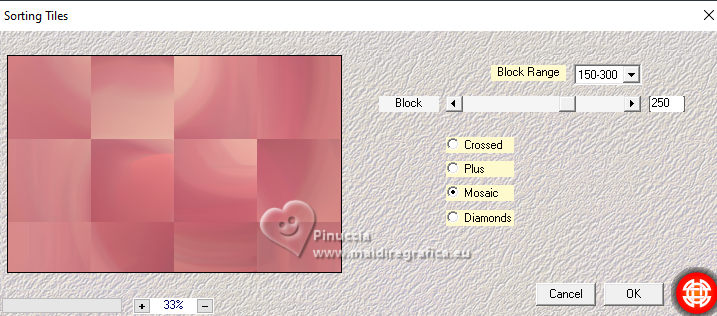
Repeat Effects>Plugins>Mehdi – Sorting Tiles
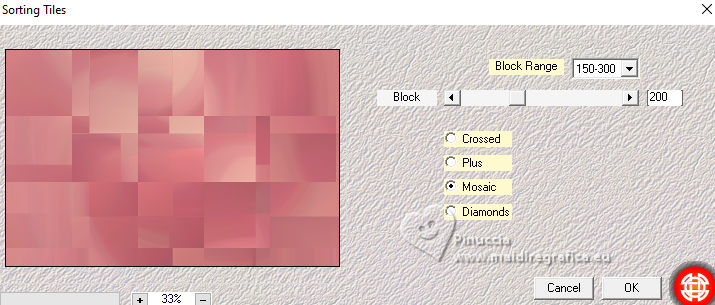
Effects>Reflection Effects>Rotating Mirror.

Image>Mirror.
Effects>Plugins>Simple - Top Left Mirror.
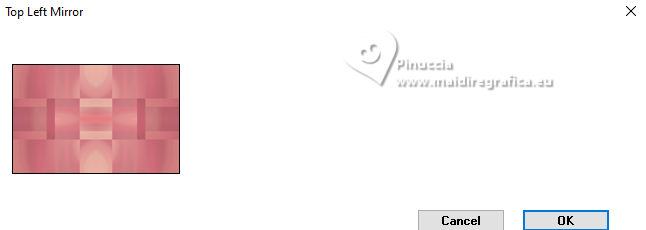
3. Effects>Plugins>Simple - Blintz.
Image>Mirror.
Again Effects>Plugins>Simple - Blintz.
Image>Rotate Left - 2 times
Again Effects>Plugins>Simple – Blintz
Again Image>Rotate Left - 2 times.
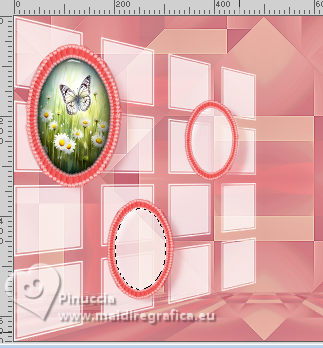
You should have this
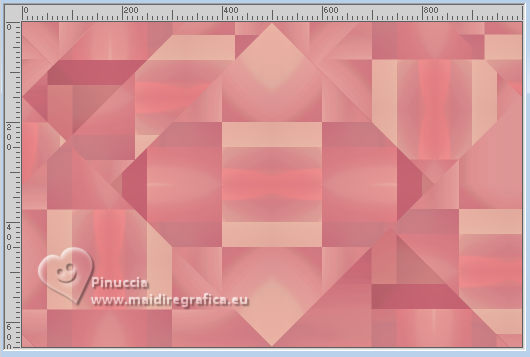
4. Effects>Edge Effects>Enhance.
Layers>Duplicate.
Effects>Plugins>Mura's Meister - Perspective Tiling.
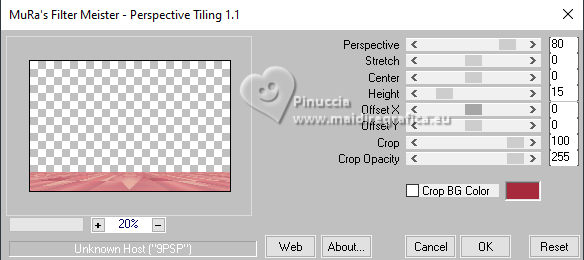
Effects>Reflection Effects>Rotating Mirror.

Set your foreground color to white.
Layers>New Raster Layer.
Flood Fill  the layer with color white. the layer with color white.
Layers>New Mask layer>From image
Open the menu under the source window and you'll see all the files open.
Select the mask 0_abcc1_8eac40b_orig
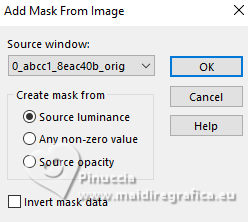
Effects>Edge Effects>Enhance.
Layers>Merge>Merge Group.
5. Selection Tool 
(no matter the type of selection, because with the custom selection your always get a rectangle)
clic on the Custom Selection 
and set the following settings.
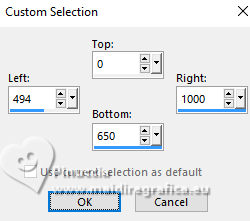
Press CANC on the keyboard 
Selections>Select None.
Open frame©ILR 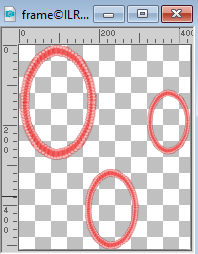
Edit>Copy.
Go back to your work and go to Edit>Paste as new layer.
K key to activate your Pick Tool 
and set Position X: 21,00 and Position Y: 56,00.

Activate your Magic Wand Tool 
and click in the larger frame to select it.
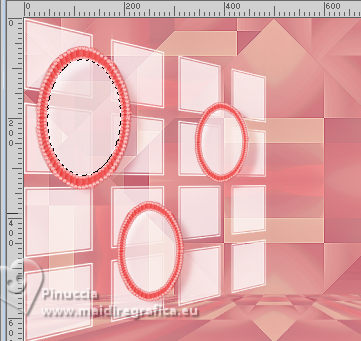
Layers>New Raster Layer.
Open ButterfliesDaisiesBGJPG1 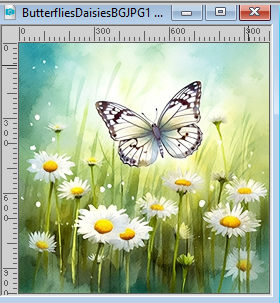
Edit>Copy.
Go back to your work and go to Edit>Paste into Selection.
Adjust>Sharpness>Sharpen.
6. Layers>New Raster Layer.
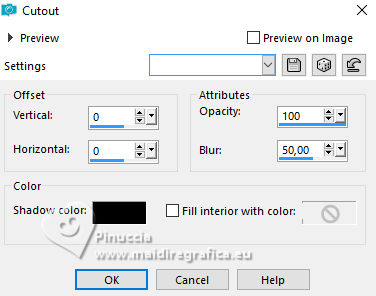
Effects>3D Effects>Cutout.
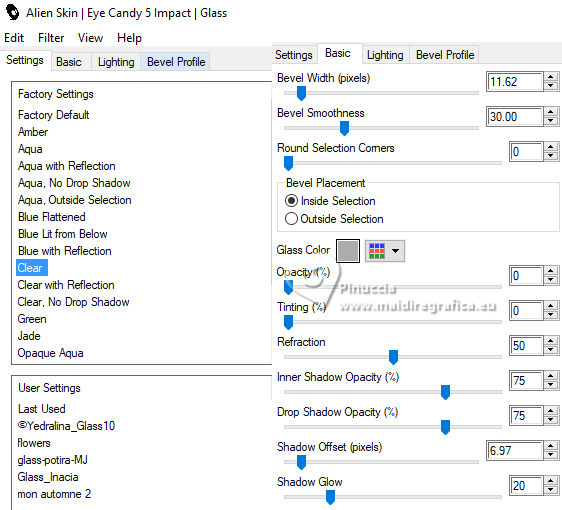
Effects>Plugins>Alien Skin Eye Candy 5 Impact – Glass
select the preset Clear, with these settings.
Selections>Select None.
Layers>Merge>Merge Down.
Activate again the layer Raster 2.
Click with your Magic Wand Tool  in the lower frame. in the lower frame.
7. Layers>New Raster Layer.
Open your second image ButterflyDaisiesBJPG13 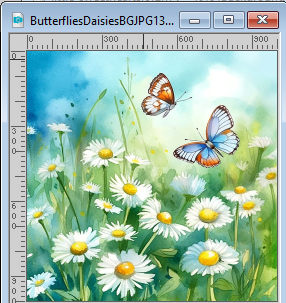
Edit>Copy.
Go back to your work and go to Edit>Paste into Selection.
Adjust>Sharpness>Sharpen.
Layers>New Raster Layer.
Effects>3D Effects>Cutout, same settings.
Effects>Plugins>Alien Skin Eye Candy 5 Impact – Glass - Clear.
Selections>Select None.
Layers>Merge>Merge Down.
8. Activate again the layer Raster 2.
Click with your Magic Wand Tool  in the right frame. in the right frame.
Layers>New Raster Layer.
Open the third image ButterfliesDaisiesBGJPG3 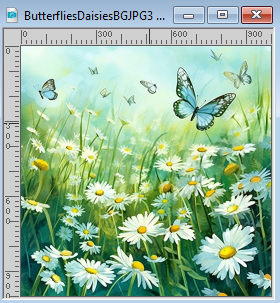
Edit>Copy.
Go back to your work and go to Edit>Paste into Selection.
Adjust>Sharpness>Sharpen.
Layers>New Raster Layer.
Effects>3D Effects>Cutout, same settings.
Effects>Plugins>Alien Skin Eye Candy 5 Impact – Glass - Clear
Selections>Select None.
Layers>Merge>Merge Down.
Activate your top layer.
Layers>Merge>Merge Down - 3 times.
Effects>3D Effects>Drop Shadow.

9. Activate the layer of the mask.
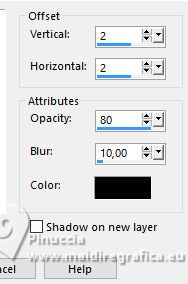
Effects>3D Effects>Drop Shadow.
Activate your bottom layer.
Layers>New Raster Layer.
Flood Fill  the layer with color white. the layer with color white.
Layers>New Mask layer>From image
Open the menu under the source window
and select the mask mask_vjf_originale
Effects>Edge Effects>Enhance.
Layers>Merge>Merge Group.
10. Activate your top layer.
Open the tube of the house Wine Country Element(2) 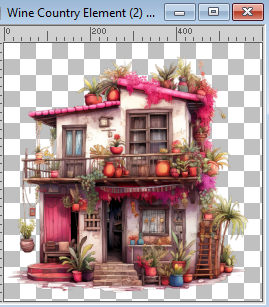
Edit>Copy.
Go back to your work and go to Edit>Paste as new layer.
Image>Resize, if necessary, resize all layers not checked.
Adjust>Sharpness>Sharpen.
Move  the tube to the right. the tube to the right.
Effects>3D Effects>Drop Shadow.

Open your main tube Wine Country Element (98) 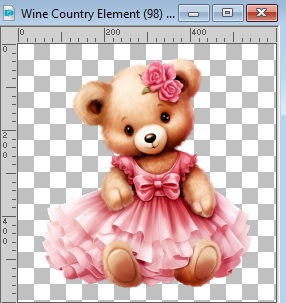
Edit>Copy.
Go back to your work and go to Edit>Paste as new layer.
Image>Resize, if necessary, resize all layers not checked.
Adjust>Sharpness>Sharpen.
Move  the tube down in the center. the tube down in the center.
Effects>3D Effects>Drop Shadow, same settings.
Open your second tube Wine Country Element (98) 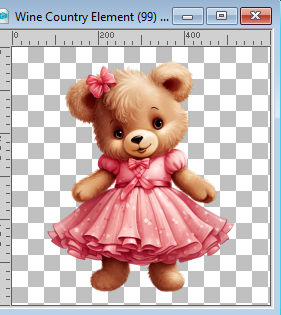
Edit>Copy.
Go back to your work and go to Edit>Paste as new layer.
Image>Resize, if necessary, resize all layers not checked.
Adjust>Sharpness>Sharpen.
Effects>3D Effects>Drop Shadow, same settings.
Move  the tube to the right. the tube to the right.
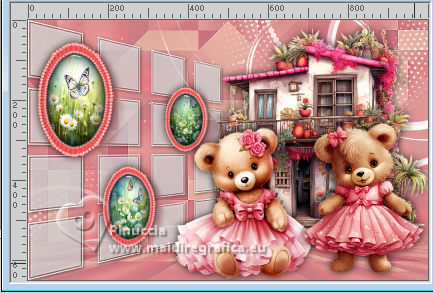
11. Activate the layer Raster 1.
Edit>Copy
Image>Add borders, 3 pixels, symmetric, dark color.
Selections>Select All.
Image>Add borders, 50 pixels, symmetric, light color.
Selections>Invert.
Edit>Paste into Selection.
Selections>Modify>Contract - 10 pixels.
12. Effects>Plugins>[AFS Import] - sqborder 2, default settings.
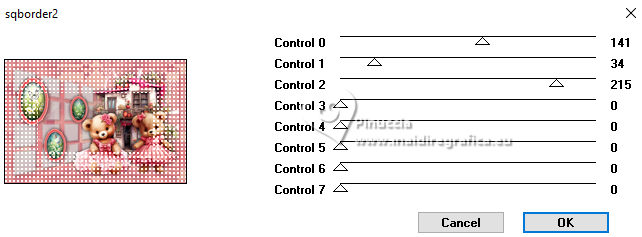
Selections>Modify>Select Selection Borders.
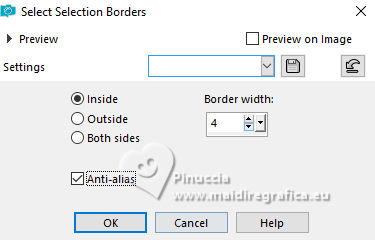
Flood Fill  the selection with color white. the selection with color white.
Effects>3D Effects>Inner Bevel.
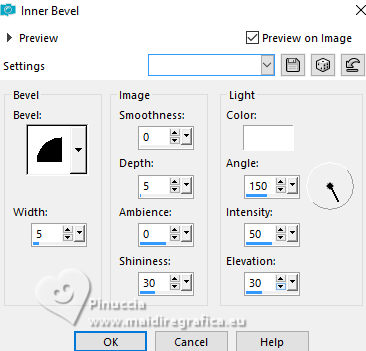
Selections>Select All.
Selections>Modify>Contract - 53 pixels.
Effects>3D Effects>Cutout, same settings.

13. Effects>Plugins>Alien Skin Eye Candy 5 Impact – Glass - Clear.
Selections>Select None.
Image>Resize, 1054 pixels width, resize all layers checked.
If necessary, Adjust>Sharpness>Sharpen.
Sign your work on a new layer.
Image>Add borders, 3 pixels, symmetric, dark color.
Save as jpg.

If you have problems or doubts, or you find a not worked link, or only for tell me that you enjoyed this tutorial, write to me.
18 Ottobre 2023

|

