|
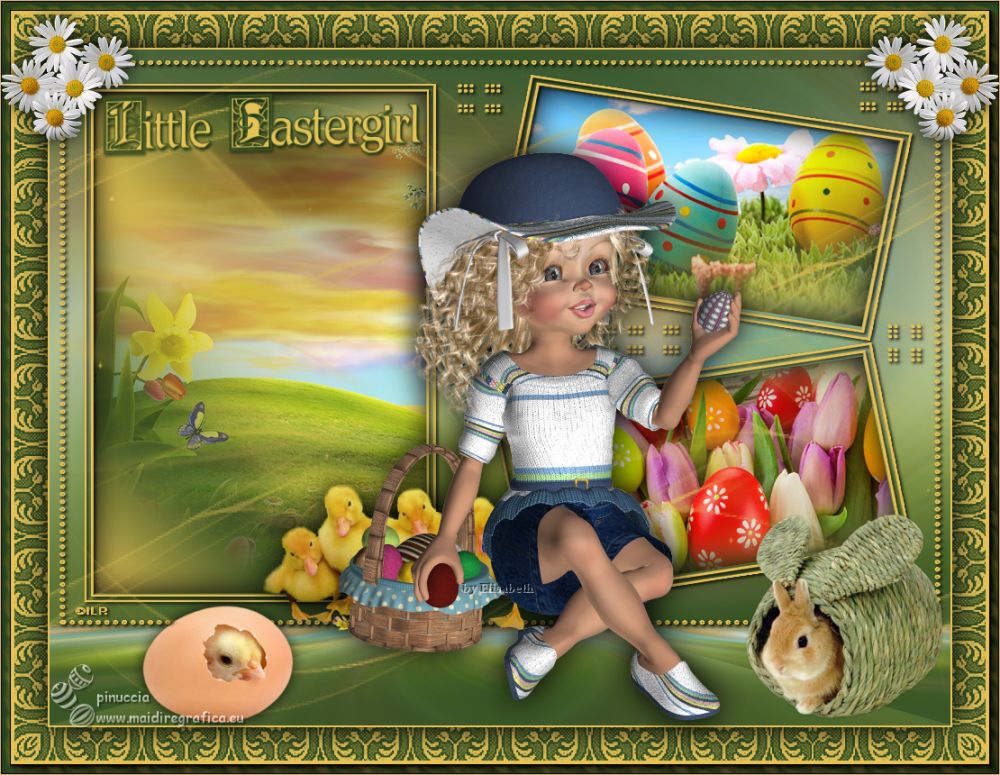
LITTLE EASTER GIRL

Thanks Inge-lore for your invitation to translate your tutorials.

This tutorial was translated with PSPX, PSPX2, PSPX3, but it can also be made using other versions of PSP.
Since version PSP X4, Image>Mirror was replaced with Image>Flip Horizontal,
and Image>Flip with Image>Flip Vertical, there are some variables.
In versions X5 and X6, the functions have been improved by making available the Objects menu.
In the latest version X7 command Image>Mirror and Image>Flip returned, but with new differences.
See my schedule here
 Italian translation qui Italian translation qui
 French translation here French translation here
 Your versions ici Your versions ici
For this tutorial, you will need:
Tubes at your choice (the tubes used by Inge-Lore are under licence)

For the tubes thanks Thafs and Min@
For the tubes of my version thanks Elizabeth and Wieskes.
(you find here the links to the material authors' sites)

consult, if necessary, my filter section here
Mura's Meister - Perspective Tiling here
AAA Frames - Foto Frame here

In the newest versions of PSP, you don't find the foreground/background gradient (Corel_06_029).
You can use the gradients of the older versions.
The Gradient of CorelX here

Copy the Selections in the Selections Folder.
Open the masks in PSP and minimize them with the rest of the material.
1. Choose two colors from your tube.
Set your foreground color to light color,
and your background color to dark color.
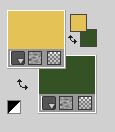
Open a new transparent image 1000 x 650 pixels.
Flood Fill  the transparent image with your dark color. the transparent image with your dark color.
Layers>New Raster Layer.
Selections>Select All.
Open the background tube easter_butterflies_flowers_tubed_by_thafs

Edit>Copy.
Go back to your work and go to Edit>Paste into Selection.
Selections>Select None.
Effects>Image Effects>Seamless Tiling, side by side.

Layers>Merge>Merge Down.
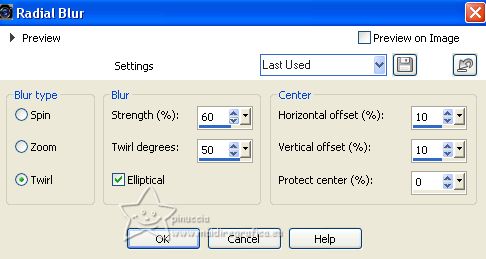
2. Adjust>Blur>Radial Blur.
Layers>New Raster Layer.
Flood Fill  the layer with your light color. the layer with your light color.
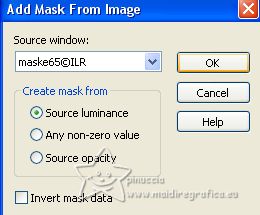
Layers>New Mask layer>From image
Open the menu under the source window and you'll see all the files open.
Select the mask maske65©ILR
Effects>Edge Effects>Enhance.
Layers>Merge>Merge Group.
Set your foreground color to a Foreground/Background Gradient, style Linear.
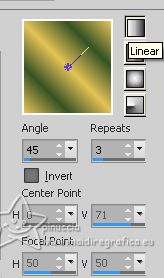
Selection Tool 
(no matter the type of selection, because with the custom selection your always get a rectangle)
clic on the Custom Selection 
and set the following settings.
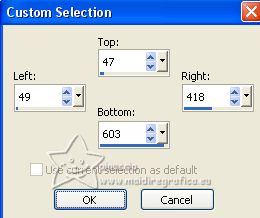
Layers>New Raster Layer.
Flood Fill  the layer with your Gradient. the layer with your Gradient.
3. Adjust>Blur>Gaussian Blur - radius 30.

Activate again the background tube.
Image>Mirror.
Edit>Copy.
Go back to your work and go to Edit>Paste as new layer
If necessary, Image Resize (I didn't made it), resize all layers not checked.
Adjust>Sharpness>Sharpen.
Place  lightly the image on the selection. lightly the image on the selection.
Selections>Invert.
Press CANC on the keyboard 
Selections>Invert.
Layers>New Raster Layer.
4. Effects>3D Effects>Cutout.
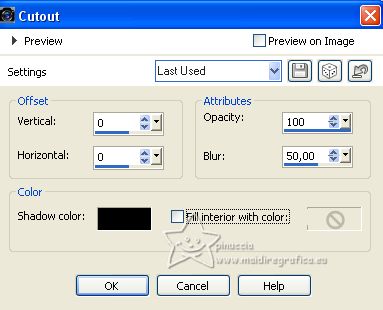
Selections>Select None.
Layers>Merge>Merge Down.
Layers>New Raster Layer.
Selections>Load/Save Selection>Load Selection from Disk.
Look for and load the selection eastergirl #1
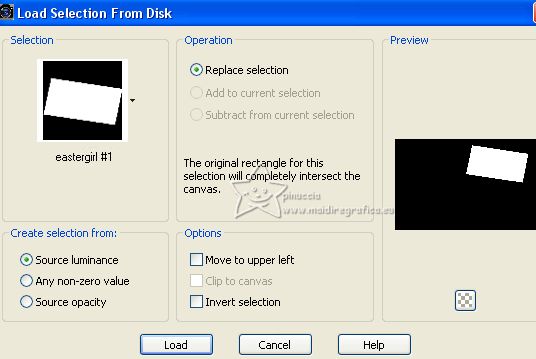
Flood Fill  the selection with your gradient. the selection with your gradient.
Adjust>Blur>Gaussian Blur - radius 30.

5. Open the second background tube pasques_tubed_by_thafs 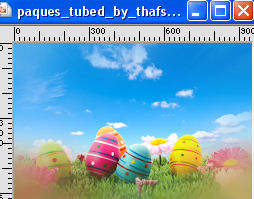
Edit>Copy.
Go back to your work and go to Edit>Paste as new layer.
Resize, if necessary.
Place  the tube on the selection. the tube on the selection.
Selections>Invert.
Press CANC on the keyboard.
Selections>Invert.
Layers>New Raster Layer.
Effects>3D Effects>Cutout, same settings.
Selections>Select None.
Layers>Merge>Merge Down.
6. Layers>New Raster Layer.
Selections>Load/Save Selection>Load Selection from Disk.
Look for and load the selection eastergirl #2
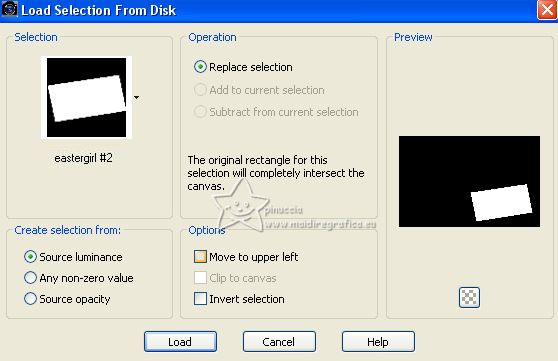
Flood Fill  the selection with your gradient. the selection with your gradient.
Adjust>Blur>Gaussian Blur, same settings.
Open the third background tube mina@4638 mist pasquale.04.17 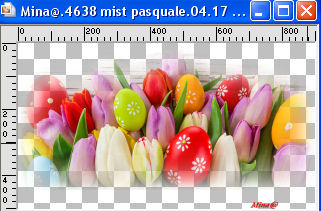
Erase the watermark e vai a Edit>Copy.
Go back to your work and go to Edit>Paste as new layer.
Resize, if necessary.
Adjust>Sharpness>Sharpen.
Place  the tube on the selection. the tube on the selection.
Selections>Invert.
Press CANC on the keyboard.
Selections>Invert.
Layers>New Raster Layer.
Effects>3D Effects>Cutout, same settings.
Selections>Select None.
Layers>Merge>Merge Down.
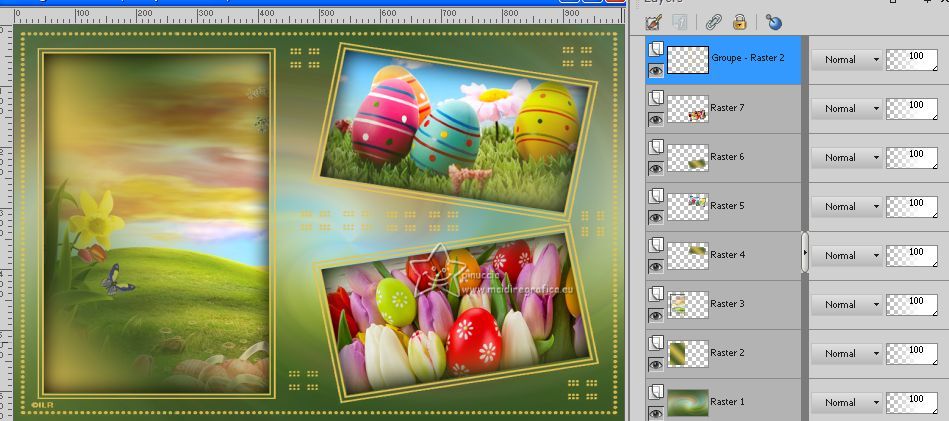
7. Activate the layer Group-Raster 2.
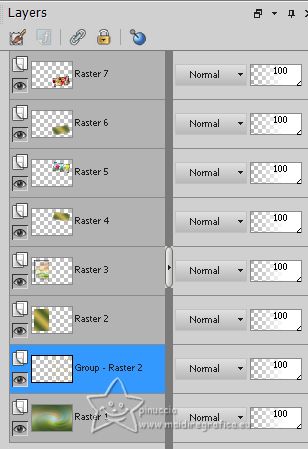
Layers>Arrange>Bring to Top.
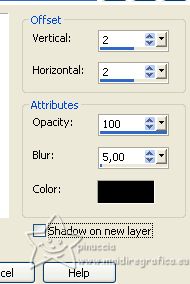
Effects>3D Effects>Drop Shadow.
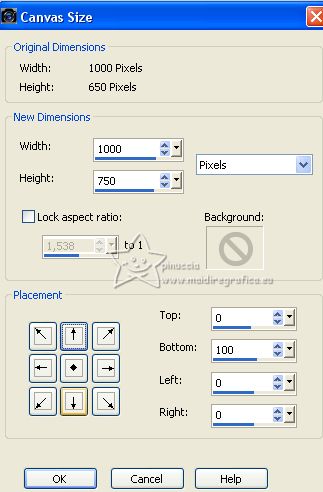
Image>Canvas Size - 1000 x 750 pixels.
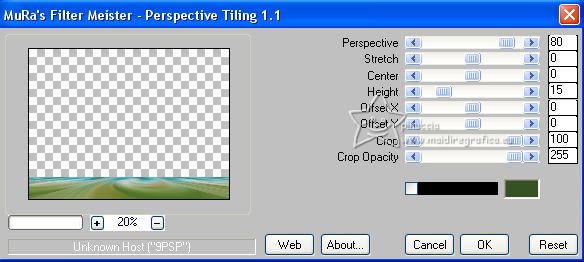
Activate the bottom layer, Raster 1.
Layers>Duplicate.
Effects>Plugins>Mura's Meister - Perspective Tiling.
Effects>Reflection Effects>Rotating Mirror.

8. Activate your top layer.
Layers>New Raster Layer.
Set your foreground color to Color.
Flood Fill  the layer with your light color. the layer with your light color.
Layers>New Mask layer>From image
Open the menu under the source window
and select the mask Narah_Mask_0968
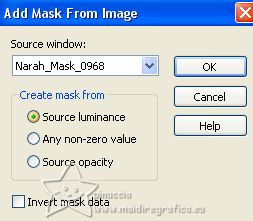
Effects>Edge Effects>Enhance.
Layers>Merge>Merge Group.
Effects>Image Effects>Seamless Tiling, same settings.

9. Layers>New Raster Layer.
Flood Fill  the layer with your light color. the layer with your light color.
Layers>New Mask layer>From image
Open the menu under the source window
and select the mask Narah_Mask_1146
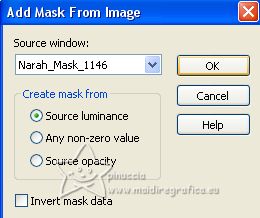
Effects>Edge Effects>Enhance.
Layers>Merge>Merge Group.
Effects>Image Effects>Seamless Tiling, side by side.

Image>Add borders, 2 pixels, symmetric, light color.
10. Selections>Select All.
Image>Add borders, 50 pixels, symmetric, dark color.
Selections>Invert.
Layers>New Raster Layer.
Flood Fill  the layer with your light color. the layer with your light color.
Layers>New Mask layer>From image
Open the menu under the source window
and select the mask LaceFrame1
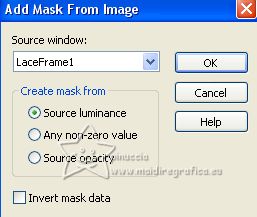
Effects>Edge Effects>Enhance.
Layers>Merge>Merge Group.
11. Selections>Invert.
Effects>3D Effects>Drop Shadow.
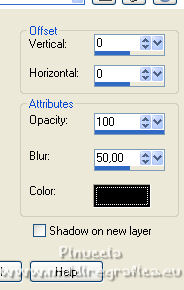
Selections>Select None.
Image>Add borders, 2 pixels, symmetric, dark color.
Effects>Plugins>AAA Frames - Foto Frame.
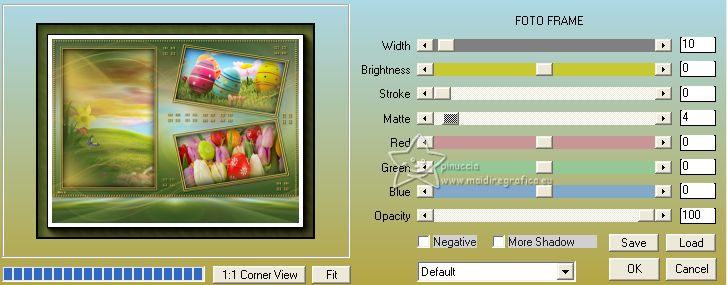
Selections>Select None.
Activate your Magic Wand Tool 
and click on the white border to select it.
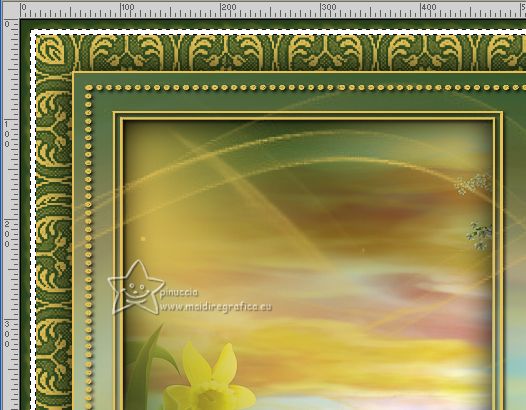
Flood Fill  the selection with your light color. the selection with your light color.
Selections>Select None.
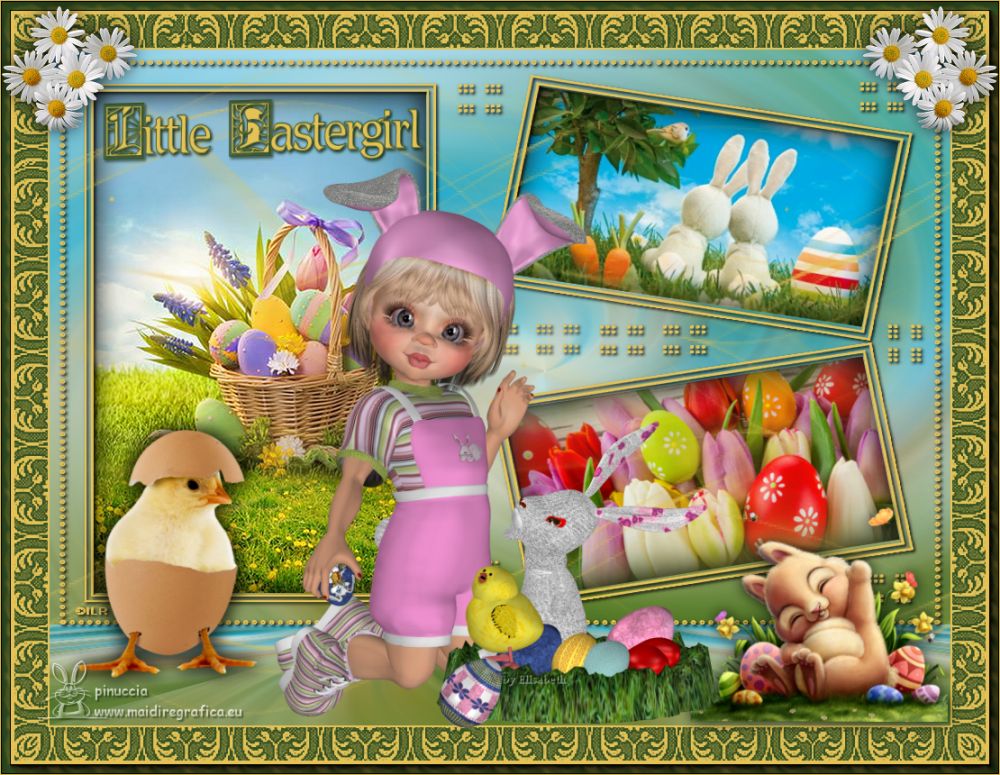
12. Open your tube, for my example I used a poser by Elizabeth (her site is closed).
kiki-194 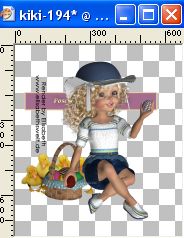
Edit>Copy.
Go back to your work and go to Edit>Paste as new layer.
Image>Resize, if necessary.
Adjust>Sharpness>Sharpen.
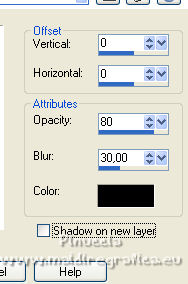
Effects>3D Effects>Drop Shadow, same settings.

Add your deco tubes, to finish your work.
Resize, if necessary.
Adjust>Sharpness>Sharpen.
Effects>3D Effects>Drop Shadow.
13. Open PAP01 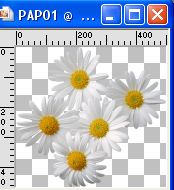
Edit>Copy.
Go back to your work and go to Edit>Paste as new layer.
Image>Resize, to 30%, resize all layers not checked.
Adjust>Sharpness>Sharpen.
Effects>3D Effects>Drop Shadow, same settings.

Move  the tube to the upper left corner. the tube to the upper left corner.
Layers>Duplicate.
Image>Mirror.
Layers>Merge>Merge Down.
Open the text text 
Edit>Copy.
Go back to your work and go to Edit>Paste as new layer.
Place  the tube in the bigger frame, the tube in the bigger frame,
see my example.
Image>Add borders, 1 pixel, symmetric, light color.
Image>Resize, 1000 pixels width, resize all layers checked.
Adjust>Sharpness>Sharpen.
Sign your work on a new layer.
Layers>Merge>Merge All and save as jpg.
For the tubes of this version thanks Elizabeth and Wieskes

If you have problems or doubts, or you find a not worked link, or only for tell me that you enjoyed this tutorial, write to me.
15 March 2023

|

