|
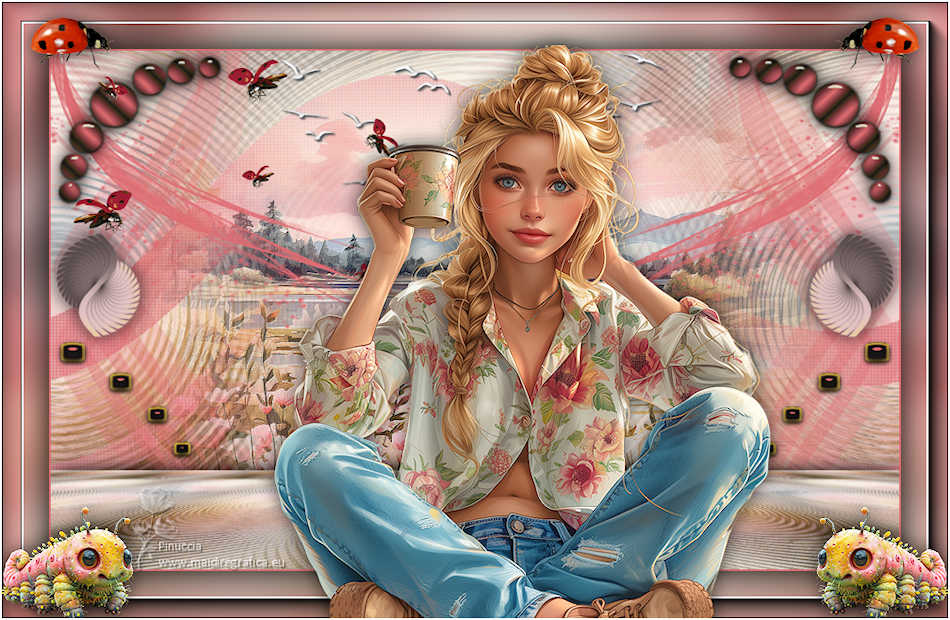
LADY BUG

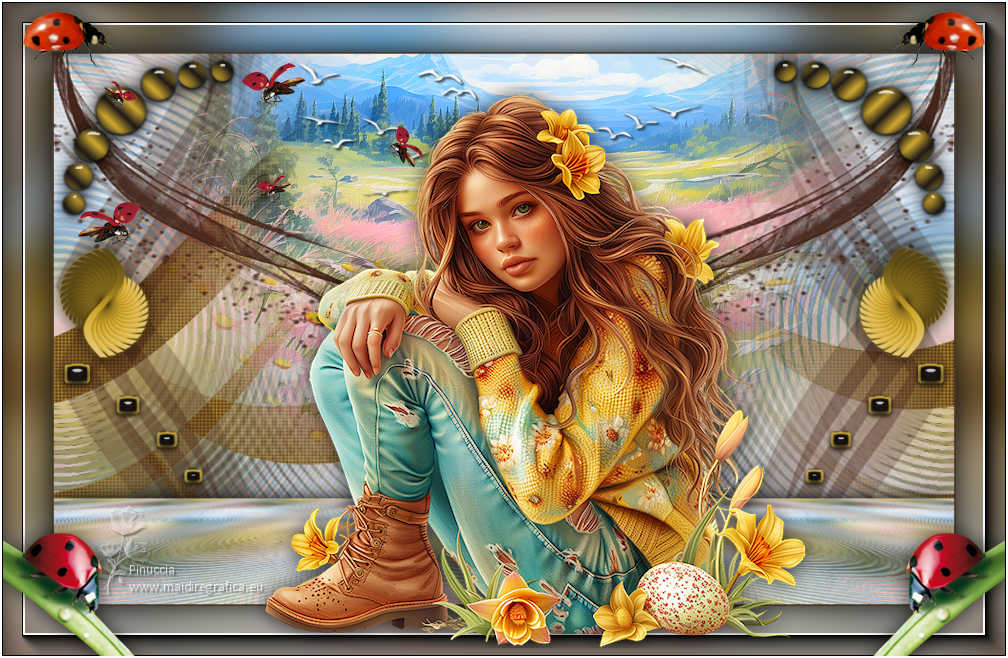
Thanks Inge-Lore for your invitation to translate your tutorials.

This tutorial, created with PSP2019, was translated with PSPX9 and PSP2020, but it can also be made using other versions of PSP.
Since version PSP X4, Image>Mirror was replaced with Image>Flip Horizontal,
and Image>Flip with Image>Flip Vertical, there are some variables.
In versions X5 and X6, the functions have been improved by making available the Objects menu.
In the latest version X7 command Image>Mirror and Image>Flip returned, but with new differences.
See my schedule here
 Italian translation qui Italian translation qui
 French translation here French translation here
 Your versions ici Your versions ici

For this tutorial, you will need:
Tubes of yours (the tubes used by Inge-Lore are under licence)
The rest of the material

For my version I used tubes by Adrienne
(you find here the links to the material authors' sites)

consult, if necessary, my filter section here
Filters Unlimited 2.0 here
Distort - Radial ZigZag - nel materiale, da importare in Unlimited
Mura's Meister - Perspective Tiling here
FM Tile Tools - Saturation Emboss here
You can change Blend Modes according to your colors.

Open the masks in PSP and minimize them with the rest of the material.
1. Choose from your tubes a light and a dark color.
My colors
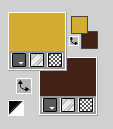
Open a new transparent image 1000 x 650 pixels.
Selections>Select All.
Open you background image Pretty in Pink Paper (4) 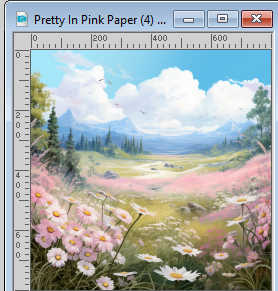
Edit>Copy.
Go back to your work and go to Edit>Paste into Selection.
Selections>Select None .
Effects>Image Effects>Seamless Tiling, default settings.

Adjust>Blur>Motion Blur.
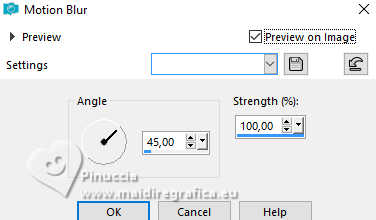
Edit>Repeat Motion Blur.
2. Effects>Plugins>Filters Unlimited 2.0 - Distort - Radial ZigZag, default settings
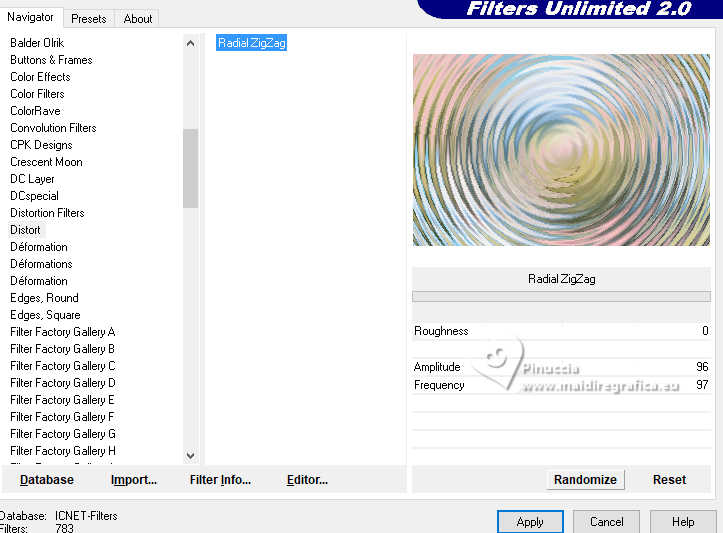
Effects>Image Effects>Seamless Tiling.

Layers>Duplicate.
Effects>Plugins>Mura's Meister - Perspective Tiling.
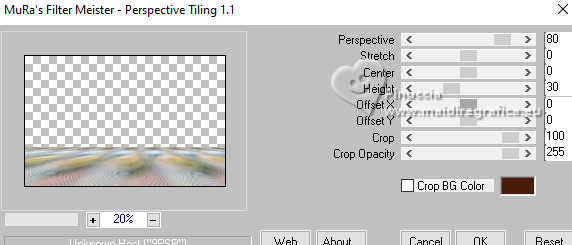
Effects>3D Effects>Drop Shadow, color black.

Effects>Reflections Effects>Rotating Mirror, default settings.

3. Activate the layer Raster 1.
Layers>New Raster Layer.
Flood Fill  the layer with your dark color. the layer with your dark color.
Layers>New Mask layer>From image
Open the menu under the source window and you'll see all the files open.
Select the mask 0303
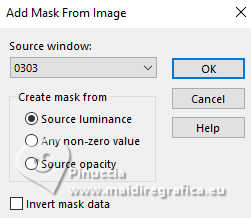
Effects>Edge Effects>Enhance.
Layers>Merge>Merge Group.
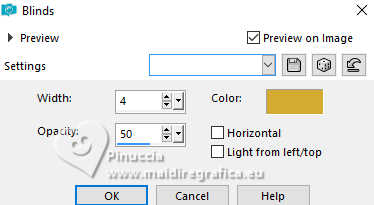
Effects>Texture Effects>Blinds, light color.
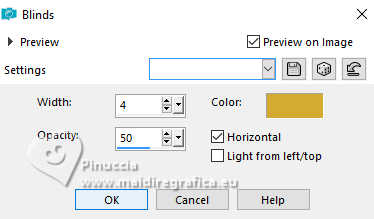
Repeat Effects>Texture Effects>Blings, horizontale not checked.
4. Layers>New Raster Layer.
Flood Fill  the layer with your dark color. the layer with your dark color.
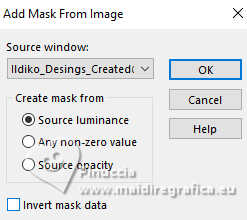
Layers>New Mask layer>From image
Open the menu under the source window
and select the mask Ildiko_Desings_Created@mask_&ildiko(25)
Effects>Edge Effects>Enhance.
Layers>Merge>Merge Group.
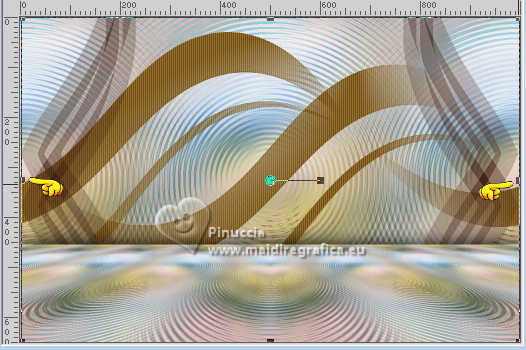
K key to activate your Pick Tool 
mode Scale 
pull the right and left central nodes until the borders
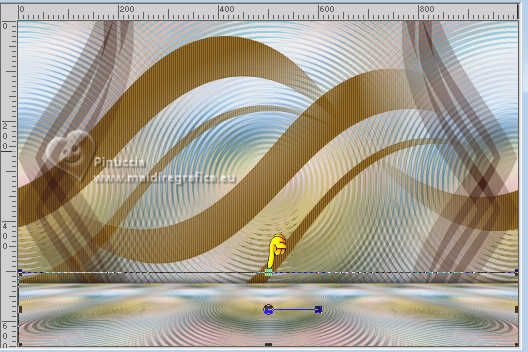
Activate the layer above and pull the Mura's border down about as below
Activate again the layer below of the mask.
Open the misted Pretty in Pink Paper (4) 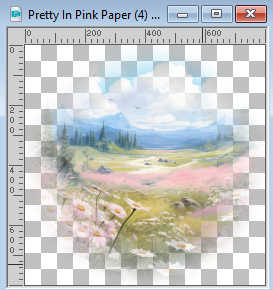
Edit>Copy.
Go back to your work and go to Edit>Paste as new layer.
Image>Resize, if necessary.
Adjust>Sharpness>Sharpen.
Effetti>Plugins>FM Tile Tools - Saturation Emboss, default settings.

5. Activate your top layer.
Open deco-1 
Edit>Copy.
Go back to your work and go to Edit>Paste as new layer.
K key to activate your Pick Tool 
and set Position X: 6,00 and Position Y: 6,00.

Layers>Duplicate.
Image>Mirror>Mirror horizontal (Image>Mirror).
Layers>Merge>Merge Down.
Effects>3D Effects>Drop Shadow, color black.

Open deco-2 
Edit>Copy.
Go back to your work and go to Edit>Paste as new layer.
Pick Tool 
Set Position X: 2,00 and Position Y: 223,00.

Layers>Duplicate.
Image>Mirror>Mirror horizontal (Image>Mirror).
Layers>Merge>Merge Down.
Effects>3D Effects>Drop Shadow, same settings.
6. Open LA_Deco 1 
Edit>Copy.
Go back to your work and go to Edit>Paste as new layer.
Objects>Align>Top.
Open deco-3 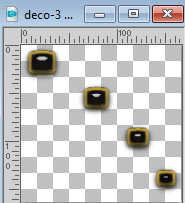
Edit>Copy.
Go back to your work and go to Edit>Paste as new layer.
Pikck Tool 
Set Position X: 4,00 and Position Y: 360,00.

Layers>Duplicate.
Image>Mirror>Mirror horizontal (Image>Mirror).
Layers>Merge>Merge Down.
7. Activate the layer Raster 2.
Layers>New Raster Layer.
Flood Fill  the layer with your dark color. the layer with your dark color.
Layers>New Mask layer>From image
Open the menu under the source window
and select the mask NarahsMasks_1683
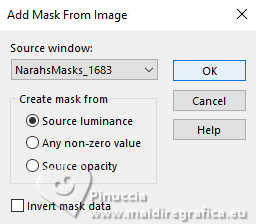
Effects>Edge Effects>Enhance.
Layers>Merge>Merge Group.
Pick Tool 
Set Position X: -165,00 and Position Y: 0,00.

Layers>Duplicate.
Image>Mirror>Mirror horizontal (Image>Mirror).
Layers>Merge>Merge Down.
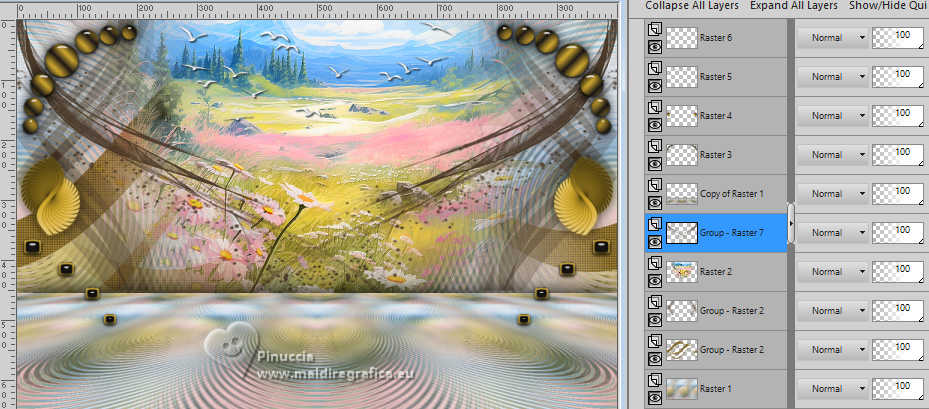
Your tag and the layers
8. Image>Add borders, 2 pixels, symmetrick, dark color.
Edit>Copy
Layers>New Raster Layer.
Selections>Select All.
Selections>Modify>Contract - 50 pixels.
Edit>Paste into Selection
Effects>3D Effects>Drop Shadow, color black.

Selections>Select None.
9. Activate your bottom layer.
Adjust>Blur>Gaussian Blur - radius 25.

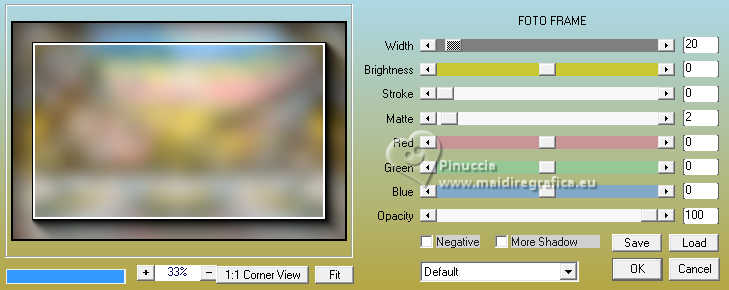
Effetti>Plugins>AAA Frames - Foto Frame.
Activate your top layer.
Open Annevalerie_strawberryswing_el38 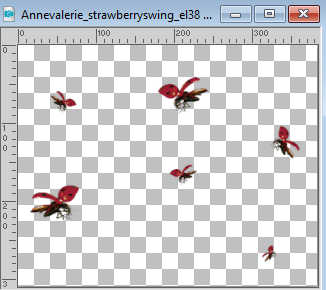
Edit>Copy.
Go back to your work and go to Edit>Paste as new layer.
Pick Tool 
Set Position X: 76,00 and Position Y: 61,00.

10. Open k@rine_Ladybug76 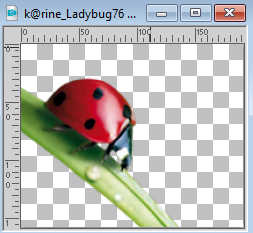
Edit>Copy.
Go back to your work and go to Edit>Paste as new layer.
Move  the tube to the bottom left corner. the tube to the bottom left corner.
Effects>3D Effects>Drop Shadow, color black.

Layers>Duplicate.
Image>Mirror>Mirror horizontal (Image>Mirror).
Layers>Merge>Merge Down.
Open Annevalerie_strawberryswing_el34 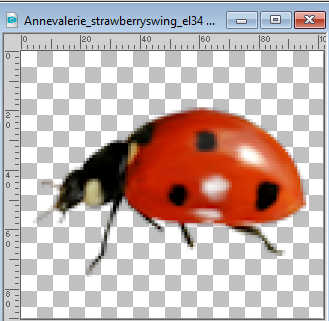
Edit>Copy.
Go back to your work and go to Edit>Paste as new layer.
Move  the tube at the upper right border. the tube at the upper right border.
Effects>3D Effects>Drop Shadow, same settings.
11. Layers>Duplicate.
Image>Mirror>Mirror horizontal (Image>Mirror).
Layers>Merge>Merge Down.
Open your tube and go to Edit>Copy.
Go back to your work and go to Edit>Paste as new layer.
Image>Resize, if necessary, resize all layers not checked.
Adjust>Sharpness>Sharpen.
Effects>3D Effects>Drop Shadow, same settings.
Sign your work.
Image>Add borders, 2 pixels, symmetric, color white.
Save as jpg.
For the tubes of these versions thanks Adrienne
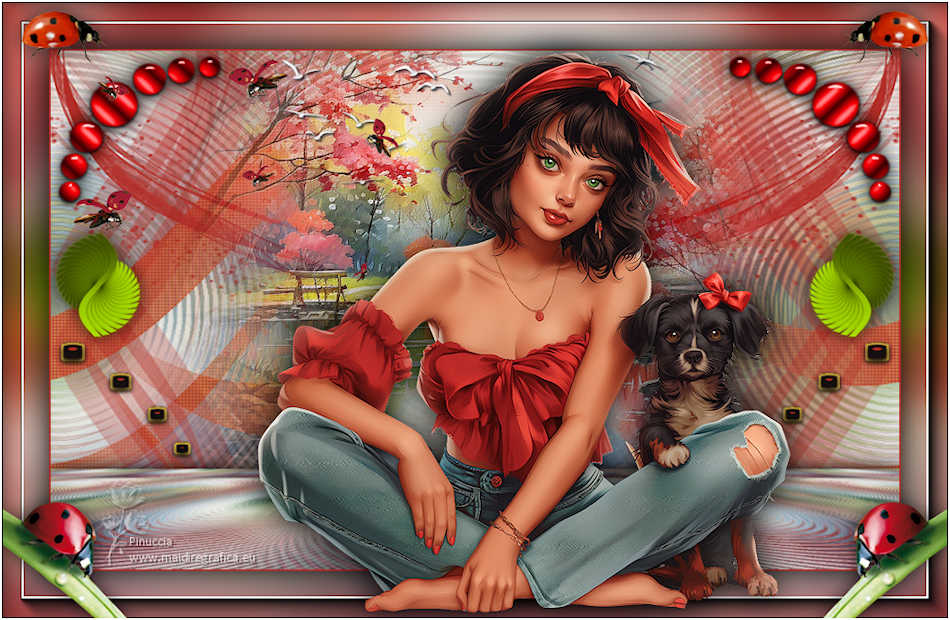

If you have problems or doubts, or you find a not worked link, or only for tell me that you enjoyed this tutorial, write to me.
8 March 2024

|

