|
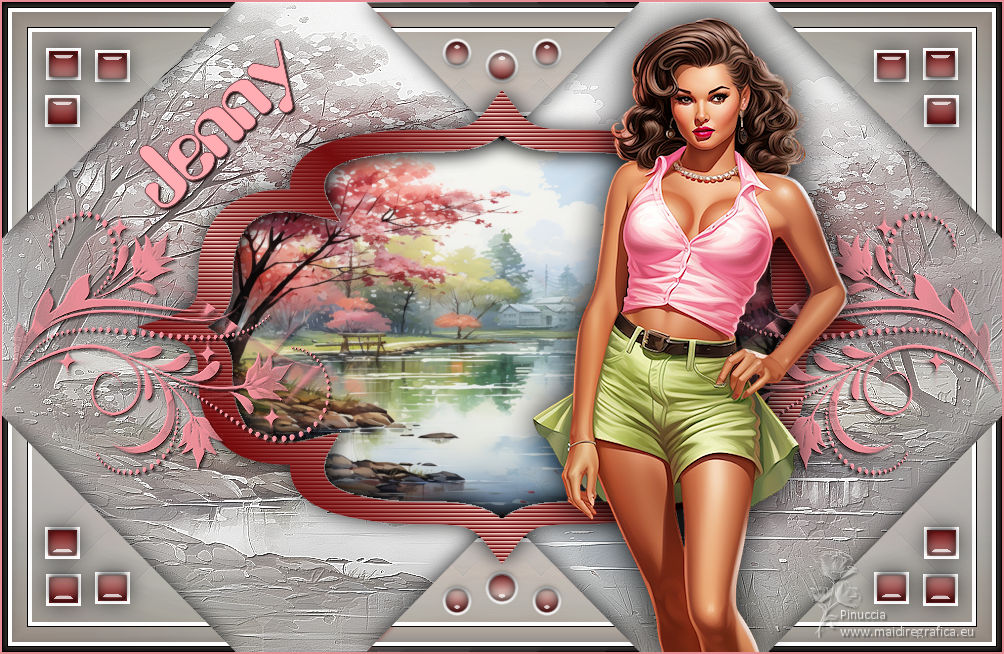
JENNY

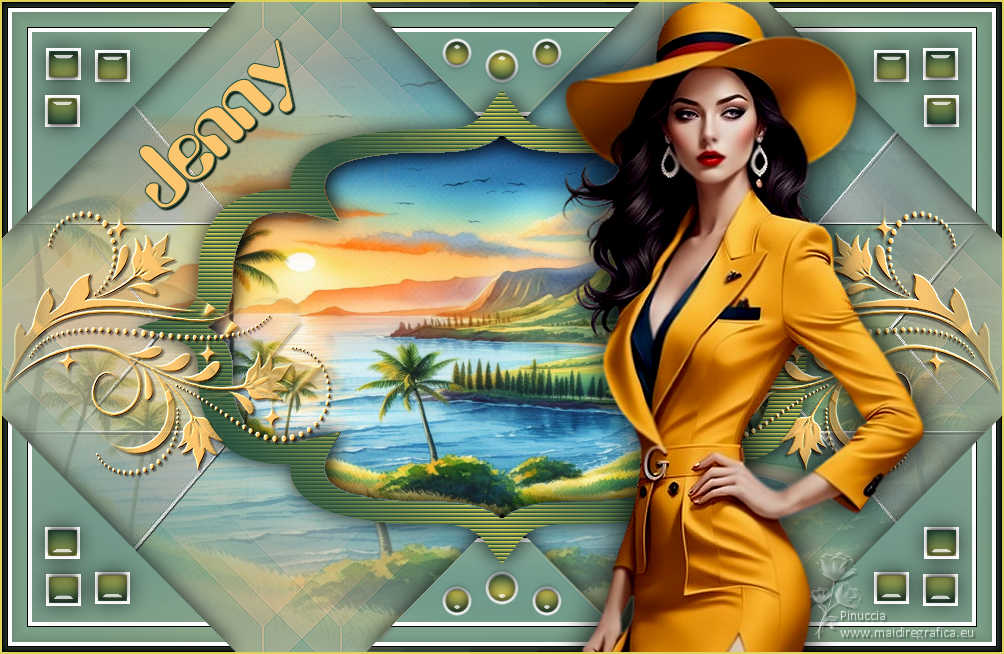
Thanks Inge-Lore for your invitation to translate your tutorials.

This tutorial, created with PSP2019, was translated with PSPX9 and PSP2020, but it can also be made using other versions of PSP.
Since version PSP X4, Image>Mirror was replaced with Image>Flip Horizontal,
and Image>Flip with Image>Flip Vertical, there are some variables.
In versions X5 and X6, the functions have been improved by making available the Objects menu.
In the latest version X7 command Image>Mirror and Image>Flip returned, but with new differences.
See my schedule here
 Italian translation qui Italian translation qui
 French translation here French translation here
 Your versions ici Your versions ici

For this tutorial, you will need:
Tube at your choice (the tube used by Inge-Lore is under licence).
For the tube of my version thanks Luz Cristina.

(you find here the links to the material authors' sites)

consult, if necessary, my filter section here
Filters Unlimited 2.0 here
Mehdi - Sorting Tiles here
Simple - Top Left Mirror here
Toadies - What are you here
Mura's Seamless - Emboss at Alpha here
Alien Skin Eye Candy 5 Impact - Glass here
AAA Frames - Foto Frame here
Filters Simple and Toadies can be used alone or imported into Filters Unlimited.
(How do, you see here)
If a plugin supplied appears with this icon  it must necessarily be imported into Unlimited it must necessarily be imported into Unlimited
You can change Blend Modes according to your colors.
In the newest versions of PSP, you don't find the foreground/background gradient (Corel_06_029).
You can use the gradients of the older versions.
The Gradient of CorelX here

Open the mask in PSP and minimize it with the rest of the materiale.
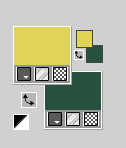
1. Choose from your tubes a light and a dark color.
Open Alpha-Datei-Jenny©ILR
Window>Duplicate or, on the keyboard, shift+D to make a copy.

Close the original.
The copy, that will be the basis of your work, is not empty,
but contains the selections saved to alpha channel.
Selections>Select All.
Open your background image 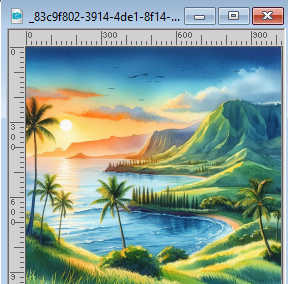
Edit>Copy.
Go back to your work and go to Edit>Paste into Selection.
Selections>Select None.
Effects>Image Effects>Seamless Tiling, default settings.

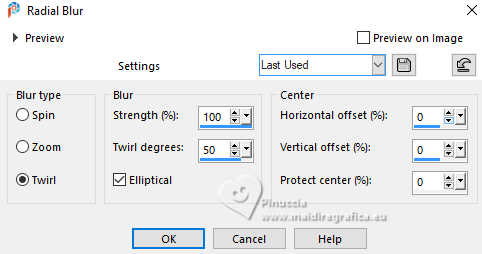
2. Adjust>Blur>Radial Blur.
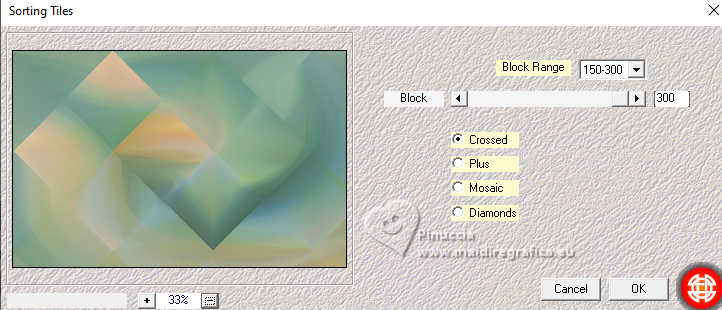
Effects>Plugins>Mehdi - Sorting Tiles.
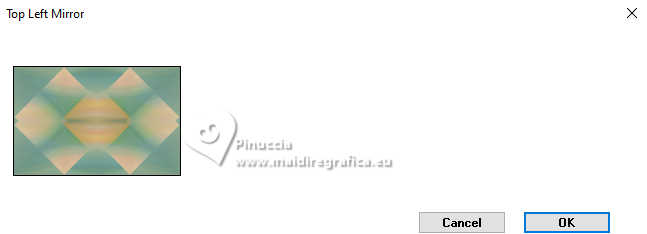
Effects>Plugins>Simple - Top Left Mirror.
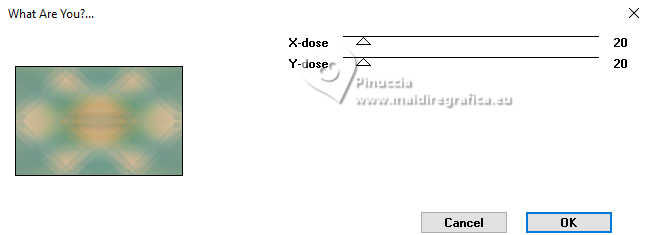
Effects>Plugins>Toadies - What are you, default settings.
Effects>Edge Effects>Enhance.
3. Selections>Load/Save Selection>Load Selection from Alpha Channel.
The selection #1 is immediately available. You just have to click Load.
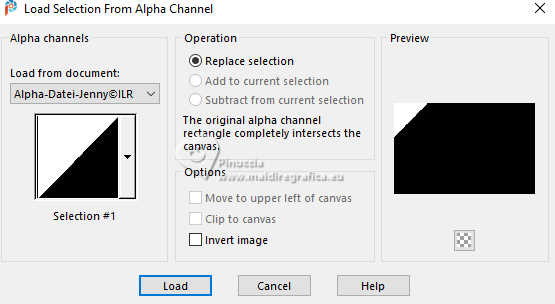
Selections>Promote Selection to Layer.
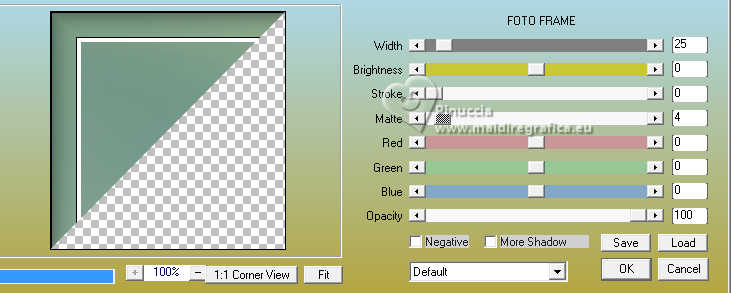
Effects>Plugins>AAA Frames - Foto Frame.
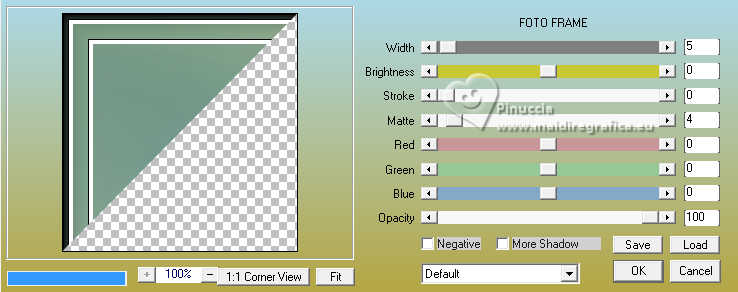
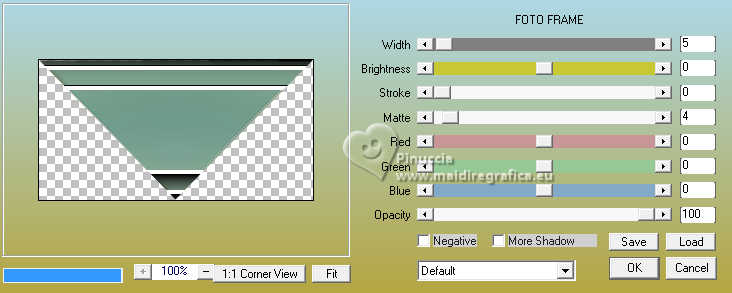
Repeat Effects>Plugins>AAA Frames - Foto Frame, width 5.
Selections>Select None.
Effects>3D Effects>Drop Shadow, color black.

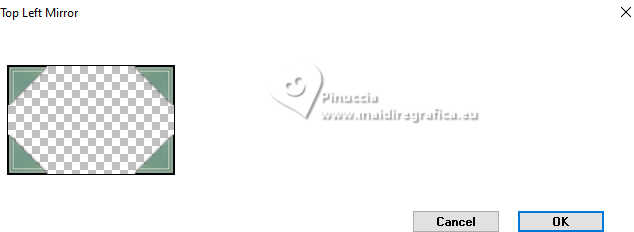
4. Effects>Plugins>Simple - Top Left Mirror.
Activate the layer Raster 1.
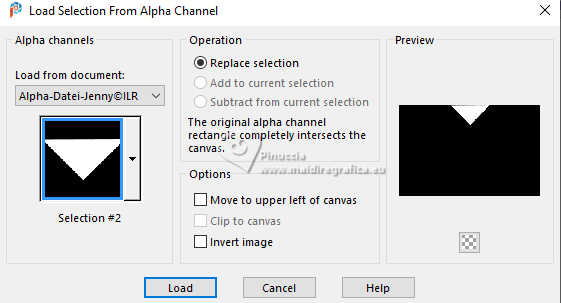
Selections>Load/Save Selection>Load Selection from Alpha Channel.
Open the selections menu and load the selection #2
Selections>Promote Selection to Layer.
Repeat Effects>Plugins>AAA Frames - Foto Frame.
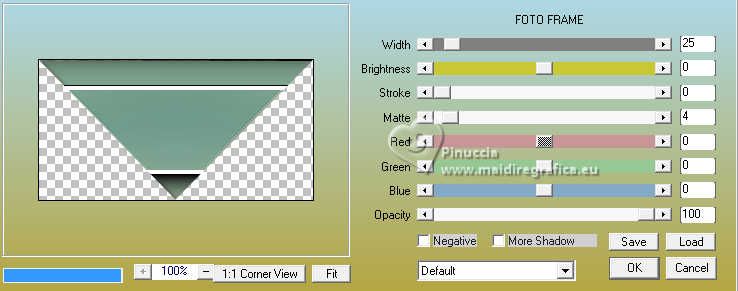
Effects>Plugins>AAA Frames - Foto Frame, width 5.
Selections>Select None.
Effects>3D Effects>Drop Shadow, same settings.
5. Layers>Duplicate.
Image>Mirror>Mirror vertical.
Layers>Merge>Merge Down.
Activate again the layer Raster 1.
Selections>Load/Save Selection>Load Selection from Alpha Channel.
Open the selections menu and load the selection #3
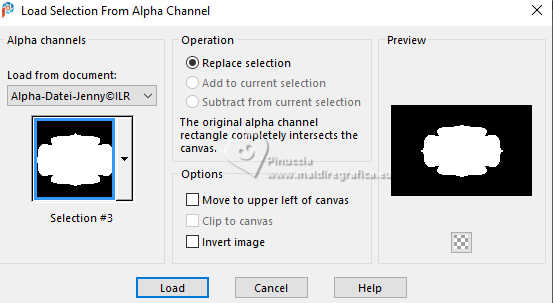
Layers>New Raster Layer.
The background image  is still in memory. is still in memory.
Edit>Paste into Selection.
Selections>Invert.
Effects>3D Effects>Drop Shadow, same settings.
Selections>Select None.
Activate your top layer.
6. Selections>Load/Save Selection>Load Selection from Alpha Channel.
Open the selections menu and load the selection #4
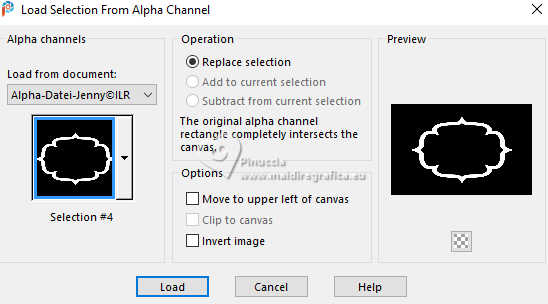
Layers>New Raster Layer.
Set your foreground color to a Foreground/Background Gradient, style Linear.
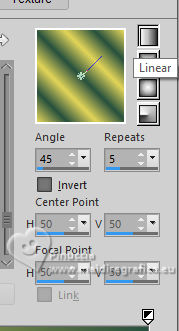
Flood Fill  the selection with your Gradient. the selection with your Gradient.
Effects>Texture Effects>Blinds, dark color.
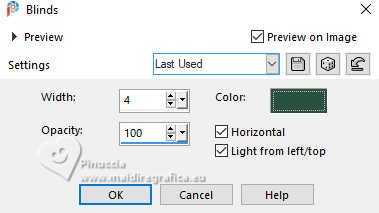
Selections>Select None.
Effects>3D Effects>Drop Shadow, same settings.
Activate again the layer Raster 1.
7. Set your foreground color to white.
Layers>New Raster Layer.
Flood Fill  the layer with color white. the layer with color white.
Layers>New Mask layer>From image
Open the menu under the source window and you'll see all the files open.
Select the mask etm_kalli
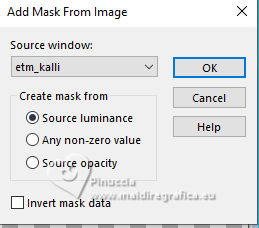
Effects>Edge Effects>Enhance.
Layers>Merge>Merge Group.
Effects>3D Effects>Drop Shadow, color black.
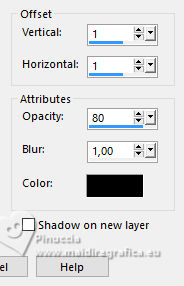
Activate your top layer.
8. Selections>Load/Save Selection>Load Selection from Alpha Channel.
Open the selections menu and load the selection #5
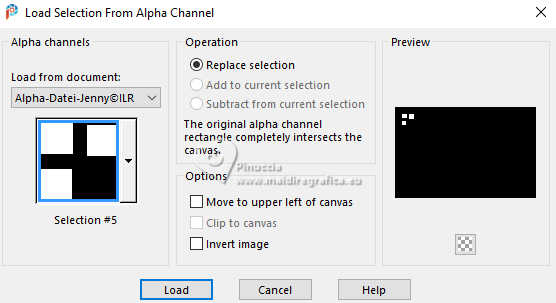
Layers>New Raster Layer.
Flood Fill  the layer with color white. the layer with color white.
Selections>Modify>Contract - 3 pixels.
Set again your foreground color to the light color and change the settings of your Gradient.
 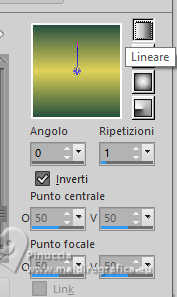
Flood Fill  the selection with your Gradient. the selection with your Gradient.
Effects>Plugins>Alien Skin Eye Candy 5 Impact - Glass.
Preset Clear with these settings.
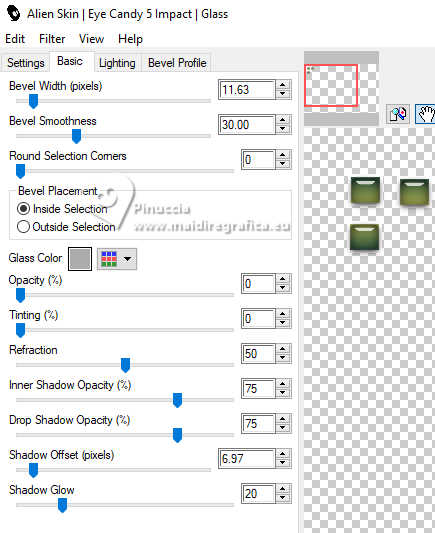
Selections>Select None.
9. Effects>Plugins>Simple - Top Left Mirror.
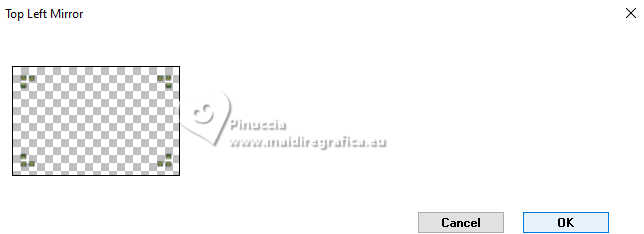
Effects>3D Effects>Drop Shadow, color black.

Activate the layer Raster 1.
Layers>New Raster Layer.
Selections>Select All.
Open the background image to which the 20-20 mask was applied 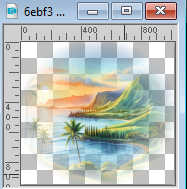 . .
Edit>Copy.
Go back to your work and go to Edit>Paste into Selection.
Selections>Select None.
Activate your top layer.
10. Open deco-1 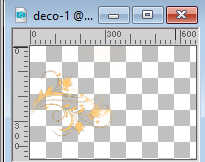
Edit>Copy.
Go back to your work and go to Edit>Paste as new layer.
K key to activate your Pick Tool 
set Position X: 0,00 and Position Y: 112,00.

Effects>Plugins>Mura's Seamless - Emboss at Alpha, default settings.
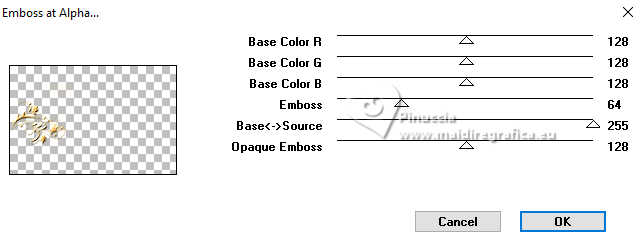
Effects>3D Effects>Drop Shadow, color black.
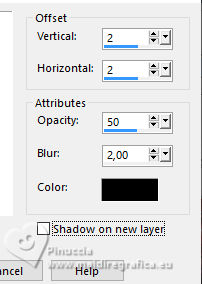
Layers>Duplicate.
Image>Mirror>Mirror horizontal.
Layers>Merge>Merge Down.
Selections>Load/Save Selection>Load Selection from Alpha Channel.
Open the selections menu and load the selection #6
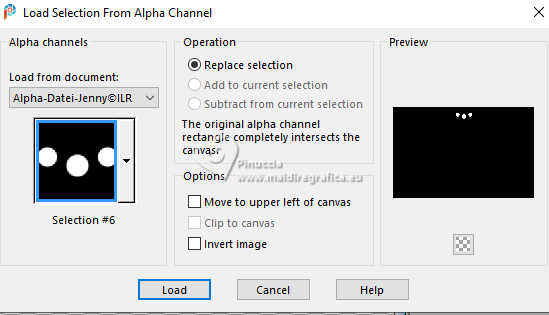
11. Layers>New Raster Layer.
Flood Fill  with color white. with color white.
Selections>Modify>Contract - 3 pixels.
Set your foreground color to the light color and the gradient
 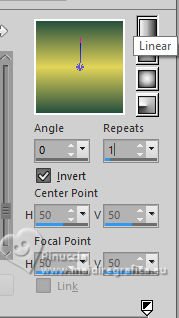
Flood Fill  with your Gradient. with your Gradient.
Effects>Plugins>Alien Skin Eye Candy 5 Impact - Glass - preset Clear, same settings.
Selections>Select None.
Layers>Duplicate.
Image>Mirror>Mirror vertical.
Layers>Merge>Merge Down.
12. Open your main tube and go to Edit>Cpy.
Go back to your work and go to Edit>Paste as new layer.
Image>Resize, if necessary.
Adjust>Sharpness>Sharpen.
Effects>3D Effects>Drop Shadow, color black.

Open the text Text-Jenny 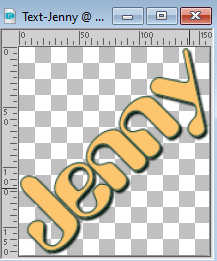
Edit>Copy.
Go back to your work and go to Edit>Paste as new layer.
K key to activate your Pick Tool 
and set Position X: 136,00 and Position Y: 36,00.

Sign your work on a new layer.
Image>Add borders, 2 pixels, symmetric, light color.
Save as jpg.
For the tubes of these versions thanks
Kamil
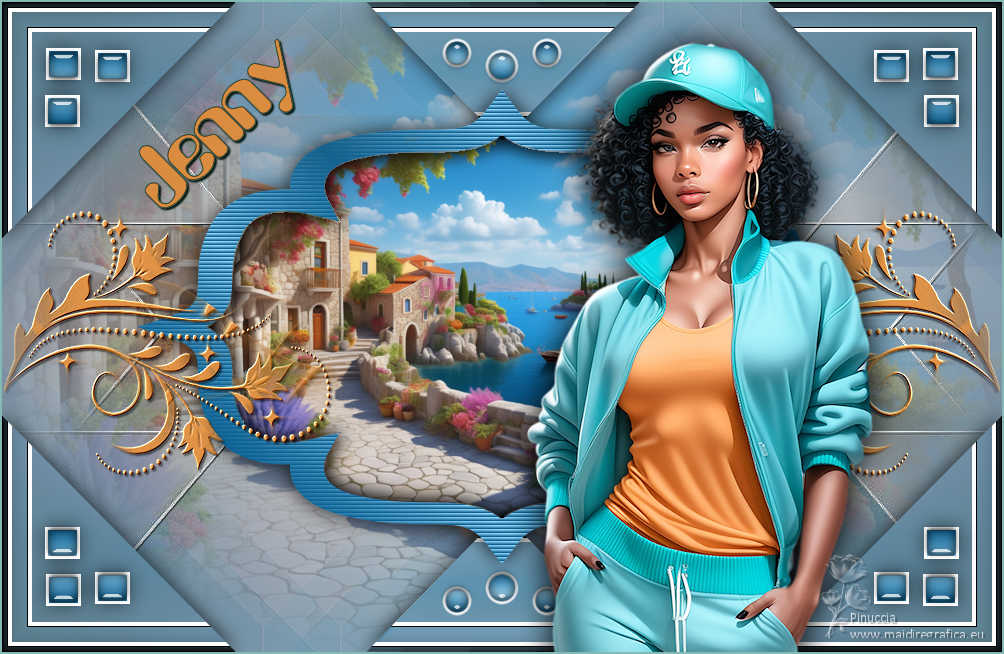
Adrienne

If you have problems or doubts, or you find a not worked link, or only for tell me that you enjoyed this tutorial, write to me.
17 May2024

|


