|
JASMIN

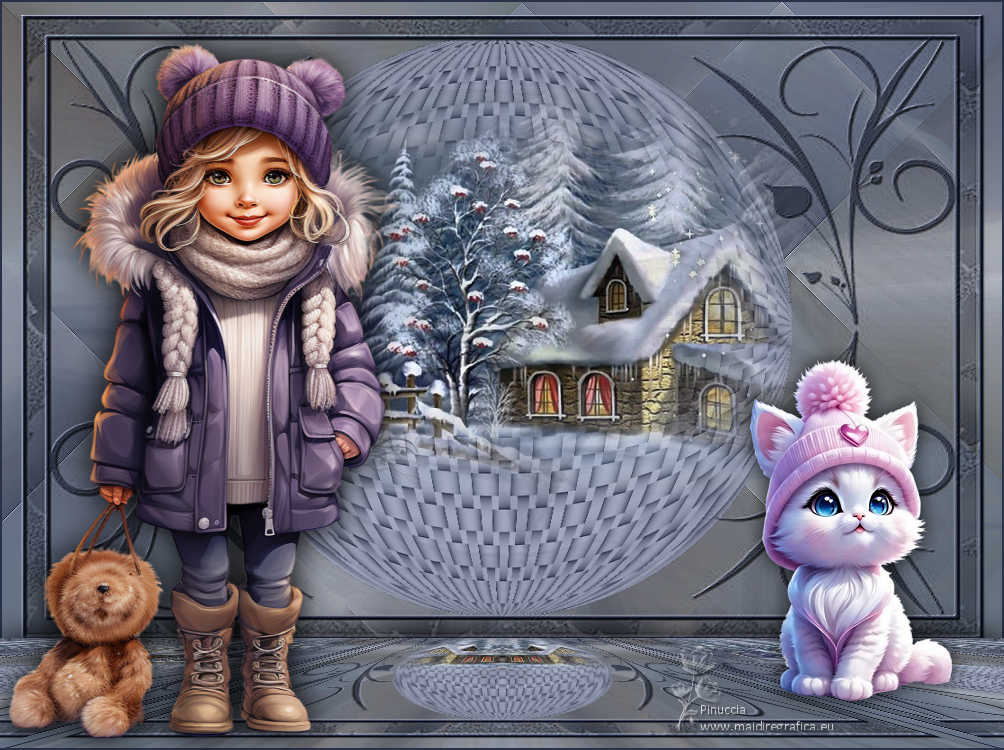
Thanks Inge-Lore for your invitation to translate your tutorials.

This tutorial, created with PSP2019, was translated with PSPX9 and PSP2020, but it can also be made using other versions of PSP.
Since version PSP X4, Image>Mirror was replaced with Image>Flip Horizontal,
and Image>Flip with Image>Flip Vertical, there are some variables.
In versions X5 and X6, the functions have been improved by making available the Objects menu.
In the latest version X7 command Image>Mirror and Image>Flip returned, but with new differences.
See my schedule here
 Italian translation qui Italian translation qui
 French translation here French translation here
 Your versions ici Your versions ici

For this tutorial, you will need:
A tube of yours (the tube used by Inge-Lore is by Kevo)
The rest of the material

Thanks for the tubes Adrienne and Cupcake, for the mask Jutta.
(you find here the links to the material authors' sites)

consult, if necessary, my filter section here
Filters Unlimited 2.0 here
Mehdi - Sorting Tiles here
Mura's Seamless - Emboss at Alpha here
Mura's Meister - Perspective Shadow here
Filters Mura's Seamless can be used alone or imported into Filters Unlimited.
(How do, you see here)
If a plugin supplied appears with this icon  it must necessarily be imported into Unlimited it must necessarily be imported into Unlimited
You can change Blend Modes according to your colors.

Open the mask in PSP and minimize it with the rest of the material.
1. Choose from your tubes a light and a dark color.
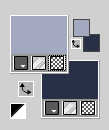
My colors:
light color #a2a8be
dark color #293148
Open a new transparent image 1000 x 650 pixels.
Flood Fill  the transparent image with your light color. the transparent image with your light color.
Layers>New Raster Layer.
Selections>Select All.
Open the landscape tube 285_orig 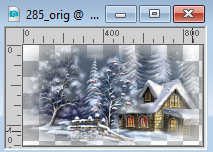
Edit>Copy.
Go back to your work and go to Edit>Paste into Selection.
Selections>Select None.
Effects>Image Effects>Seamless Tiling, default settings.

Adjust>Blur>Radial Blur.

2. Effects>Plugins>Mehdi - Sorting Tiles.
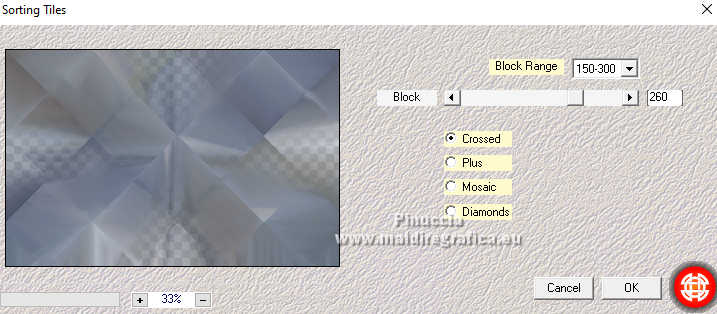
Effects>Edge Effects>Enhance.
Layers>New Raster Layer.
Flood Fill  the layer with your light color. the layer with your light color.
Effects>Texture Effects>Weave - weave color: dark color.

3. Effects>Geometric Effects>Circle

Image>Resize, to 90%, resize all layers not checked.
Edit>Paste as new layer (your landscape is still in memory).
Image>Resize, for me to 80%, resize all layers not checked.
Adjust>Sharpness>Sharpen.
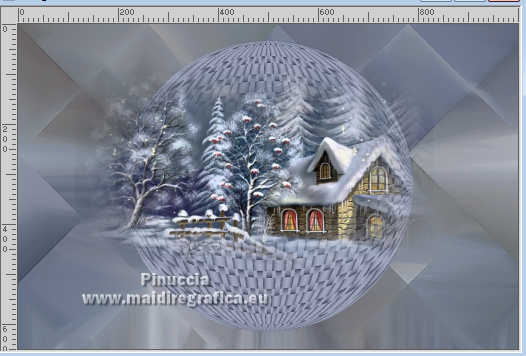
Place  the tube in the center of the circle. the tube in the center of the circle.
4. Layers>New Raster Layer.
Flood Fill  the layer with your dark color. the layer with your dark color.
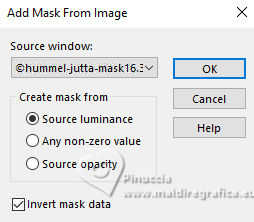
Layers>New Mask layer>From image
Open the menu under the source window and you'll see all the files open.
Select the mask ©hummel-jutta-mask16.3
Effects>Edge Effects>Enhance.
Layers>Merge>Merge Group.
Effects>3D Effects>Drop Shadow, color black.

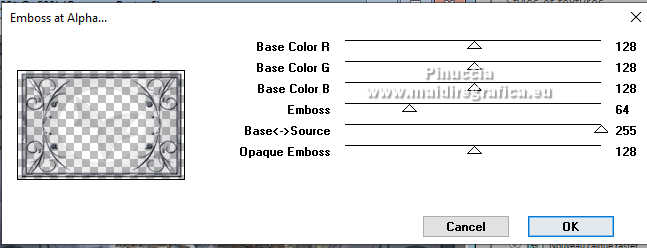
Effects>Plugins>Mura's Seamless - Emboss at Alpha, default settings.
5. Image>Add borders, 2 pixels, symmetric, dark color.
Edit>Copy
Image>Canvas Size - 1004 x 750 pixels

Edit>Paste as new layer.
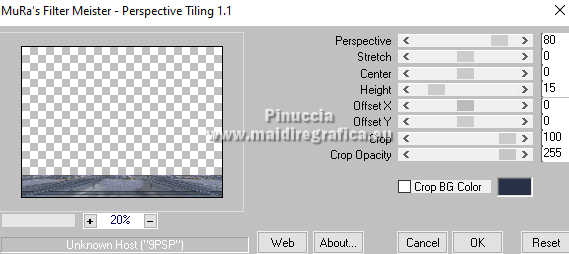
Effects>Plugins>Mura's Meister - Perspective Tiling.
Effects>Reflection Effects>Rotating Mirror, default settings.

Effects>3D Effects>Drop Shadow, color black.

6. Open your tube and go to Edit>Copy.
Go back to your work and go to Edit>Paste as new layer.
Image>Resize, according to your tube, resize all layers not checked.
Adjust>Sharpness>Sharpen.
Effects>3D Effects>Drop Shadow, same settings.

Open the deco tube Cats 3 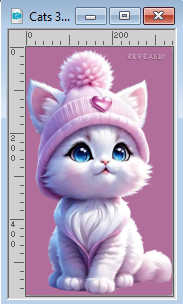
Edit>Copy.
Go back to your work and go to Edit>Paste as new layer.
Image>Resize, according to your tube, resize all layers not checked.
Adjust>Sharpness>Sharpen.
Effects>3D Effects>Drop Shadow, color black.

Sign your work on a new layer.
Layers>Merge>Merge all and save as jpg.
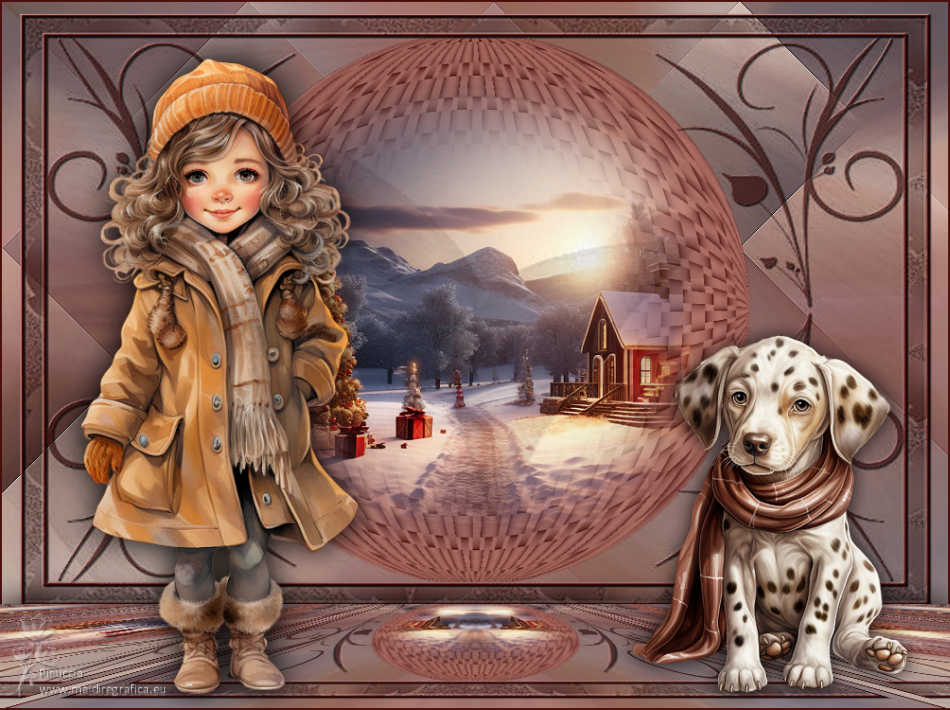
For the tube of this version thanks Adrienne and Mentali

If you have problems or doubts, or you find a not worked link, or only for tell me that you enjoyed this tutorial, write to me.
17 January 2024

|

