|
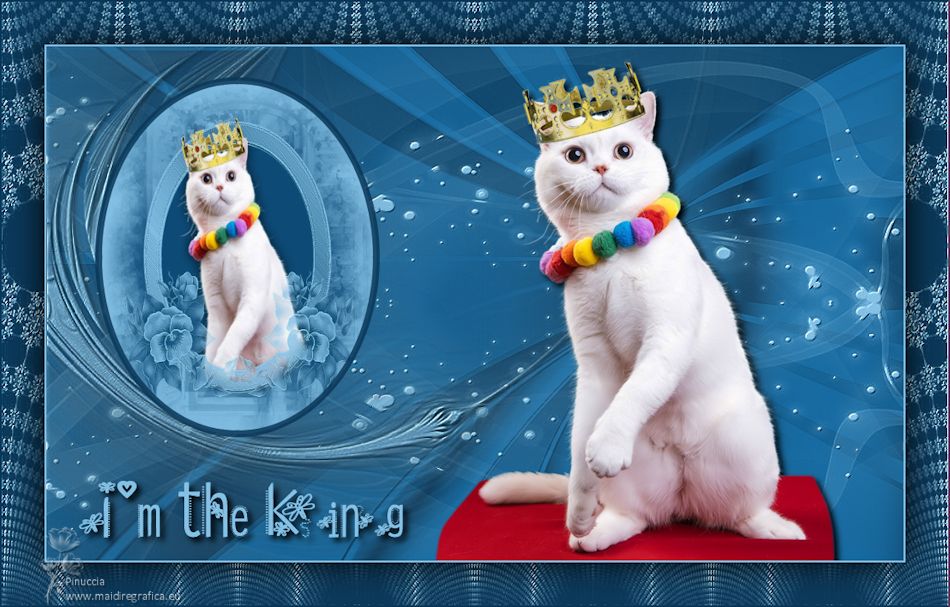
I'M THE KING

Thanks Inge-lore for your invitation to translate your tutorials.

This tutorial was translated with PSPX, PSPX2, PSPX3, but it can also be made using other versions of PSP.
Since version PSP X4, Image>Mirror was replaced with Image>Flip Horizontal,
and Image>Flip with Image>Flip Vertical, there are some variables.
In versions X5 and X6, the functions have been improved by making available the Objects menu.
In the latest version X7 command Image>Mirror and Image>Flip returned, but with new differences.
See my schedule here
 Italian translation qui Italian translation qui
 French translation here French translation here
 Your versions ici Your versions ici
For this tutorial, you will need:
Tubes at your choice (the tubes used by Inge-Lore are under licence)

For the tube used for my translation thanks Beatriz.
(you find here the links to the material authors' sites)

consult, if necessary, my filter section here
Filters Unlimited 2.0 here
Mura's Seamless - Emboss at Alpha here
Filters Mura's Seamless can be used alone or imported into Filters Unlimited.
(How do, you see here)
If a plugin supplied appears with this icon  it must necessarily be imported into Unlimited it must necessarily be imported into Unlimited

In the newest versions of PSP, you don't find the foreground/background gradient (Corel_06_029).
You can use the gradients of the older versions.
The Gradient of CorelX here

Open the masks in PSP and minimize them with the rest of the material.
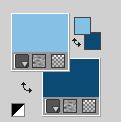
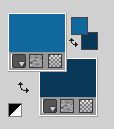
1. These are the colors used in the tutorial.

Set your foreground color to color 3
and your background color to color 4.
Open a new transparent image 500 x 500 pixels.
Flood Fill  the transparent image with color 4 (background color). the transparent image with color 4 (background color).
Layers>New Raster Layer.
Flood Fill  the layer with color 3 (foreground color). the layer with color 3 (foreground color).
Layers>New Mask layer>From image
Open the menu under the source window and you'll see all the files open.
Select the mask Gertje 27

Layers>Merge>Merge Group.
Adjust>Sharpness>Sharpen.
2. Open your tube, for my example 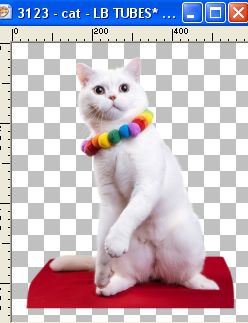
Edit>Copy.
Go back to your work and go to Edit>Paste as new layer.
Image>Resize, if necessary, resize all layers not checked.
Move  the tube down, the tube down,
so that only the head or upper body is visible.
With your Eraser Tool 
delete what remains visible under the mask.
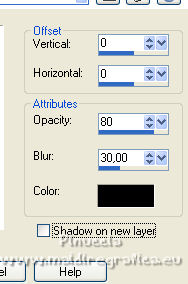
Effects>3D Effects>Drop Shadow.
Layers>Merge>Merge visible, and minimize the work for a moment.
3. Open Alpha-Datei
Window>Duplicate or, on the keyboard, shift+D to make a copy.

Close the original.
The copy, that will be the basis of your work, is not empty,
but contains a selection saved to alpha channel.
Set your foreground color with color 1
and your background color with color 2
Flood Fill  the transparent image with color 2 (background color). the transparent image with color 2 (background color).
Layers>New Raster Layer.
Flood Fill  the layer with color 1 (foreground color). the layer with color 1 (foreground color).
Layers>New Mask layer>From image
Open the menu under the source window
and select the mask tracks

Effects>Edge Effects>Enhance.
Layers>Merge>Merge Group.
4. Selections>Load/Save Selection>Load Selection from Alpha Channel.
The selection #1 is immediately available. You just have to click Load.

Layers>New Raster Layer.
Activate the image that you have minimized at step 2 and go to Edit>Copy.
Go back to your work and go to Edit>Paste into Selection.
Selections>Modify>Select Selection Borders.
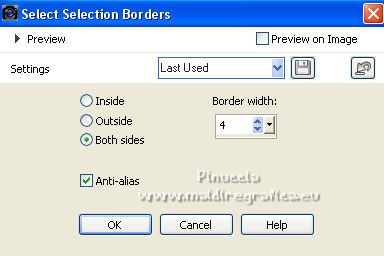
Set your foreground color to a Foreground/Background Gradient, style Linear.

Layers>New Raster Layer.
Flood Fill  the selection with your gradient. the selection with your gradient.
5. Effects>3D Effects>Inner Bevel.

Efects>3D Effects>Cutout, color 2  . .

Selections>Select None.
Layers>Merge>Merge Down.
Open deko1 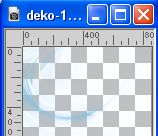
Edit>Copy.
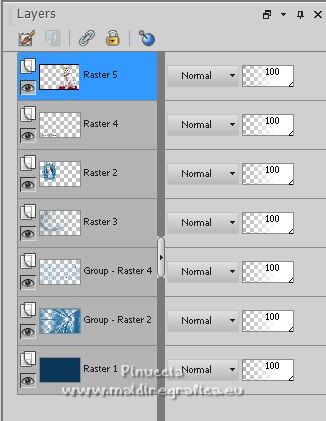
Go back to your work and go to Edit>Paste as new layer.
K key to activate your Pick Tool 
and set Position X and Y to 1,00

Layers>Arrange>Move Down.
6. Effects>Plugins>Mura's Seamless - Emboss at Alpha, default settings.

Effects>3D Effects>Drop Shadow.

Activate your top layer.
Effects>3D Effects>Drop Shadow.

Layers>New Raster Layer.
Set your foreground color to color 3 
Flood Fill  the layer with color 3. the layer with color 3.
Layers>New Mask layer>From image
Open the menu under the source window
and select the mask NarahsMasks_1685

Effects>Edge Effects>Enhance.
Layers>Merge>Merge Group.
7. Layers>Duplicate.
Image>Flip.
Layers>Merge>Merge Down.
Layers>Arrange>Move Down.
Effects>Plugins>Mura's Seamless - Emboss at Alpha, default settings.
Activate again your top layer.
Open the tube Text 
Edit>Copy.
Go back to your work and go to Edit>Paste as new layer.
Move  the tube at the bottom left. the tube at the bottom left.
Effects>3D Effects>Drop Shadow.

Activate again your tube and go to Edit>Copy.
Go back to your work and go to Edit>Paste as new layer.
Image>Resize, if necessary, resize all layers not checked.
Move  the tube to the right. the tube to the right.
Effects>3D Effects>Drop Shadow, at your choice.
8. Image>Add borders, 2 pixels, symmetric, color 3 
Selections>Select All.
Image>Add borders, 50 pixels, symmetric, color 2 
Selections>Invert.
Layers>New Raster Layer.
Flood Fill  with color 3 with color 3  . .
Layers>New Mask layer>From image
Open the menu under the source window
and select the mask 1250181211_nikita_masques5

Effects>Edge Effects>Enhance.
Layers>Merge>Merge Group.
9. Effects>Plugins>Mura's Seamless - Emboss at Alpha, default settings.
Layers>Merge>Merge Down.
Selections>Invert.
Effects>3D Effects>Drop Shadow.

Selections>Select None.
Image>Add borders, 2 pixels, symmetric, color 2  . .
Image>Resize, 1050 pixels width, resize all layers checked.
Adjust>Sharpness>Sharpen.
Sign your work on a new layer.
Layers>Merge>Merge All and save as jpg.

If you have problems or doubts, or you find a not worked link, or only for tell me that you enjoyed this tutorial, write to me.
18 February 2023

|

